The purpose of this article is to help you understand:
What are name-based locations
How to enable name-based locations
What are name-based locations?
If your country does not use zip or postal codes, you can instead use "name-based" locations. This will allow you to type or upload a list of location names for your service area.
Then, when customers use your form, they will be able to select their location from a drop-down menu with the options you have listed.
Enabling Name-Based Locations in Store Options
To set name-based locations as the default option for your business, go to:
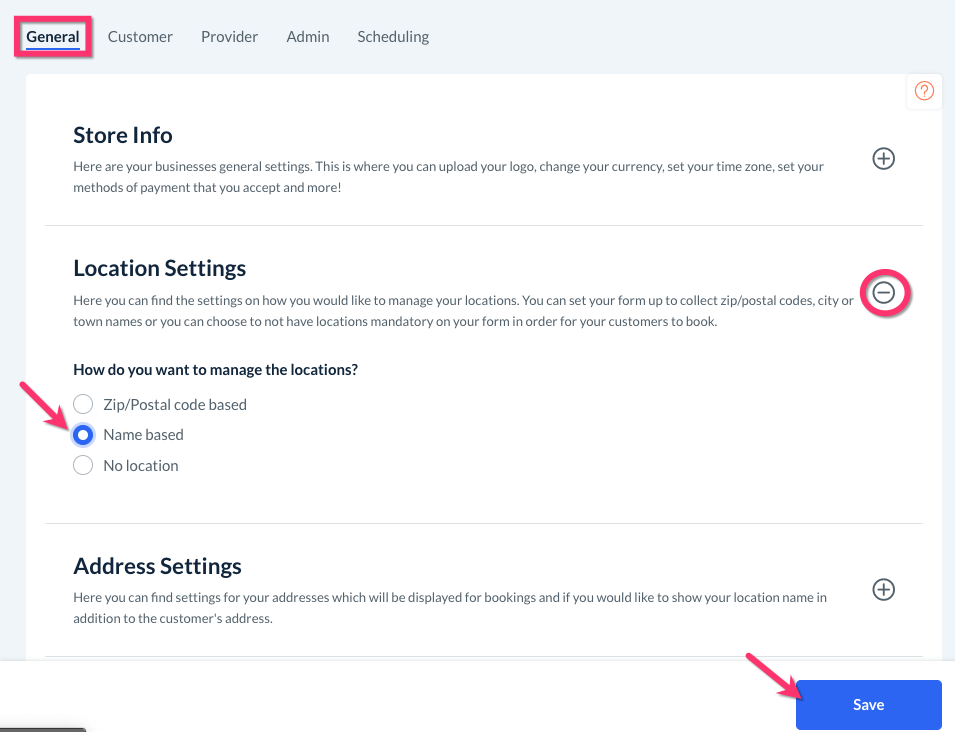
Settings > General > Store Options > General > Location Settings
Expand the "Location Settings" section and select "Name-based", then click Save.
Enabling Name-Based Locations in a Form
To enable name-based locations in your booking form, go to:
Settings > Industries > [Industry Name] > Settings > Form Settings > Options > Edit
Scroll down to the question, "How would you like the system to manage your locations?" and select "Name-based". Click the blue "Save" button to apply the changes.
Adding a New Name-Based Location
To add a new location to your form, go to:
Settings > Industries > [Industry Name] > Form [#] > 1. Locations
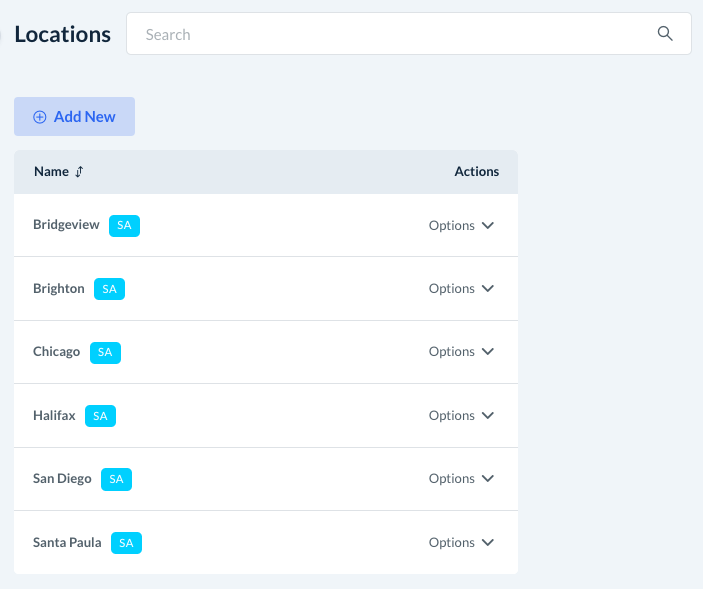
Click the blue "Add New" button at the top of the page to create a new location.

You will be brought to the Details tab on an "Add Location" page.

New location or Existing location - If you have previously created locations in another form or industry, you can select "Existing location" and that location's details will be automatically filled. Otherwise, select the "New location" option to add a new location to your form.
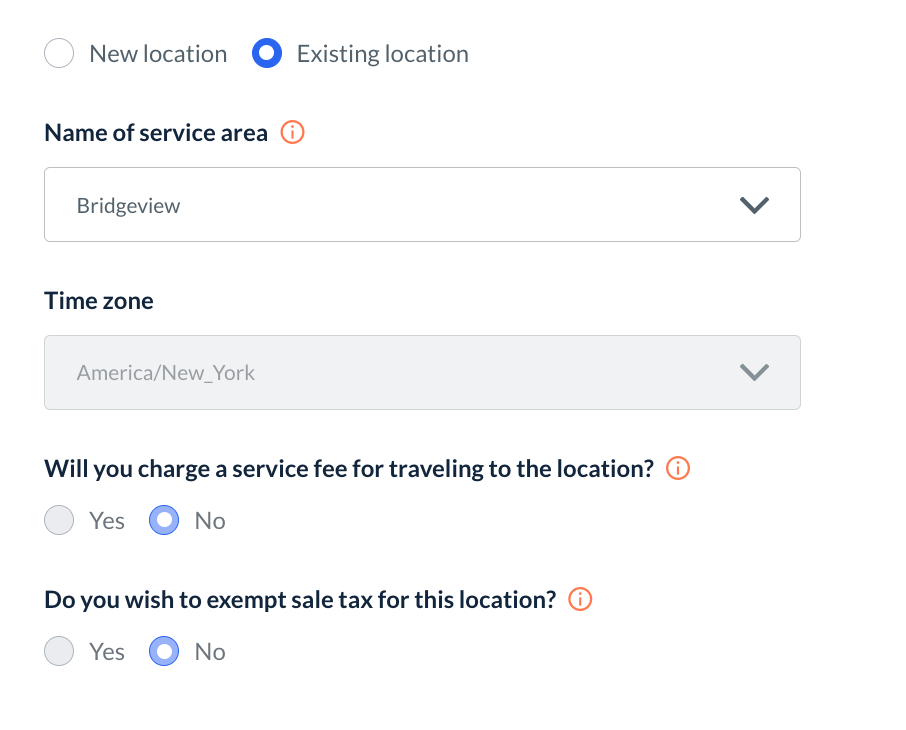
Name of service area - Add a name for the location. The system does not allow for duplicate location names.
Time Zone - Select a time zone for your location. This section will show if you have enabled the multiple time zone feature. Click here to learn how to enable this feature.
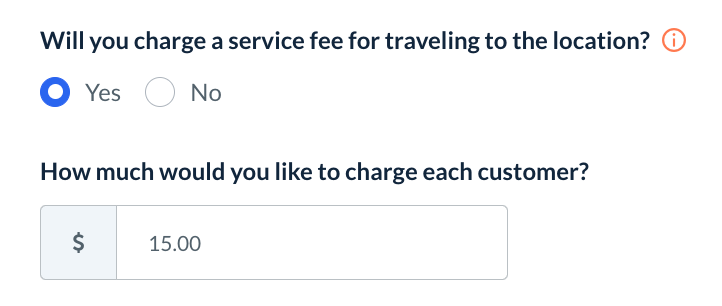
Will you charge a service fee for traveling to the location? - Select "Yes" if you would like to charge an extra fee for clients who book for this location. This fee will be added to their total price.
Do you wish to exempt sales tax for this location? -
Select "Yes" if you do not want to charge sales tax for this location.
If you select "No", you can later set up your tax options by going to Settings > General > Taxes. Tax rates can be set for each location or you can use one tax rate for all locations. Click here to learn more about enabling taxes in BookingKoala.
Once you have finished setting up your options, click the blue "Save" button at the bottom of the page.
You will be able to view all of your newly added locations from the Locations tab.
For more information on setting up other kinds of locations, such as zip/postal-code-based locations or merchant locations, click here.