The purpose of this article is to help you understand:
How to connect your Quickbooks account to BookingKoala
What information you are able to sync once your accounts are connected
How do I connect Quickbooks?
To connect your QuickBooks account to Bookingkoala, please go to:
Settings > General > Apps & Integrations
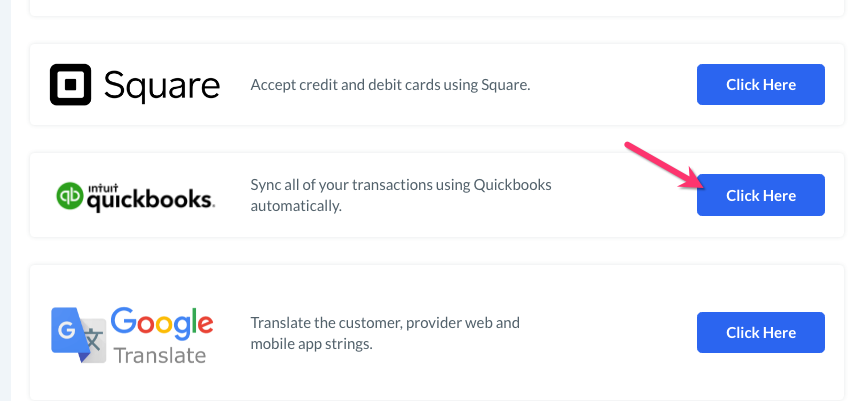
Scroll down to the "Quickbooks" section and click the blue "Click Here" button.
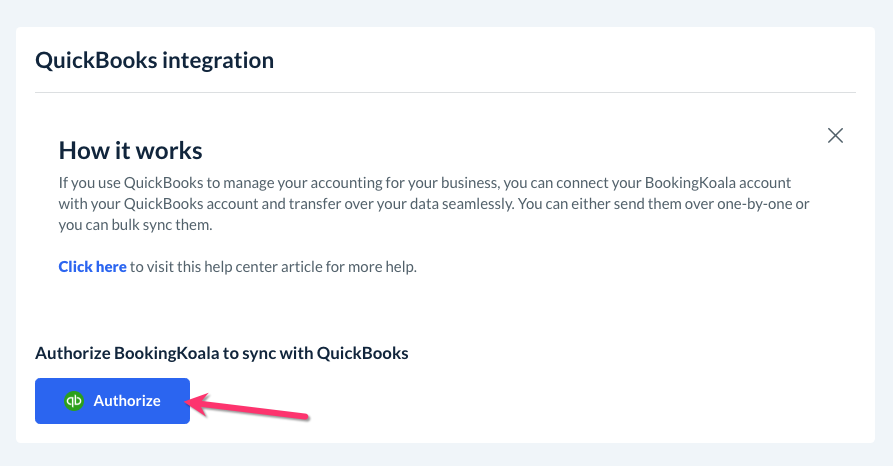
You will be redirected to a "QuickBooks Integration" page. Click the blue "Authorize" button at the center of the screen.
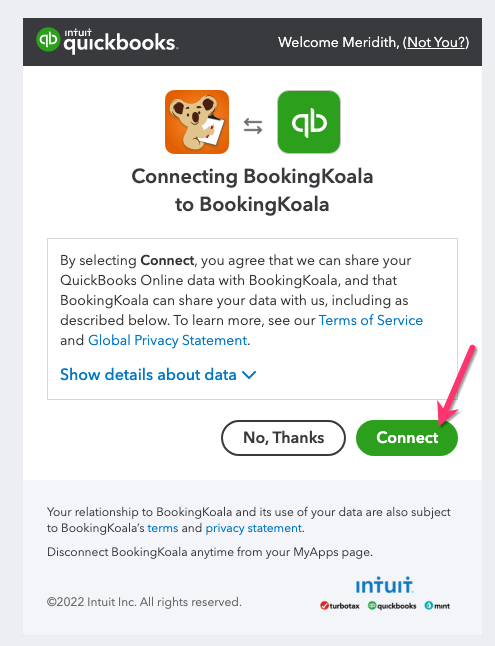
If you are logged in already, you will see a message that shows "Connecting [Business Name] to BookingKoala." Click the green "Connect" button at the bottom left corner of the page.
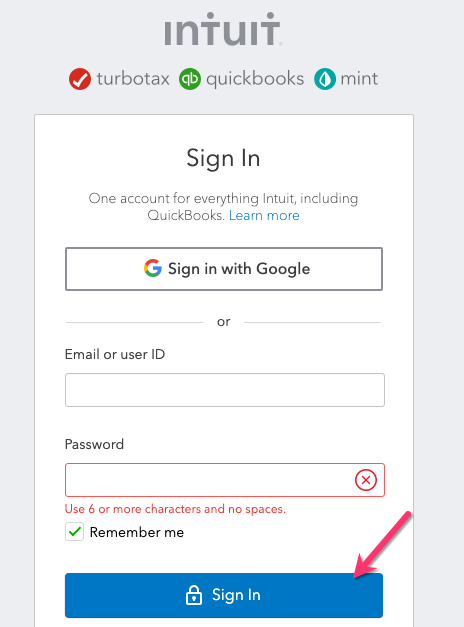
If you are not logged in, you will be redirected to a login page. Enter your login credentials and click the blue "Sign In" button.
Then, click the green "Connect" button on the following page. Once you click "Connect", you will be redirected back to the "QuickBooks Integration" page in Bookingkoala.
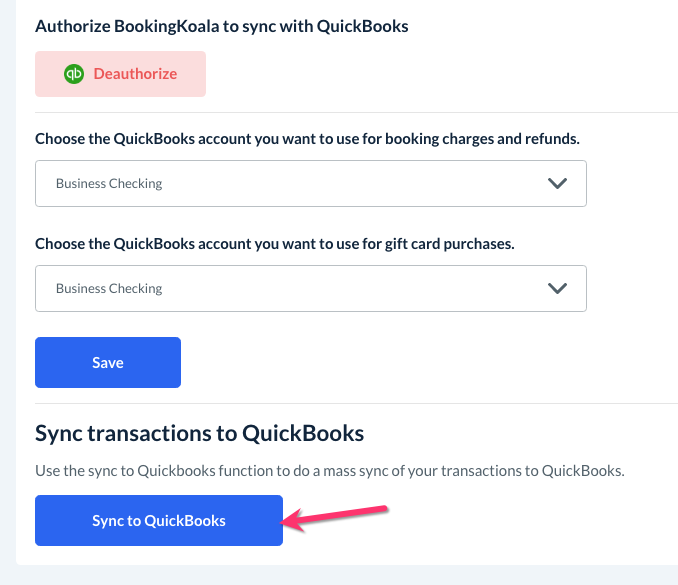
Next, select which QuickBooks accounts you would like to use to sync booking charges and refunds, and then for gift card purchases. Use the drop-down menus to select the account(s).
Once you've made your selections, click the blue "Save" button at the bottom of the page. A green system notification will appear in the top right corner, letting you know that the account has been connected successfully.
What can I use Quickbooks for in my BookingKoala account?
Once you've connected your accounts, you can use Quickbooks to perform a bulk sync your booking charges, refunds, and gift card purchases.
When you perform this action:
A sales receipt will be created inside your QuickBooks account for all cash/check and debit/credit transactions.
A refund receipt will be generated for all debit/credit card refunds that occurred during the specified date range.
All new customers who have not been synced to your Quickbooks account yet will have a customer QuickBooks account generated and linked to your account.
To bulk sync your accounts, go to:
Settings > General > Apps & Integrations > Quickbooks
Scroll down to the "Quickbooks" section and click the blue "Click Here" button.

You will be redirected to the "Quickbooks Integration" page. Scroll down until you are in the "Sync transactions to Quickbooks" section and click on the blue "Sync to Quickbooks" button.
A "Sync to Quickbooks" pop-up will appear. Click the calendar icon to select the dates for the transactions you would like to sync to your account.
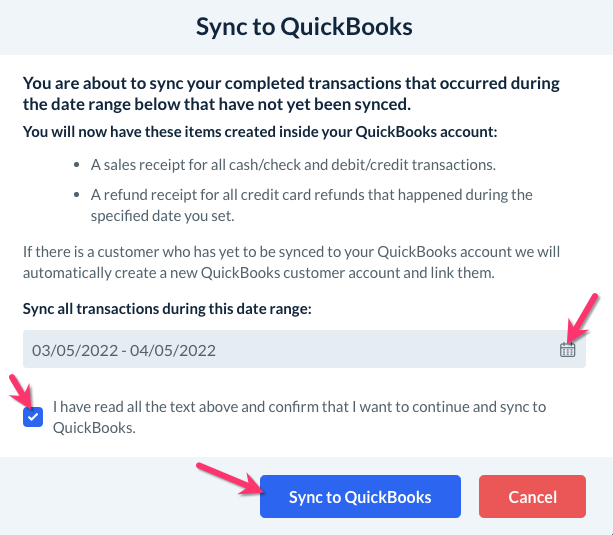
Then, check the box that says, "I have read all the text above and confirm that I want to continue and sync to QuickBooks" and click the blue "Sync to Quickbooks" button.
You will see a green system notification in the top-right corner, letting you know your sync has begun and may take some time before it is complete.
To check if the sync has been completed, you can go to:
Logs > Systems
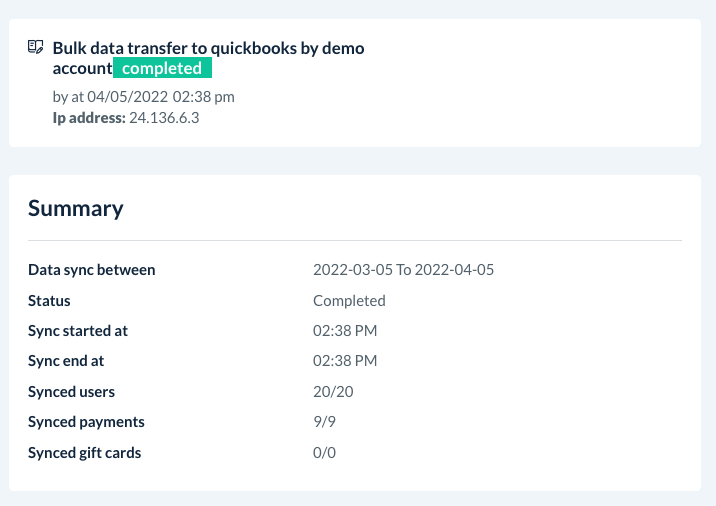
Under the logs, you will see a green "Completed" label added under the Activity column once the sync has finished.
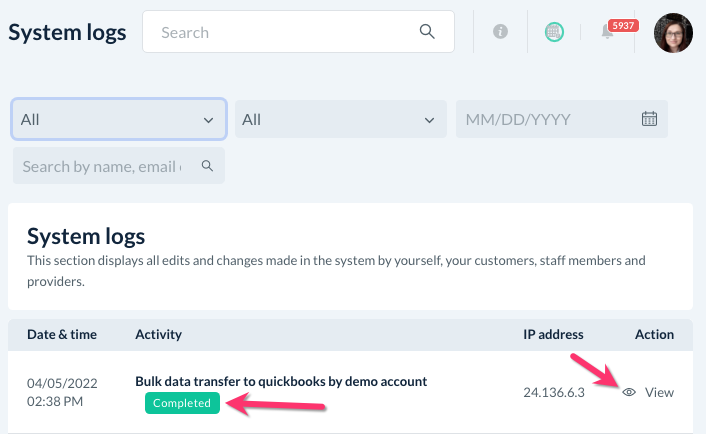
Click the eye icon to view the details of the transfer.