The purpose of this article is to help you:
Understand Google Calendar integration
Create and link Google Calendar credentials
Connect your Google Calendar account
Map booking fields to Google Calendar events
Sync bookings in bulk to your Google Calendar
Enable automatic booking synchronization
Set up Google Calendar for providers and staff
Stop Google Calendar syncing
Change your Google account
Resolve syncing errors
Overview
You can now sync your BookingKoala bookings with Google Calendar. This synchronization is one-way from BookingKoala to Google Calendar, meaning your bookings will appear on Google Calendar. Still, your personal Google Calendar appointments will not be visible in BookingKoala.
Create and Link Google Calendar Credentials
Before you can set up Google Calendar integration, you must create and link your Google Calendar credentials. Follow these steps:
Navigate to Apps & Integrations:
Go to “Settings > Apps & Integrations > Google Calendar”.
Enable Google Calendar.
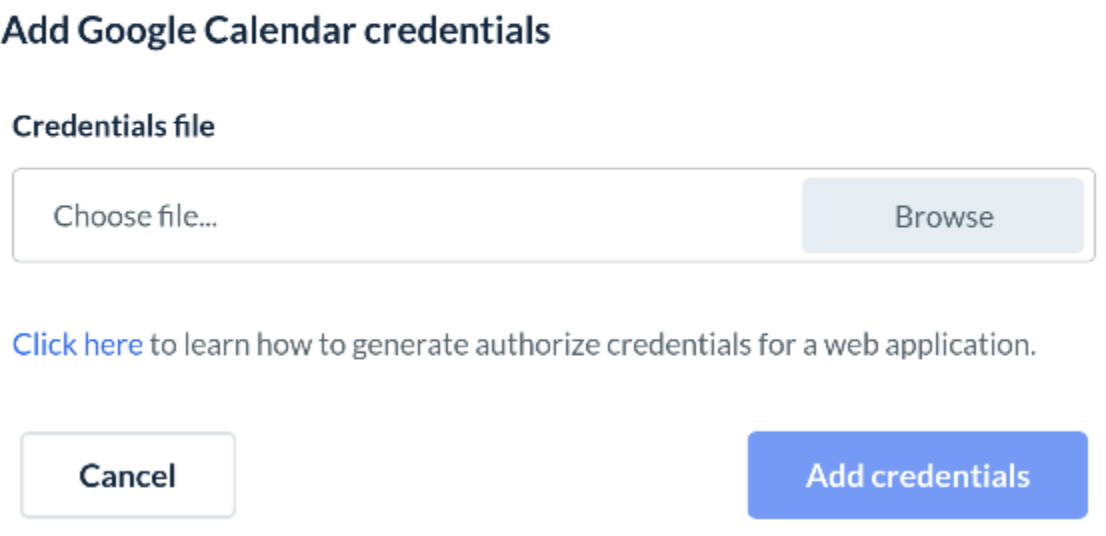
Add Google Calendar Credentials:
On the “Add Credentials” pop-up, click the blue "Click here" link at the bottom left. This will redirect you to a Google Set Up Your Environment article explaining how to set up an environment. Please read the entire article and then follow the steps:

Set Up Your Project in the Google Developer Console
Go to Google Developer Console:
Open your web browser and go to the Google Developer Console.
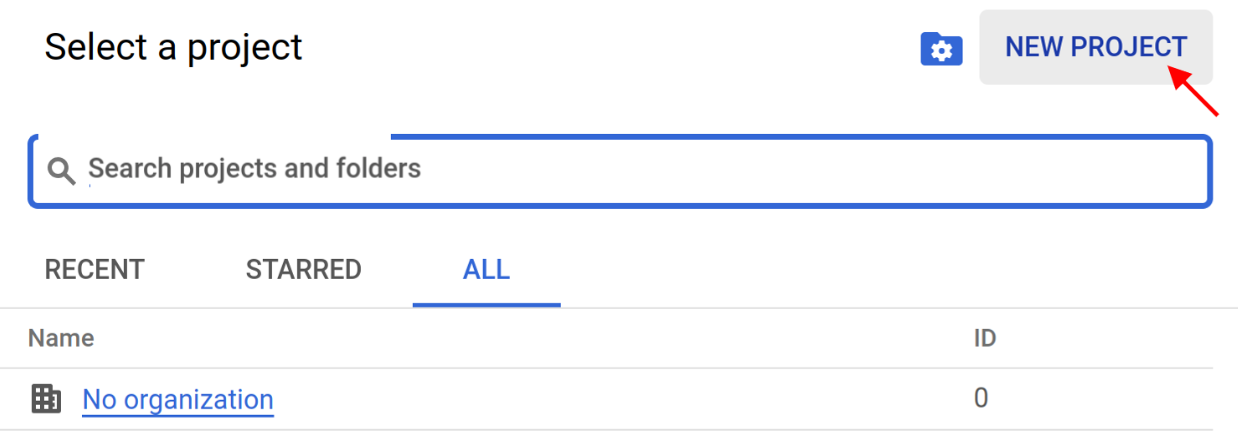
Create a New Project or use an existing one:
Click on the “Select a Project” drop-down at the top of the page.
Click the “New Project” button.
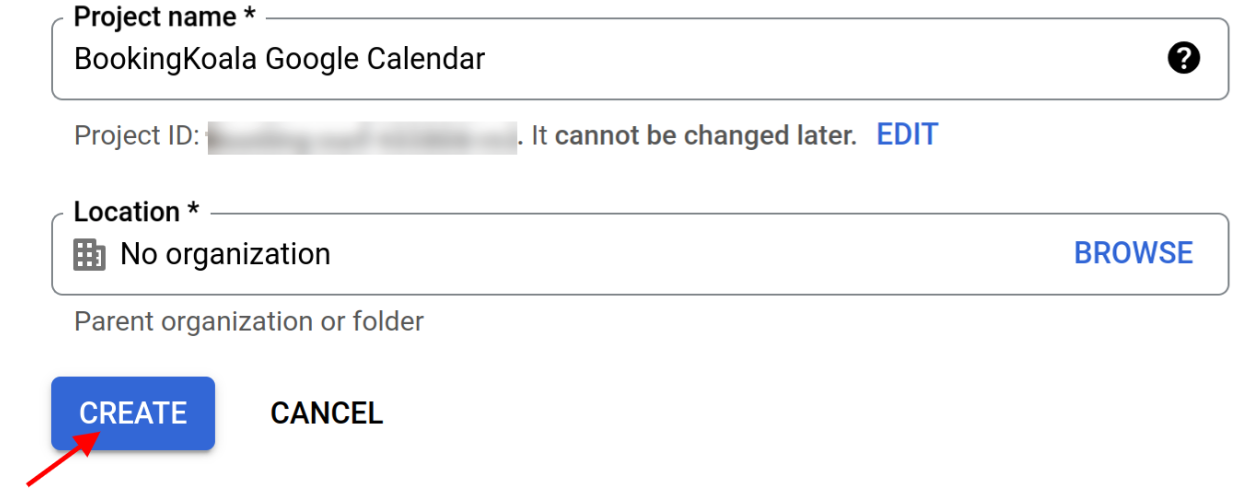
Enter a name for your project (e.g., "My Calendar Web App").
(Optional) Select a billing account if required.
Click “Create”.
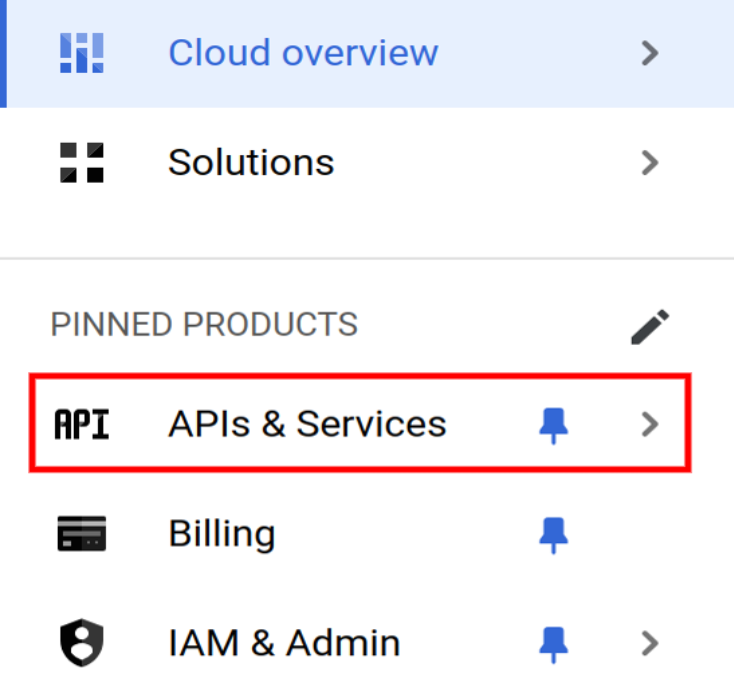
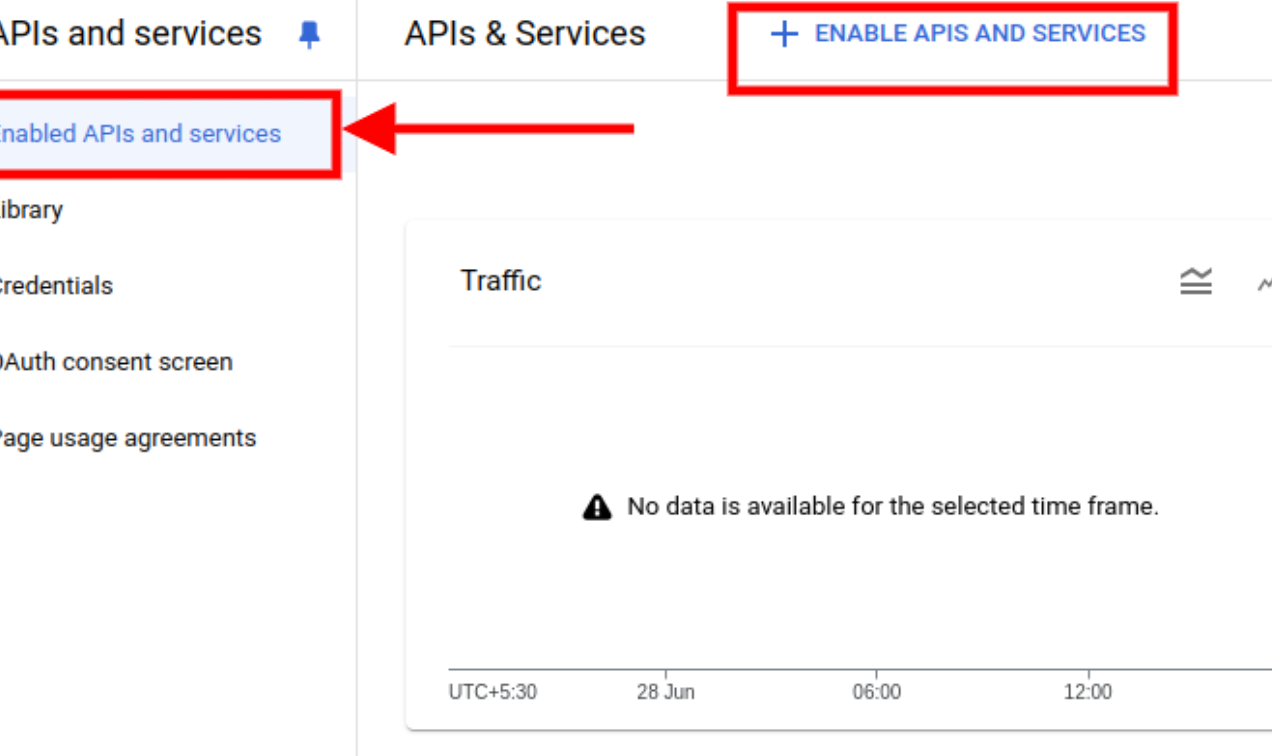
Go to APIs & Services from the PINNED PRODUCTS listing.
Enable the Google Calendar API:
In the project dashboard, click “Enable APIs and Services”.
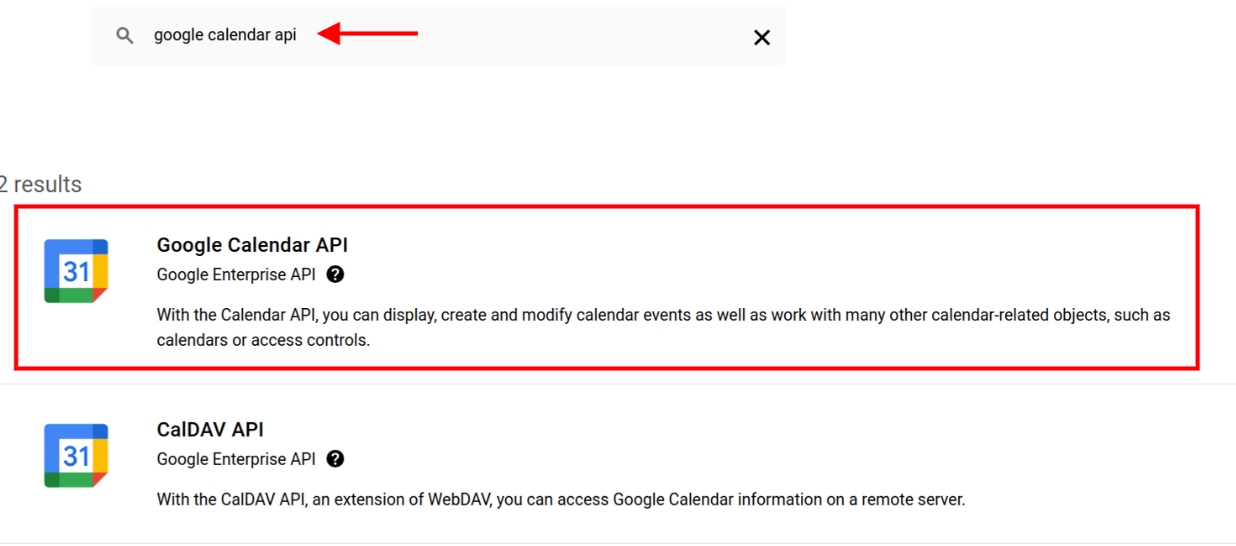
Search for "Google Calendar API".
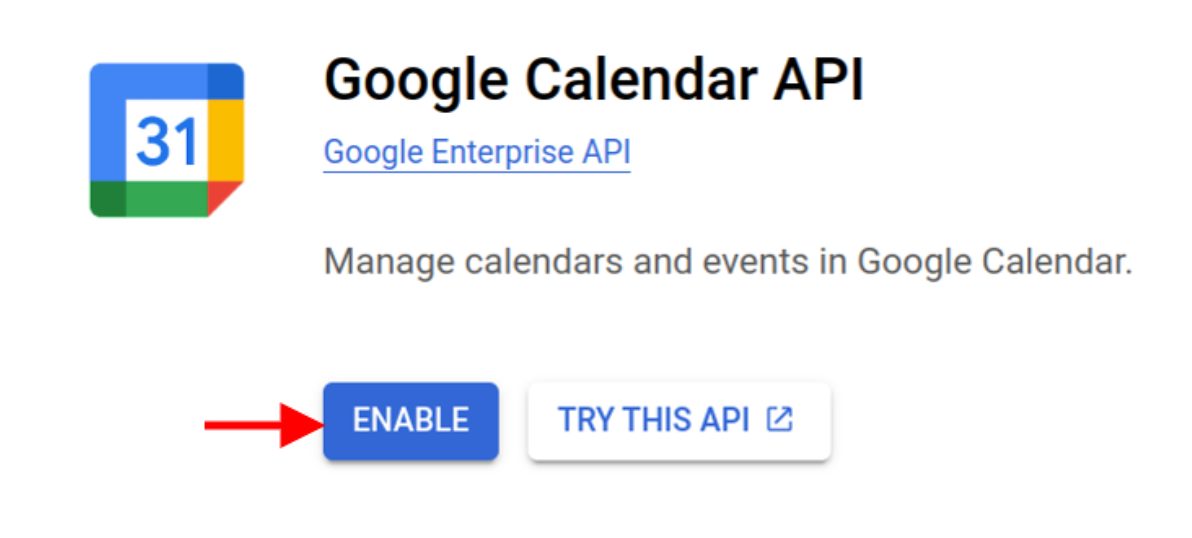
Click on the Google Calendar API result and click “Enable”.
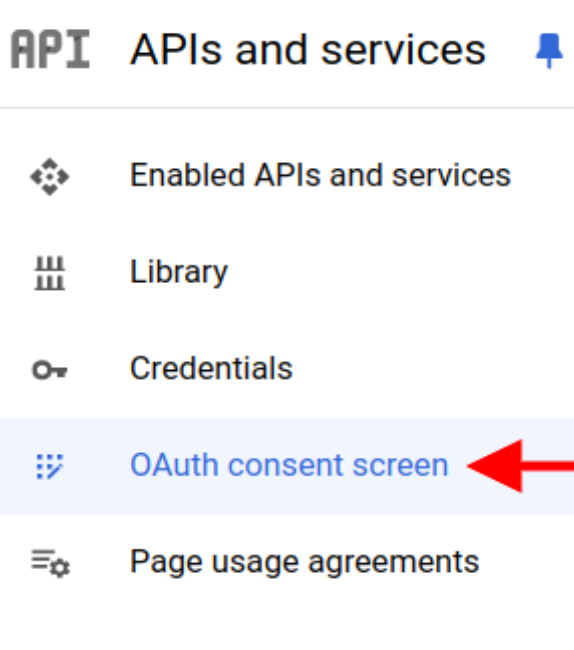
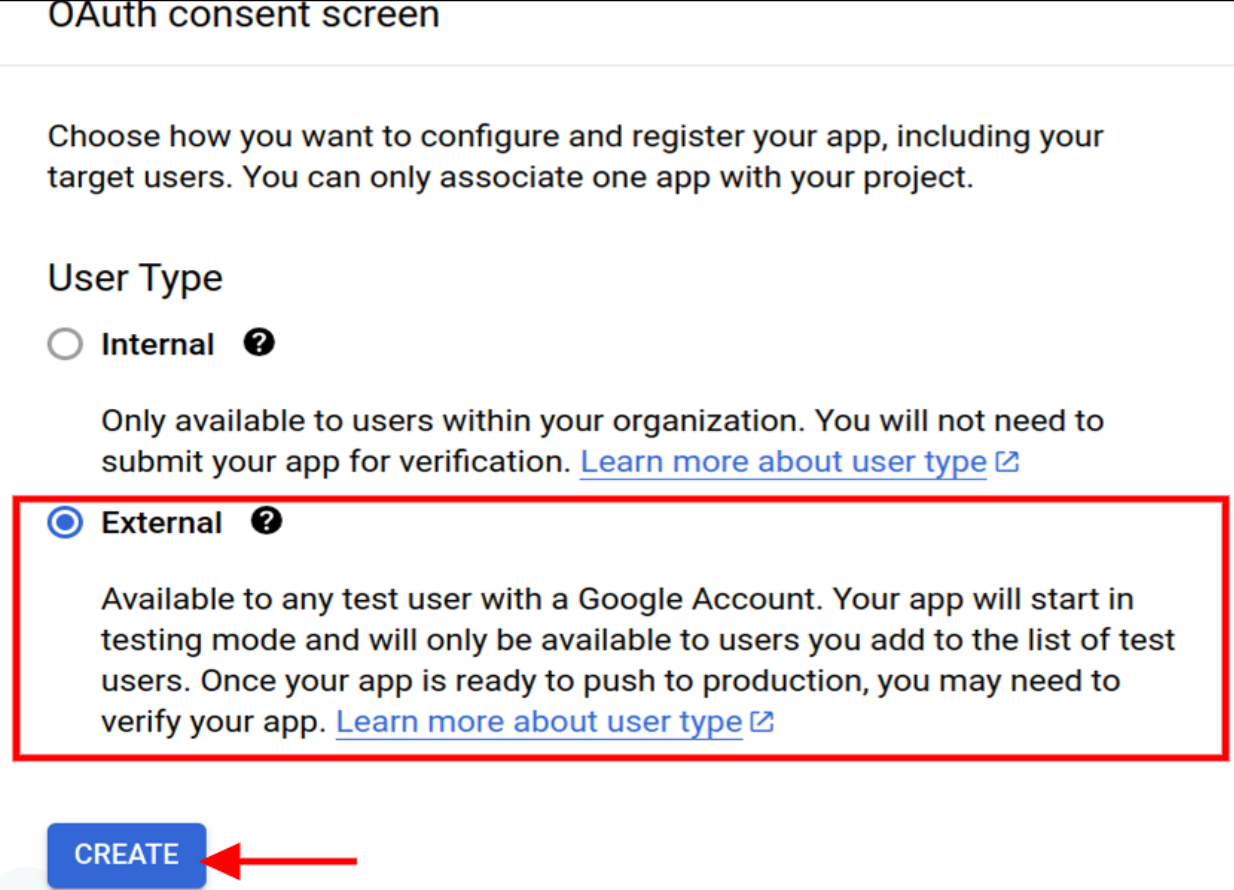
Set Up OAuth Consent Screen:
In the left-hand menu, click “OAuth consent screen”.
Choose “External” and click “Create”.
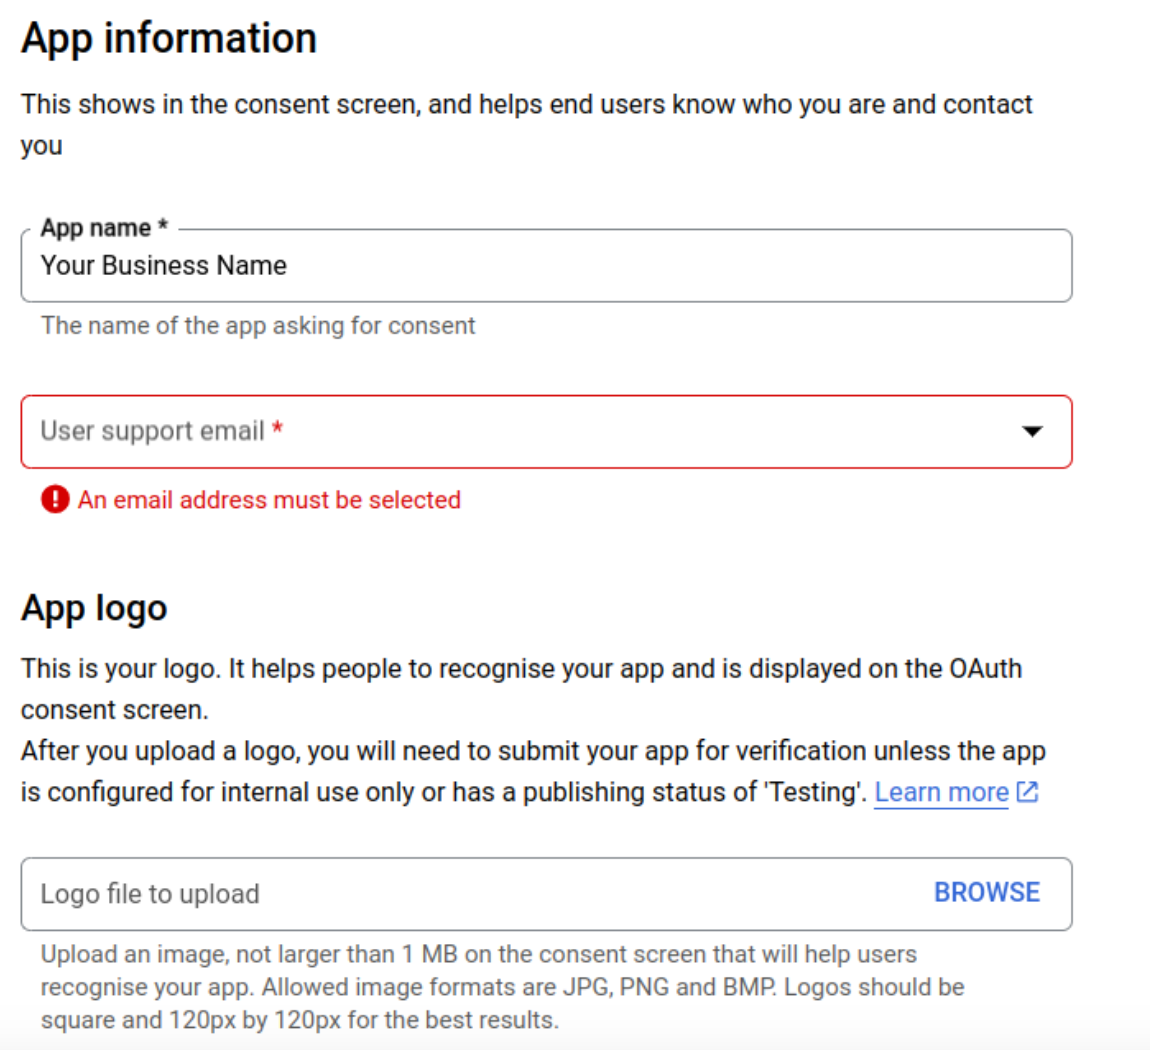
Fill out the required information:
App name: Enter the name of your application.
User support email: Enter a support email address.
App logo: (Optional) Upload a logo for your app.
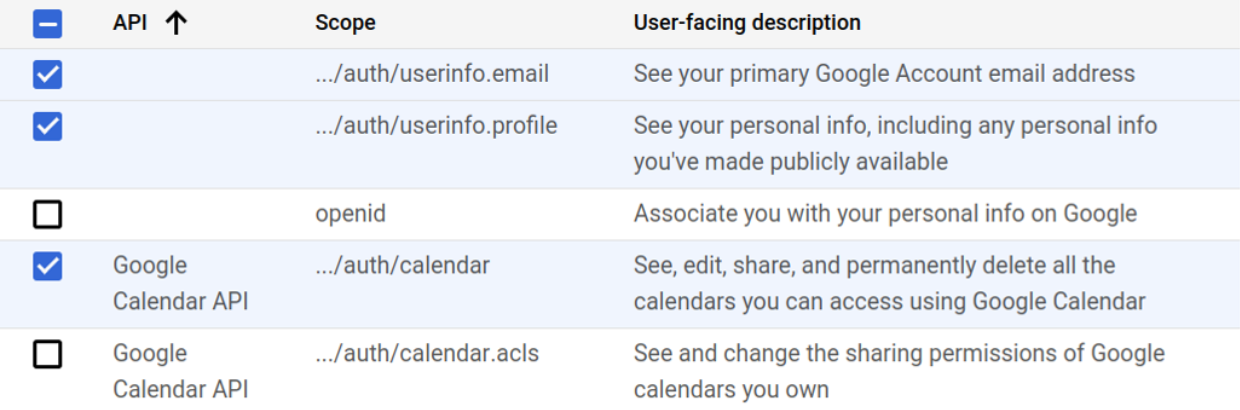
Scopes for Google APIs: Click “Add or Remove Scopes” and add the necessary scopes.
Add the selected scopes.
Click “Save and Continue”.
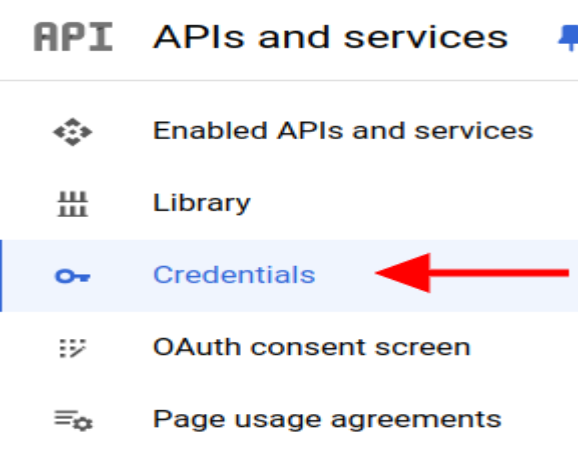
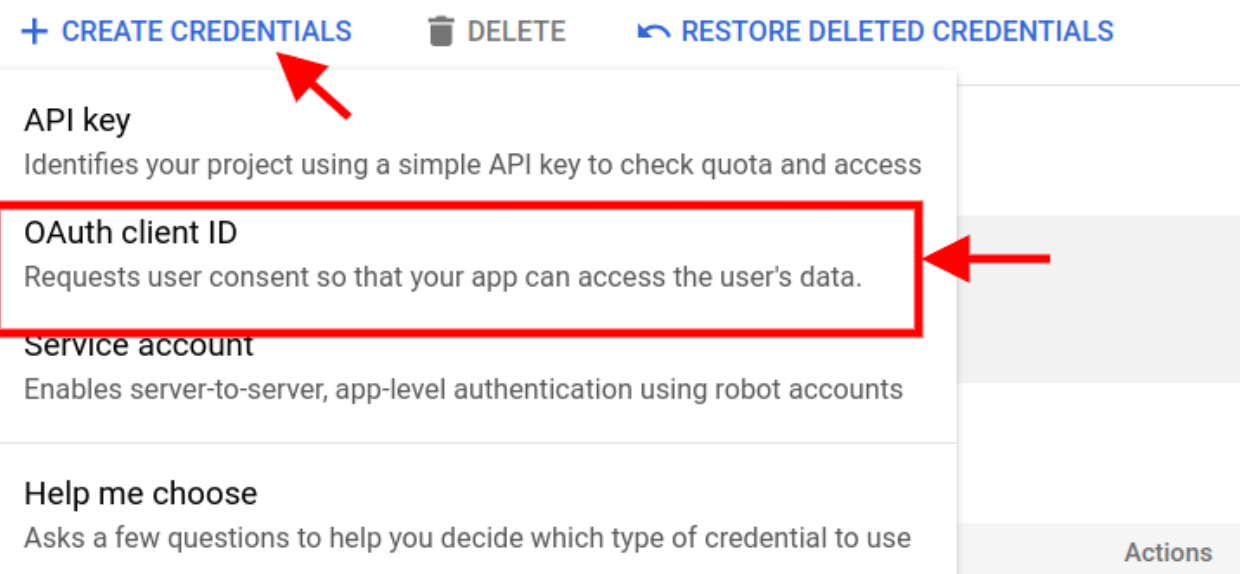
Create OAuth 2.0 Credentials:
In the left-hand menu, click, "Credentials”.
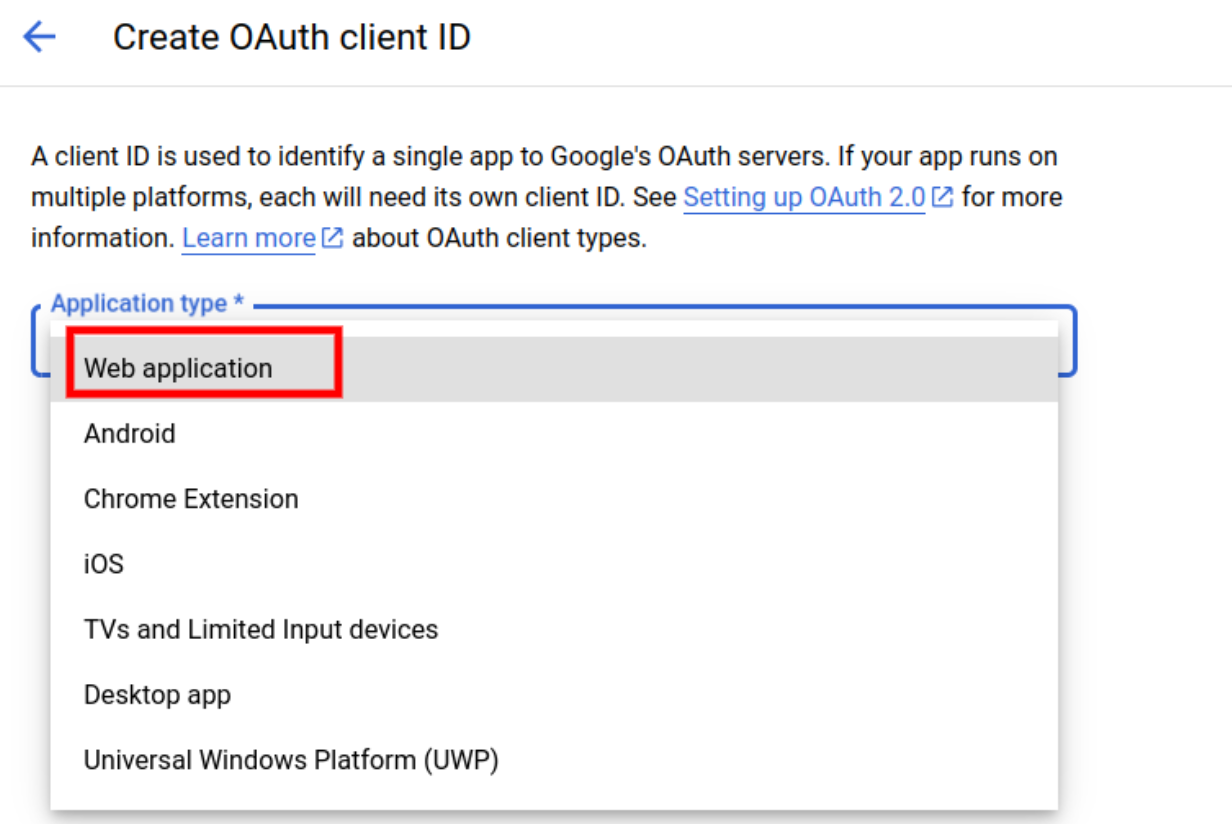
Click “Create Credentials” and select “OAuth 2.0 Client ID”.
Choose “web application” as the application type.
Enter a name for the OAuth 2.0 client (e.g., "Your Business Name").
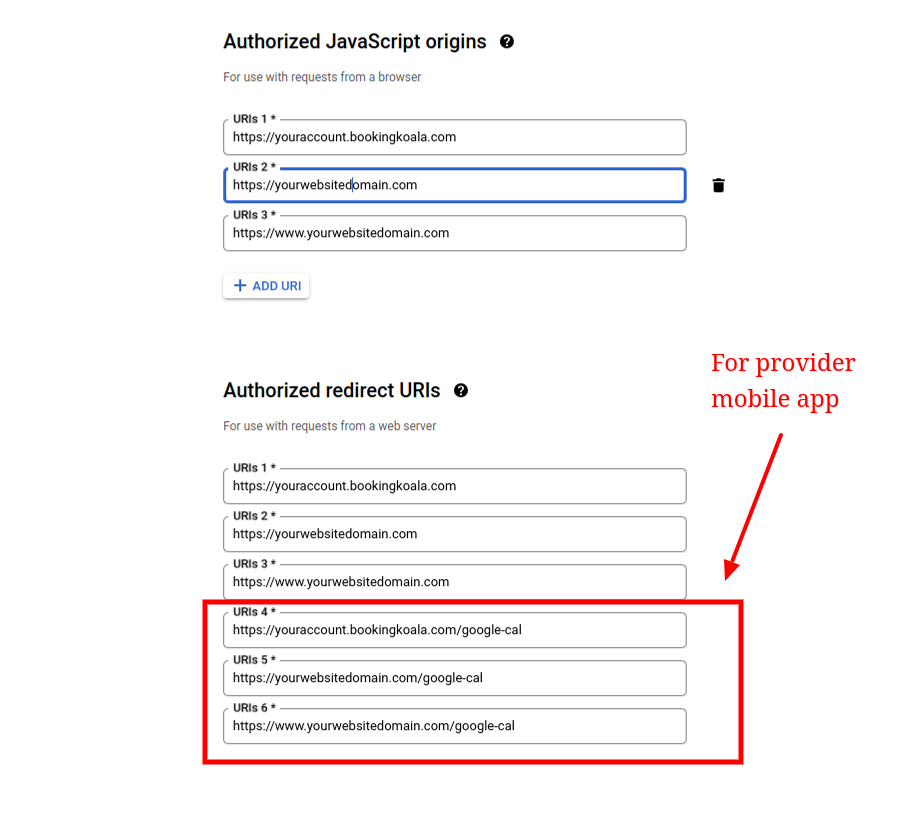
If you have connected a custom domain, add your domains in the Authorized JavaScript Origins and Authorized Redirect URIs fields.
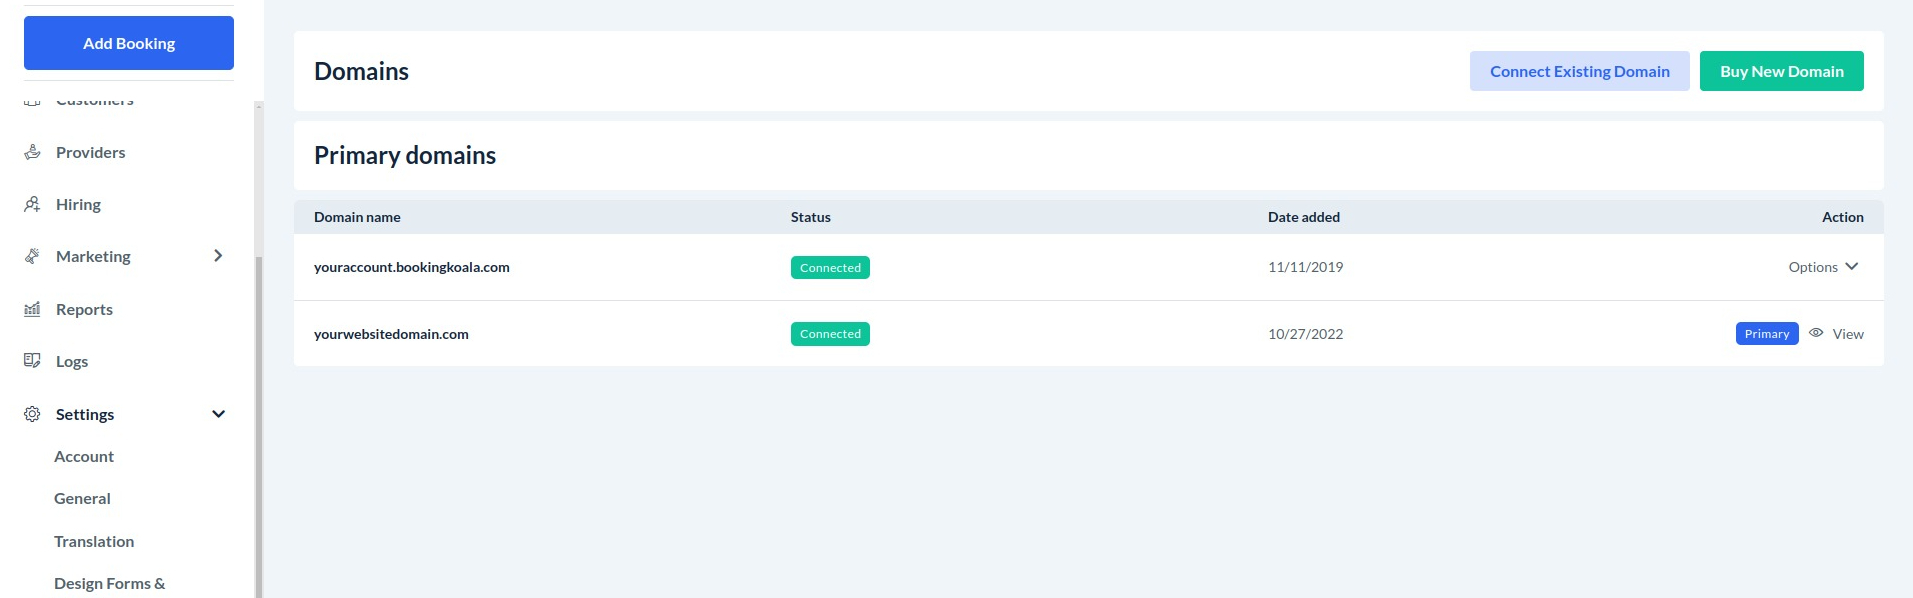
You can find the domains details from:
Settings > Design Forms And Websites > Change Your Domains
Add the details like on your google project as explained below:
Note: If you have connected a subdomain (e.g., https://bookings.yourwebsitedomain.com), you do not need to include "www."
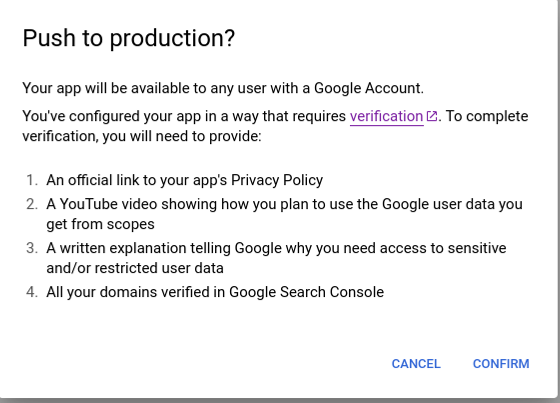
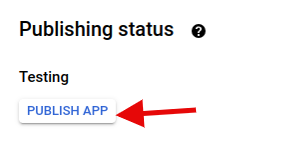
Once the project is configured, you must publish the app. To publish the app, navigate to the OAuth Consent Screen:
In the publishing status, click Publish App to publish.
To publish the app, you will need to submit the following information to Google:
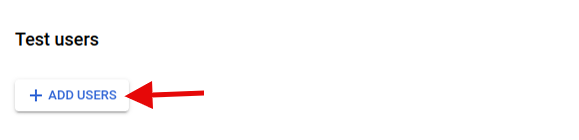
Please note, app verification by Google may take some time. While the verification is in progress, you can use the test mode. To enable test mode, add the email addresses (e.g., yours, provider, and staff) that you want to allow for Google Calendar integration.
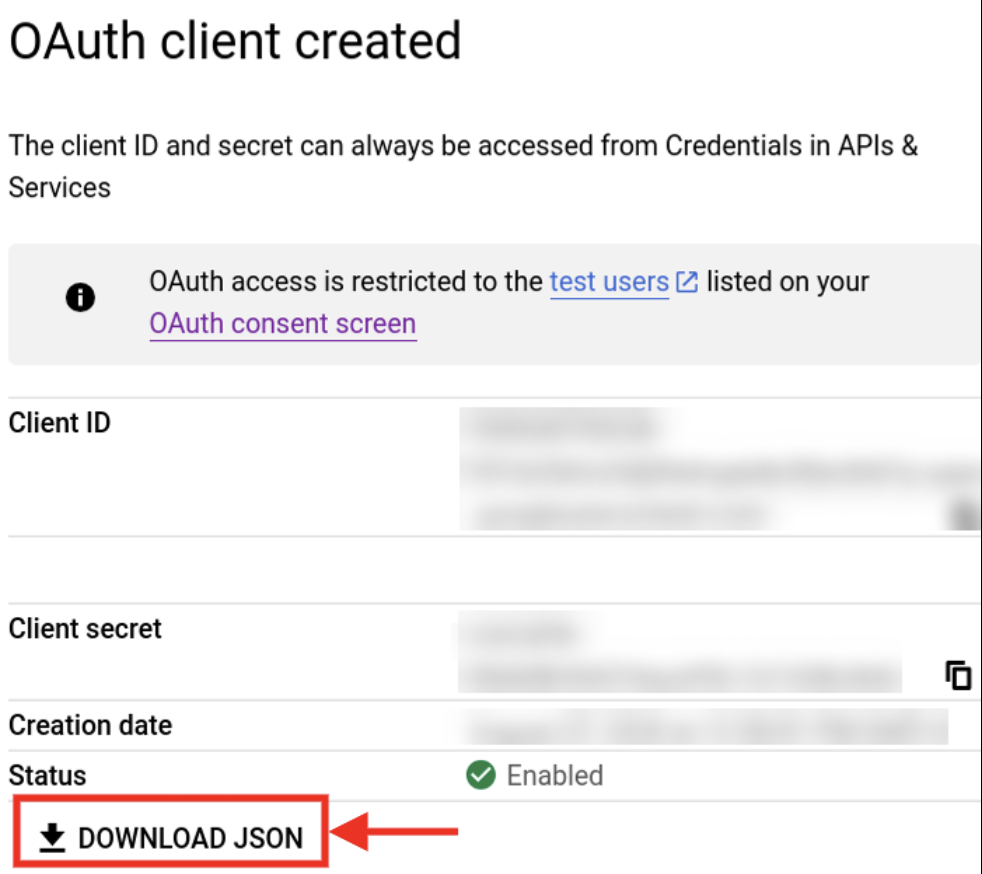
Download the Credentials:
Once the OAuth 2.0 client ID is created, download the credentials file by clicking the “Download JSON” button.
Save this file securely, as you will need it to configure your application.


Link the Credentials
In BookingKoala, go to “Settings > Apps & Integrations > Add Credentials”

Browse for the credentials file and click the blue “Add Credentials” button.
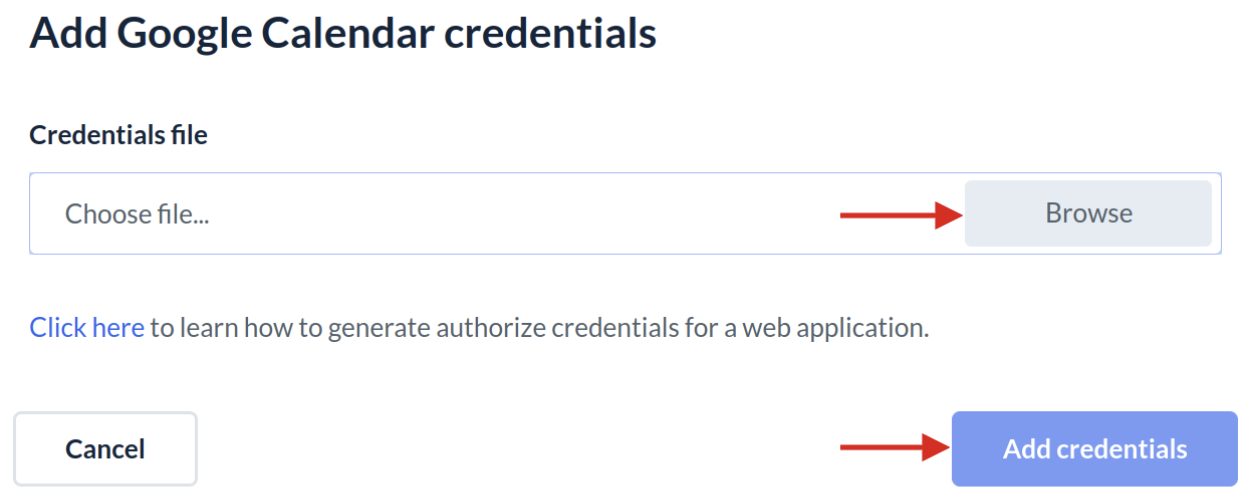
A green notification will confirm that the credentials have been successfully added. Click “Continue” to proceed to the Google Calendar Integration page.

Update the Credentials
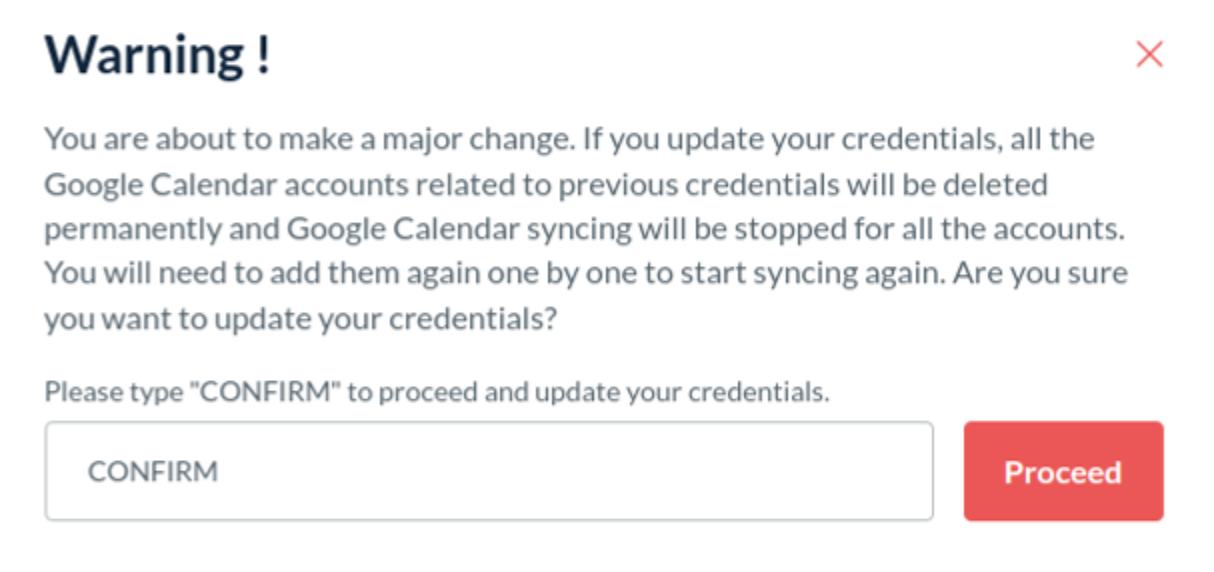
If you already have credentials and want to update them, click the “Update Credentials” button.

A warning popup will inform you that updating your credentials will permanently delete all your existing Google Calendar accounts and stop syncing. To resume syncing, you'll need to reconnect the accounts. To update your credentials, type “CONFIRM” and click the “Proceed” button.
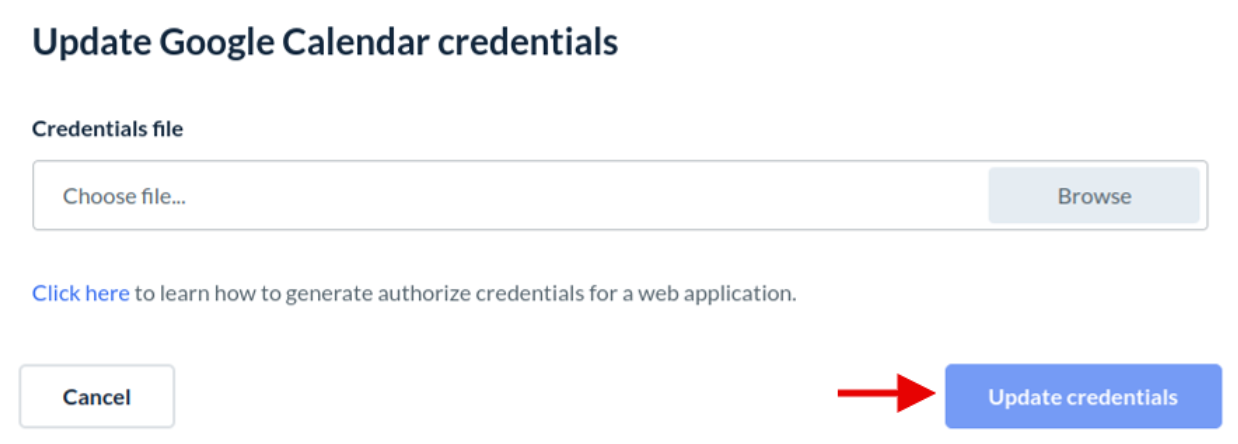
Now browse your new credentials file and Click the “Update credentials” button to update the credentials.
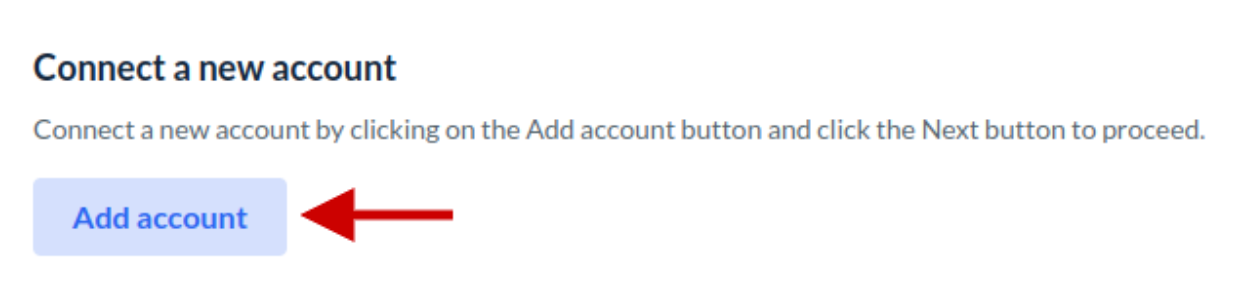
Connect Your Google Calendar Account
Click the “Add Account” button. You will be prompted to log in to your Google account if you have not already logged in.
Grant permission to connect to your account when the OAuth consent screen appears.
After a successful connection, your account will be listed in the Account section.
Map Booking Fields to Google Calendar Events
In the “Map Fields” section, provide the following details:
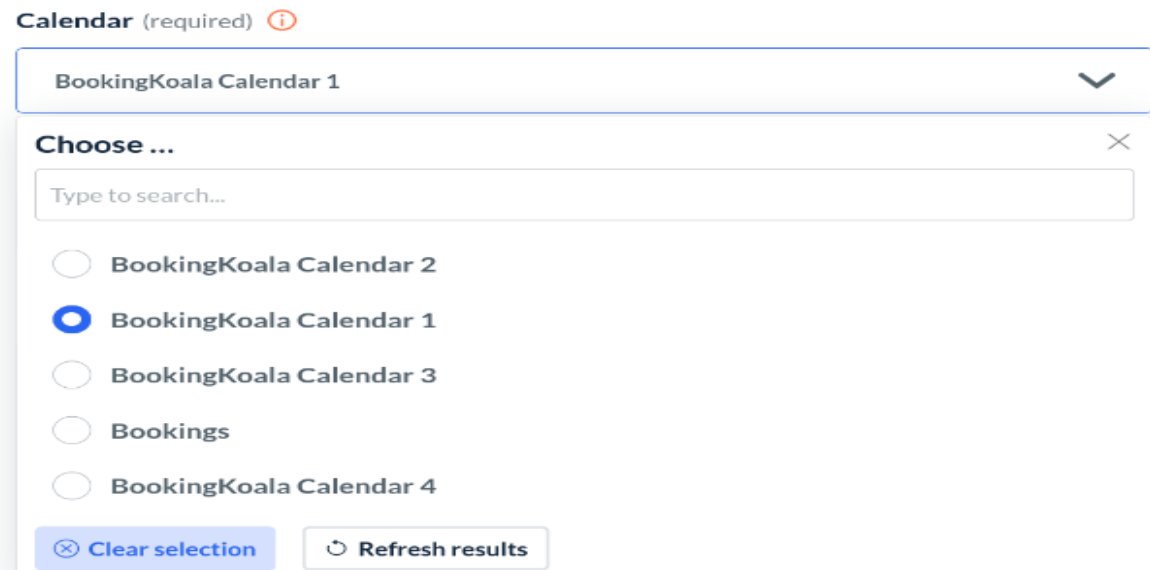
Calendar: Select the calendar you want to sync from your connected Google account.
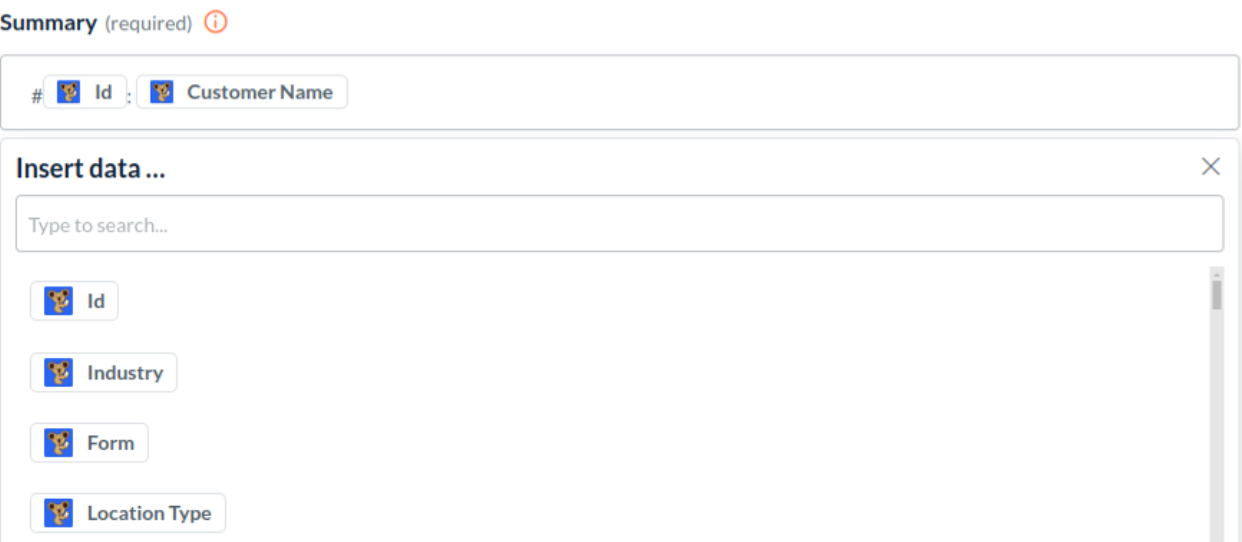
Summary: Define the event title. You can type manually or choose from the booking fields. For example, use “#ID: CustomerName” to include the booking ID and customer name in the event title.
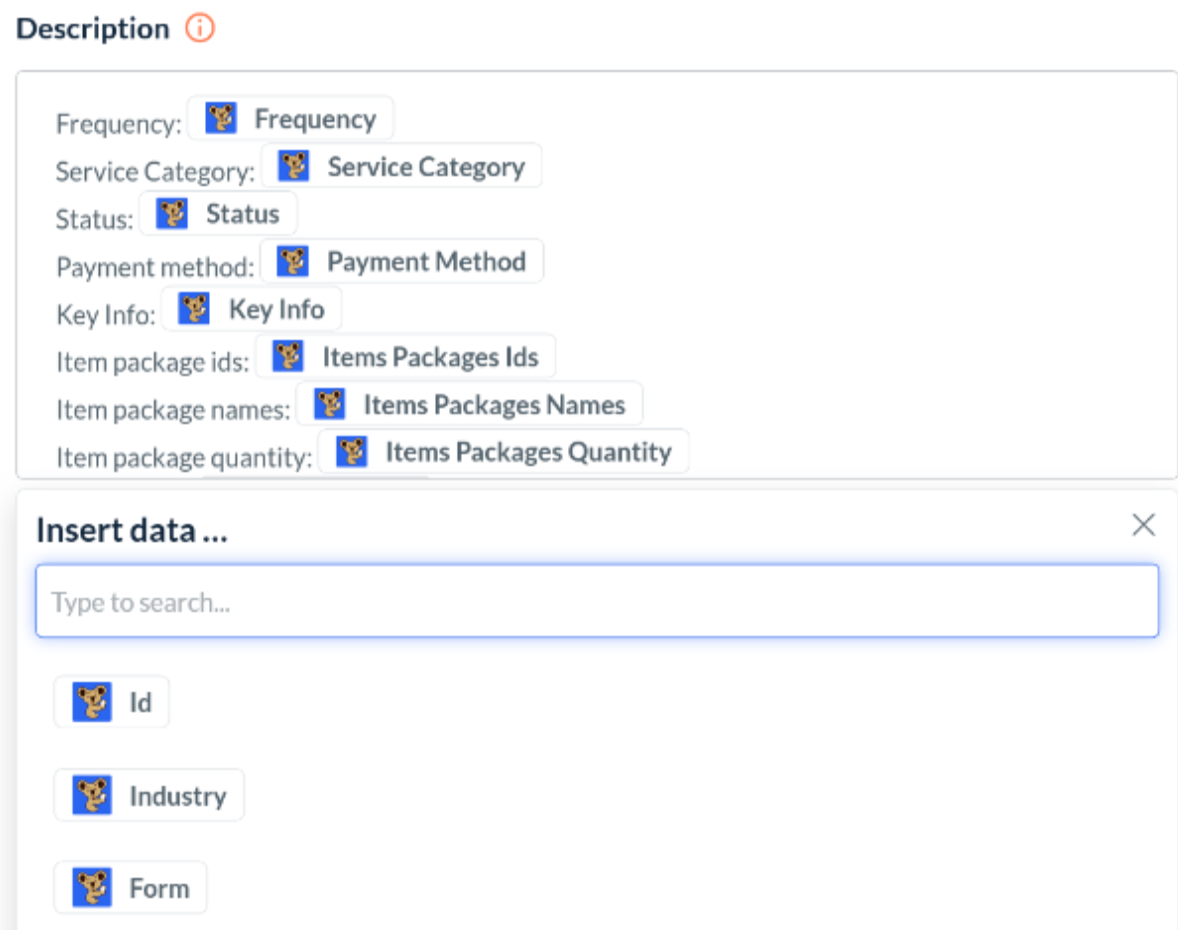
Description: Add detailed booking information using fields like frequency, service category, pricing parameters, and status.
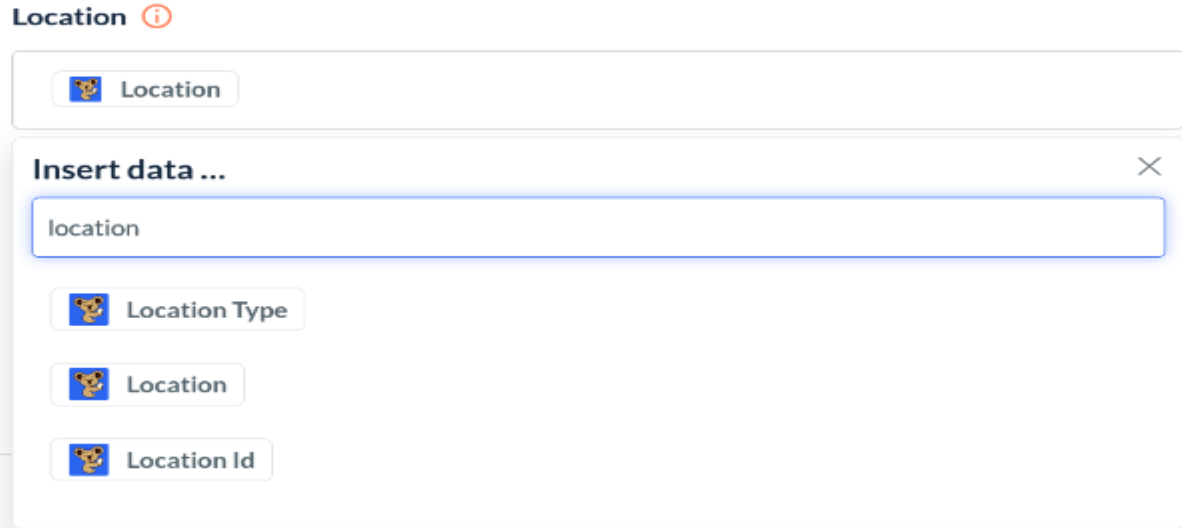
Location: Include the booking location.
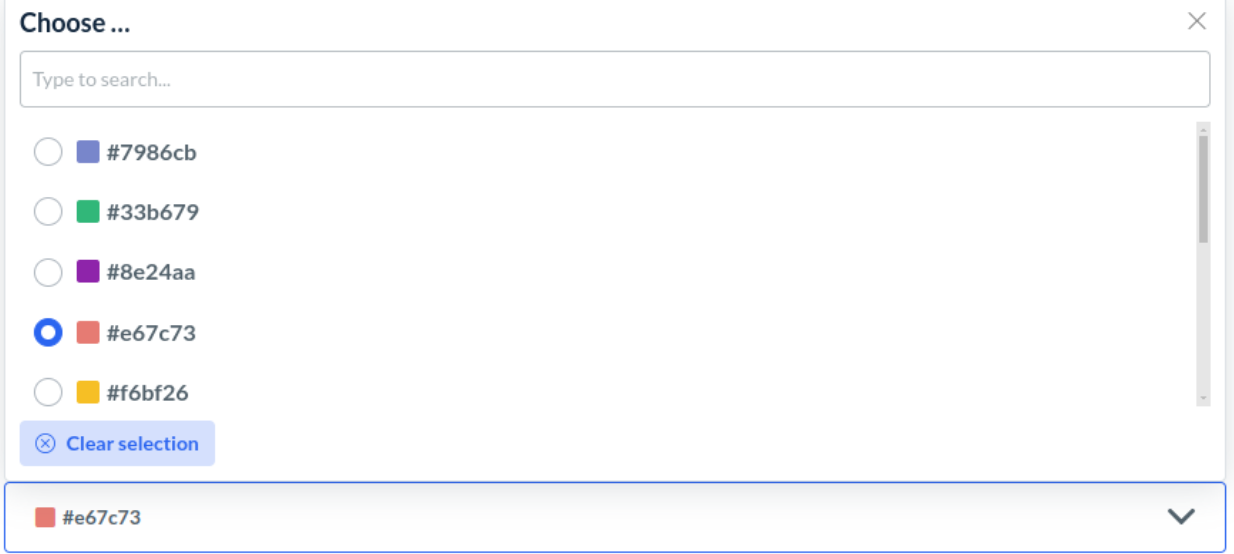
Color: Select the color in which the event will appear on your Google Calendar
NOTE: The calendar event date and time will match the booking date and time.
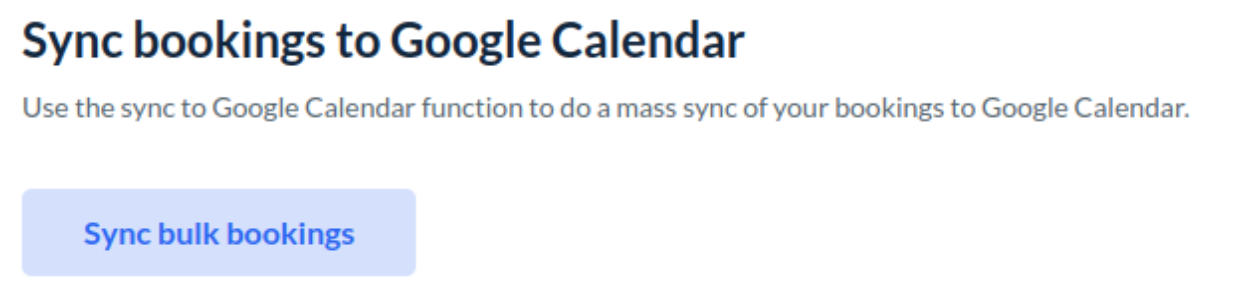
Bulk Syncing Bookings on Google Calendar
You can sync all your upcoming bookings in bulk to Google Calendar:
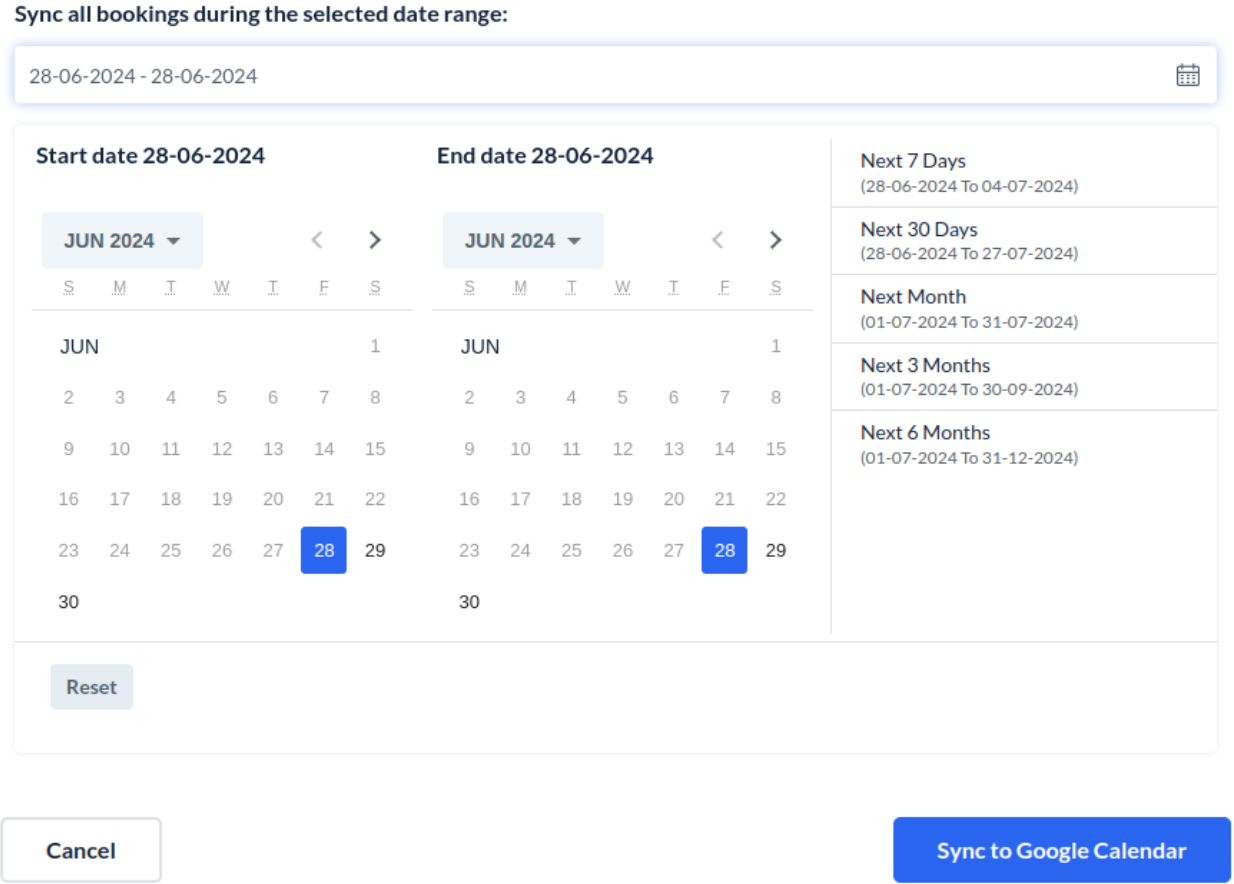
Click on “Sync bulk bookings” and select the date range of the bookings you want to sync.
Upon successful syncing, you will receive an email notification from BookingKoala.
You can monitor the syncing progress in the system logs under Logs > System Logs.
Automatic Sync Events
Bookings will automatically sync under the following circumstances:
Active Bookings: All active bookings will be shown in the sync.
Recurring Series: Forecasted bookings in a recurring series will sync when they become active.
Other sync events:
Booking is rescheduled
Booking assignment(s)/details are changed
Booking is canceled
Booking is resumed
Setting Up Google Calendar for Providers
To enable your providers to view their assigned bookings on Google Calendar:
Go to “Settings > Apps & Integrations > Google Calendar Integration > Provider Tab.”
Select “Yes” to enable Google Calendar syncing for providers.

Map the fields you want providers to see on their calendars, such as event summary, description, location, and color.
Either the provider or you must connect the Google account and select the appropriate Google Calendar. For any particular provider, go to the “Apps & Integrations” tab, add the account, and select the map fields for the provider. Bulk sync the provider bookings if needed.
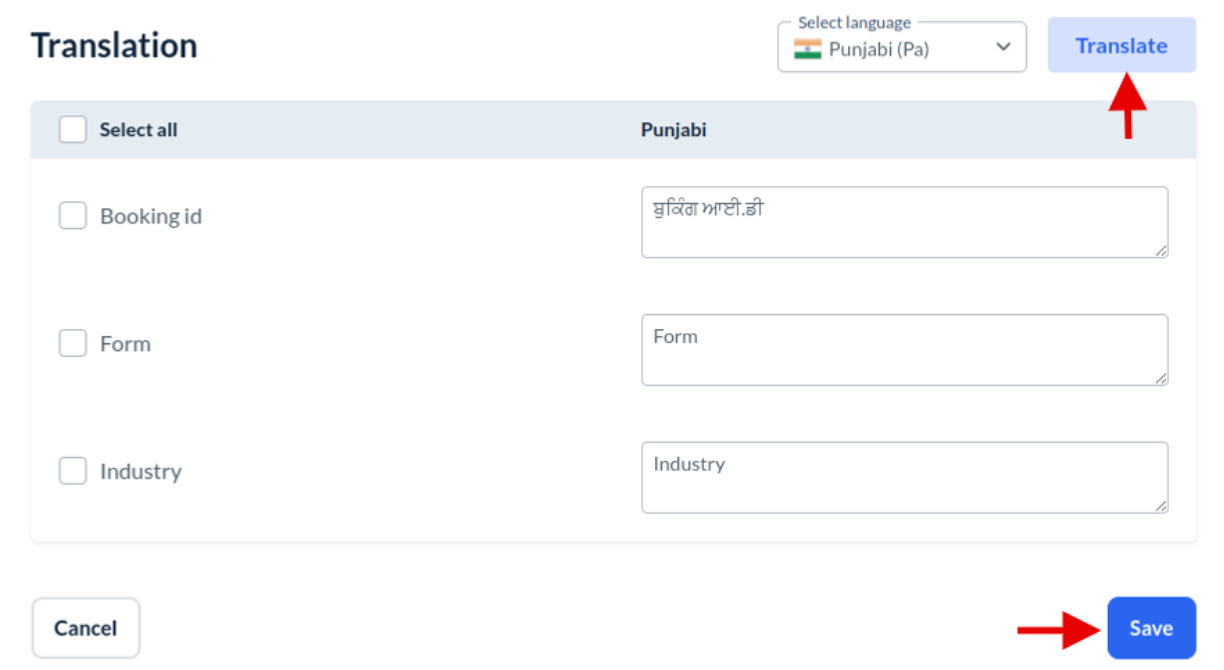
Perform translation for the provider map field’s static texts by clicking the “Translate” button. Fields for the translation will be obtained from the published map fields. If you want to get the new updated fields, click the “Publish map fields” button to publish them first and then perform translation.
Select the fields you want to translate in the translate popup. After selecting fields, click on the “Translate” button to translate the fields and then click the “Save” button to save them. Now the map field’s static texts will appear translated in the events. Translated fields will only be displayed in the event only if the translation is performed in the provider's default language.

Note: Providers can only connect their accounts and select the calendar for syncing. They cannot modify the mapped fields.
Set up Google Calendar for Staff Members
Staff members can use Google Calendar only if they can edit Apps and Integrations. The syncing of bookings to a staff member’s Google Calendar is also dependent on their permissions, such as the ability to view upcoming bookings and job history.
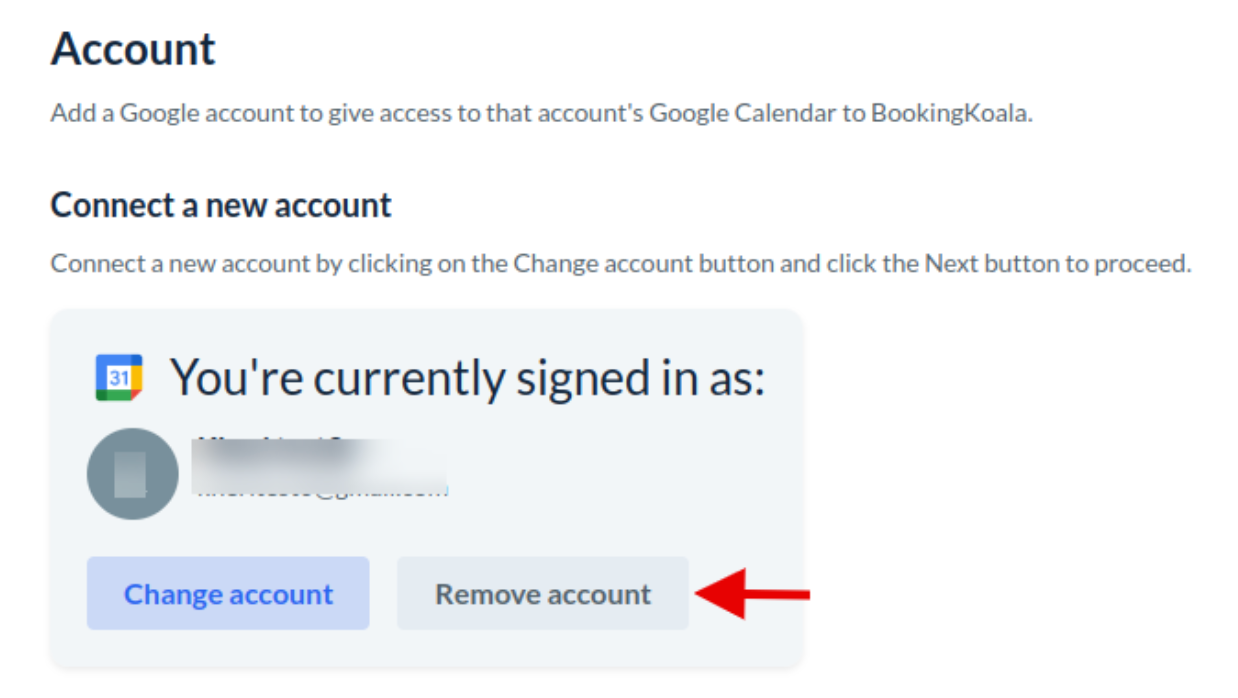
Stop Syncing on Google Calendar
To stop syncing on Google Calendar:
Disable Google Calendar to stop syncing for all users.

Remove the Google account from “Settings > Apps & Integrations > Google Calendar Integration > Google Calendar”. Syncing will stop once the account is removed.
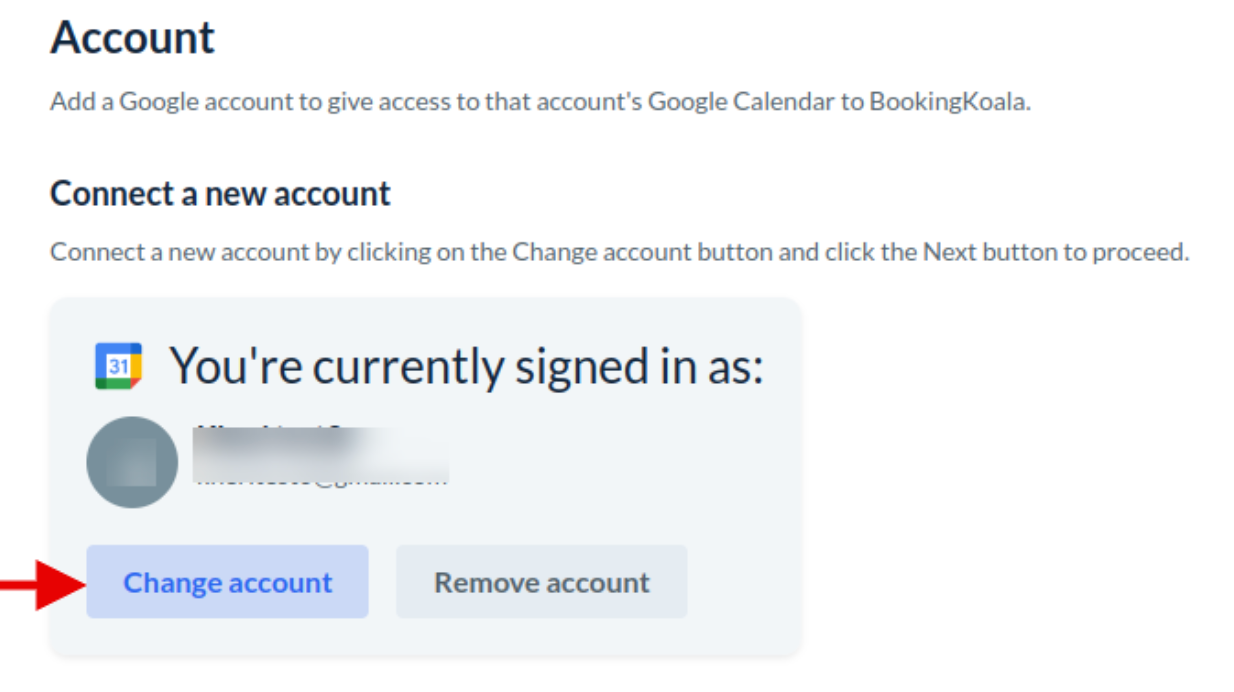
Change Google Account
You can change your Google account at any time by following the steps to connect to a new account.
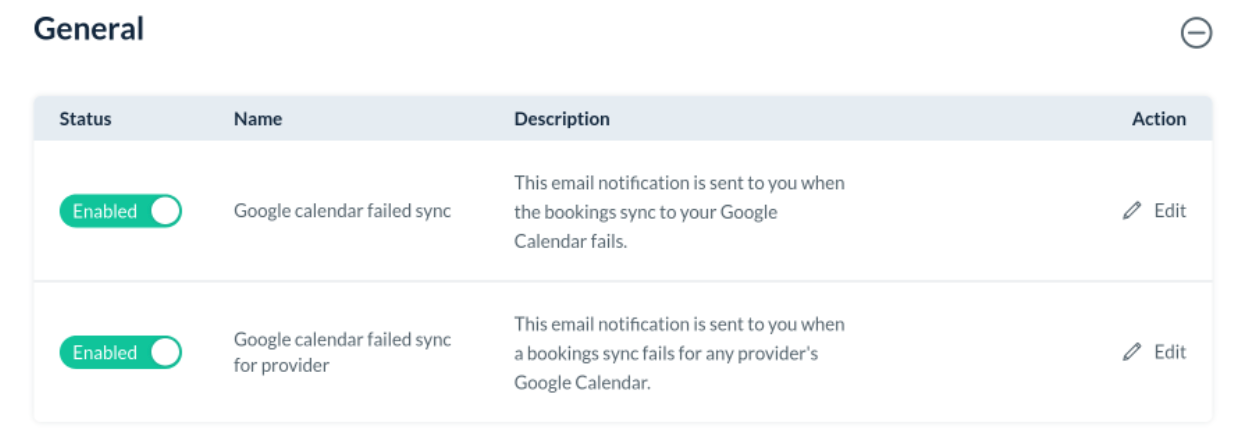
Handling Sync Errors
If any syncing errors occur:
Error Notification: You will receive an email notification detailing the error.
Retry Sync: Inside the notification, click the “Retry Sync” button. You will be redirected to the bulk sync page with the dates of the failed events.
Error Messages: If the error persists, error messages will appear in the error toaster.
You can manage these notifications in Settings > Notifications > Emails > Admin > General. Additionally, SMS notifications are available under Settings > Notifications > SMS > Admin > General.
For staff, the failed event notification is given under “Settings > Notifications > Emails > Staff > General”.
Staff members will also be notified about any provider syncing failures.

By following these steps, you can effectively sync your bookings with Google Calendar and address any issues that arise during the process.