In this article, you will learn more about how to:
Buy a BookingKoala domain
Connect the domain to your BookingKoala account
Why would I purchase a custom domain?
There are many reasons why you may want to purchase a new domain for your BookingKoala account and website. After all, using the right domain name has a major impact on how customers find your website and access the services you offer.
If you are using the BookingKoala website, you may not want customers to see BookingKoala branding including the ".bookingkoala" part of your default account domain.
If you have a pre-existing website with embedded BookingKoala forms, you may want to create and connect a domain to hide/"mask" your default BookingKoala subdomain so users won't see "yourstorename.bookingkoala.com" when they log into their dashboard (hosted by BookingKoala) from your site (hosted elsewhere).
Or, if your business is rebranding, you may have purchased a new domain to reflect the new services or industries you are incorporating.
Whatever the case may be, you can connect and manage one or more custom domains for your BookingKoala account using the "Change My Domain" option from the Design Forms & Website section.
Purchasing a BookingKoala Domain
If you do not own a custom domain yet and would like to purchase one through BookingKoala, you can easily buy and connect the domain right from inside your account.
If you already own a domain that is hosted by another platform, click here to view instructions on how to connect it to your BookingKoala account.
Buy a Custom BookingKoala Domain
To buy a custom BookingKoala domain, please go to:
Settings > Design Forms & Website > Change Your Domain

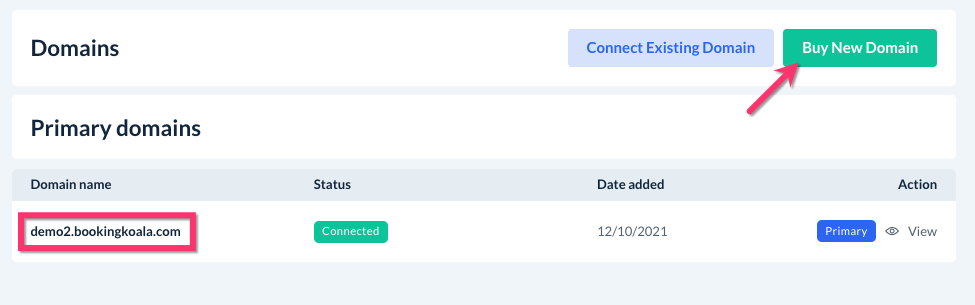
Your default primary domain will be listed under the "Domain Name" column. This is the BookingKoala subdomain that was generated when you first created your account.
If you would like to buy a new domain through BookingKoala, click the green "Buy New Domain" button in the top right corner of the page.
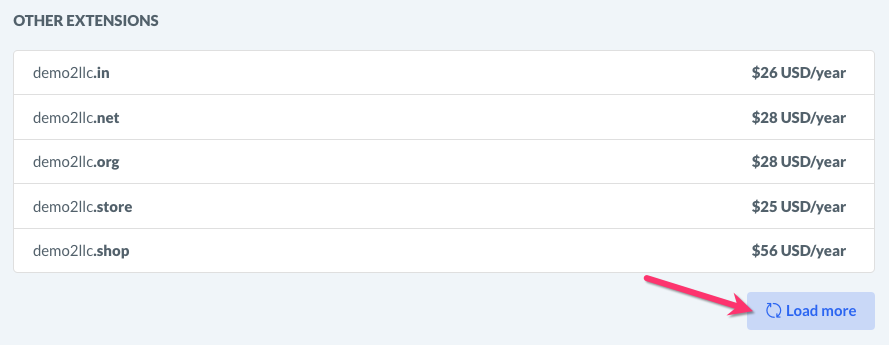
Type your desired domain name WITHOUT the "www." into the box at the top of the page. The bottom half of the page will display results and availability for that name, including alternative extensions.
To view additional extensions, click the blue "Load More" button.
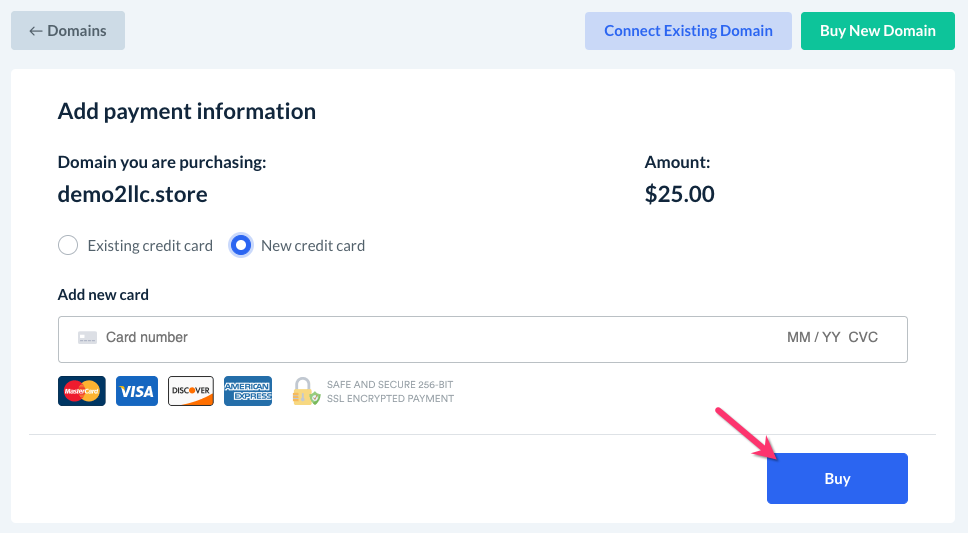
Once you've decided which domain to select, click the green "Buy" button to the right of the name. This will take you to the Add Payment Information screen.
You can use your "Existing credit card" or select "New credit card" to add a new card for payment. Then, click the blue "Buy" button to complete your purchase.
Verify the Domain
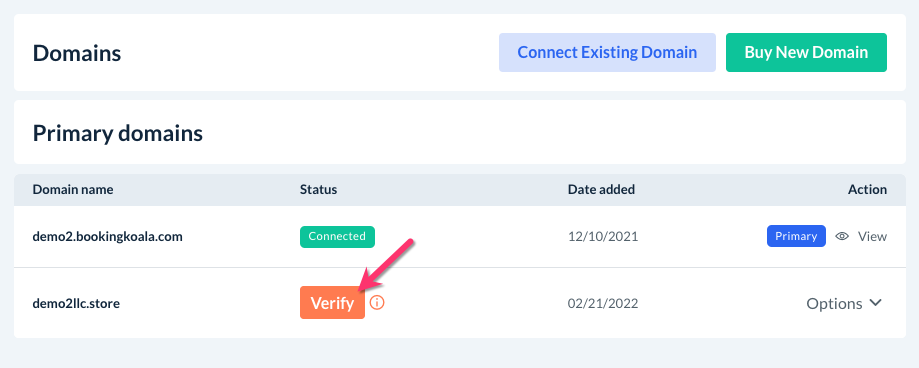
Next, you'll need to verify your domain. Go back to the main Domain dashboard by clicking the grey "<- Domains" button at the top left side of the page.
You will see your recently purchased domain has been added to the list. Click the orange "Verify" button to verify the new domain.
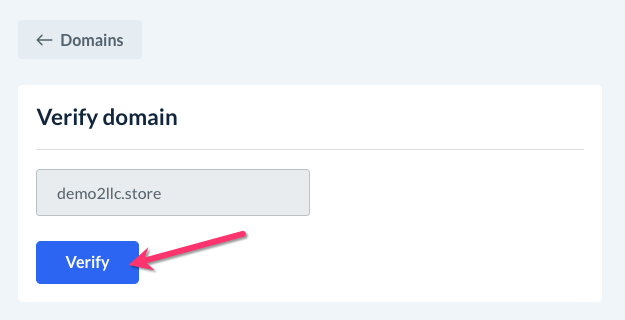
This will bring you to a "Verify Domain" page. Click the blue "Verify" button.
You may see this red message in the top right corner of the page when you try to verify your domain.
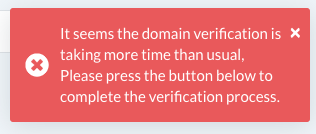
There is no reason for alarm if so; it can take up to 12 hours for your domain verification process to be completed. Please wait and then check back again to try again. Once verified, the status will read as "Connected".
If you are still seeing this error message after 12 hours, please contact our support team at [email protected] so we can assist you.
Setting the Primary Domain
Once the domain has been verified, you can set it as your primary domain. This is important and ensures your system email and SMS notifications contain the domain you want customers to see.
To the right of the new domain, click "Options", the "Make Primary".
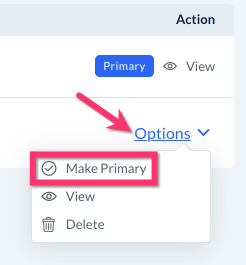
A pop-up window will appear, asking if you are sure you want to make this your primary domain. Click "Yes" to continue.
Your new domain will now have the blue "Primary" label next to it.

Your new domain has now been successfully connected to your account! To view what customers will see when they type in the domain, click the eye icon/"View" button.
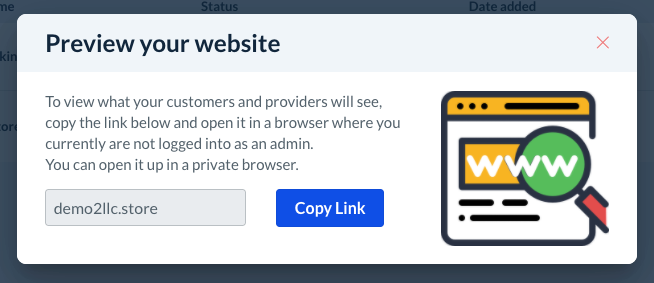
Click the blue "Copy Link" button and then paste it into a private/incognito browser to see what your customers see when they navigate to your website.
Next Steps
Once you have connected a new primary domain for your BookingKoala account and website, you may need to take a few additional steps to ensure your account will work as expected.
Update Your Form(s) Embed Codes
If you have an existing website that has BookingKoala forms embedded, you will need to update your forms' embed codes to the new domain instead of the original BookingKoala domain.
Check that your newly connected custom domain has been set as the primary domain for your BookingKoala account. If it is not, please follow the instructions in the previous section to complete this step.

Log out of your admin dashboard.
Type the new domain into the address bar in your web browser then add "/login" to the end.
For example, if your custom domain is "demo2llc.store", the login URL would be "demo2llc.store/login"
Enter your admin or staff credentials into the form and click "Log In".
Follow the rest of the steps from our guide on how to embed forms on an existing website. As long as you have logged in from your new domain, the embed codes will also contain the new domain.
Secure & Authenticate Your Website
Once you connect a new domain, your website's SSL (Secure Sockets Layer) certificate may need to be updated to reflect the change. A valid SSL certificate helps show customers that your website is authentic, secure, and owned by your business.
If your domain is no longer secure due to an expired or inaccurate SSL, you may see the following indicators:
A "Not Secure" tag is shown in the address box just before the domain name.

An exclamation point in the triangle icon by the address box or on the page.
The "https" part of the domain is crossed out or written in red

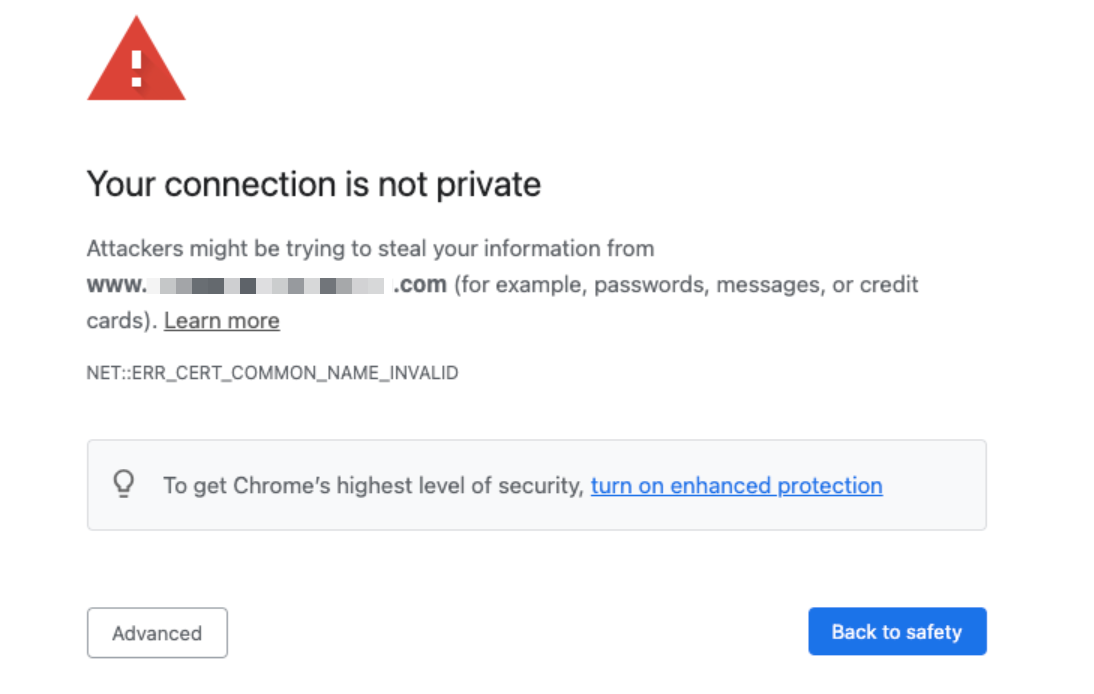
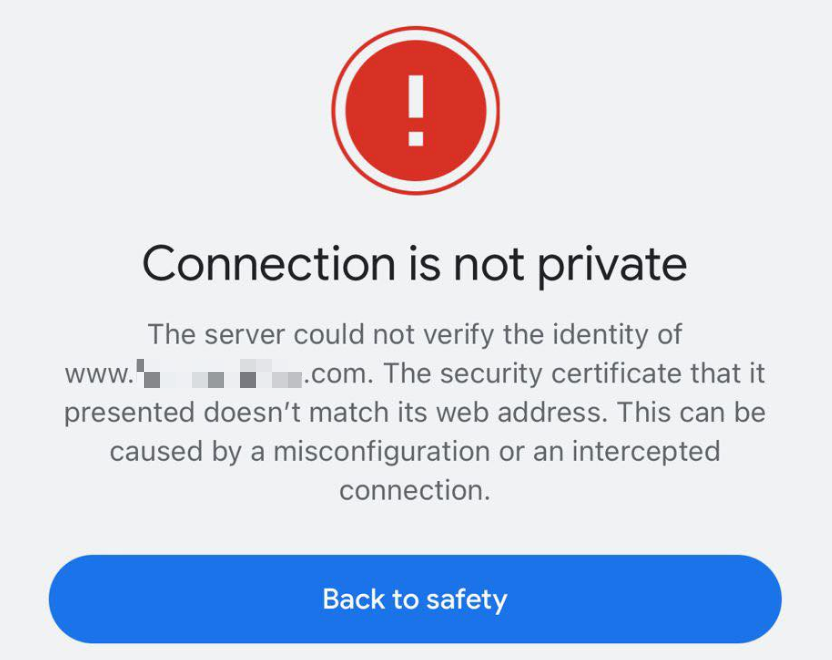
The page is blocked by a "Connection is not private" message
To fix this, please contact BookingKoala Support at [email protected] so our developers can install/update the SSL certificate for your site.
When you email our team, please include the following details so we can help you more quickly:
Your BookingKoala account domain
Ex: yourstorename.bookingkoala.com
Any custom domain(s) connected to your account
Ex: yourstorename.com, bookings.yourstorename.com, www.yourstorename.com
As soon as we receive your request, we will forward it to our developers for processing. Please allow up to 48 hours for the SSL certificate to be updated. Our team will follow up with you to confirm as soon as the installation is complete.
Secure & Authenticate Your Emails
When you connect a new domain to your site, it may require you to update your site's DNS records to prevent your emails from going into spam as well as prevent email spoofing (when people use what appears to be your email address for illegitimate reasons). These cases can be addressed by adding or updating your DNS's SPF and CNAME files.
Add/Update an SPF Record
A Sender Policy Framework, or "SPF" for short, is an email validation standard designed to prevent email spoofing. To set this up, you will publish a TXT record to the DNS configuration of your domain. This process varies depending on which web host you use.
Click the links below to view how to add an SPF record for some of the most common DNS/web hosts.
If your domain doesn't have an existing SPF record, you can publish a new TXT record in your DNS Records.
For the record type, select TXT (SPF is a type of TXT record).
For the name, enter "@" or leave it blank (this depends on your domain host).
For the value, enter "v=spf1 include:amazonses.com ~all"
If you would like to authenticate emails from multiple domains, you can enter each domain separated by a space
For example: "v=spf1 include:demo2llc.com include:amazonses.com ~all"
Once the record has been updated/added and saved, it can take up to 48 hours to update globally.
Configure Your DKIM Settings
If you are using a domain email address, you can configure your DNS settings to help with verifying your sender email address. This makes it less likely for the email to be marked as "spam". If you would like to set up your DKIM settings, please follow the steps below.
Email us at [email protected] to let us know if you would like to generate a CNAME file so you can configure your DKIM.
One of our developers will generate the records and send you a .CSV file containing CNAME records.
Download and open the .CSV file.
Login to your domain's hosting dashboard and locate the section where you can edit your DNS.
Copy the DNS records from the .CSV file you downloaded and add them to your domain's DNS settings.
Click "Save" or "Update" (this will vary depending on your domain registrar).
Once the settings are populated, any further emails being sent out will not go into spam unless an email from your site is manually "spammed" by the client.
Please note: It normally takes anywhere from 4 to 6 hours up to 72 hours for the DKIM settings to become verified.