The purpose of this article is to help you understand:
What are master templates
How to edit the master templates
How to add a new master template
How to apply your master templates
What are master templates?
In BookingKoala, master templates are used to apply a custom structure or appearance to another notification.
Master templates can save you a lot of time when it comes to changing the appearance of your emails. Instead of editing each email template to add a header, footer, or custom section, you can simply apply a master template to affect those changes for you.
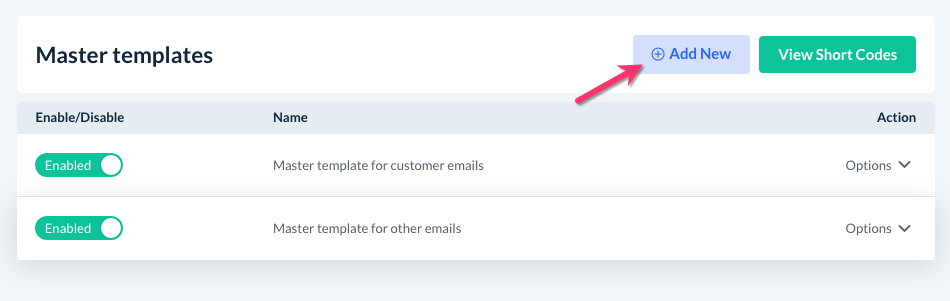
Your account comes with two pre-existing master templates, one for customer emails and the other for admin, staff, and provider emails.
To locate the master templates, please go to:
Settings > Notifications > Master Templates
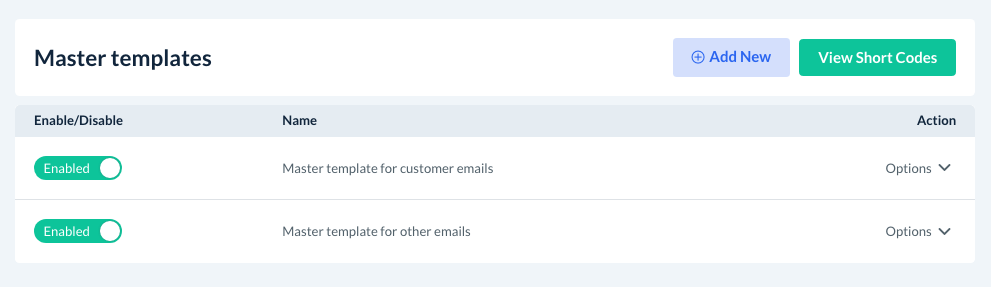
If the button next to each template is green and says "Enabled", it can be applied to other templates located in the "Email" section.
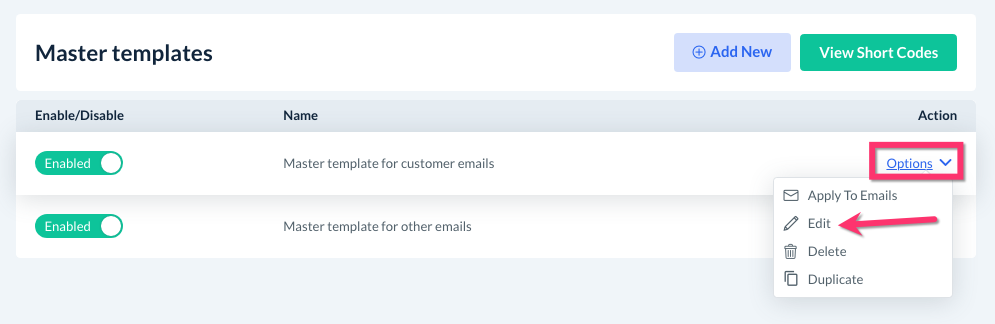
Editing Master Templates
To edit a master template, click "Options" and select "Edit".
You will be redirected to an "Edit Email Template" page. Here, you can edit the template's name, view a preview of the email, and edit the content.
Editing Text
To change the appearance of the text used in the master template, scroll down the content editor box and highlight the words you would like to modify.
Then, click on any of the font tools located in the toolbar at the top of the section.

Using Shortcodes
At the top right side of the page, there is a blue button that says "View Short Codes". Click this to view a list of "shortcodes", or placeholders for specific user information.

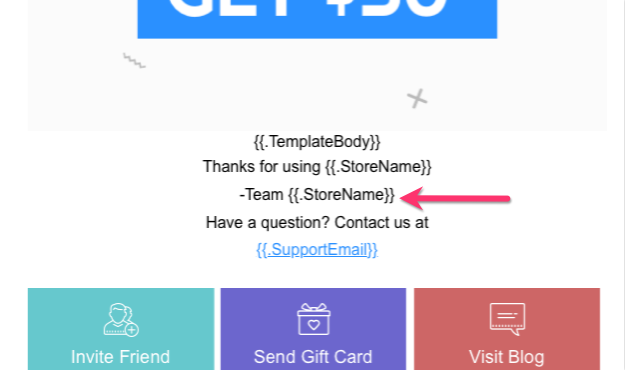
Shortcodes can be inserted into your email templates to create a more custom experience for the recipient. For example, the Master Template for Customers uses the shortcode {{.StoreName}} to display your business name at the bottom of the email.
To learn more about how you can use shortcodes in your templates, click here.
Replace the Header Image
To change the header image used in your master template, click on the header image in the content editor box. Several small white buttons will appear just below the image.
Click on the "image" button furthest to the right.
A pop-up will appear where you can upload an image from your device. Once an image is uploaded, click the blue "Select" button to insert it into the header space.
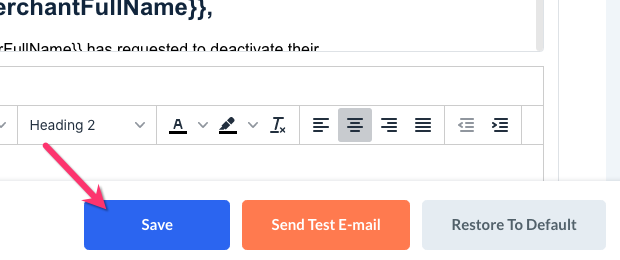
Save, Cancel, or Restore to Default
If you are satisfied with the appearance and formatting of your master template, click the blue "Save" button at the bottom of the page to update it.
If you want the template to revert back to the last save, click the grey "Cancel" button to return to the previous page.
If you would like to start over from scratch, click the orange "Restore To Default" button to reset the master template back to the BookingKoala default.

Add a New Master Template
If you would like to use more than two master templates in your email notifications, you can easily make a new one.
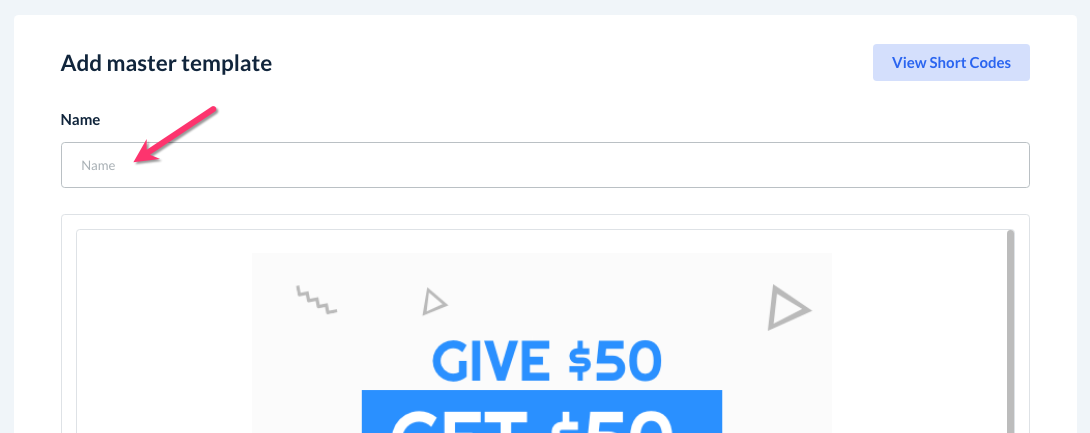
Click the blue "Add New" button at the top right corner of the page to build a new master template from the beginning.
Enter a name for the template in the box at the top of the page.
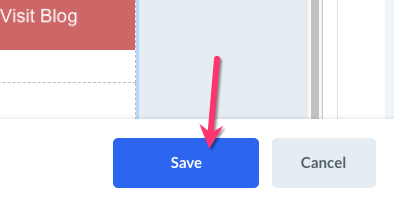
Please refer to the previous section for guidance on how to edit the template body. Once you are finished, click the blue "Save" button to add the new template to your collection.
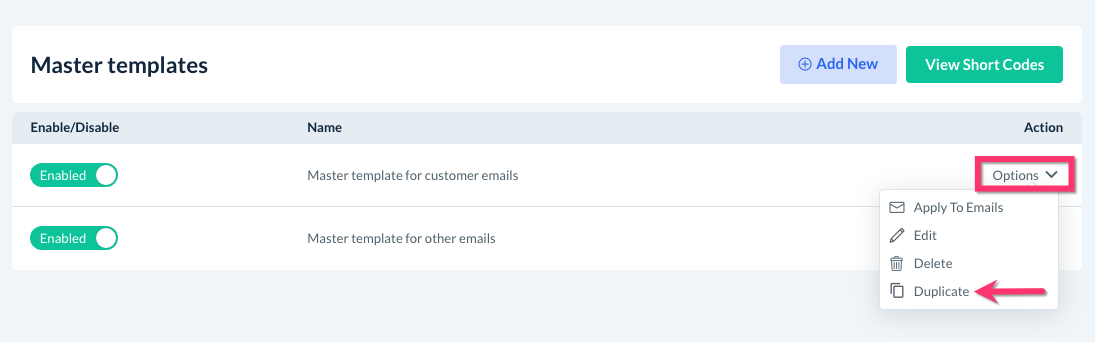
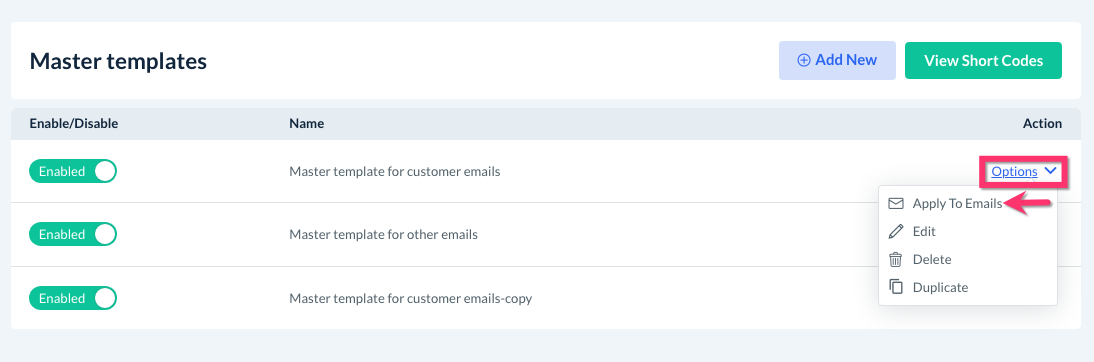
You can also duplicate an existing master template and make changes to the new copy. To do this, click on "Options" and select "Duplicate".
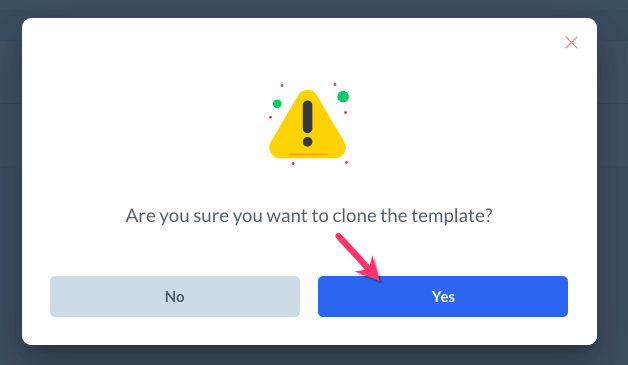
A pop-up will appear, asking if you are sure you want to clone the template. Click the blue "Yes" button to proceed.
A green system notification will appear in the top right corner of the page letting you know the template has been duplicated successfully.
You'll see the new template with the word "copy" added to the end of the name.

Applying Master Templates to Email Notifications
Once you have finished setting up a master template, you can apply it to be used in your other email templates.
If you would like to apply a master template to all customer email notifications, click "Options" and select "Apply to Emails".
A pop-up will appear. Select individual templates by checking the box next to the name, or check the box titled "All" to select every template in a tab.
Once you have selected which templates you'd like to update, click the blue "Apply" button at the bottom of the pop-up.
A green system notification will appear in the top right corner of the page, letting you know that the master template has been applied to the selected notifications.
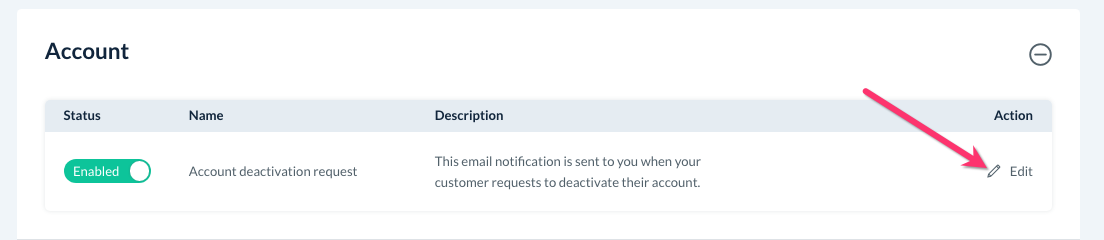
To view what an email notification looks like with a master template applied, go to:
Settings > Notifications > Emails
Click "Edit" to the far right of the notification name and description.
Once you are on the edit page, scroll down and make sure that a template is selected from the "Master Template" dropdown list. Check the box next to "Preview with master template" to see a preview of the notification below.
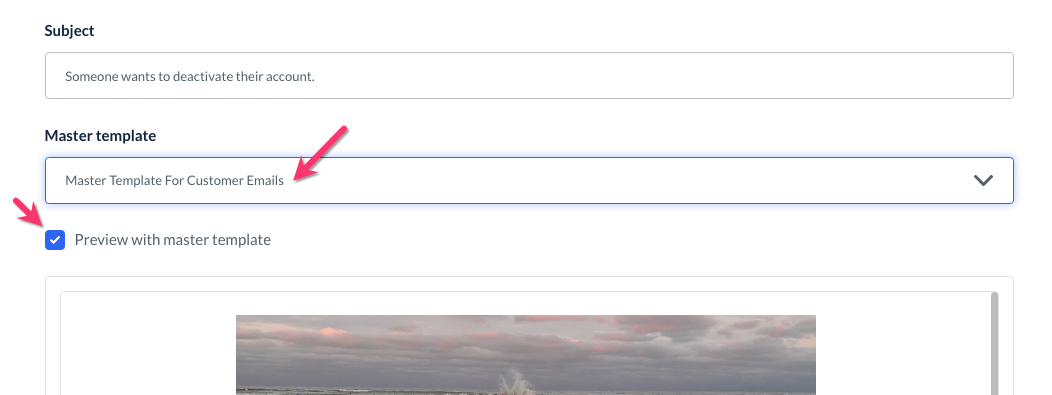
You can switch between templates to view how each master template looks when applied.
If you have switched the template or made any other changes to the notification, please be sure to click the blue "Save" button at the bottom of the screen.