The purpose of this article is to help you understand:
Where to manage your lead tags
How to add tags to your leads
Lead Tags
Lead tags are tags used to help better categorize and sort your leads. You can use tags to do things like:
Sort your leads by the industry they are interested in. If you are a cleaning company, you may have industries like commercial, residential, office, home, etc. that can be turned into tags.
Display your lead origin/source more readily. Leads come from all sorts of places: forms, Facebook, Twitter, Reddit, Google, etc. Sources are a great use of the tags feature.
Tag leads according to potential. You can use tags like "Very Interested", "Somewhat Interested", and "Not Interested" to gauge the customer's likelihood of using your company's services.
Your tags can be managed from the Tags section at the top of the Leads dashboard.

Tags are listed according to their display order and will also show you how many leads are associated with each tag.
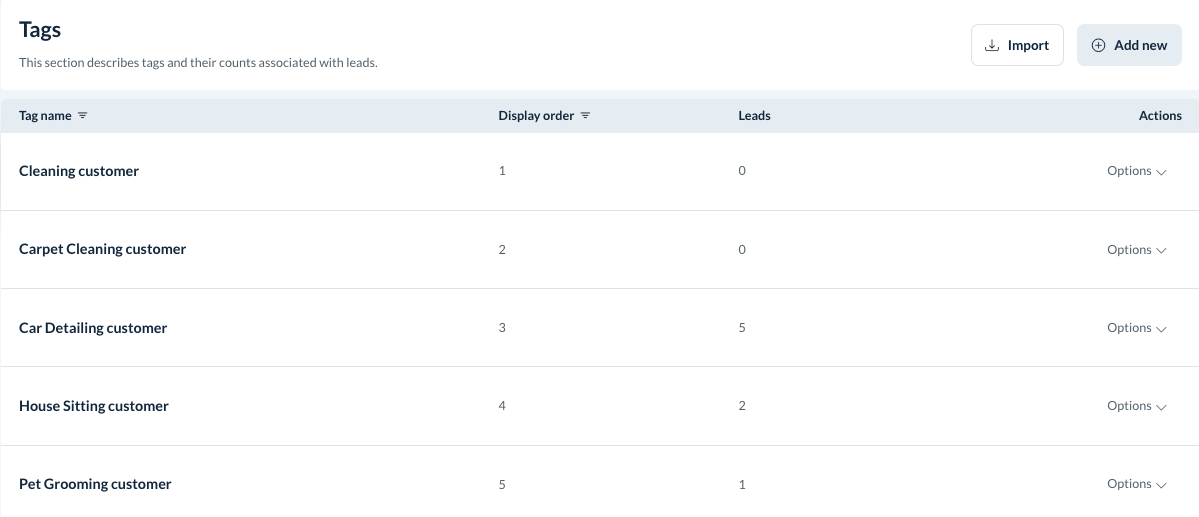
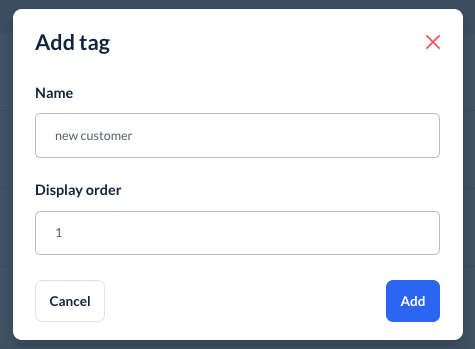
To add a new tag, click the Add New button near the top right corner of the page.

Enter the name of the customer and the order of priority you would like for the tag, then click the blue Add button.
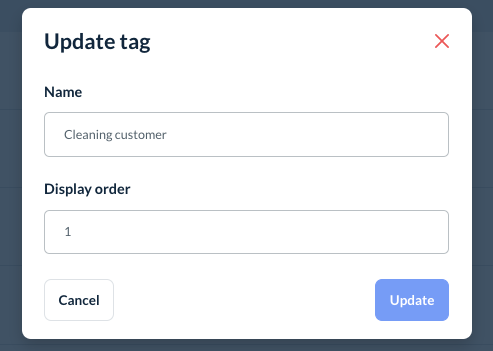
To edit an existing tag, click the Options button under the Actions column and select "Edit".
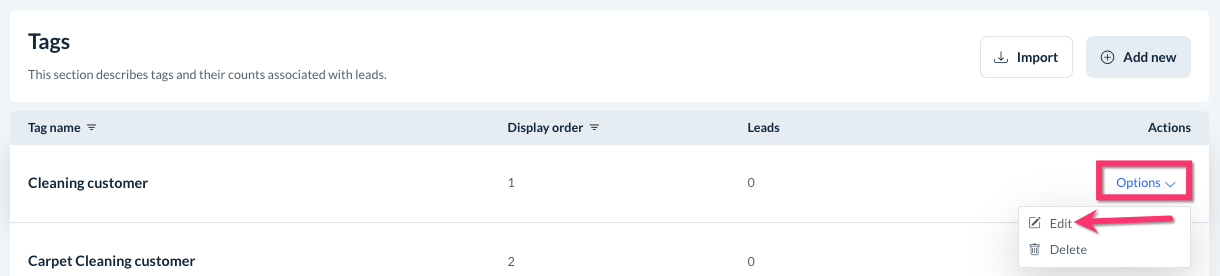
This will allow you to edit the tag's name and display order.
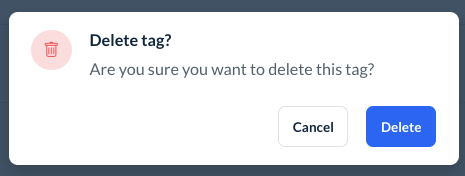
You can delete a tag by selecting Options and then Delete.
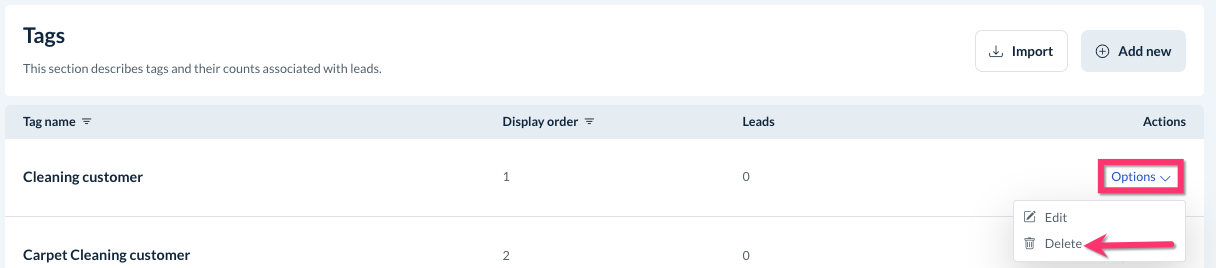
Only press delete if you are certain you do not want to use that tag anymore.
Tagging to Your Leads
To tag your leads, click on a lead's name anywhere in the leads module to visit that lead's profile. Here you can leave notes, check on work progress, and manage the tags attached to your lead.
Scroll down the side menu on the left until you view the Add Tag field. Type or select the tags from the drop-down menu below.