The purpose of this article is to help you learn:
What are service categories
How to add a new service category to your form
How to reorder your service categories
How to edit, duplicate, delete, archive, or unarchive a service category.
What are service categories?
Service Categories are the broader categories for the services that your business offers. If you offer multiple services, the customer will be able to browse through them all and select the service they are interested in to see pricing.
For example, if your business is in the office cleaning industry, you may have service categories based on the type of job location:
Storefront Cleanings
Warehouse Cleanings
Church Cleanings
To work, every form must have at least one service category.
Please note: If you only have one service category (for example, house cleaning or cat grooming"), the service category box will not display as an option on the form. If you have more than one service category, a drop-down menu will appear on the booking form for you or your customers to select which services to look at.
Add a New Service Category
To add a new service category, Go to:
Settings > Industries > [Industry Name] > Form [#] > Service Category
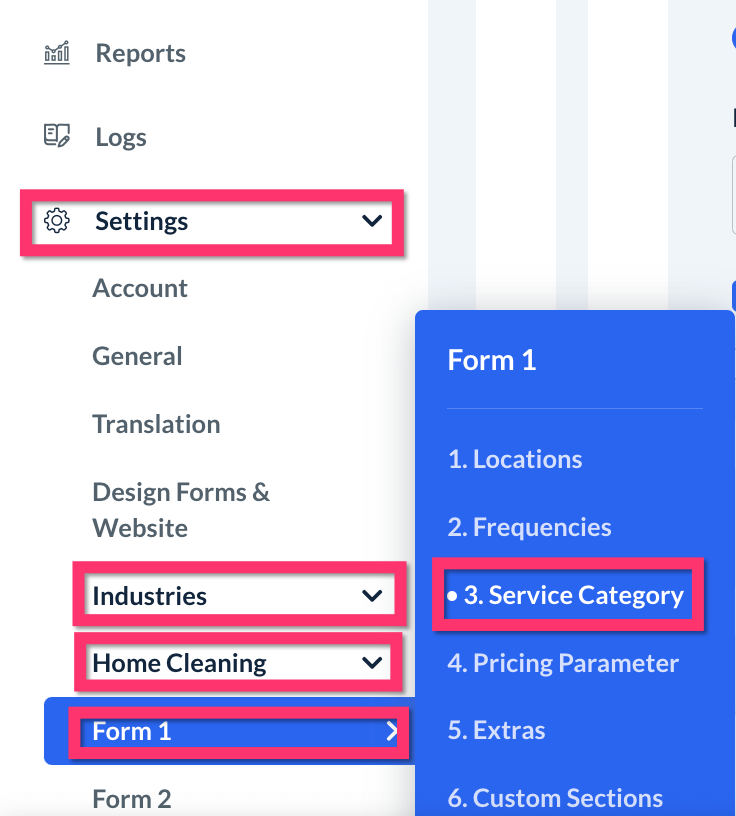
At the top of the "Service Category" page, click the blue "Add New" button.
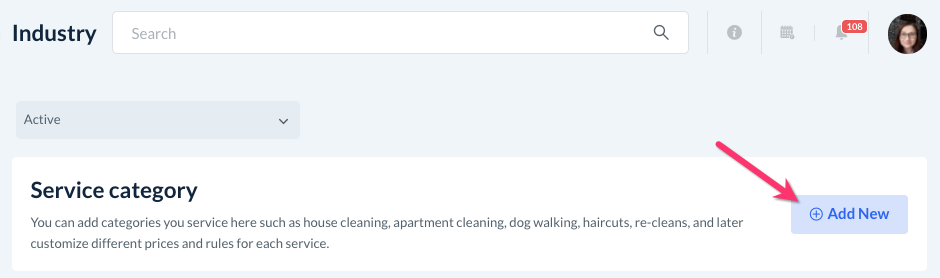
This will bring you to the Details tab on the "Add Service Category" page.
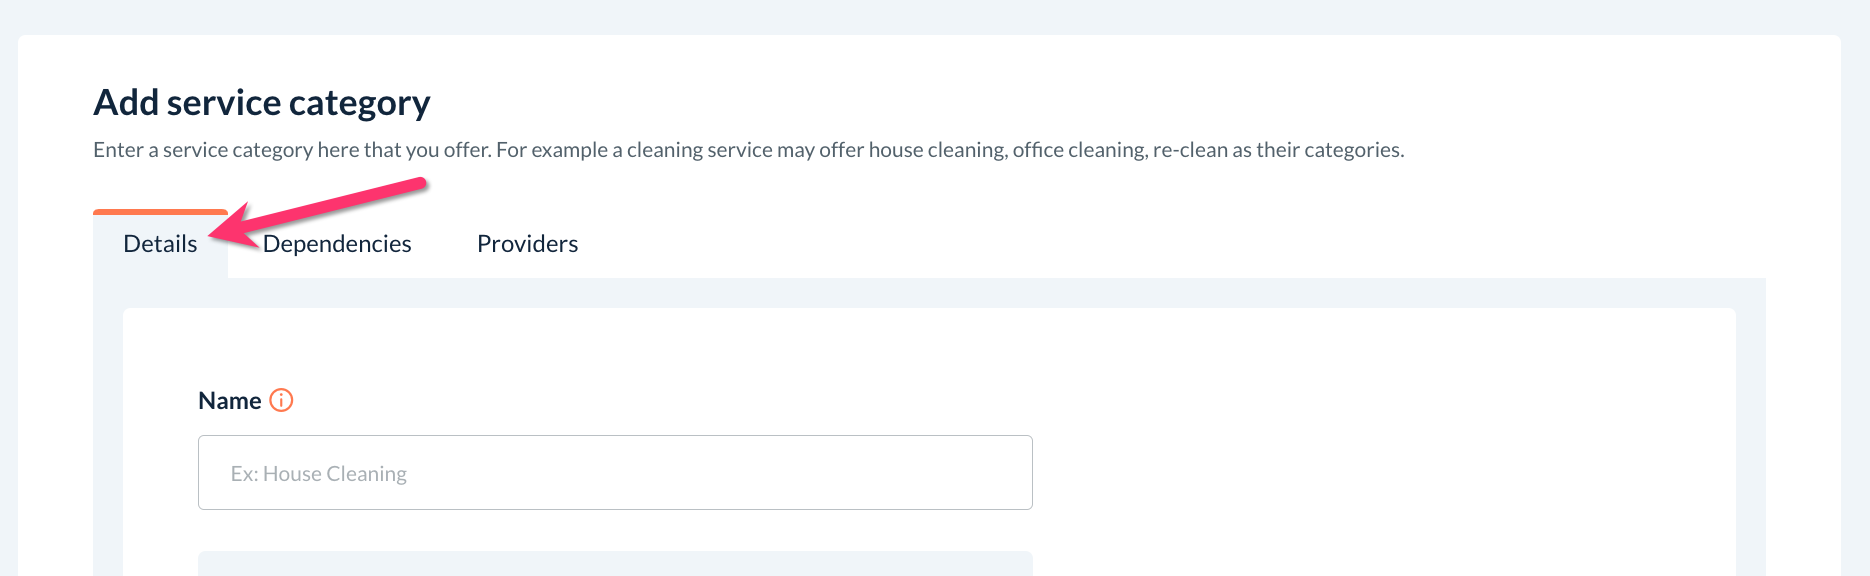
Details Tab
Name
First, add a Name for the service category. This will be displayed on both the admin side and the customer side of the software.
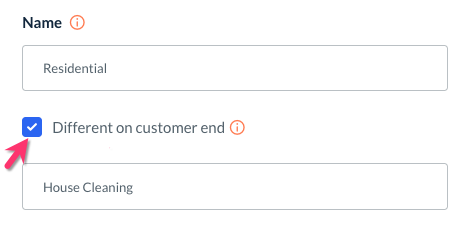
If you would like for a different name to display on the customer's end, check the box next to "Different on customer end" and enter the name in the box below. If you used this option, the admin will see the top-most name, while the customer will see the name that you put in the "Different on customer end" box.
Description
Below, there is a box for entering a Description of the service category. This will only be seen by you or other admins when viewing this page.
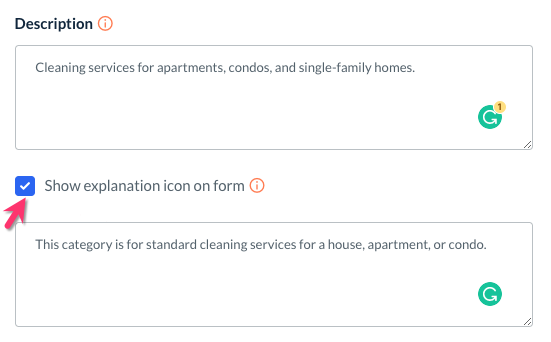
Explanation
If you would like to add a description that the customer can see, check the box next to where it says "Show explanation icon on form". This will add an icon next to the service category name in which the customer can hover over with their curser to view the explanation.
Enable Pop-Up
If you would like to display a pop-up message when the customer selects the service category, check the box next to "Enable popup on selection" and type in the message you would like to display.

You can also customize when the pop-up will display:
Customer frontend, backend & admin - The pop-up will display for both customers and admin/staff on the front-end and back-end of the site.
Customer backend & admin - The pop-up will only display for the admin or when the customer is logged into their dashboard.
Customer only (frontend & backend) - The pop-up will display for the customer only, on the front-end of the site as well as when they are logged in.
Admin only - The pop-up will only display for admin and staff members.
Display On
Next, select where you would like to display this service category. Under "Display On", select one of the following options:
Customer frontend, backend & admin - The service category can be selected by new customers, existing customers, and the admin/staff for booking.
Customer backend & admin - The service category can only be selected by existing customers or admin/staff and will not display for new customers.
Admin only - The service category can only be used by admin or staff when making bookings.

Display Service Length on Customer End
"Display service length on customer end" allows you to select if/when you would like to display the service length on your booking forms and confirmation emails. Your form will only display a service length if you set time lengths for your pricing parameters. This will be covered more later on in the Pricing Parameters section.
Customer frontend, backend & admin - The service length will be displayed for potential customers, existing customers, and the admin/staff.
Customer backend & admin - The service length will only be displayed for existing customers or admin/staff, but will not display for new customers on the front-end.
Admin only - The time length will only be seen by admin or staff when making bookings.

This allows you to show the length of the service to the customer in the summary box on the booking form and their confirmation emails.
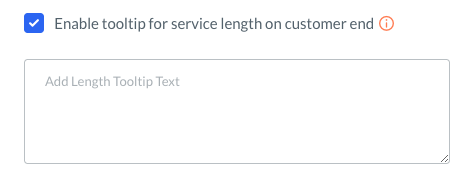
You also have the option to add a tooltip next to the service length on the customer end of the booking form. This will insert an icon next to the service length in the booking summary box. When the customer hovers over the icon with their curser, your message will be displayed.
Check the box next to "Enable tooltip for service length on customer end" and enter the message in the box below.
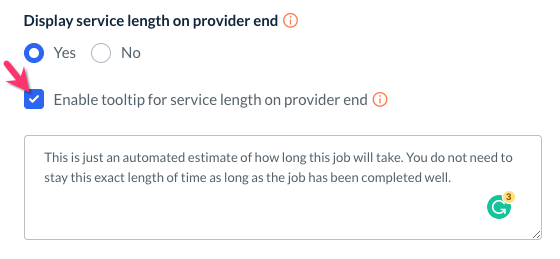
Display Service Length on Provider End
You can also decide if you would like to display the service length so providers can see it. To enable this, select "Yes" under "Display service length on provider end". You can also add a tooltip about the service length for the provider's reference.
Allow Editing by Customers
For the question, "Can customers edit this service?" select "Yes" if you would like to allow customers to make changes to their services after the booking has been scheduled.
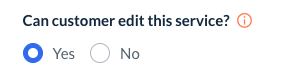
If you select "No", this option allows customers to make only minimal changes to their booking, like adding a tip, parking payment, or notes for the provider or admin. However, they will not be able to make changes to the services they are signed up for.
Will you charge a service fee for this service category?
This question allows you to charge the customer the service fee associated with their location (if you have set up service fees for your locations). Service fees can be edited in the Locations section.

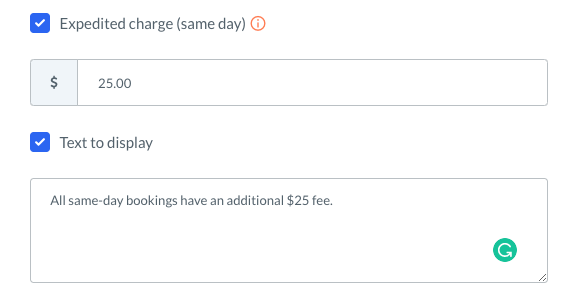
Expedited Charge (Same Day)
Check the box next to "Expedited Charge (Same Day)" if you would like to charge an additional fee for any customer who books a same-day appointment if you have same-day booking enabled in your Store Options. You can also set text to display when the expedited charge is applied so the customer understands what the fee is for.
Cancelation Fee
Check the box next to "Cancellation Fee" to charge a cancellation fee when a customer cancel's their service. The cancelation fee can be a fixed amount or a percentage of the booking's total cost.
To further customize the circumstances in which a cancelation fee will be applied, go to Settings > General > Store Options > General Tab and scroll down to the Cancelation section.
Set Service Category Price
If you would like to add a "base price" to the service category, check the box next to "Set service category price". This amount will be the starting point for the customer's total if they select this service category.

Set Service Category Time
If you would like to set a time length for this category, check the box next to "Set service category time". This will set a "base time" for the service. For example, if you enter 1 hour here, the appointment's length will be increased by/start at 1 hour long.
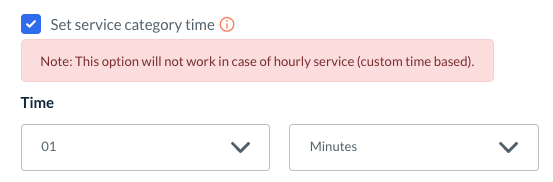
Please note: This option will not work if you have selected "yes" for "Is it an hourly service?" which is discussed more below.
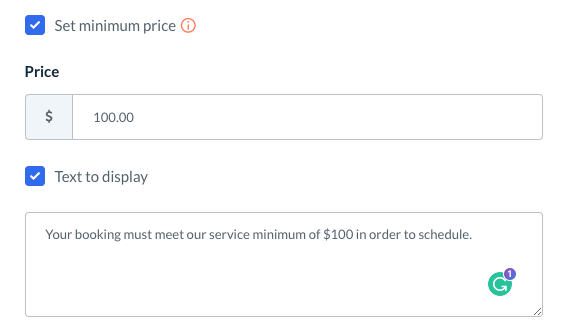
Set Minimum Price
You can also set a minimum price and/or a minimum time for the service category. This means the customers booking must meet these thresholds for them to submit the form. If the customer goes to save the booking and the minimums have not been met, they will get a pop-up message saying the minimum has not been met.
On which amount do you want to check the minimum price?
Select "Discounted total" if the minimum should be compared to the discounted total of the booking,
Select "Final total" if the minimum should be compared to the final total of the booking.
Minimum Price
For example, if you set your minimum price to $100, the customer must add services that total to at least $100 for them to book. If they do not, they will see the message you added in the "Text to Display" box.
Check minimum price for complete recurring schedule
Check the box next to this option if you would like to check the entire recurring service against the minimum price requirement.
For example, if the amount for the first booking in a recurring series is $150, and the second booking in the schedule is $100l; but the "minimum price" for the service category is set to $120, the system will prevent the addition of the booking and will display a "minimum price" error message.
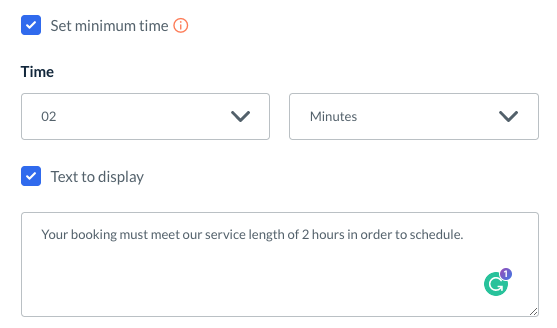
Minimum Time
If you set your minimum time to 2 hours, the customer must add services that have a total length of 2 hours or longer for them to book. If they do not, they will see the message you added in the "Text to Display" box.
Override Provider Pay
Check the box next to "Override provider pay" if you would like to pay tour providers a special rate whenever they do a job in this service category. The pay can be set to an hourly rate or a flat fee.

For example, some businesses in the home-cleaning industry do re-cleans for customers who are unsatisfied with the initial work. If the business is sending the same cleaner back to touch up their work, they could use this option to override their pay by putting in $0 in this box. This way, the provider will not receive extra pay for going back to complete the original job.
Is it an hourly service? (Form 1)
This option is only available if you are using form 1.
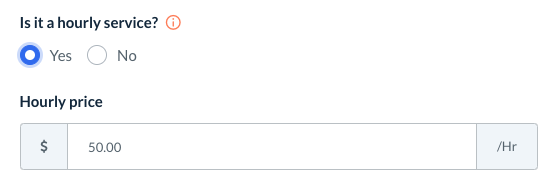
If you will like to make this service category an hourly service, meaning the price will depend on how many hours the service takes, select "Yes" under "Is it an hourly service?" Enter the hourly price into the box below.
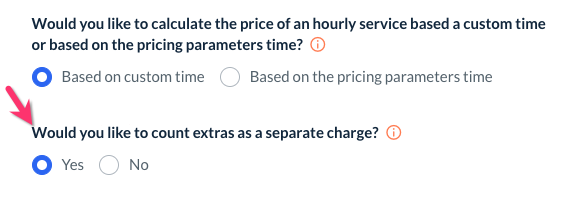
Next, you will need to answer "Would you like to calculate the price of an hourly service based on a customer time or based on the pricing parameters time?"

If you would like the customer to enter the total number of hours they would like to book for, select "Based on custom time". If you would like the total time to be automatically calculated using the time lengths set in your pricing parameters, select "Based on the pricing parameters time".
If you selected "Based on a custom time", you can decide whether your extras will be charged in addition to the hourly rate or if they will be overridden by the hourly rate. Select "Yes" to charge the extras on top of the hourly rate.
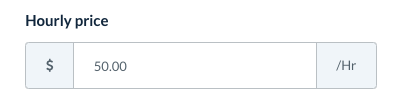
Hourly Price (Form 5)
This option is only available if you are using form 5.
Enter the rate per hour into the box just below where it says "Hourly price".
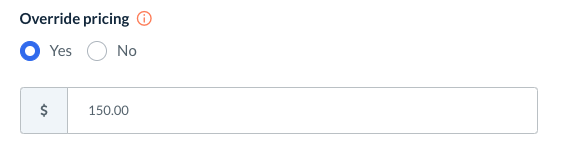
Override Pricing
If you did not make the service category an hourly service, you can instead choose to use the "Override pricing" option. Click "yes" and enter the price you would like to charge when this service category is selected. This means that regardless of which pricing parameters the customer selects, their total will always be this rate.
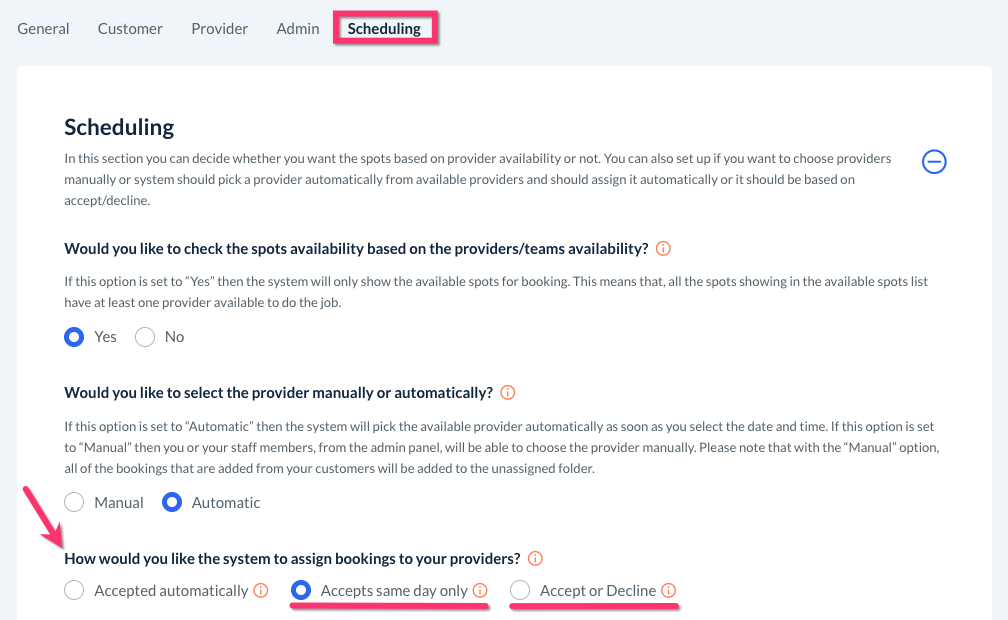
Can this job be declined?
If you have "Accept Same-Day Jobs" or "Accept All Jobs" set for your scheduling settings, there will be an additional setting for your service category. This setting is located under:
Settings > General > Store Options > Scheduling
Your form will have the question "Can this job be declined?"
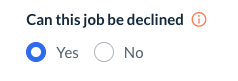
If you select "Yes", the provider will have the option to decline the job if they do not want to take it. If you select "No", then the job will be automatically assigned to the next available provider.
Extras
At the bottom of the page below where it says "Extras", you can decide if you would like to enable Tip or Parking options for your customers. This will allow the customer to add a tip or payment towards the provider's parking fee (if applicable) to their booking. 100% of the amount for a tip or parking goes to the provider.
Tip
To enable Tips, click the red "Disabled" button and toggle it to "Enabled".
Choose if you want the tip to be added to the First booking of a recurring service, or for Every booking. You can also decide where you would like the tip option to be displayed:
Customer frontend, backend & admin - Tips can be added by new customers, existing customers, and the admin/staff.
Customer backend & admin - Tips can only be added from the customer once they are logged into their account, or by an admin/staff.
Admin only - Only the admin and staff will be able to add a tip for a booking.
Parking
If you enable Parking, this allows customers to reimburse providers who have to pay for parking when traveling to the customer's location. This option is used a lot in major cities where parking may be limited and thus more expensive.
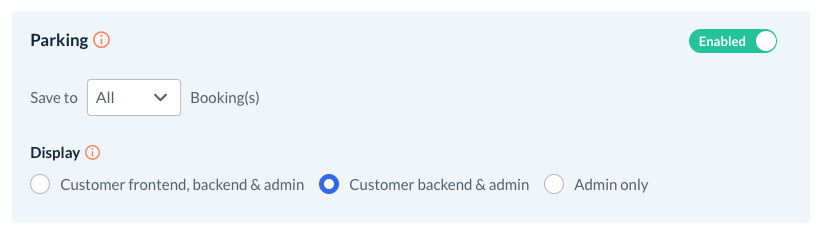
You can also customize whether parking fees will be saved to just the First booking or Every booking in a recurring service, as well as where the parking option will be displayed for customers and the admin.
Once you finish this page, click the blue Next button at the bottom right corner.
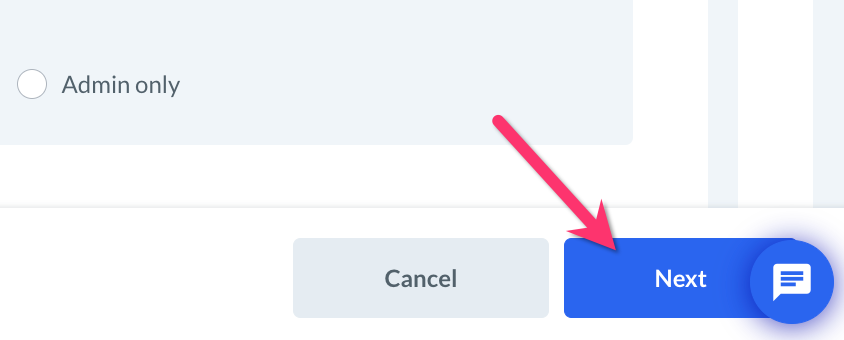
This will direct you to the Dependencies tab.
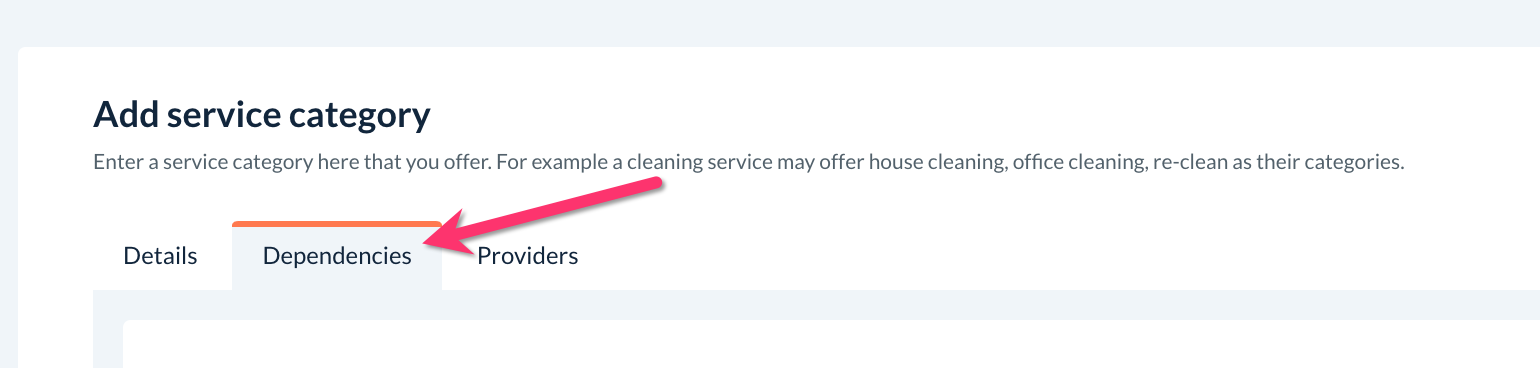
Dependencies Tab
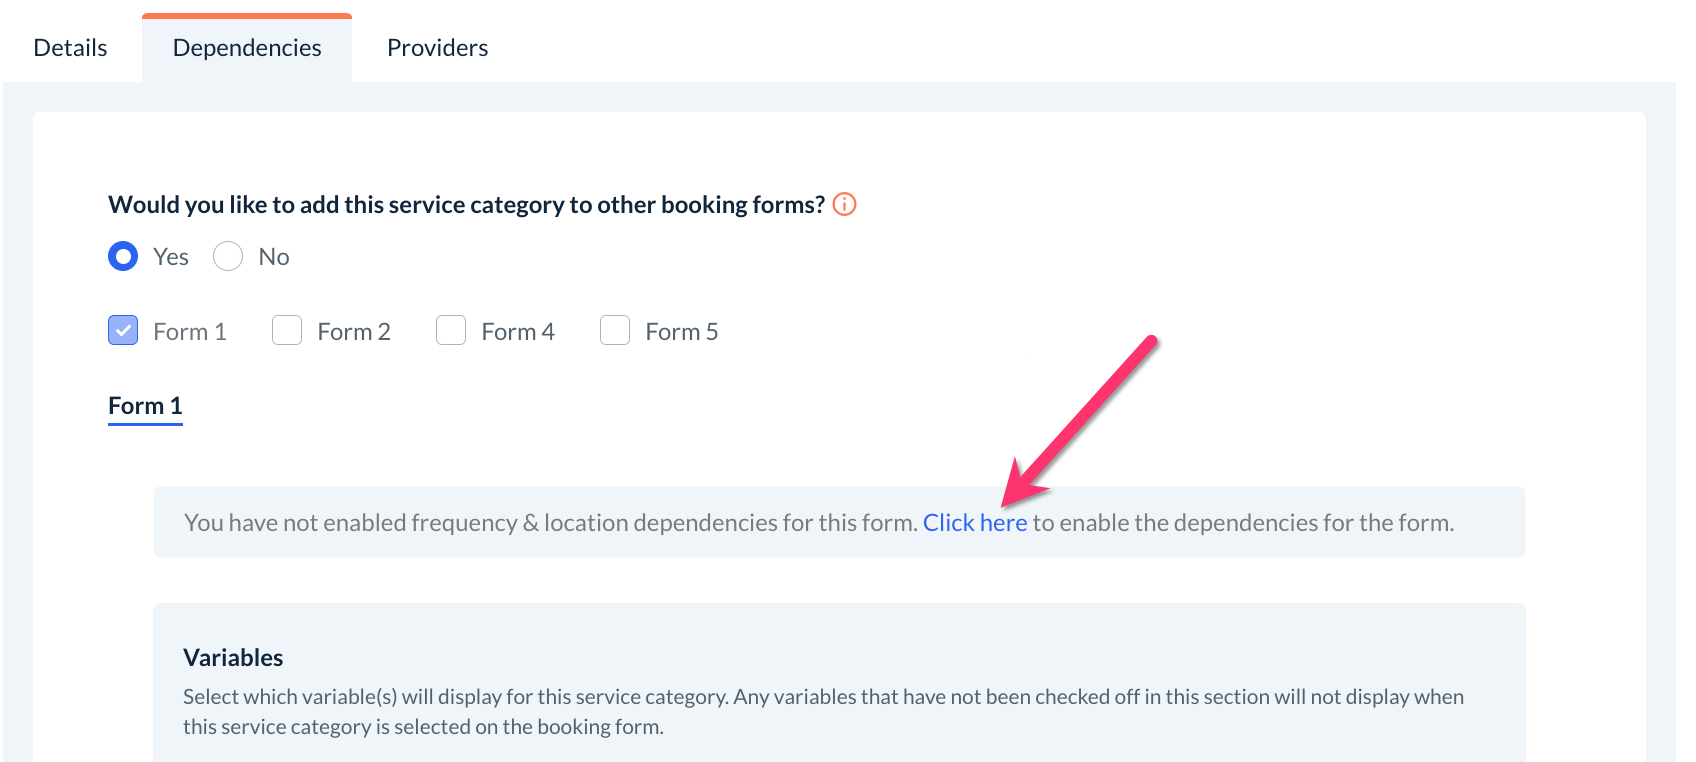
The first question in the dependencies tab will only appear if you have more than one form for your industry.
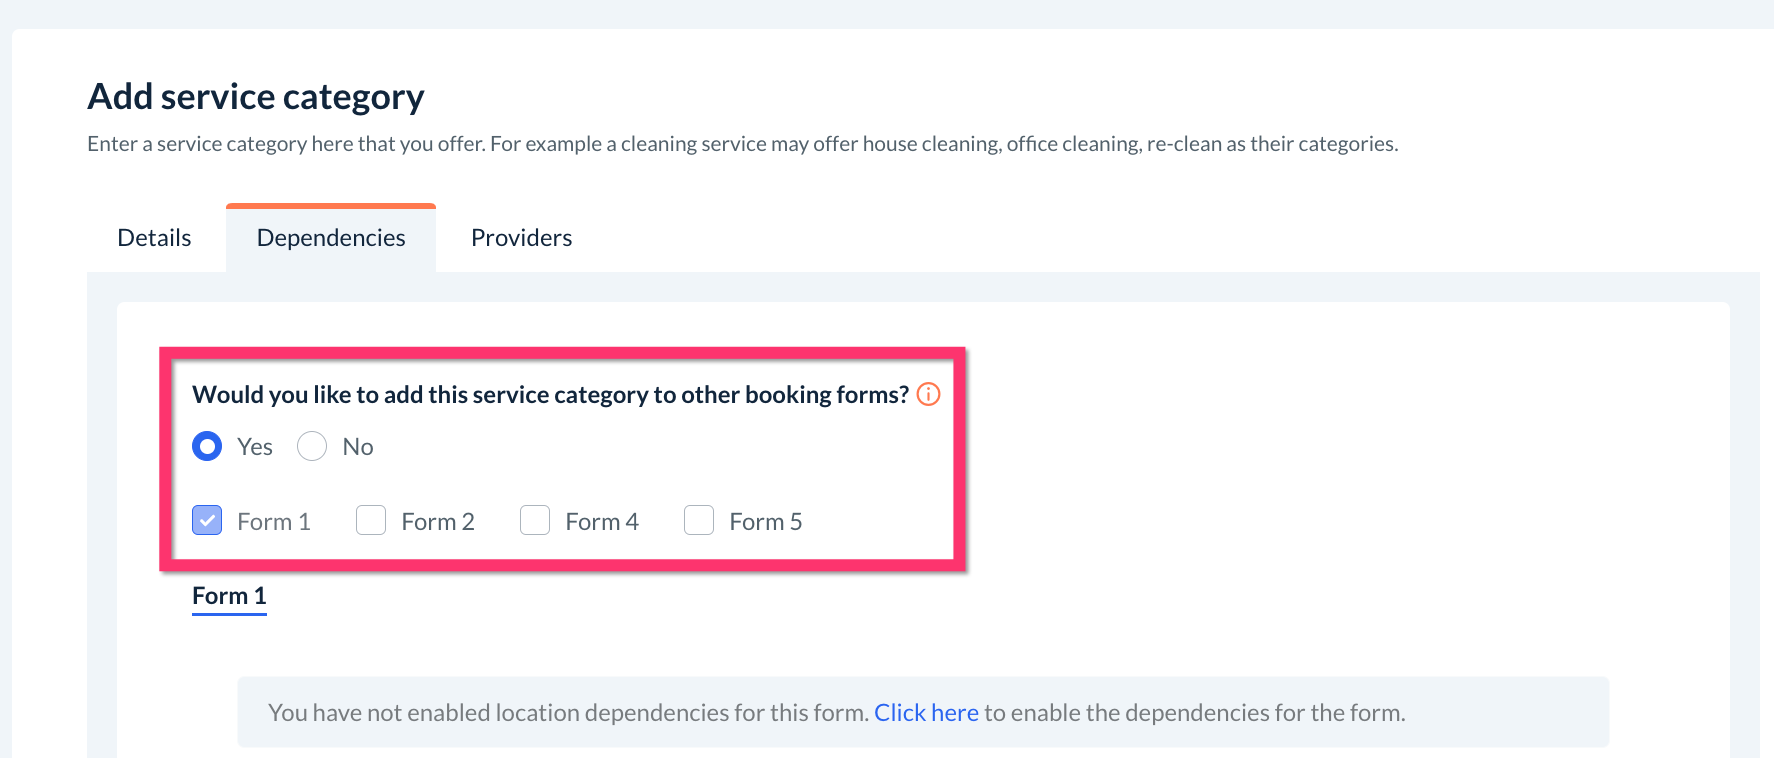
If you would like to add this new service category to other booking forms in this industry, check the box(es) next to the form(s) you'd like to add it to.
Enable Dependencies from Form Settings
When you enable dependencies for a variable, you gain the ability to associate that variable with select options on the booking form instead of using the same variable for every location, service category, frequency, etc.
Dependencies are enabled under the Form Settings section. Click the link to enable dependencies for your service categories.
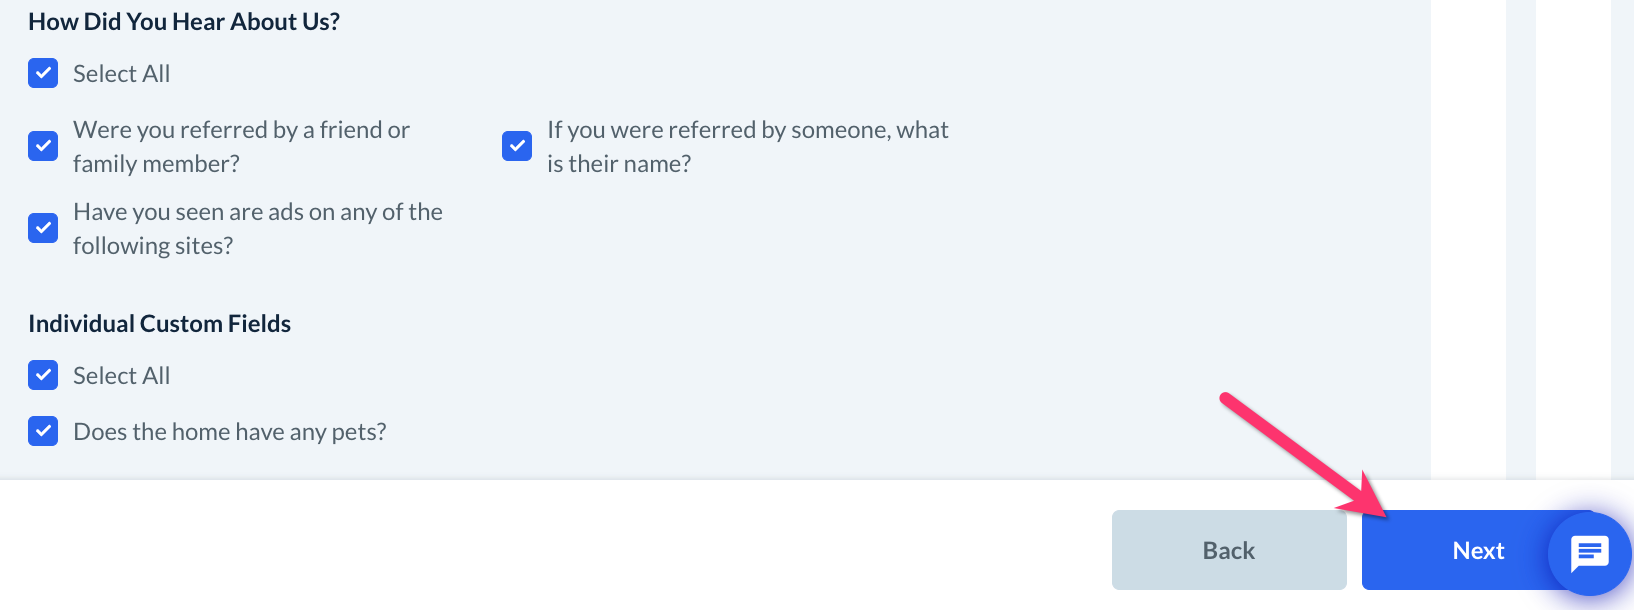
Once you are directed to the Form Settings section, select "Options" then "Edit" to view the form settings for the form.
Scroll down towards the bottom of the page and check off the boxes next to the dependencies you would like to enable.
For example, if you would like to have different service categories depending on the client's city, you would scroll down to the option "Which option(s) should the service category show for?" and check the box next to "Location".
Or, let's say your service categories have different frequency options. In this case, you would check the box next to "Frequency" to enable dependencies for "Which option(s) should the service category show for?"
Click the "Save" button and then you can resume work on your service category's dependencies section.
Enable Service Category Dependencies
To enable dependencies under the service category's Dependencies tab, select "Yes" for the question "Should the service category show based on the [frequency/location]?" and then check the boxes next to the [frequencies/locations] you want to associate with this service category.
In this example, the service category will only be displayed for the frequency that has been selected in the dependencies section.
Depending on your form, some dependencies will be enabled by default so you can more quickly set up common dependencies.
Form 1 has dependencies enabled for variables, exclude parameters, extras, and custom sections.
Form 2 has dependencies enabled for items, packages, add-ons, extras, and custom sections.
Form 3 has dependencies enabled for items, add-ons, extras, and custom sections.
Form 4 has dependencies enabled for variables, extras, and custom sections.
Form 5 has dependencies enabled for extras and custom sections.
Once you have finished setting up your dependencies for your service categories, click the "Next" button at the bottom of the page.
Providers Tab
The final tab in the service category creation process is the Providers tab. This tab is used to exclude or block providers from servicing this service category. For example, let's say this service category is called the "Extra Heavy Duty" and you know there are a few providers who do not provide this service, you would check the boxes next to their names.
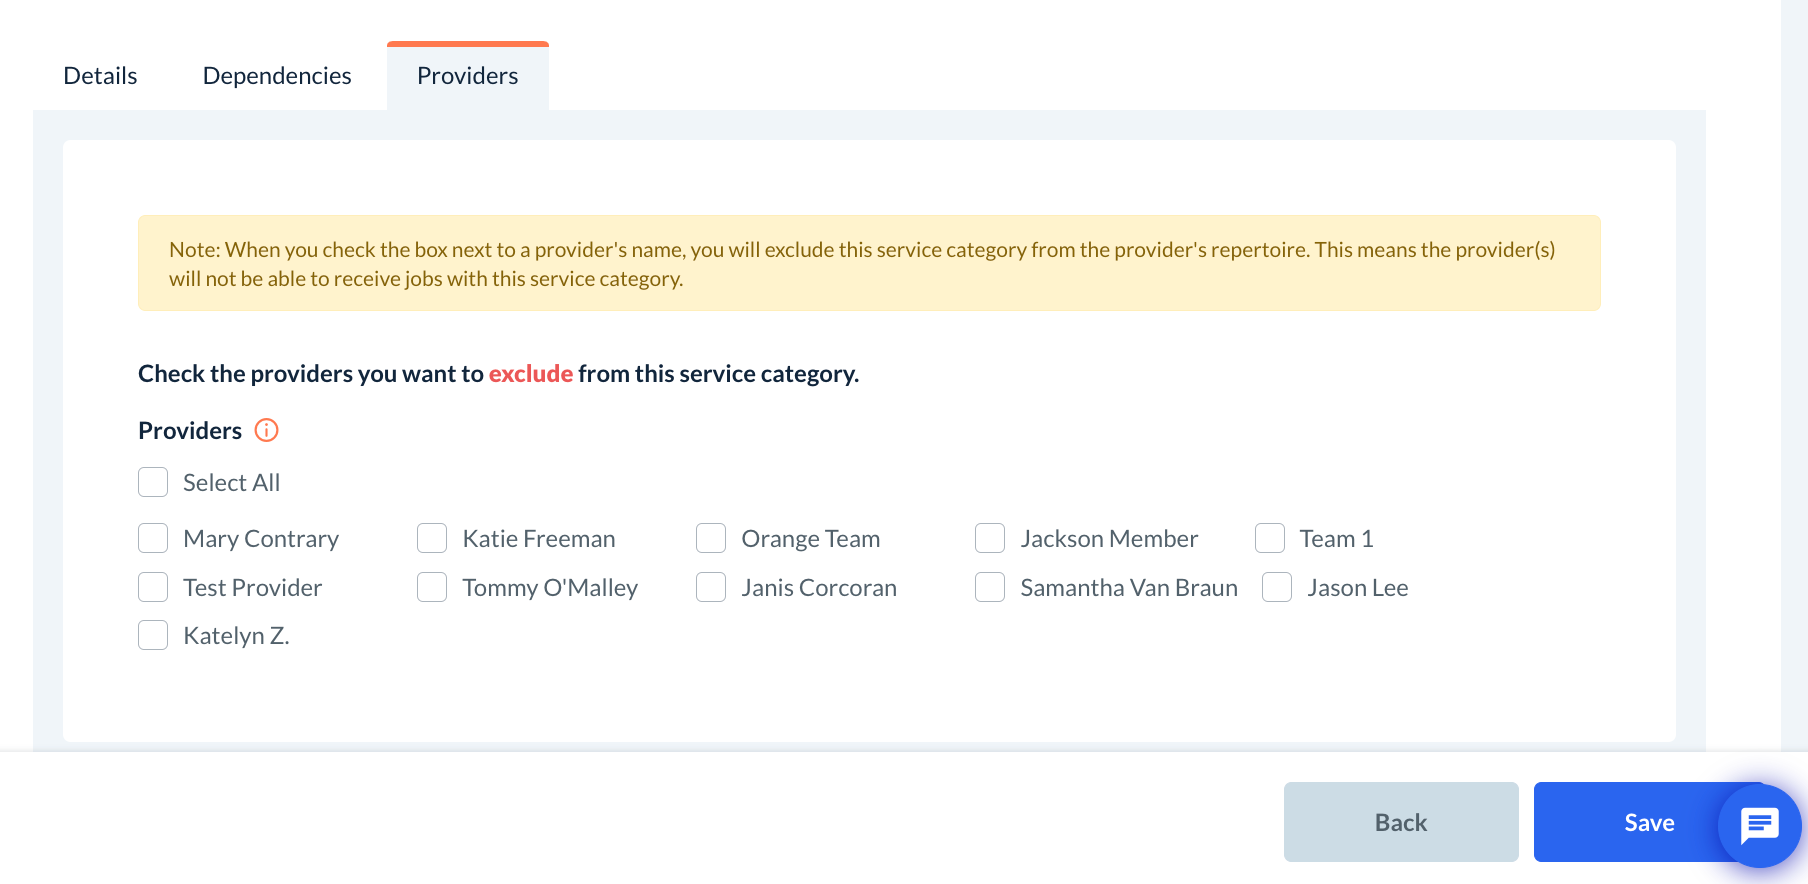
When finished with all your selections, click the blue "Save Category" button at the bottom of the page.

Changing the Service Category Order
If you have added multiple service categories, you can update the order in which they are displayed on your booking form. Go to:
Settings > Industries > [Industry Name] > Form 1 > Service Category
To change the order of your categories, click and hold a category to drag and drop it into a new position in the list.
Once you are satisfied with the order, click the blue "Update Priority" button at the bottom of the page.
A green system notification will appear in the top-right corner of the page, letting you know the priority has been updated successfully.
How to Edit, Duplicate, Archive, or Delete a Service Category
If you ever want to make further adjustments to a service category, first go to:
Settings > Industries > [Industry Name] > Form 1 > Service Category
Edit
To edit an existing service category, click on "Options" and select "Edit".
You will be brought to the Edit Service Category page where you can modify any of the settings you'd like. Just be sure to click the blue "Save Category" button to save any changes.
A green system notification will appear in the top-right corner of the page, letting you know the service category has been updated successfully.
Duplicate
To make a copy of an existing service category, click on "Options" and select "Edit". A pop-up window will ask if you are sure you want to duplicate this service category. Click "Yes" to proceed.
The phrase "-Copy" will be added to the name of the new category so you can tell it apart from the original. If you change the name, be sure to pick something different from the original name.
Once you have finished making your adjustments, click the blue "Save Category" button at the bottom of the page.
A green system notification will appear in the top-right corner of the page, letting you know the service category has been duplicated successfully.
Delete
If you want to permanently delete a service category from your form, click on "Options" and select "Delete". A pop-up window will ask if you are sure you want to delete this service category. Click "Yes" to proceed.
A green system notification will appear in the top-right corner of the page, letting you know the service category has been deleted successfully.
Archive
If you would prefer to keep your service but not use it for our form right now, you can instead choose to Archive it. Once a service category has been archived, neither the customer nor the admin can select it in the booking form.
To archive a service category, click on "Options" and select "Archive". A pop-up window will ask if you are sure you want to archive this service category. Click "Yes" to proceed.
The service category will now be listed under the "Archived" menu.
Unarchive
If you would ever like to start using an archived service category again, you can easily "unarchive it". Click on the drop-down menu at the top of the page and select "Archived".

Click on "Options" and select "Unarchive" next to the category you would like to resume. A pop-up window will ask if you are sure you want to unarchive this service category. Click "Yes" to proceed.
The service category will be moved back to the "Active" category listing. You will now be able to use this category in your booking form again.