In this article, you will learn how to:
Set up keywords in Twilio to allow customers to unsubscribe or resubscribe to your SMS messages
Enabling Unsubscribe Keywords in Twilio
BookingKoala has an integration with a service called Twilio to send out your SMS notifications. However, there will be times when your customers may wish to "opt out" of receiving text messages from your service.
Twilio offers you the option to set specific keywords like "STOP", "UNSUBSCRIBE", or "CANCEL". Once a customer replies to your text with one of these keywords, they will be automatically removed from the notifications list. You can also set up keywords like "START" and "UNSTOP" so your customers can start receiving SMS messages again.
If you want to customize these keywords or the response that your customer will receive, you can use the Advanced Opt-Out for Messaging Services in Twilio.
Click here for more information regarding how opt-out/in messages work in Twilio.
Getting Started
Before you get started, you first must ensure you have created a Twilio account and connected it to your BookingKoala account. Click here for our guide on how to set up and link your Twilio account.
Next, you must create a Messaging Service in your Twilio console.
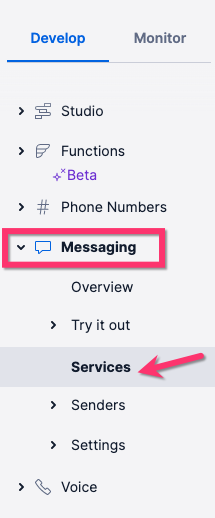
Login in to your Twilio dashboard, and under the "Develop" menu on the left-hand side, click on:
Messaging > Services
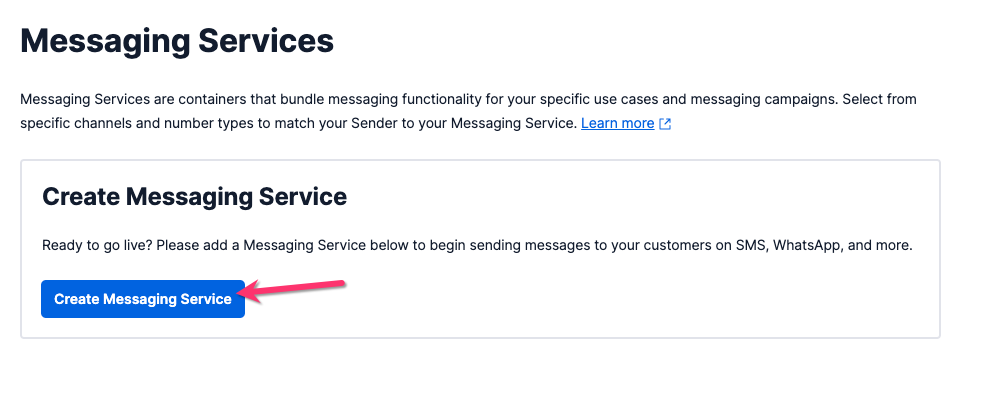
Next, click the blue "Create Message Service" button at the center of the page.
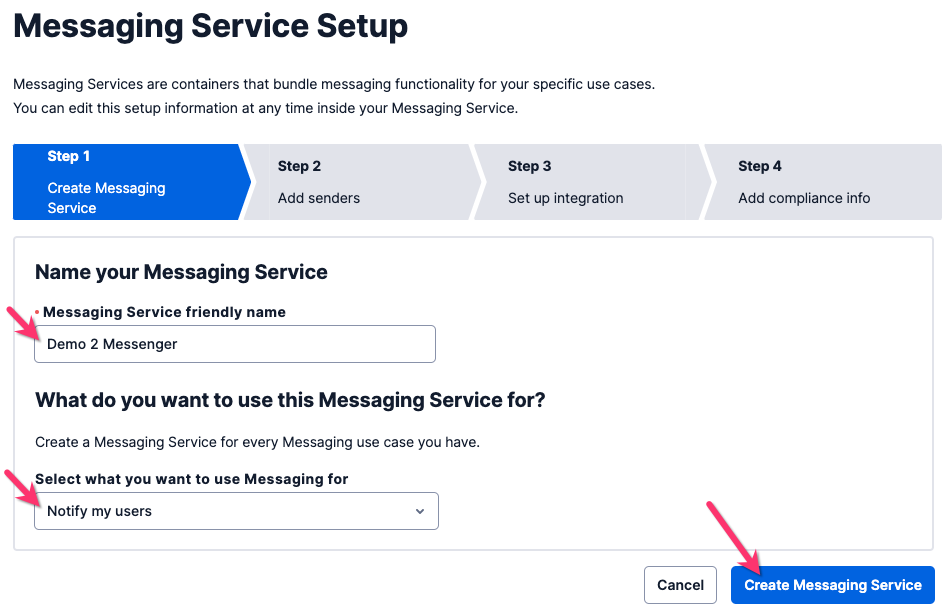
Create a Name for your messaging service and select what you want to use Messaging for, then click the blue "Create Messaging Service" button on the bottom left corner of the page.
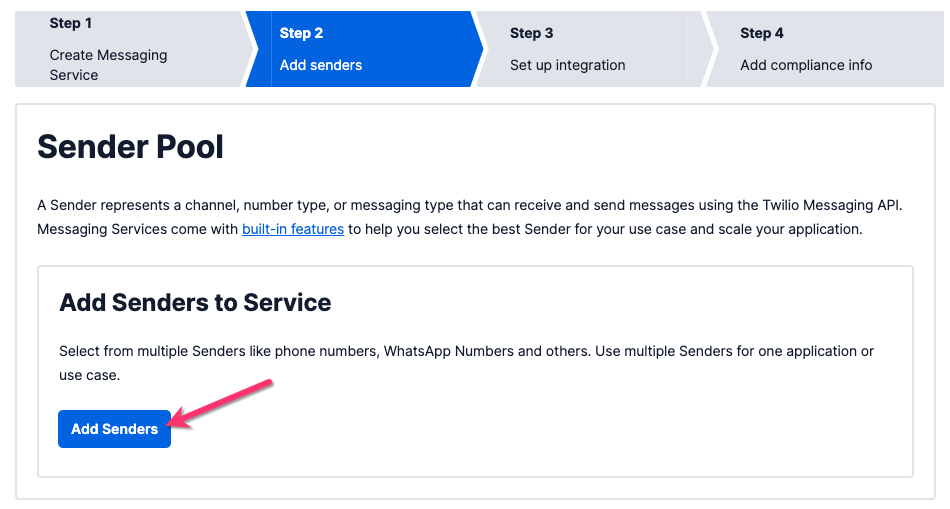
Next, click the blue "Add Senders" button to add your phone number(s) to the Sender Pool. You can select from multiple Senders like phone numbers, WhatsApp numbers, etc.
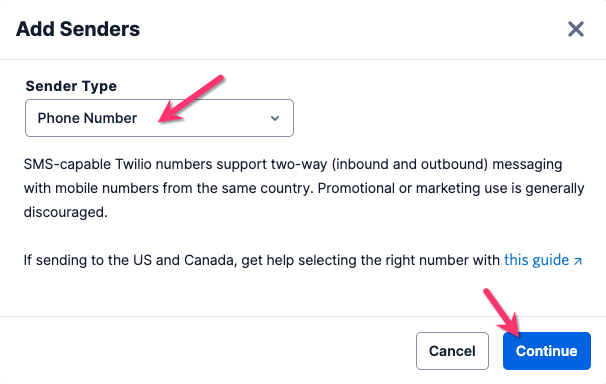
An "Add Senders" pop-up will appear. If you have a phone number you will be sending your messages from, select "Phone Number" and then click the blue "Continue" button.
Check the box(es) next to the phone number(s) you want to add, then click the blue "Add Phone Numbers" button in the bottom left corner.
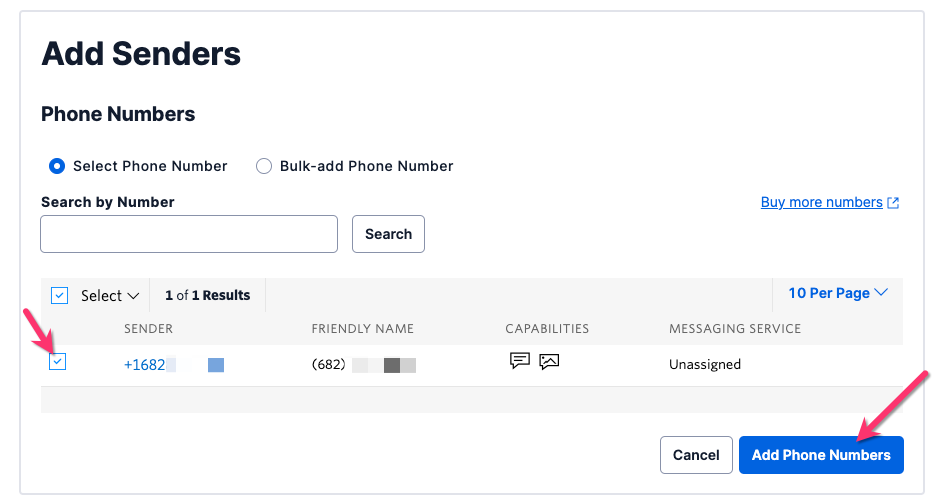
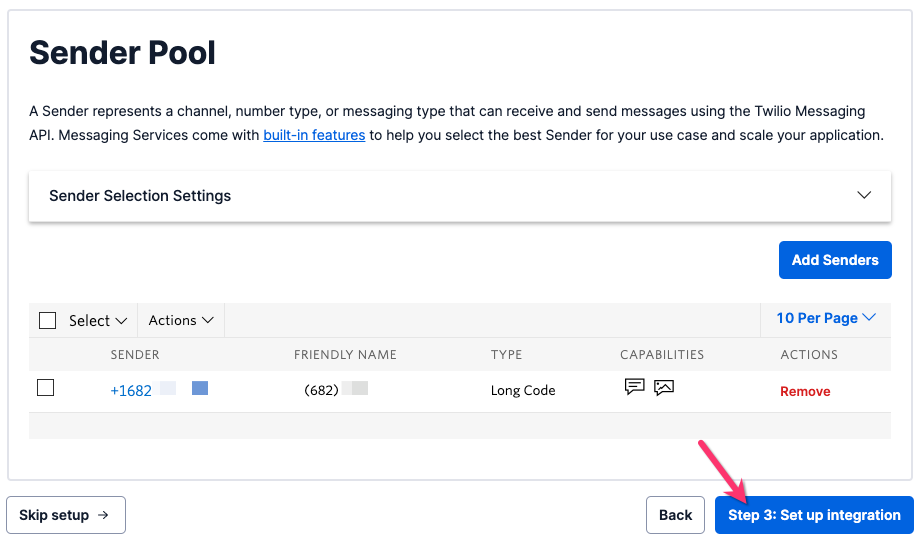
Then, click the blue "Step 3: Set Up Integration" button to proceed to the next step.
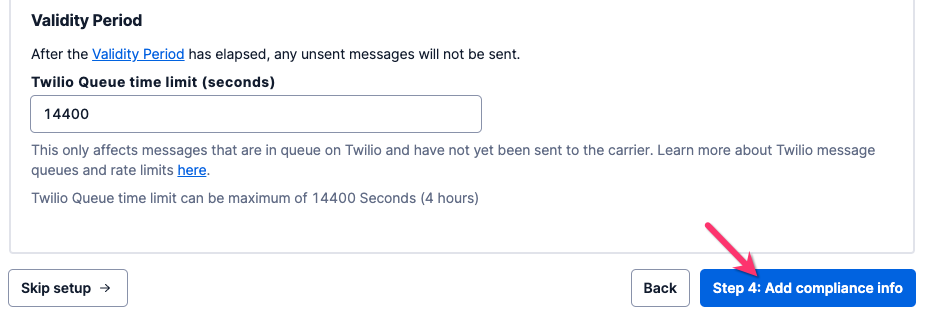
Under "Incoming Messages", select the first option "Defer to sender's webhook".
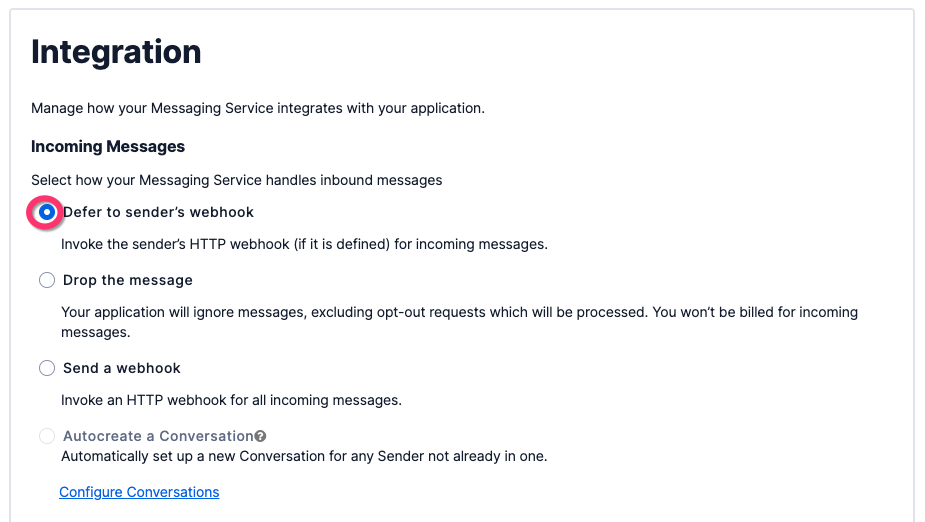
Then, scroll to the bottom of the screen and click on the blue "Step 4: Add Compliance Info" button.
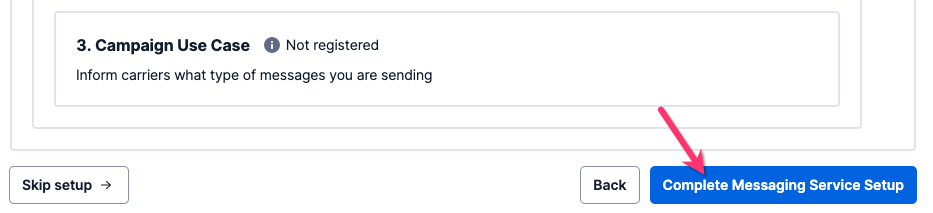
On the final step, register your Business Profile, US A2P Brand (for users with customers in the US), and Campaign Use Case to upgrade the limits on how many messages you can send out per day. Once these three steps are completed, you will be able to send up to 1,000,000 messages per day. If you do not anticipate sending more than 3,000 messages a day, you can forgo these steps.

Click here to learn more about A2P 10DLC and how that affects business messaging in the United States.
To finish setting up your Twilio Messaging Service, click the blue "Complete Messaging Service Setup" button on the bottom right corner of the page.
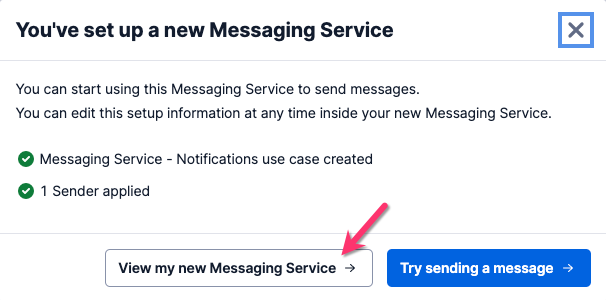
A pop-up will appear, letting you know you have set up a new messaging service. Click the "View my new Messaging Service" button.
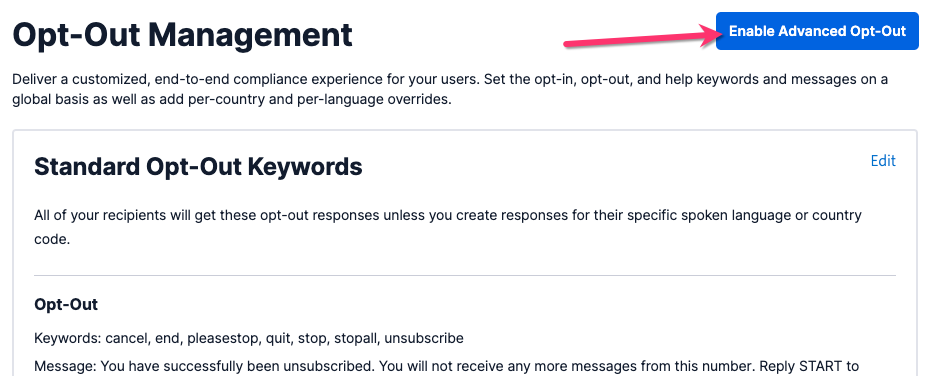
Opt-Out Management
After setting up your Messaging Service in Twilio, you will be redirected to the messaging service "Properties" page. Click on "Opt-Out Management" at the bottom of the left-side menu.

You will be brought to the "Opt-Out Management" page. Click on the blue "Edit" link to edit the standard opt-out keywords.
Click here to view Twilio's guide to configuring advanced opt-out keywords.
Once you are finished, click the blue "Save" button at the bottom of the page if you added or removed any keywords from the lists.
The final step is to enable your advanced opt-out settings. To do this, click the blue "Enabled Advanced Opt-Out" button at the top right corner of this page.
A pop-up will let you know that the opt-out settings have been enabled successfully.

Please note: If you are using the Campaign Module and configured the same Twilio account you use for your booking notifications, customers will also stop receiving booking notifications if they opt-out of your SMS service. We recommend using a separate account for your campaigns to avoid SMS booking notification issues.