The purpose of this article is to help you learn:
What are packages
How to add a package
How to reorder your packages
How to edit, duplicate, archive/unarchive, and delete packages
What are packages?
Packages, which are used in booking form 2, allow the customer to see a picture, image, and description of each service. Customers can scroll through the available packages to view pricing and then add them to their cart.
If you'd like, you can create multiple categories to display your packages under by adding "items". Click here to learn how to set up items.
Packages can be further customized by adding "add-ons". Once you are finished setting up your packages, you can learn more about how to create add-ons by clicking here.
Add Package
To begin setting up your packages, go to:
Settings > Industries > [Industry name] > Form 2 > Packages
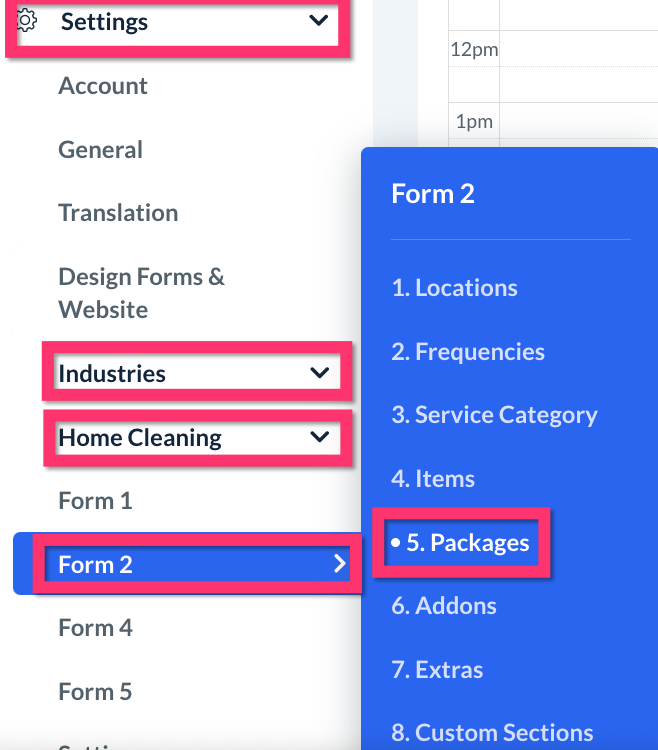
Click on the blue "+ Add New" button at the top-right corner of the page.
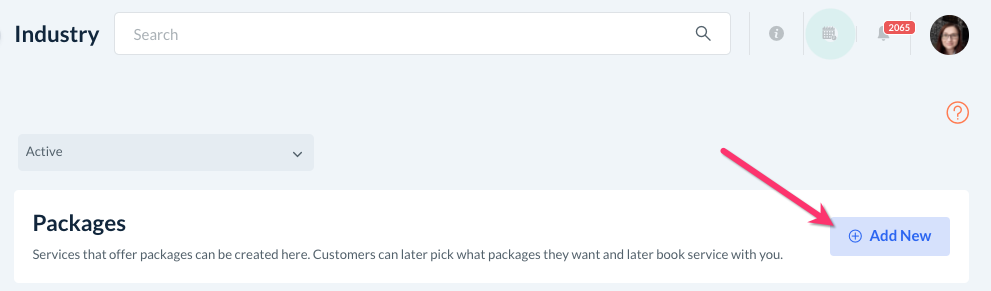
You will be redirected to an "Add Package" page.
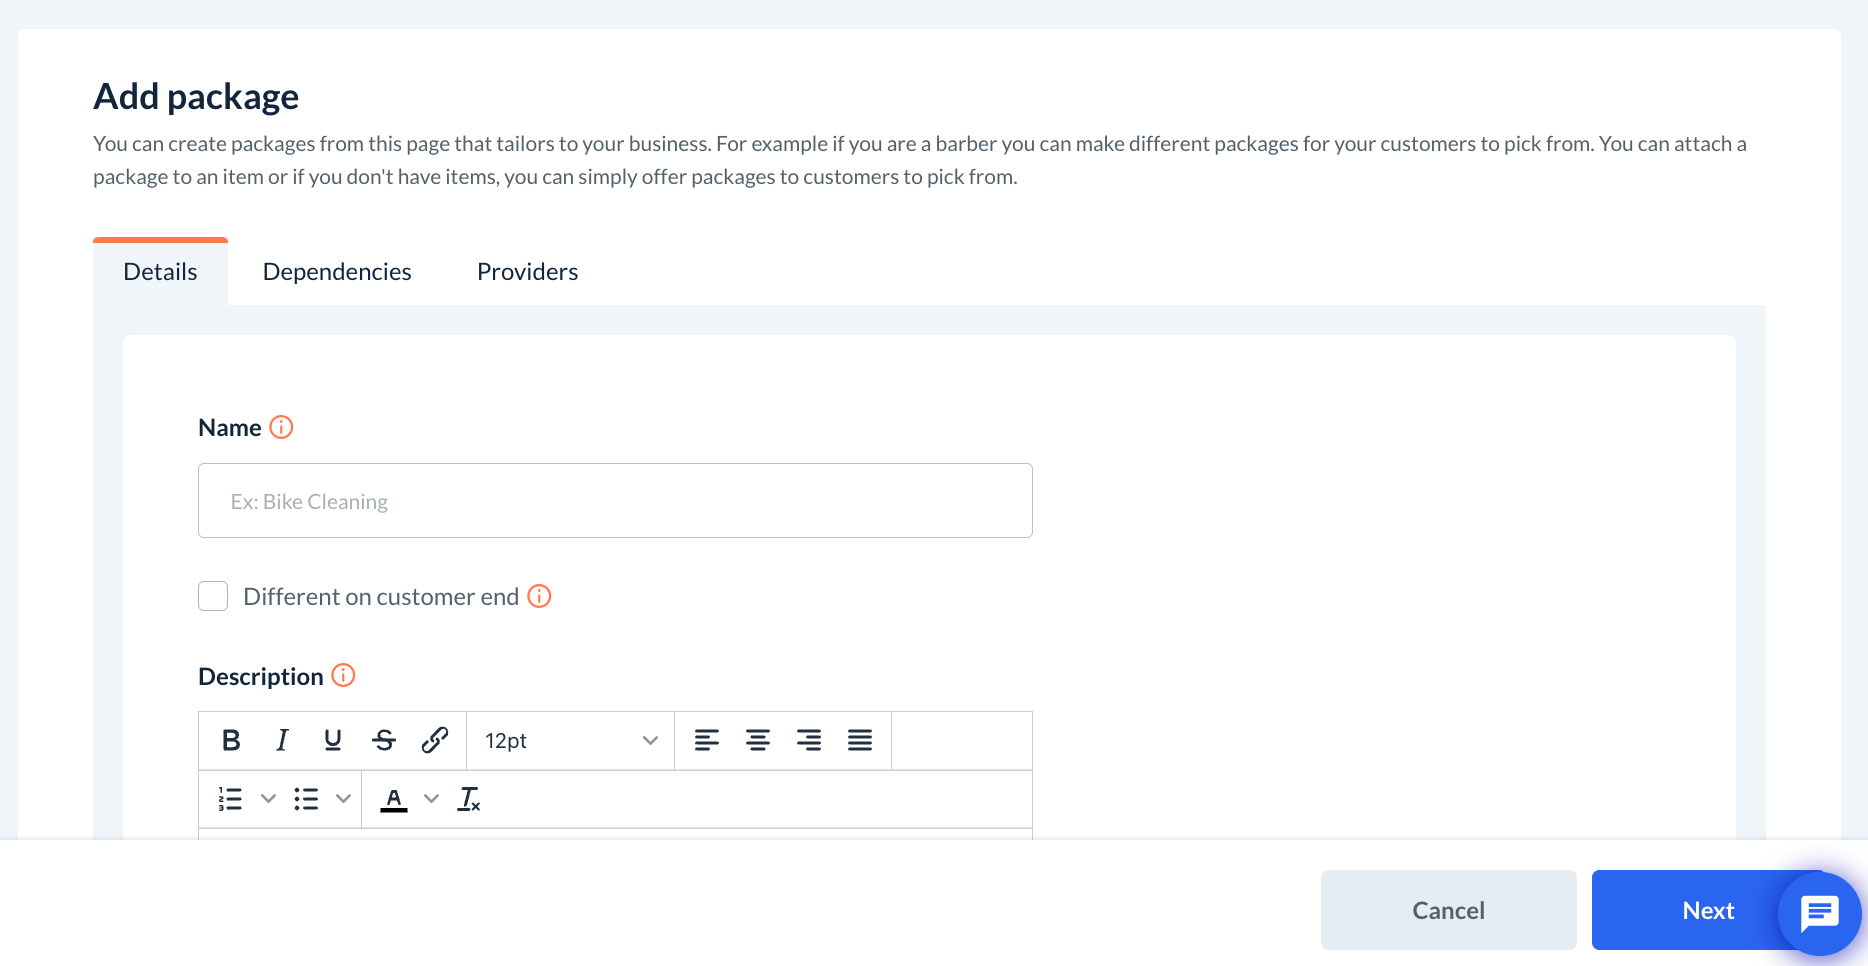
Details Tab
The first section on the "Add package" page is the Details tab. This is where you enter the name, description, pricing, and other details related to this package.
Name
First, add a Name for the package. This will be displayed on both the admin side and the customer side of the software.
If you would like for a different name to display on the customer's end, check the box next to "Different on customer end" and enter the name in the box below. If you use this option, the admin will see the top-most name, while the customer will see the name that you put in the "Different on customer end" box.
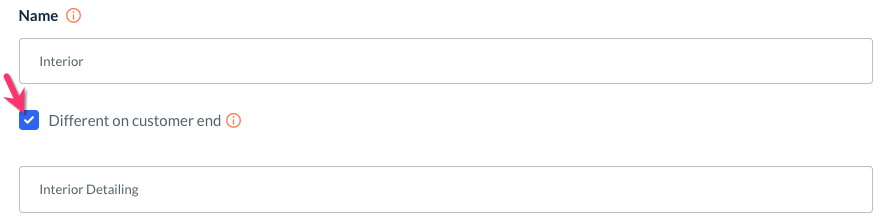
For example, a car cleaning service might label one package "Interior" for the admin-facing name but check "Different on customer end" so clients will see "Interior Detailing" instead.
Description
Next, enter a description of the service into the box below. This will be seen by customers. Use the text formatting tools to edit the content to your liking.

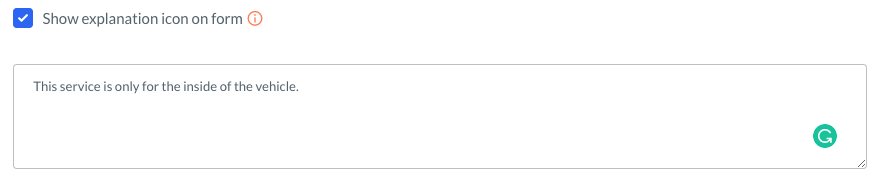
Explanation
If you would like to add an explanation icon to the package that the customer can see, check the box next to where it says "Show explanation icon on form". This will add a smaller icon next to the package's icon. When the customer hovers over the icon with their curser, the explanation will be displayed.
Enable Pop-Up
If you would like to display a pop-up message when the customer selects the package, check the box next to "Enable popup on selection" and type in the message you would like to display.
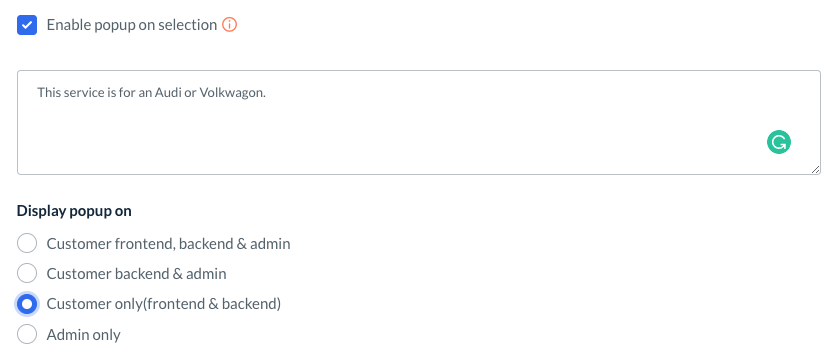
You can also customize when the pop-up will display:
Customer frontend, backend & admin - The pop-up will display for both customers and admin/staff on the front-end and back-end of the site.
Customer backend & admin - The pop-up will only display for the admin or when the customer is logged into their dashboard.
Customer only (frontend & backend) - The pop-up will display for the customer only: on the front-end of the site as well as when they are logged in.
Admin only - The pop-up will only display for admin and staff members.
Display
Below the popup section, select where you would like to display this package. Under "Display", select one of the following options:
Customer frontend, backend & admin - The package can be selected by new customers, existing customers, and the admin/staff for booking.
Customer backend & admin - The package can only be selected by existing customers or admin/staff and will not display for new customers.
Admin only - The package can only be used by admin or staff when making bookings.

Price & Time
Next, set up the Price and Time for the package. If your industry uses service areas, you will see "S.A." labeled just above these boxes.

If you have a storefront or office, you will see "M.L." (merchant location) instead.

If your business uses both service areas and merchant locations, you will see both sections. This gives you the option to set different prices depending on where the service is happening.
For the Price, enter how much this specific package costs, excluding tax and any other optional fees.
Enter a Time if you would like the system to calculate how long the service will take. If you would like your scheduling to be based on provider availability, we highly suggest you set times for each package. This helps when it comes time to schedule so the booking is not assigned to someone who does not have enough time to complete it.
Select Icon
Packages include a graphic or icon. Under "Select icon", click the icon image to pick an icon from the system, or click "Browse" to select a file from your device.
Please note: The image size should not be more than 300x300 pixels or it will be automatically resized to fit those constraints. The allowed image types are JPEG, JPG, PNG, and GIF.
Once you have finished entering your preferences, click the blue "Next" button at the bottom of the page.
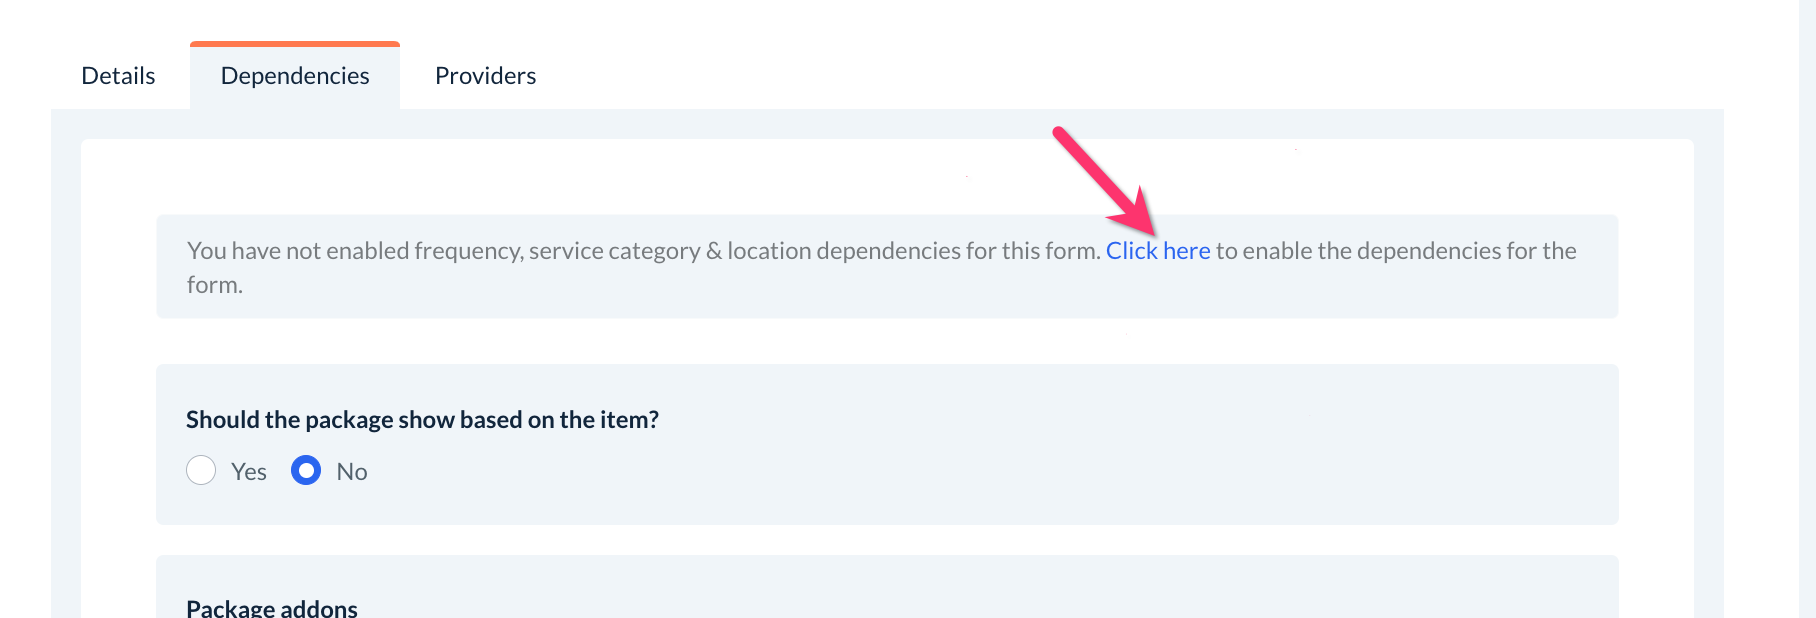
Dependencies Tab
The next tab is the dependencies tab. Dependencies are used to show or hide packages based on other factors like location, frequency, items, etc.
Enable Dependencies from Form Settings
Dependencies are enabled under the Form Settings section. Click the link to enable dependencies for your packages.
Once you are directed to the Form Settings section, select "Options" then "Edit" to view the form settings for Form 2.
Scroll down towards the bottom of the page and check off the boxes next to the dependencies you would like to enable.
For example, if you would like to have different-priced packages depending on the client's city, you would scroll down to the option "Which option(s) should the package show for?" and check the box next to "Location".
Or, let's say your items, which represent different home sizes, have different packages with different prices. In this case, you would check the box next to "Items" to enable dependencies for "Which option(s) should the package show for?"
Click the "Save" button and then you can resume work on your package's dependencies section.
Enable Package Dependencies
To enable dependencies under the package's Dependencies tab, select "Yes" for the question "Should the package show based on the [frequency/location/service category/item]?" and then check the boxes next to the [frequencies/locations/service categories/items] you want to associate with this package.
In this example, this package will only be displayed for the cities that have been selected in the dependencies section.
Unique to Form 2, dependencies for Add-Ons are always enabled for packages. This allows you to easily decide which add-ons (if any) are offered when a client adds this package to their cart.
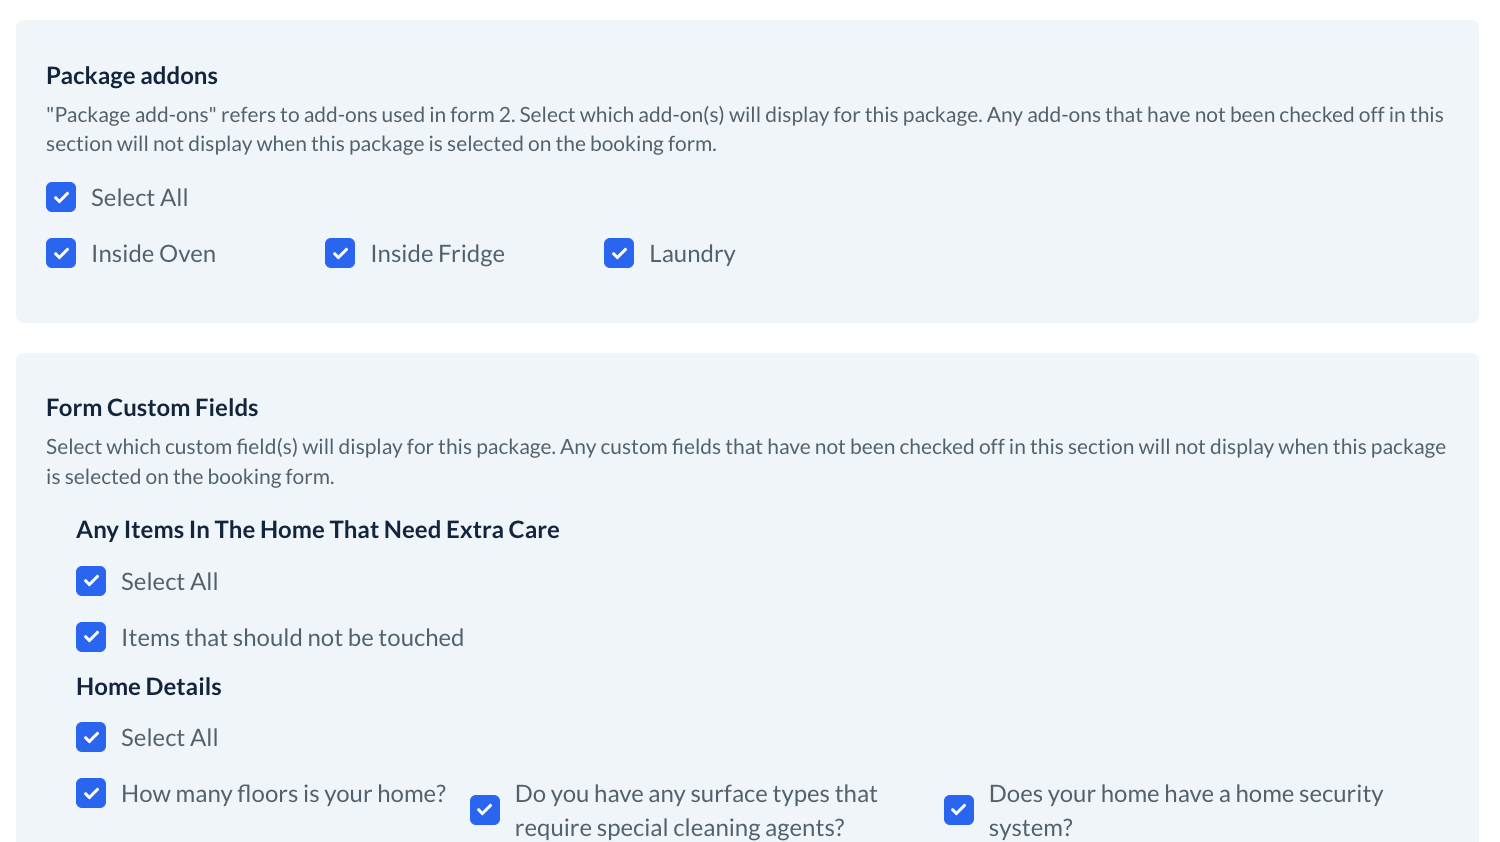
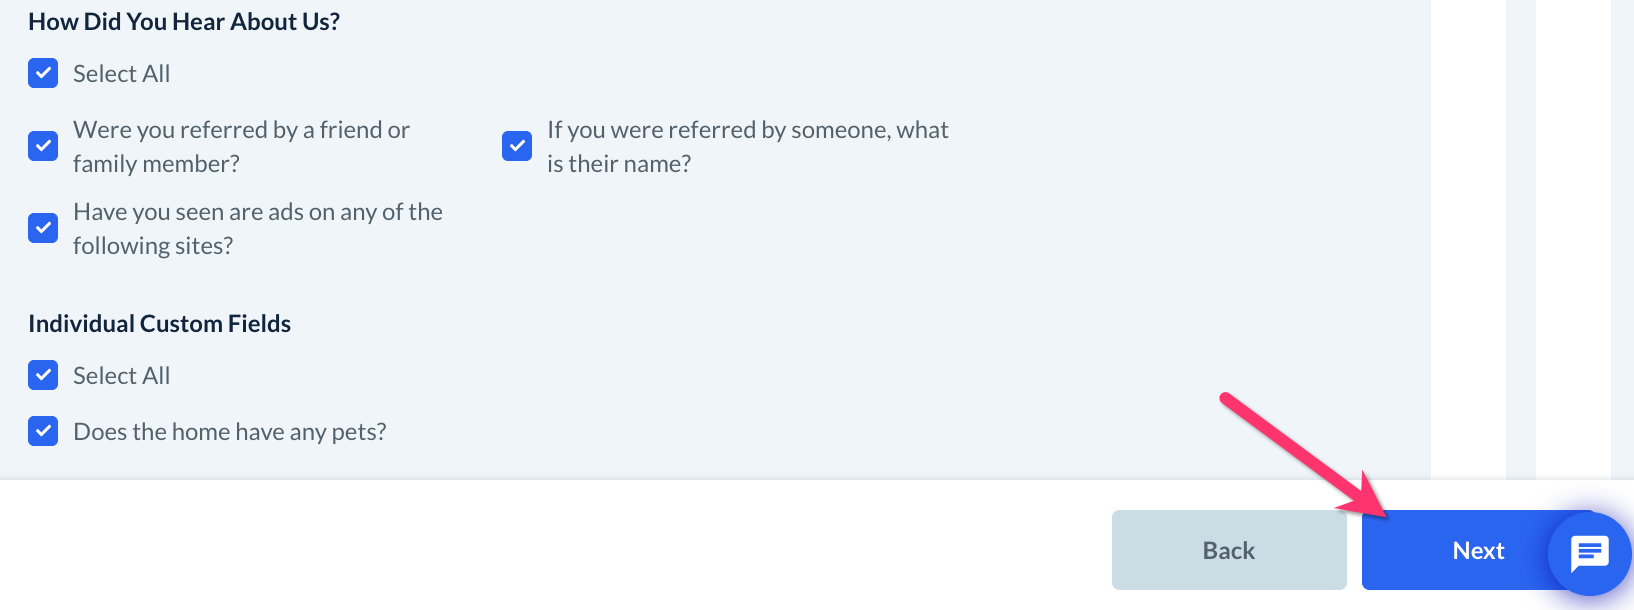
Dependencies for custom fields are also always enabled so you can decide which custom fields are shown based on the package selected.
Once you have finished setting up your dependencies for your package, click the "Next" button at the bottom of the page.
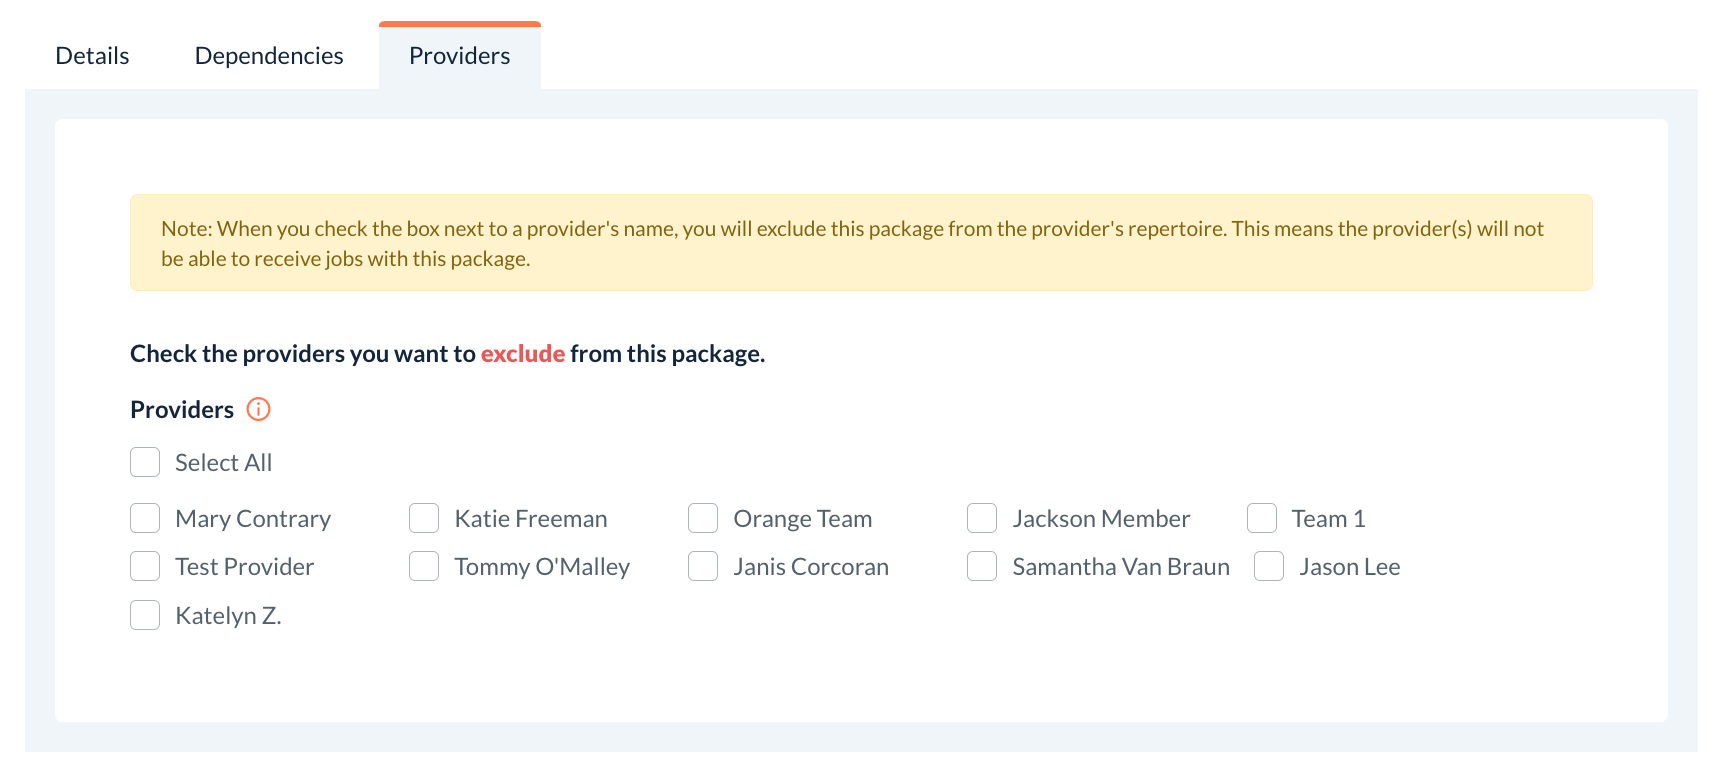
Providers Tab
The final tab in the Package creation process is the Providers tab. This tab is used to exclude or block providers from servicing this package. For example, let's say this package is called the "Extra Heavy Duty Package" and you know there are a few providers who do not provide this service, you would check the boxes next to their names.
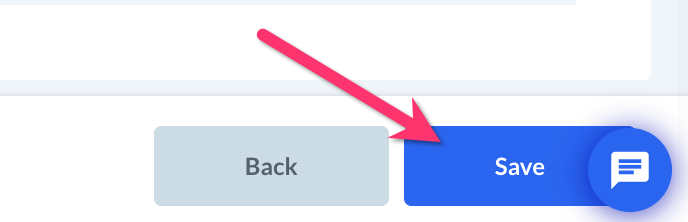
Finally, click the "Save" button at the bottom right corner of the page to save your package.
Repeat these steps until you have set up all of your packages.
Changing the Package Order
Once you have added multiple packages, you can update the order in which they are displayed on your booking form. Go to:
Settings > Industries > [Industry Name] > Form 2 > Packages
To change the order, click and hold a package to drag and drop it into a new position in the list.
Once you are satisfied with the order, click the blue "Update Priority" button at the bottom of the page.
A green system notification will appear in the top-right corner of the page, letting you know the priority has been updated successfully.
How to Modify Packages
If you ever want to make further adjustments to your packages, you can always go to:
Settings > Industries > [Industry Name] > Form 2 > Packages
Edit a Package
To edit a package, click on "Options" and select "Edit".
You will be brought to the Edit Package page where you can modify any of the settings you'd like. Just be sure to click the blue "Save" button to save any changes.
A green system notification will appear in the top-right corner of the page, letting you know the package has been updated successfully.
Duplicate a Package
To make a copy of an existing package, click on "Options" and select "Edit". A pop-up window will ask if you are sure you want to duplicate this package. Click "Yes" to proceed.
The phrase "-Copy" will be added to the name of the new package so you can tell it apart from the original. If you change the name, be sure to pick something different from the original name.
Once you have finished making your adjustments, click the blue "Save" button at the bottom of the page.
A green system notification will appear in the top-right corner of the page, letting you know the package has been duplicated successfully.
Delete a Package
If you want to permanently delete a package, click on "Options" and select "Delete". A pop-up window will ask if you are sure you want to delete this package. Click "Yes" to proceed.
A green system notification will appear in the top-right corner of the page, letting you know the package has been deleted successfully.
Archive or Unarchive a Package
If you would prefer to keep a package but not use it for our form right now, you can instead choose to Archive it. Once a package has been archived, neither the customer nor the admin can select it from the booking form.
To archive a package, click on "Options" and select "Archive". A pop-up window will ask if you are sure you want to archive this package. Click "Yes" to proceed.
The package will now be listed under the "Archived" menu.
If you would ever like to start using an archived package again, you can easily "unarchive it". Click on the drop-down menu at the top of the page and select "Archived".
Click on "Options" and select "Unarchive" next to the package you would like to resume. A pop-up window will ask if you are sure you want to unarchive this package. Click "Yes" to proceed.
The package will be moved back to the "Active" packages listing. You will now be able to use the package in your booking form again.