The purpose of this article is to help you understand:
What is the "terms & conditions" feature?
How to enable the terms & conditions feature
How to require customers and/or admin/staff to accept the terms & conditions before booking
How to check if the "Terms & Conditions" checkbox was checked or not checked
What is the booking form "Terms & Conditions" feature?
When enabled, the "Terms & Conditions" feature places a checkbox just above the "Save Booking" button on the booking forms.
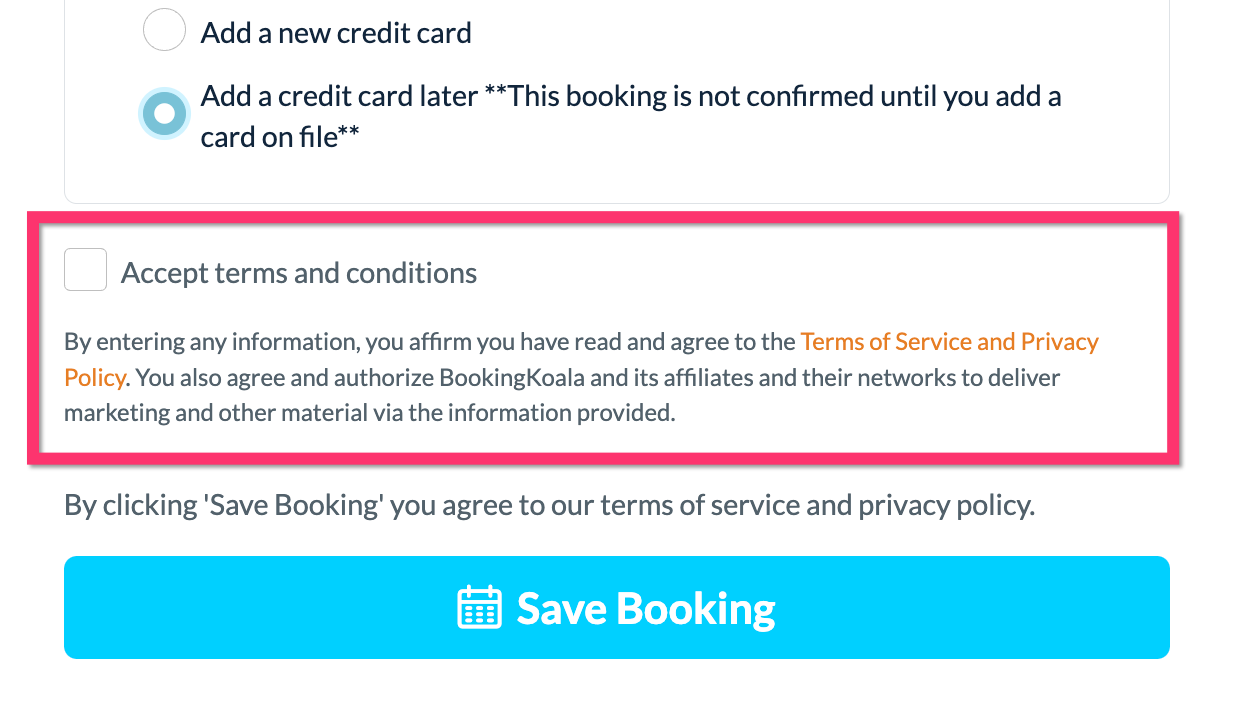
This feature can be displayed to customers and/or the admin/staff. It is also possible to require customers and/or admin/staff to check the box and agree to the terms and conditions of your services before scheduling or requesting an appointment.
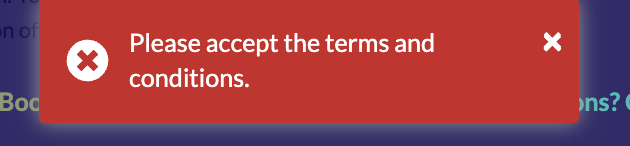
If the feature is required, users will see a red error message at the top of the page reminding them to accept the terms and conditions.
A red error message will also be displayed below the "Terms & Conditions" checkbox and text.
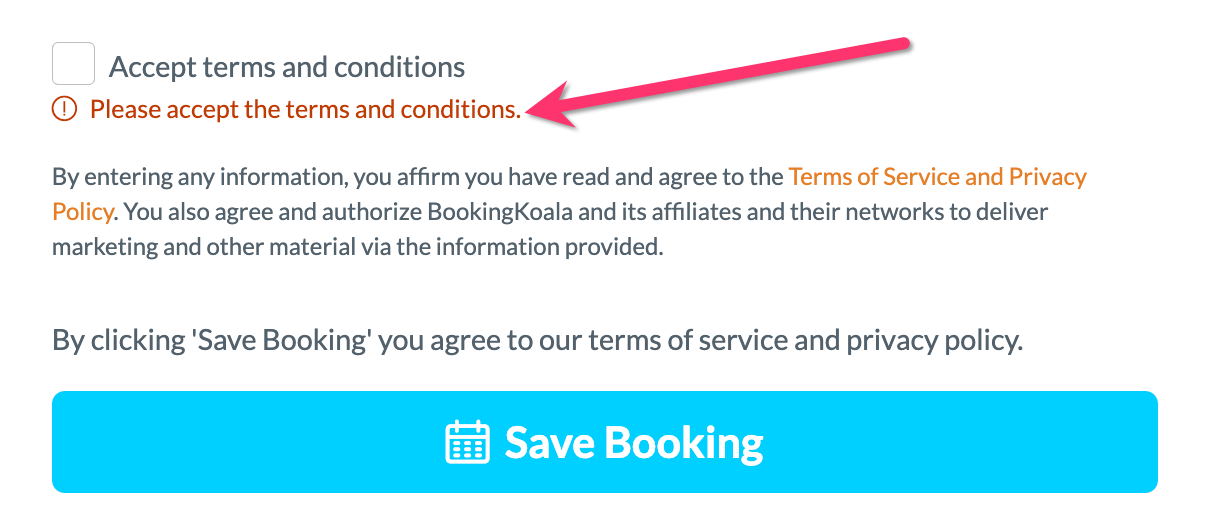
Once the user checks the "Terms & Conditions" box, they will be able to use the "Save Booking" button to submit the booking.
Once the booking has been saved, customers will see a green "Thank you for booking with us!" alert at the top of the page.
Enable Terms & Conditions
To enable, disable, or customize the "Terms & Conditions" feature for your booking form(s), you will first need to open the Website & Theme Builder.
Please go to:
Settings > Design Forms and Website > Website Builder and Themes
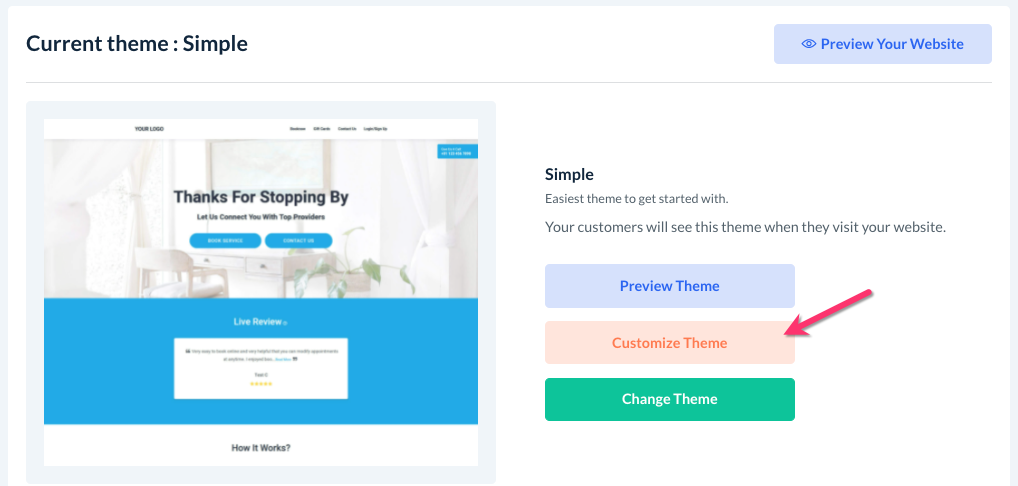
Click on the orange "Customize Theme" button to open the website builder.
Once the advanced theme builder has launched, go to the booking form on the “Book Now” page using the top center "Page" menu. Select an industry and form number if you have more than one, as different Terms & Conditions can be set up per form.
Scroll down to the “Terms and Conditions” section and click on the “Terms and Conditions” text to reveal an “Edit” button. Click “Edit” to open the “Terms and Conditions” menu from the left side of the page.
There is an option to “Show/Hide” the “Terms and Conditions” checkbox.
There is also an option to “Edit” the text that appears by the checkbox if it is set to “Show”.
Next, select which user(s) should see the “Terms & Conditions” feature ("Customers" and/or "Admin/Staff") Below, select which user(s) are required to accept the “Terms & Conditions” checkbox feature ("Customers" and/or "Admin/Staff").
There is also an option to “Edit” the “Error Message” text which will display if the user forgets to accept the “Terms and Conditions” before submitting the booking.
The message will only be displayed to the user(s) who are required to accept the “Terms & Conditions” via this feature.
Finally, select which form(s) to apply these “Terms and Conditions” settings.
Select “Just this form” to only apply these terms to the current form you are editing.
Select “All forms in the system” to apply these terms to all forms and industries in the system.
Once you are finished making your selections from the "Terms & Conditions" side menu, click the blue "Save" Button at the bottom of the page.
Remember to click the blue "Save & Publish" button to push the changes live to your website or forms.
Terms & Conditions Logs
If customers are not required to accept the booking "Terms & Conditions", you can still check if they accepted the terms before submitting their booking.
First, please go to:
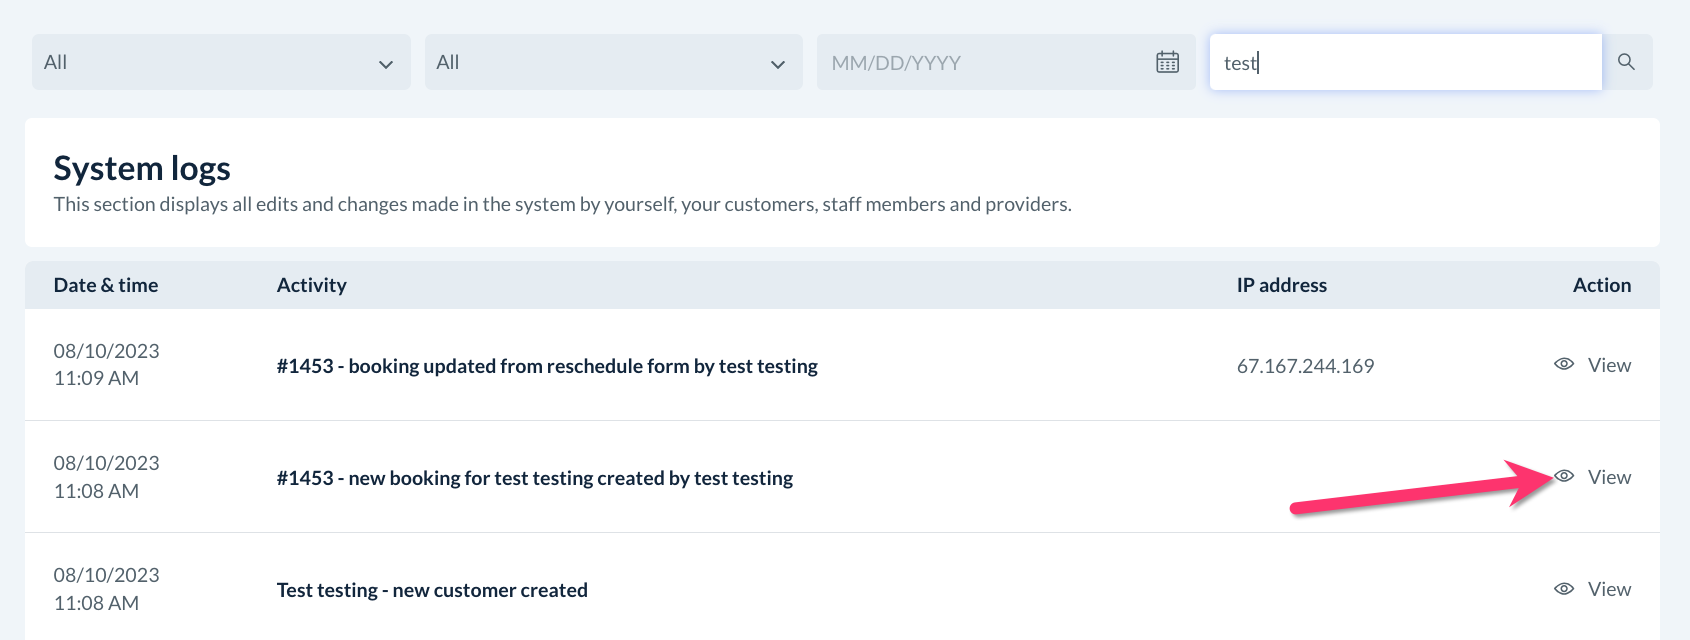
Logs > System Logs
Search for the job "New Booking" log by using the filters along the top of the section, or searching the customer's name, email address, phone number, address, or booking ID in the search bar.
Once the log has been located, click the eye icon/"View" button to view the log's details.
At the bottom of the log details section, there will be a line called "Terms & Conditions (checkbox)".
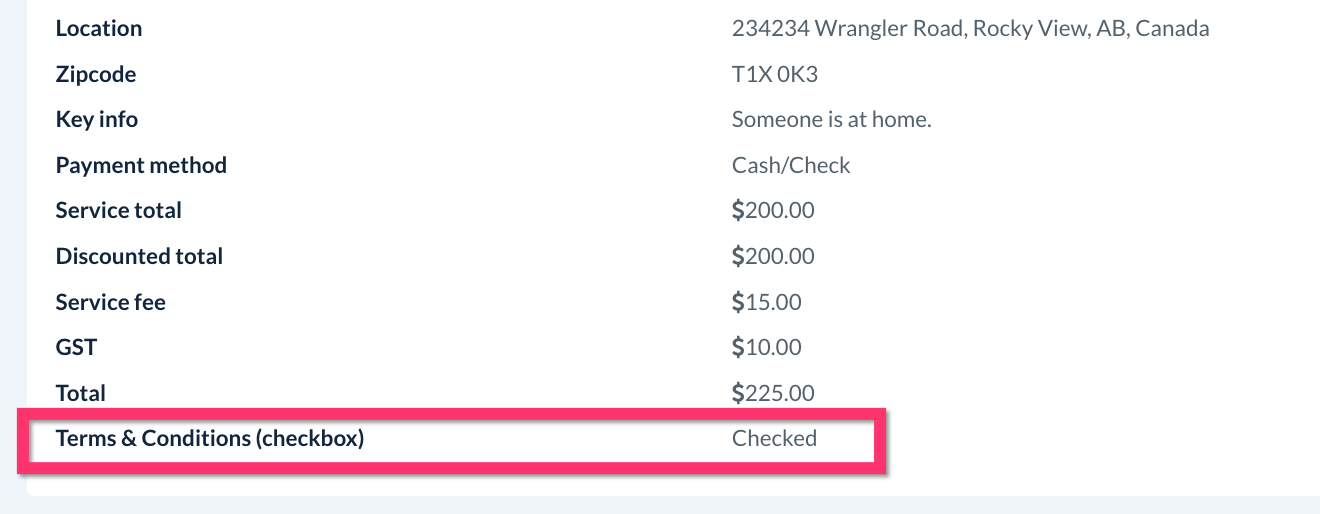
If the data to the right of this says "Checked", the user accepted the terms and conditions using the "Terms & Conditions" checkbox before submitting the booking.
If the data to the right of this says "Unchecked", the user declined to check the "Terms & Conditions" checkbox before booking.