The purpose of this article is to help you understand:
How to set up Google AdWords
How to install the codes in your BookingKoala account
Getting Started
Before you begin, you will need a Google account in order to start using Google AdWords. If you don't already have an account for a Google product, you can click here to create a Google Account.
Next, we recommend connecting and linking a Google Analytics account to your BookingKoala account to get a better picture of your ad performance. Click here to set up your Google Analytics account.
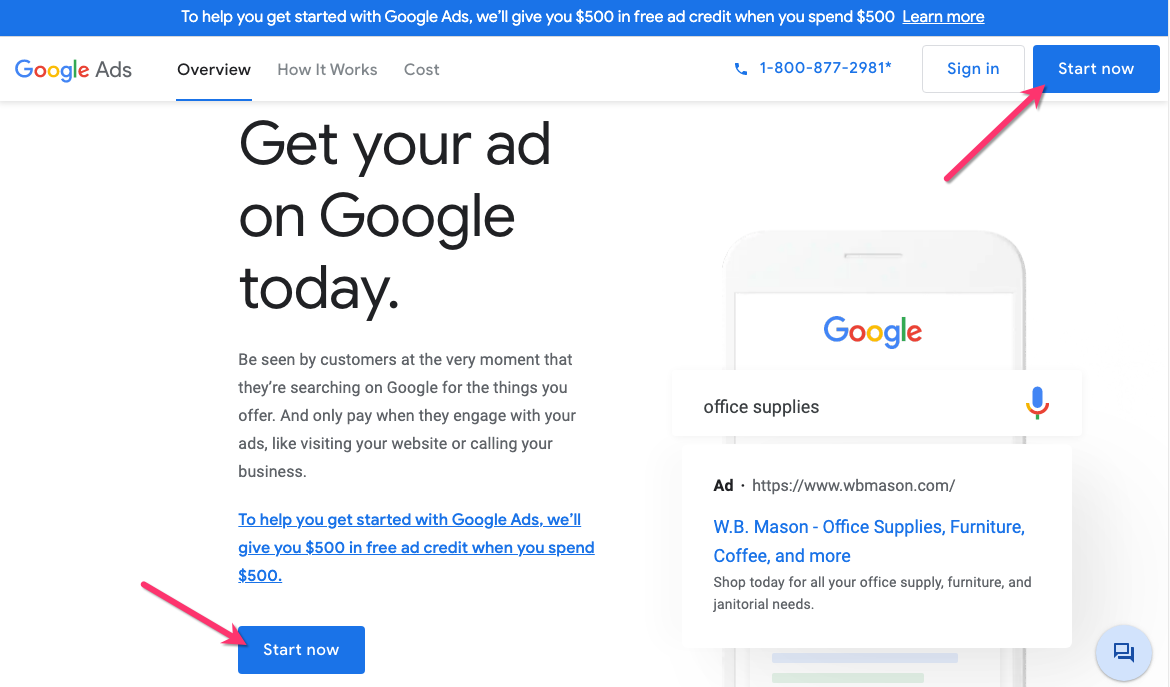
Once your account has been created, you will need to create a Google AdWords account. Click here to visit the Google Ads page to begin the process.
Once you are on the Overview page, click either of the blue "Start Now" buttons to set up your Google AdWords account.
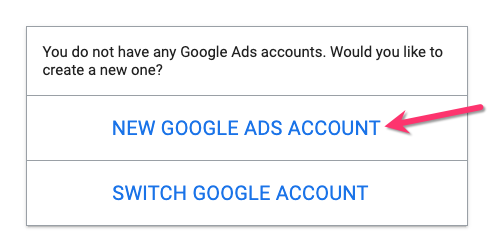
Next, click the "New Google Ads Account" link to create a new account.
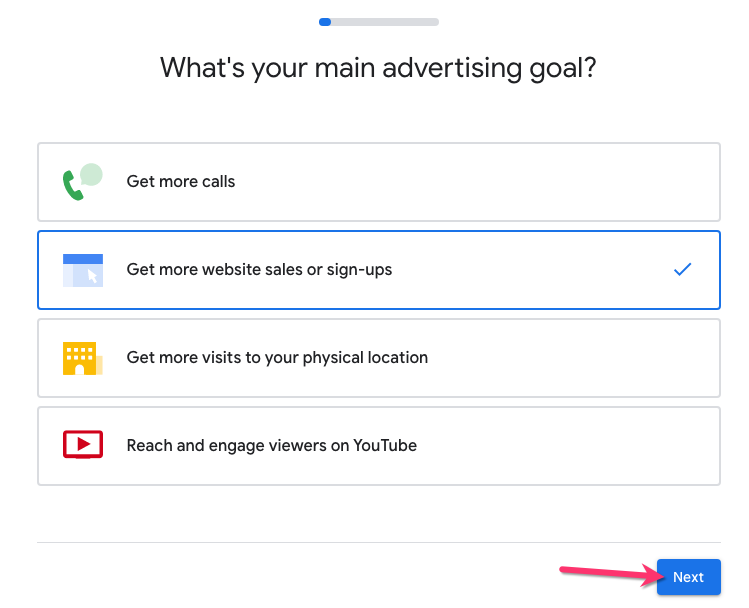
Next, select your main advertising goal from the options provided and click the blue "Next" button.
Next, enter your business name and then click the blue "Next" button.

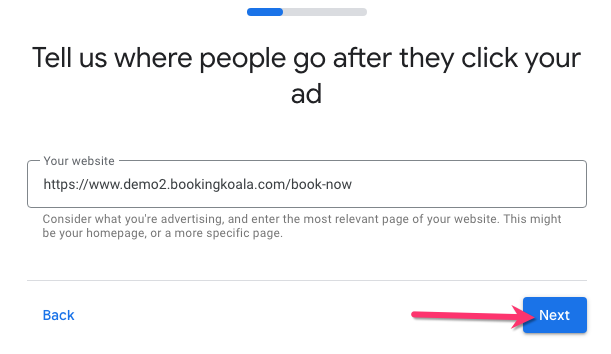
Next, enter the URL of the page you'd like to direct people to after they click your ad, and then click the blue "Next" button.
Give the system a moment to check your site and gather information about your business. Once finished, you will see a preview of the page you have entered on both mobile and desktop views.
If the page is displaying correctly, click the blue "Next" button to proceed.
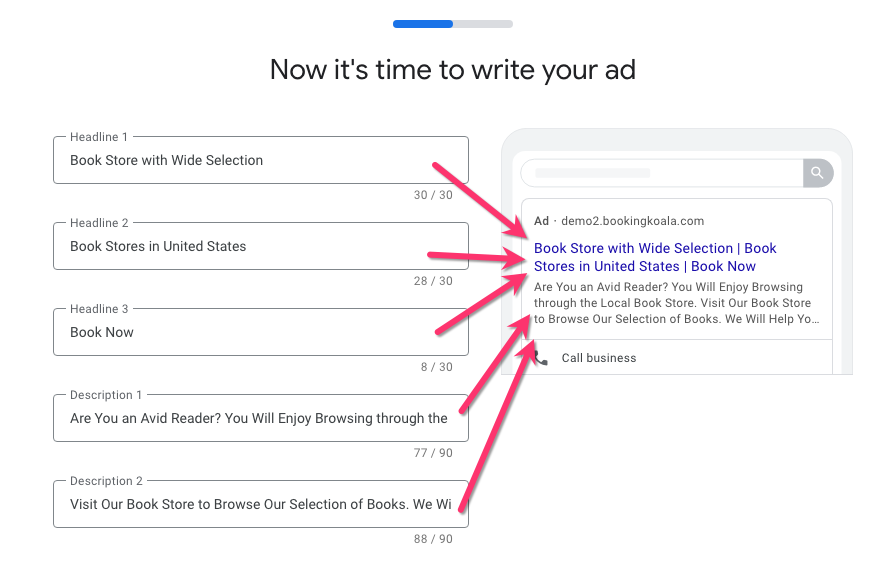
Next, you will write your first ad. A preview of the ad will be displayed on the right side of the page.
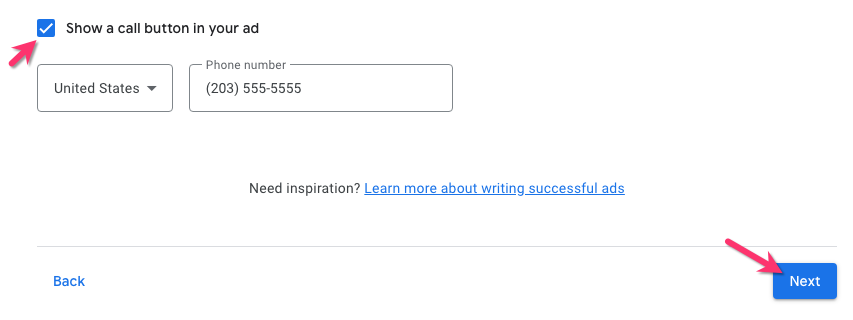
If you'd like to include a call button in your ad, check the box next to "Show a call button in your ad" and enter the country and phone number in the boxes below. Then, click the blue "Next" button.
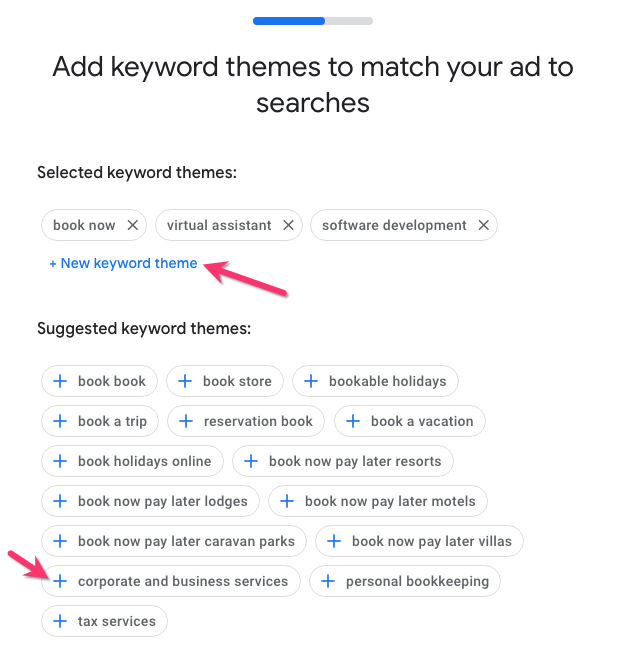
Next, you will add keyword themes to match your ad to searches. Click the blue "New Keyword Theme" link to add a different keyword. Your selected keywords will display in the top section, with Google's suggestions listed in the second section. Click the suggested keyword themes to add them to your list. Once finished, click the blue "Next" button.
Next, select "Advertise near an address" or "Advertise in specific zip codes, cities, or regions" to determine where your ad will be displayed. Enter the address, zip code, or region in the box below. Click the blue "Next" button to proceed to the next step.
Next, set a budget for your ad. You can pick "Select a budget option" to view Google's standard options or select "Enter your own budget" to create a custom budget.
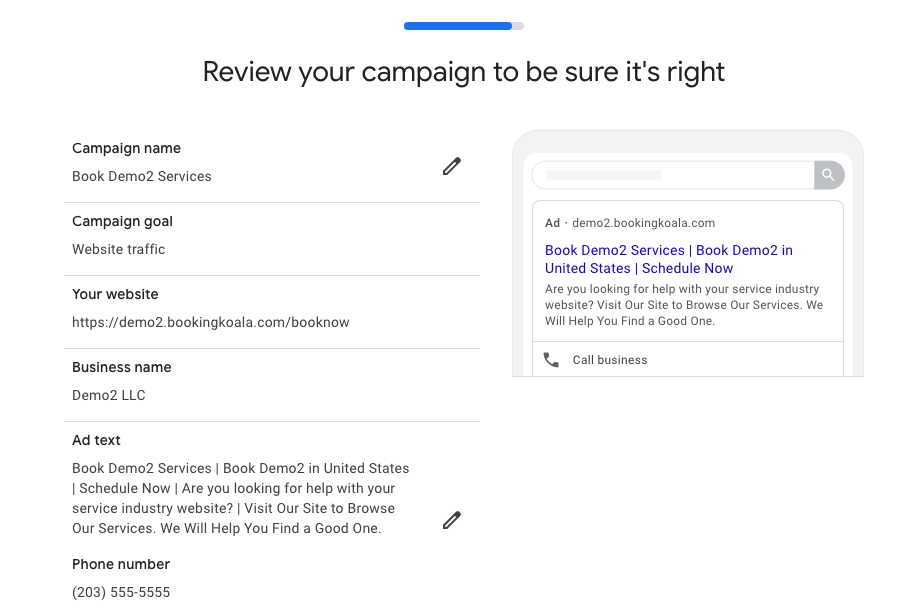
Once you click the "Next" button, you can review all of your ad's details and make changes if necessary.
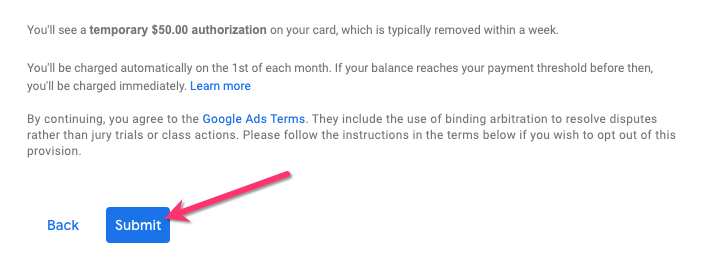
Finally, enter your payment information and select the blue "Submit" button at the bottom of the page to finish setting up your account.
Once submitted, you will be redirected to your Google Ads dashboard.
Setting Up Your Google Ads Conversion Tracking
To set up Google Ads conversion tracking, you need to create a conversion action, install the global site tag, and then add the event snippet. If you’re tracking purchases, then you also need to edit the event snippet to adjust the value of the conversion based on the purchase amount. Please follow the instructions below to set up your conversion and purchase tracking.
Step 1: Create a conversion action in Google Ads
To set up Google Ads conversion tracking, follow the Google Ads instructions for creating a conversion action.
Sign in to your Google Ads account if you are not logged in already.
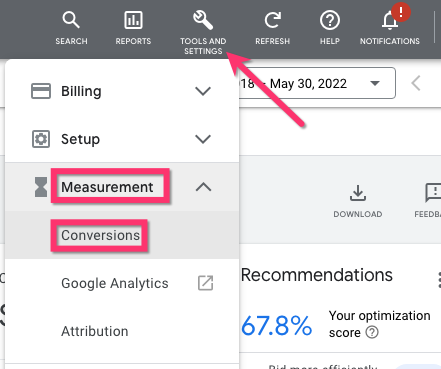
Click the Tools and Settings icon near the top right corner of the page. Select "Measurement", then "Conversions" from the drop-down menu.
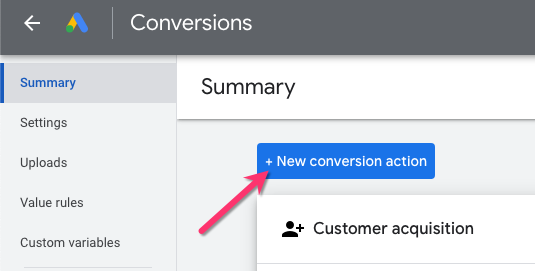
Click the blue "New conversion action" button at the top of the "Summary" page.
Click the "Website" block.

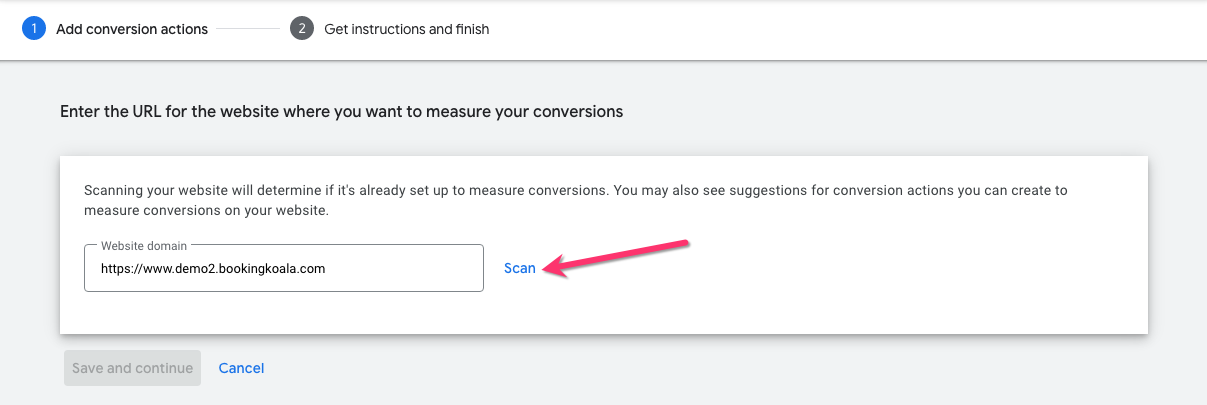
Enter your website URL and click the blue "Scan" link to the right of the box.
Next, you will create your conversion action. There are two different ways to go about this.
Set up a conversion with a URL - Use this method if you want to measure visits to certain pages of your website, like a thank-you page, email sign-up confirmation page, or form completion page
Set up a conversion manually - Use this method if you want to use custom features like dynamic values and transaction ID, or if you want to count conversions when users click on links or buttons on your website.
Click here to view Google Ad's instructions for how to set up conversions using each method (at the bottom of Step 1).
The most common kind of conversion action is tracking purchases. To set up tracking purchases, click the blue "Add a Conversion Action Manually" link at the bottom of the page.

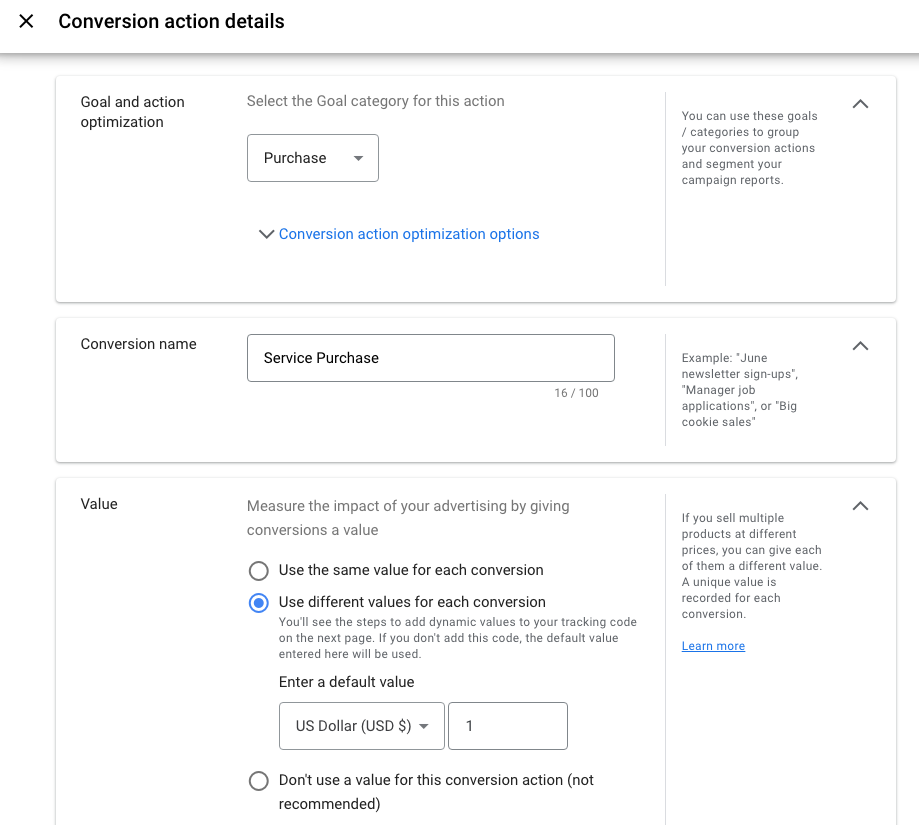
A menu will appear on the right side of the screen. For the "Goal and Action Optimization" section, select "Purchase". Enter a name for the conversion, and then select "Use different values for each conversion" under the "Value" section.
Below, select how many conversions to count per click under the "Count" section. Select "Every" to count every purchase as a conversion. At the bottom of the menu, you can set your conversion windows to record conversions within a certain time frame after clicking your add.
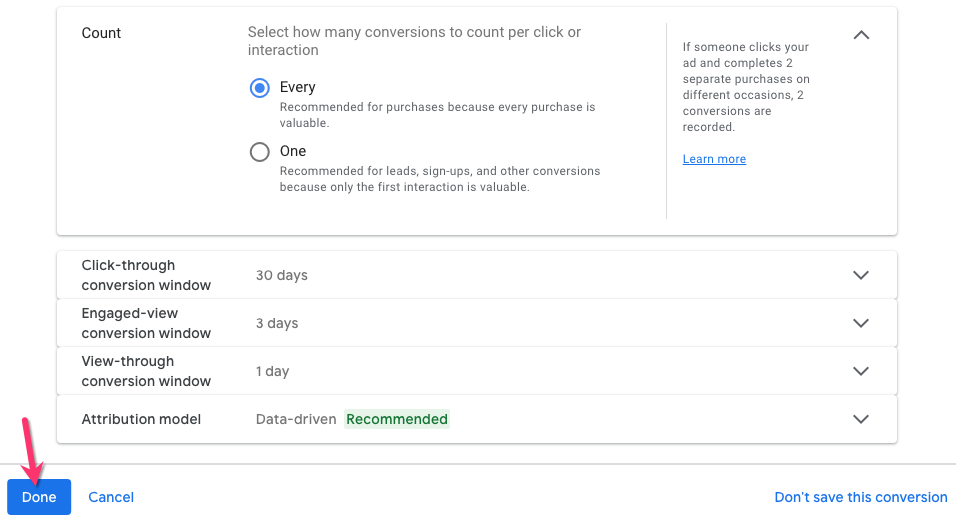
Once you are finished, click the blue "Done" button at the bottom left corner of the side menu.
Step 2: Install the global site tag
After you create a conversion action, you will need to install the global site tag in your BookingKoala account.
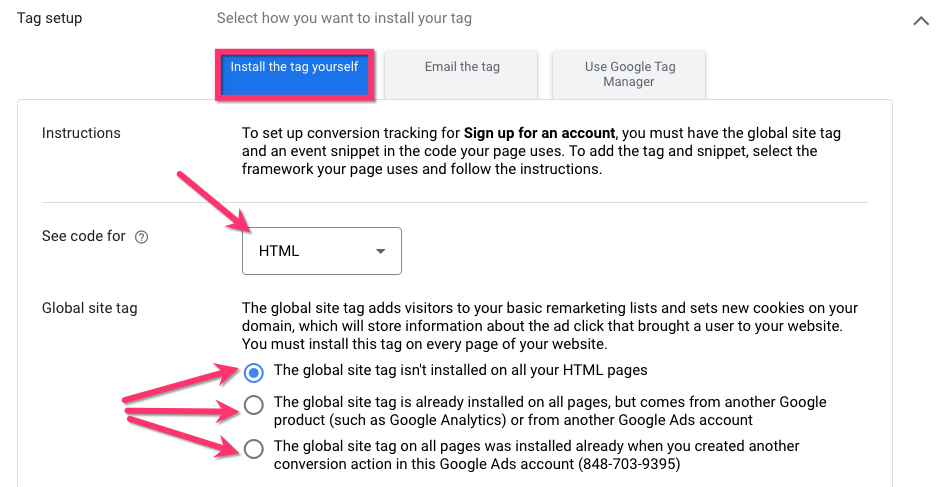
When you get to the Tag Setup step in Google Ads, click Install the tag yourself.

Make sure "HTML" is selected at the top of this section. In the Global site tag section, select whichever option applies to your tag. Your selection will influence the tag's code.
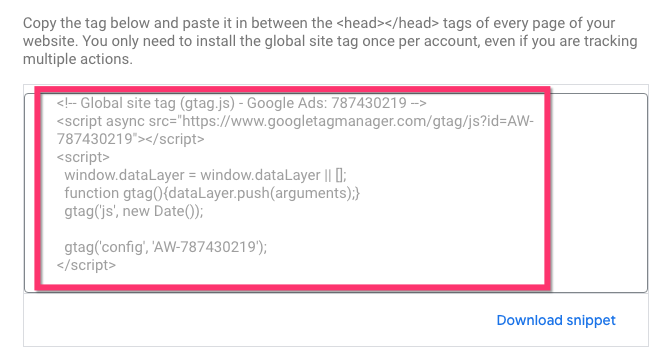
Copy your global site tag from the box below.
In another browser window, open your BookingKoala admin dashboard.
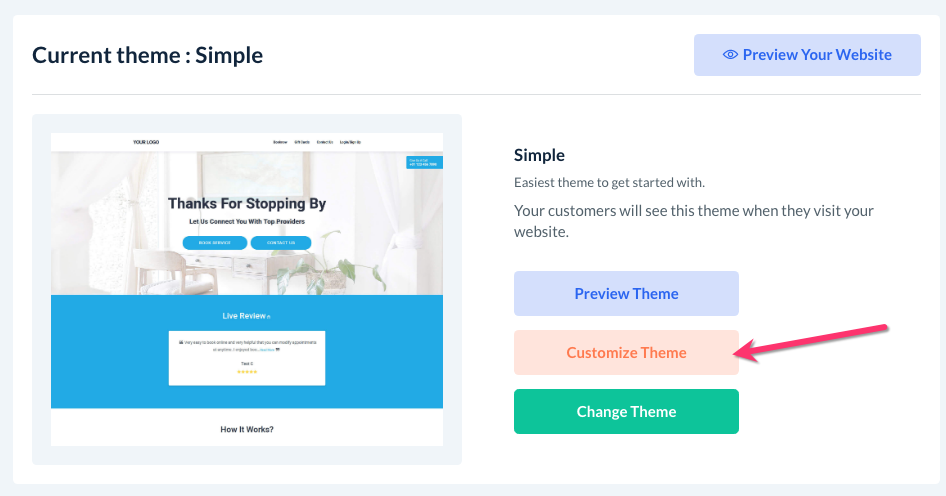
Go to: Settings > Design Forms and Website > Website Builder and Themes
Click on the orange Customize Theme button.
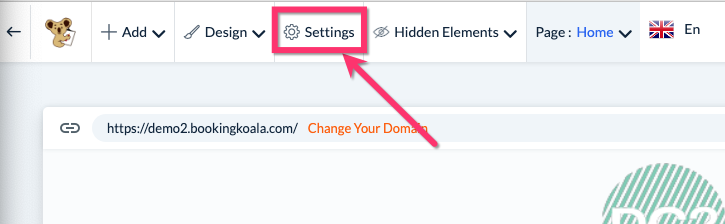
Next, click on the white Settings tab at the top of the page. A side menu will appear on the left.
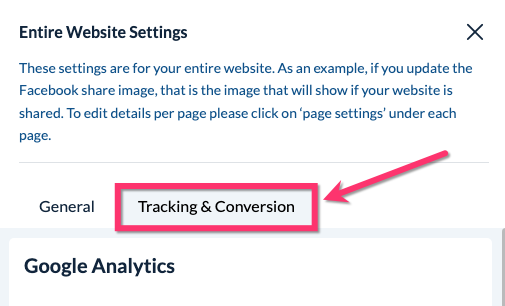
Click on the "Tracking and Conversion" tab.
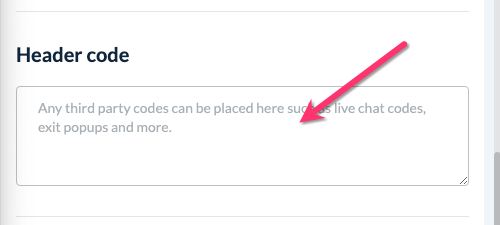
Scroll down to the Header Code section and paste in your global site tag into the box below.
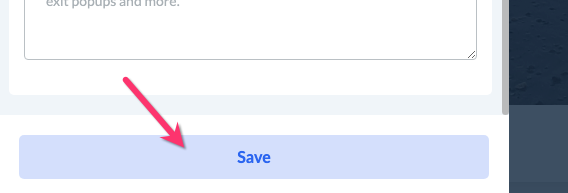
Click the blue "Save" button at the bottom of the side menu.
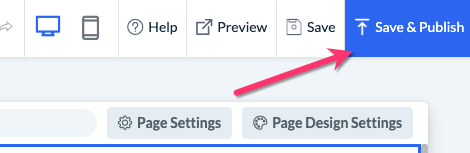
Finally, click the blue "Save and Publish" button in the top right-hand corner of the page to push your updates live.

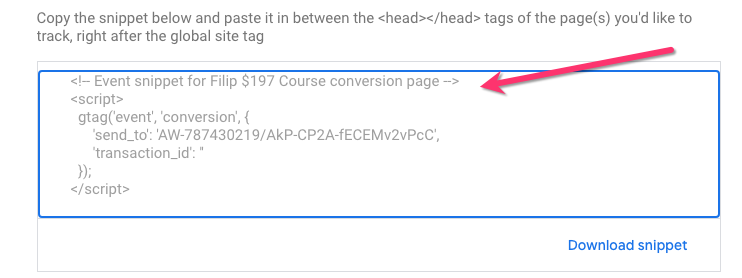
Step 3: Install the event snippet
After you have installed the global site tag, you will need to add the event snippet to your "thank you" page (or any other page where the final event will be recorded). The event snippet tracks a conversion any time somebody clicks one of your ads and then later reaches the page the event occurs on.
For example, if you are tracking a successful booking completion, you would paste the event snippet into your "thank you" page, as this is the page where the final event occurs (users are redirected here after saving a booking).
Back in Google Ads, scroll down past the Global Site Tag section until you see the "Event Snippet".
Select "Page load" from the options provided.

Copy the event snippet code.
Back in your BookingKoala dashboard, go to Settings > Design Forms and Website > Website Builder and Themes > Customize Theme.

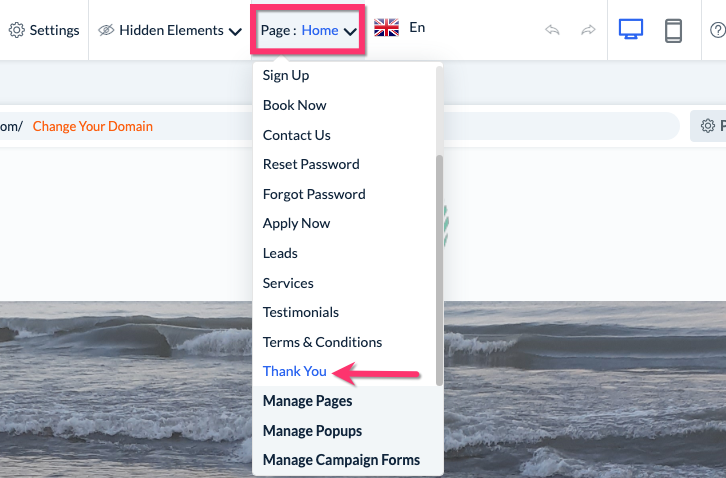
Click the Page menu at the top center of the page and select the "Thank You" page (or any other page where the event is to occur).
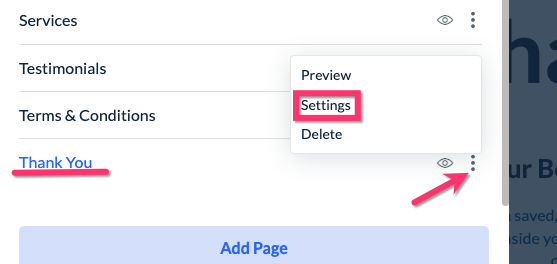
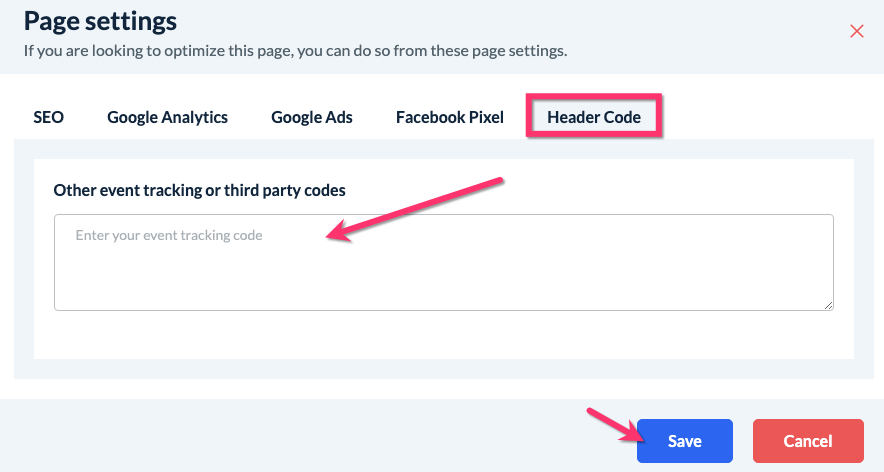
A side menu will appear on the left. Click on the 3 vertical dot icon next to the "thank you"/action page and select "Settings".
A pop-up will appear. Click on the Header Code tab, paste your global site tag into the box below, and then click the blue "Save" button.
Click the blue "Save and Publish" button in the top right-hand corner of the page.
Next, copy the global site tag used in the previous step and add this tag above the event snippet in the header section.
You can copy the global site tag from the Google Ads dashboard or go click on Settings > Tracking and Conversion and copy it from the "Header code" section.
Click the blue "Save" button in the pop-up, and then "Save & Publish" at the top right corner of the page.

4. Additional Tips for Modifying the Event Snippet
If a customer reloads the page, Google Ads may record a duplicate conversion. To prevent duplicate conversions, you can add tags before and after the event snippet so that it triggers only once per customer.
To add these tags, click on the Page menu in the top center of the page and select your "Thank You"/action page.
In the left side menu, click on the three dots icon next to the page you are updating and select "Settings".
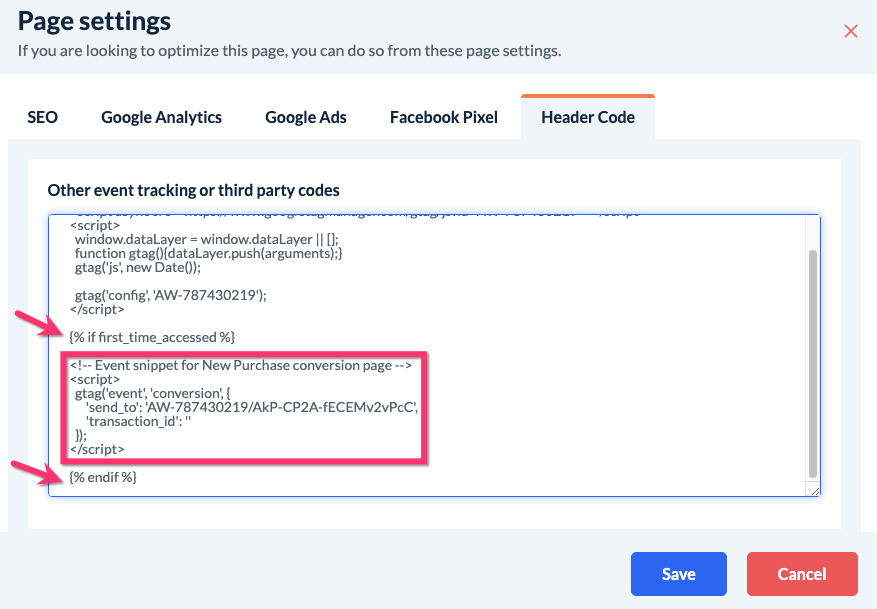
Click on the "Header Code" tab in the following pop-up and expand the text section by dragging the bottom right corner downward.
On the line before the event snippet, paste:
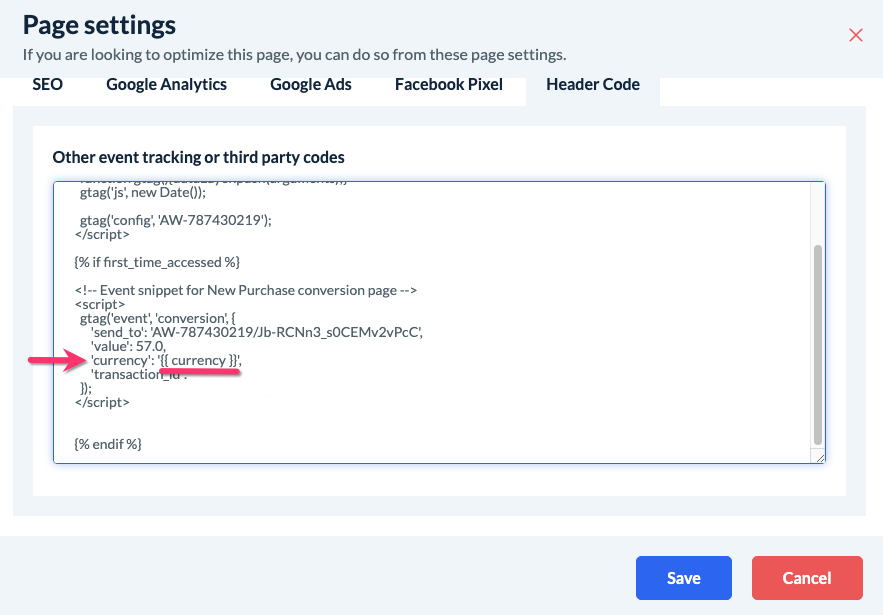
{% if first_time_accessed %}On the line after the event snippet, paste:
{% endif %}
Click the blue "Save" button at the bottom of the pop-up window, then "Save & Publish" to update your website.
The default currency for Google Ads is USD. If you don't sell in US dollars, you can replace "USD" in the event snippet to reflect the currency selected for your Google Ads account.
To update the event snipped, click on the Page menu in the top center of the page and select your "Thank You"/action page.
In the left side menu, click on the three dots icon next to the page you are updating and select "Settings".
Click on the "Header Code" tab in the following pop-up and expand the text section by dragging the bottom right corner downward.
Use Control + F or Command + F to locate the term "USD" in the event snippet.
Replace "USD" with:
{{ currency }}
Click the blue "Save" button at the bottom of the pop-up window, then "Save & Publish" to update your website.
What if I have embedded forms on a different site builder like WordPress, Wix, etc?
If you have embedded the BookingKoala forms onto a third-party website, you will still need to add the global site tag and event snippet in the BookingKoala pages as previously instructed.
In addition, you will also need to add the global site tag to your website builder's header/header code section.
Here are instructions on how to update your website header for some of the most common website builders our clients use:
If you do not see your website builder listed here, please please email us at [email protected] so we can better assist you.