The purpose of this article is to help you:
Learn about translation settings
Create and link a Google translate API key
Add different languages for the provider app and customer portal
Set a default language for the provider app and customer portal
Translate "strings" in the provider app and customer portal
Make translations in the Website Builder
What are translation settings?
If your customers and/or providers speak a language besides English, you can use the Translation section to manage the language(s) used in the provider app and the customer portal.
Please note: The "multiple languages" feature is only available for Premium subscriptions. All plans allow for one language to be selected as the default.
For example, if you wanted to switch BookingKoala from English to Spanish, you would not need to upgrade your plan.
However, if you wanted to have English AND Spanish versions for the provider and customer portals, you would be prompted to upgrade when you try to add a second language.
The following languages are currently available:
Afrikaans (af)
Albanian (sq)
Amharic (am)
Arabic (ar)
Armenian (hy)
Azerbaijani (az)
Basque (eu)
Belarusian (be)
Bengali (bn)
Bosnian (bs)
Bulgarian (bg)
Catalan (ca)
Cebuano (ceb)
Chinese (Simplified) (zh)
Chinese (Traditional) (zh-TW)
Corsican (co)
Croatian (hr)
Czech (cs)
Danish (da)
Dutch (nl)
English (en)
Esperanto (eo)
Estonian (et)
Finnish (fi)
French (fr)
Frisian (fy)
Galician (gl)
Georgian (ka)
German (de)
Greek (el)
Gujarati (gu)
Haitian Creole (ht)
Hausa (ha)
Hawaiian (haw)
Hebrew (he)
Hindi (hi)
Hmong (hmn)
Hungarian (hu)
Icelandic (is)
Igbo (ig)
Indonesian (id)
Irish (ga)
Italian (it)
Japanese (ja)
Javanese (jv)
Kannada (know)
Kazakh (kk)
Khmer (km)
Kinyarwanda (rw)
Korean (ko)
Kurdish (ku)
Kyrgyz (ky)
Lao (lo)
Latin (la)
Latvian (lv)
Lithuanian (lt)
Luxembourgish (lb)
Macedonian (mk)
Malagasy (mg)
Malay (ms)
Malayalam (ml)
Maltese (mt)
Maori (mi)
Marathi (mr)
Mongolian (mn)
Myanmar (Burmese) (my)
Nepali (ne)
Norwegian (no)
Nyanja (Chichewa) (ny)
Odia (Oriya) (or)
Pashto (ps)
Persian (Farsi) (fa)
Polish (pl)
Portuguese (Portugal, Brazil) (pt)
Punjabi (pa)
Romanian (ro)
Russian (ru)
Samoan (sm)
Scots Gaelic (gd)
Serbian (sr)
Sesotho (st)
Shona (sn)
Sindhi (sd)
Sinhala (Sinhalese) (si)
Slovak (sk)
Slovenian (sl)
Somali (so)
Spanish (es)
Sundanese (su)
Swahili (sw)
Swedish (sv)
Tagalog (Filipino) (tl)
Tajik (tg)
Tamil (ta)
Tatar (tt)
Telugu (te)
Thai (th)
Turkish (tr)
Turkmen (tk)
Ukrainian (uk)
Urdu (ur)
Uyghur (ug)
Uzbek (uz)
Vietnamese (vi)
Welsh (cy)
Xhosa (xh)
Yiddish (yi)
Yoruba (yo)
Zulu (zu)
Link Your Google Translate API Key
Before you can set up different languages, you will first need to set up and link a Google translate key. This API key works by translating the text inside the BookingKoala portals into the selected language.
To begin, go to:
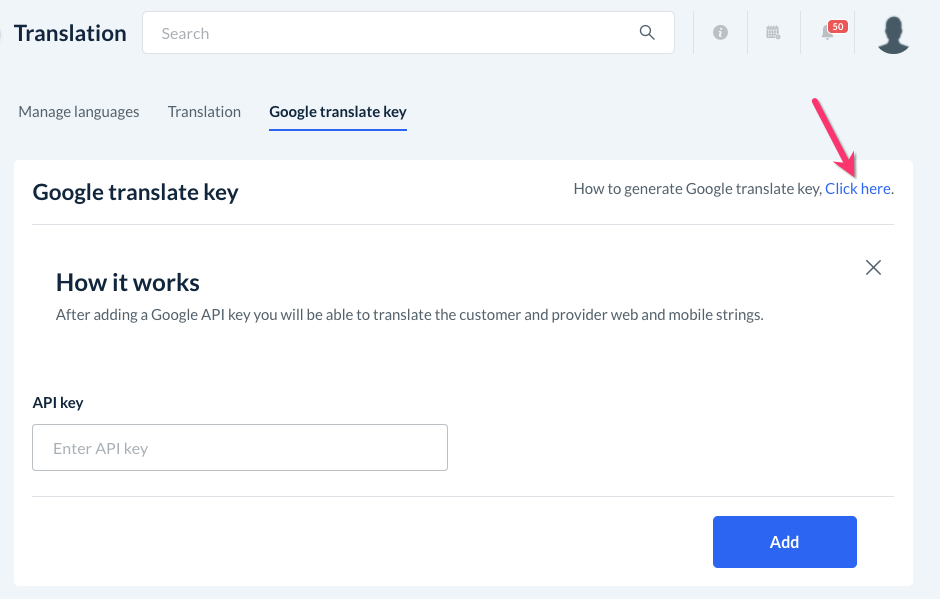
Settings > Translation > Google Translate Key
On this page, there is a link with instructions on how to generate the Google translate key. Click the blue "Click here" text on the top right corner of the page.
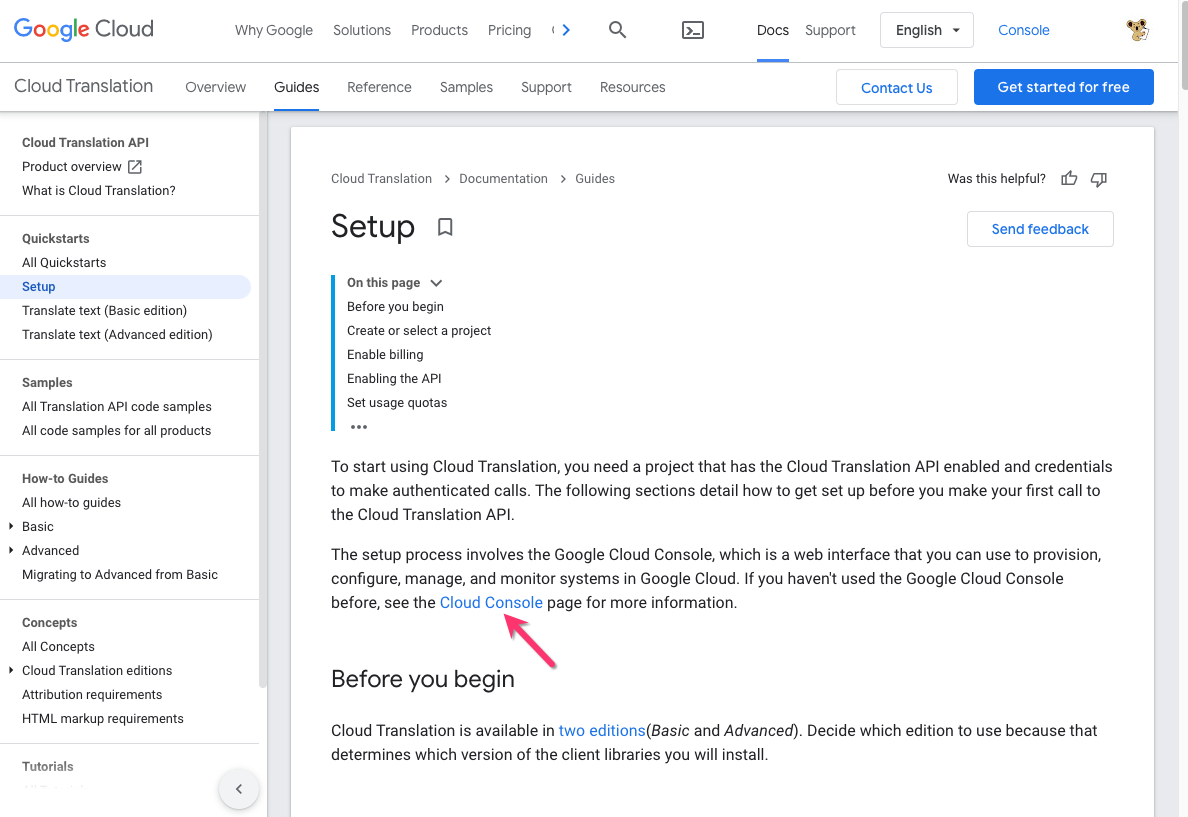
You will be brought to this article by Google Cloud on How to Set Up Cloud Translation. Please read the entire article and then follow the steps.
Google Cloud Console
The setup process involves the Google Cloud Console. If you haven't used it before, check out the link in the article to get more information and try it for free.
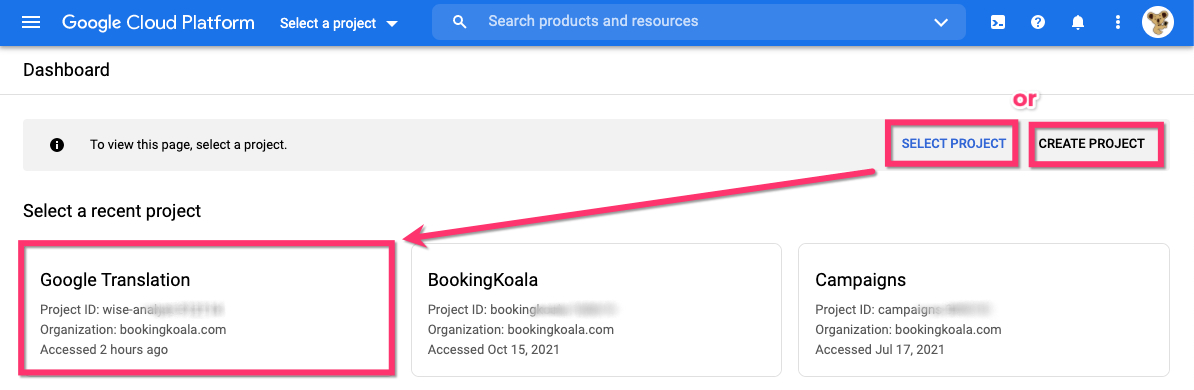
Create or Select a Project
To use Cloud Translation, you must select or create a project. If you are logged into your Google account already, click the blue "Go to project selector" button.
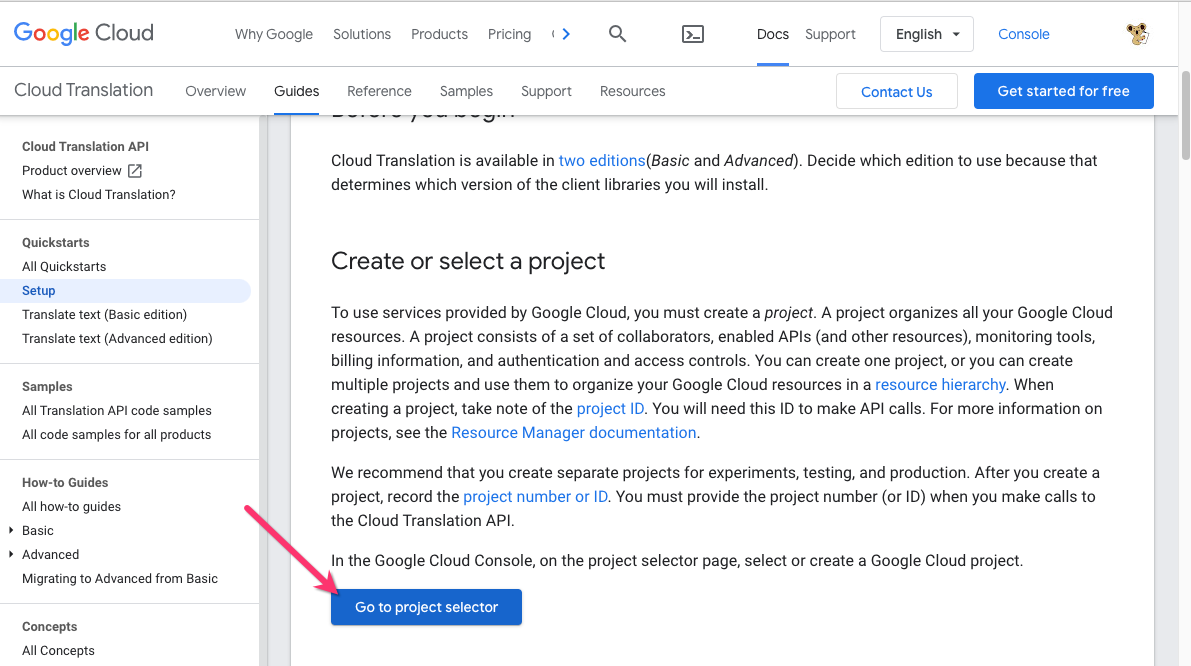
A new page will open in your Google Cloud Platform. Click on an existing project or select "Create Project" to add a new one.
Enable Billing
You must also make sure billing has been enabled for your project to use Cloud Translation. To see rates for this feature, click the link in the article to see the pricing page.
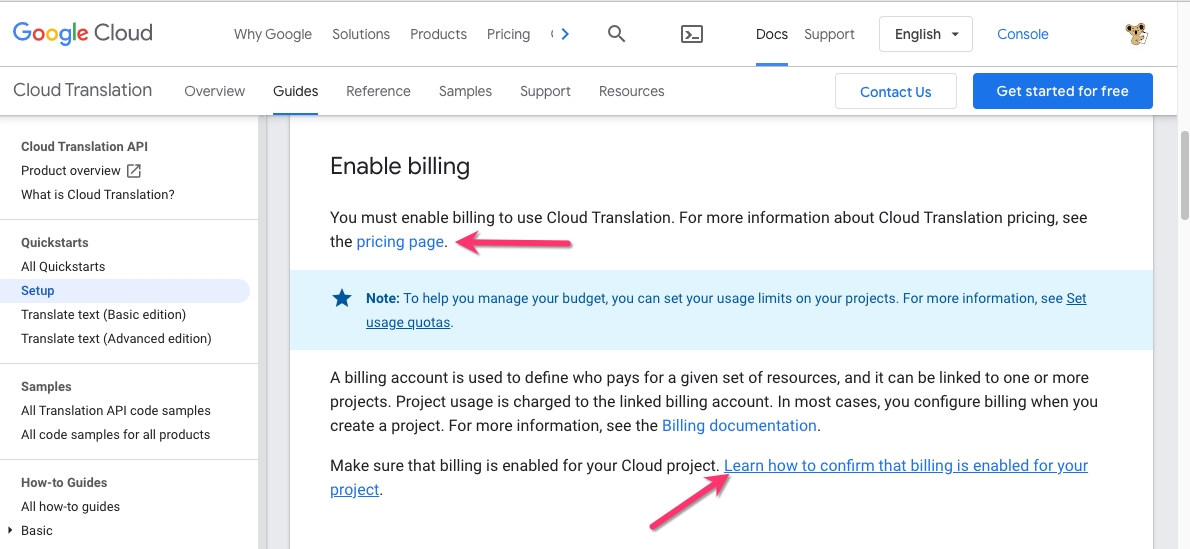
To ensure billing has been enabled, click the link, "Learn how to confirm that billing is enabled for your project."
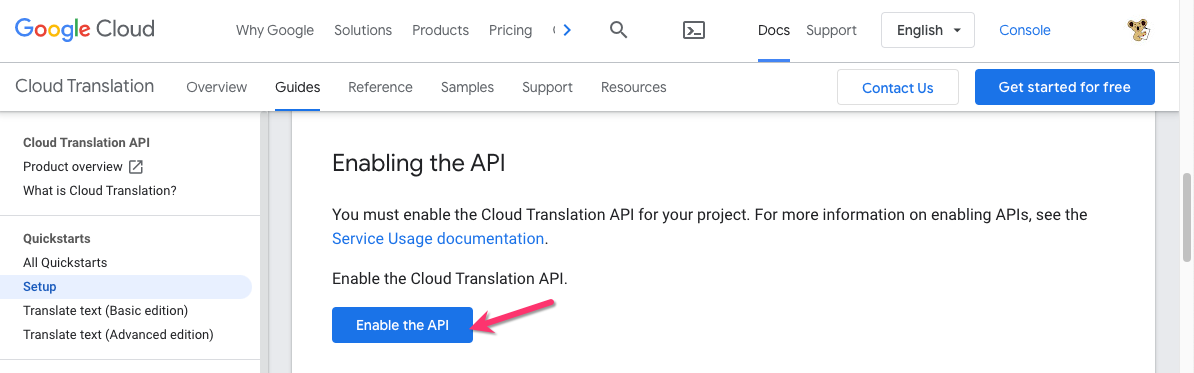
Enable the API
Next, click the blue "Enable the API" box in the set-up guide.
You will be brought to a new page. First, confirm that the correct project has been selected, then click "Next".
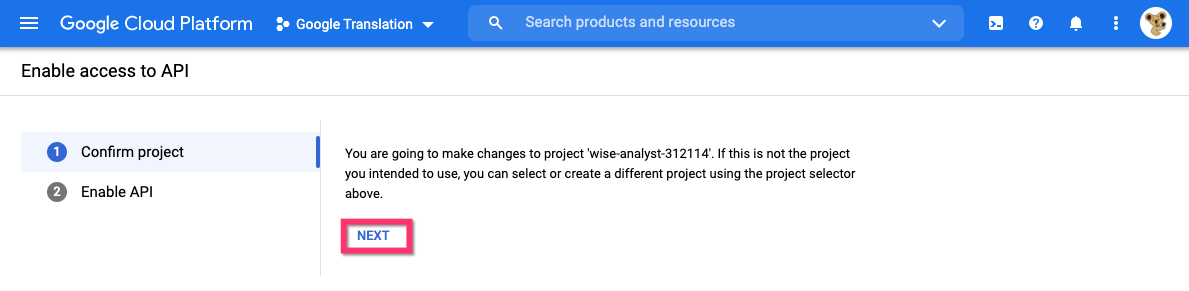
Then, click "Enable" to finish enabling the API.

Find the API Key
Once you have generated a Cloud Translation API key, you will need to copy it from your project console and enter it into BookingKoala.
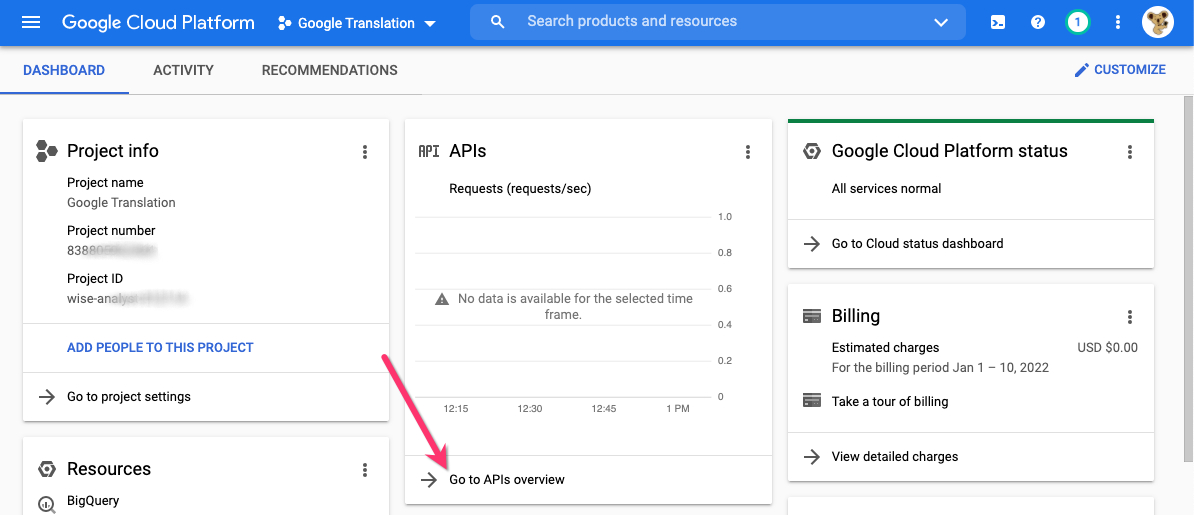
Go to your Google Cloud dashboard and make sure the correct project is selected from the drop-down menu.

Under the APIs box, click on "Go to APIs overview".
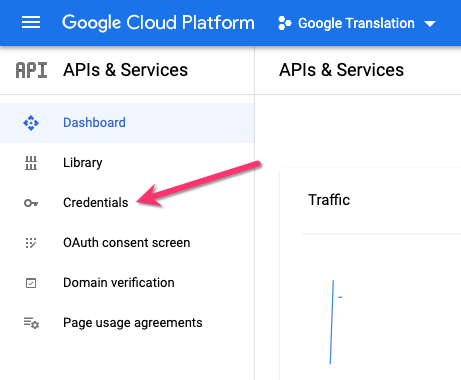
Next, click on "Credentials" from the left-side menu.
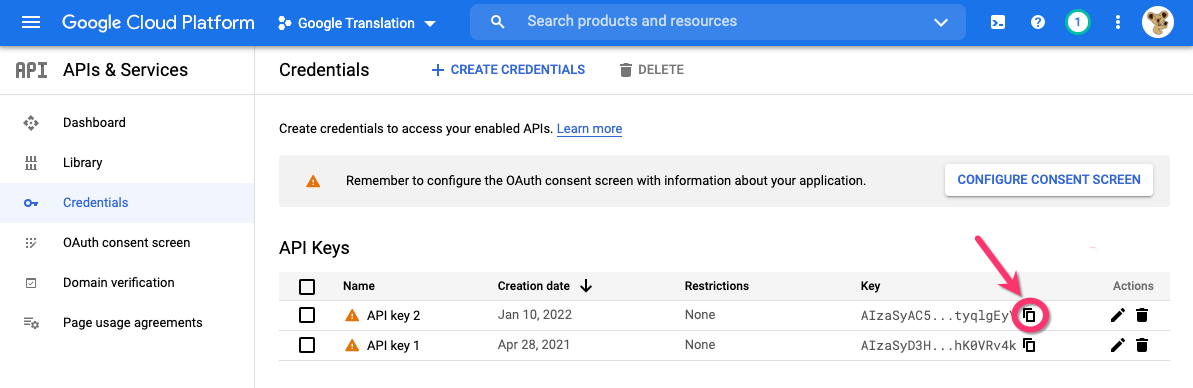
Your key will be listed under the API Keys section. Click the "copy" symbol next to the key's code to copy it.
Link the Google Translate Key
Now that you have copied the API key, open Bookingkoala and go to:
Settings > Translation > Google Translate Key
Paste the key into the box and then click the blue "Add" button.
You will see a green system notification in the top-right corner letting you know the translation app has been enabled successfully.
Add New and Set Default Language
After linking your Google Translate key, you are ready to make changes to your language settings. Go to:
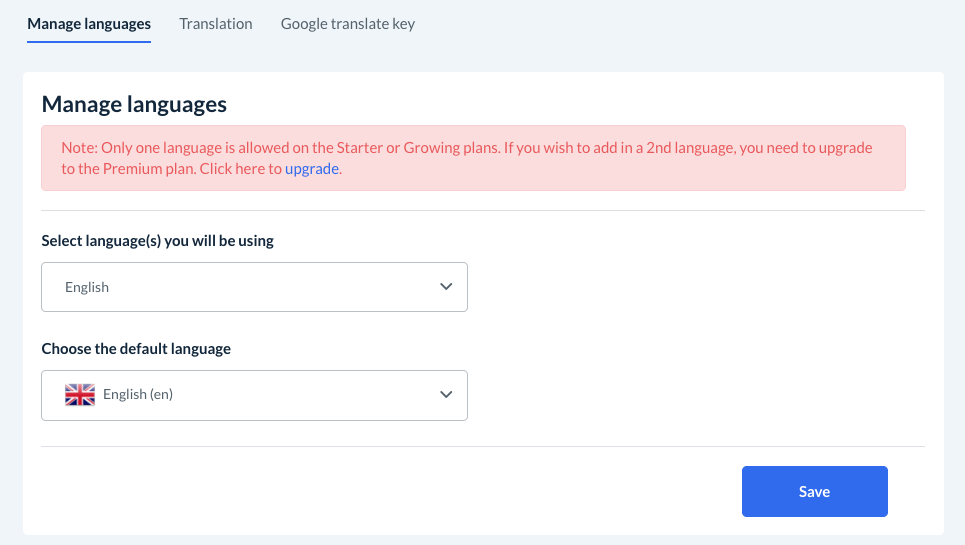
Settings > Translation > Manage Languages
This is the section where you can select the language(s) for your provider apps and customer portals.
Add a New Language
To add a new language, click the drop-down menu below "Select Language(s) for provider app" or "Select languages(s) for customer portal".
Check the box next to the language(s), then click the blue "Save" button at the bottom. The new language(s) will be added to the list.
Set Default Language
To set the default language, click the drop-down menu below "Choose default language for provider app" or "Choose default language for customer portal".
The menu will display the languages you have enabled. Click on the language you would like to set as the default, then click "Save" at the bottom of the page.
Set Up Translations
Once you have saved the new language(s), you will need to set up the Translations for them. To do this, go to:
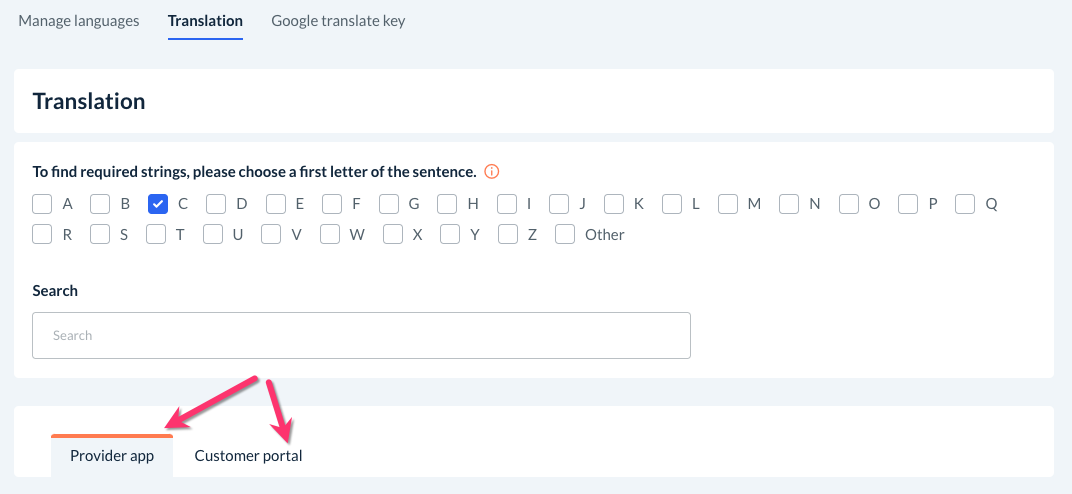
Settings > Translation > Translation
Search Strings for Translation
To translate the provider app or customer portal, BookingKoala has pulled all the words, phrases, and sentences in these sections into an index. Each sentence, phrase, or word is referred to as a "string".
You can look up strings by checking the box next to the first letter of the word or sentence from the alphabet in the top section. If you would like to see strings that contain a specific word, type the word into the search box to filter the results.
If you would like to translate all the strings at once, please check the box next to every option in the alphabet.
Translate Selected Strings
Next, select either the "Provider app" or "Customer portal" tab, depending on which you would like to translate.
Select the new language you will translate the strings into from the Select Language drop-down menu.
Click "Select All" to translate all strings from your search results, or check the box next to individual strings instead.
After making your selections, click the blue "Translate" button to translate the strings.
If you would like to save these translations into the system, click the blue "Save" button at the bottom of the page.
Edit a Translation
Because Google Translate isn't always perfect, you also have the option to add custom translations for each string.
After locating the string using the tools above, check the box next to the string text and enter the new translation into the text box on the left.
Remember to click the blue "Save" button to update the string with the new translation.