The purpose of this article is to help you learn:
How to translate a page in the website builder into another language
Before You Begin
Before you can start translating your blog, you will need to make sure your Google Translation integration is properly configured.
Click here for more information on how to set up multiple languages in BookingKoala.
Translating Blog Posts
Once you have enabled multiple languages, you can also translate your blog posts. To edit a blog post, go to:
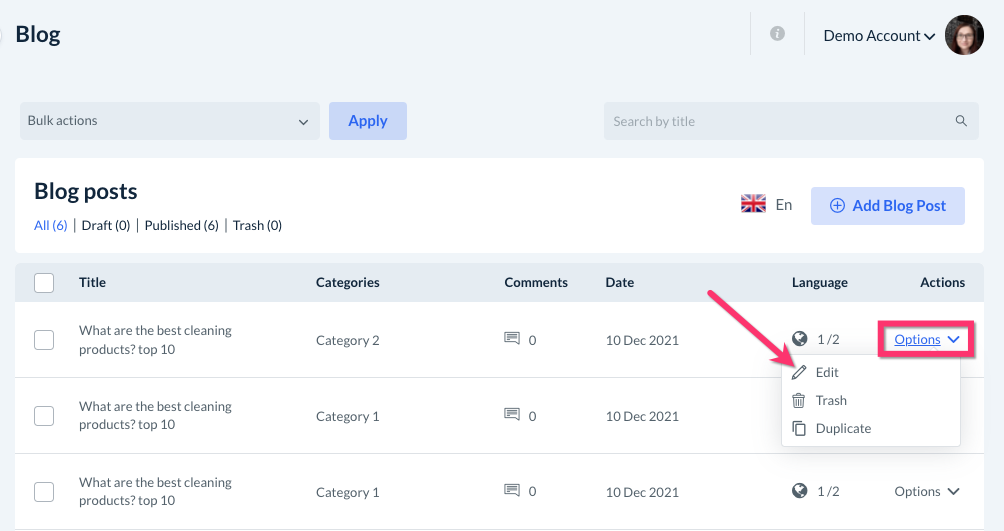
Marketing > Blog
Select "Options", "Edit" next to the post you would like to translate.
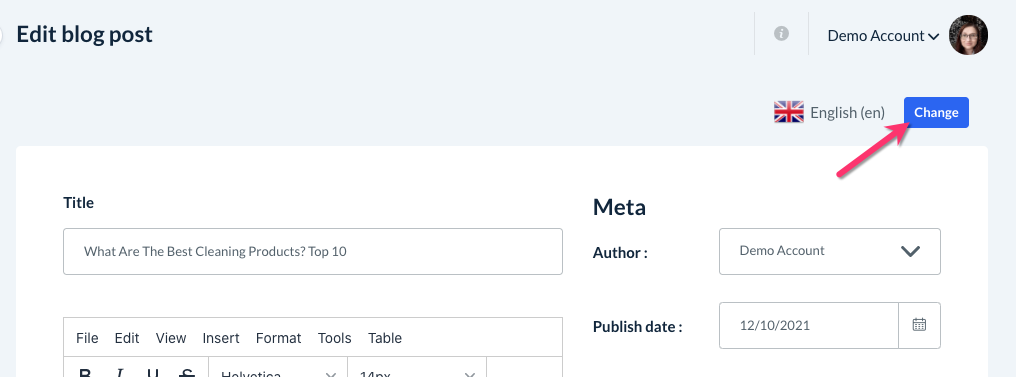
On the Edit blog post page, click the blue "Change" button next to the language flag/name.
A pop-up window will appear where you can select which language to switch to. Click the radio button next to the language and click "Change".
After changing the default language at the top, blue "Translate with Google" buttons will be inserted next to each content box. Click the button to translate each section.
Once you have finished translating the post, click the blue "Save" button to publish the new version, or the orange "Draft" button to save for later.
The newly translated post will be listed under the category for your second language. If you look under the "Language" column, you will now see "2/2", meaning both languages have a published post.
You can switch between versions by clicking the flag icon next to the "Add Blog Post" button.
Translating Blog Categories
In addition to the blog posts, you can also edit your blog's categories. To edit your categories, go to:
Marketing > Blog > Blog > Categories
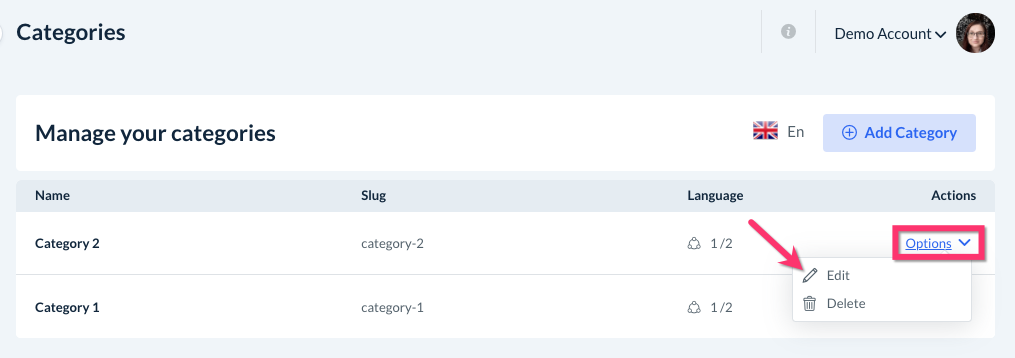
On the "Manage Your Categories" page, click "Options", "Edit" next to the category name you'd like to translate.
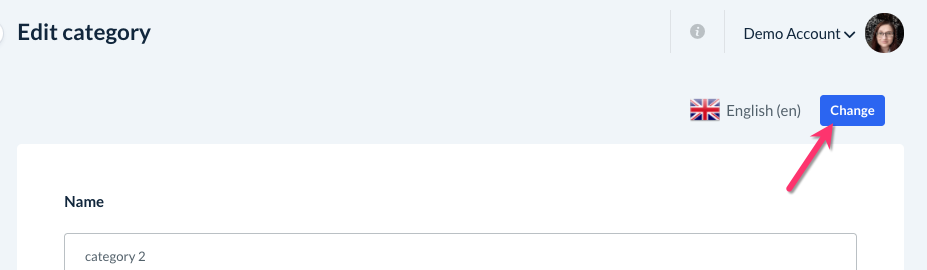
On the Edit Category page, click the blue "Change" button next to the language flag/name.
A pop-up window will appear where you can select which language to switch to. Click the radio button next to the language and click "Change".
Use the blue "Translate with Google" buttons to translate each content box to the new language.
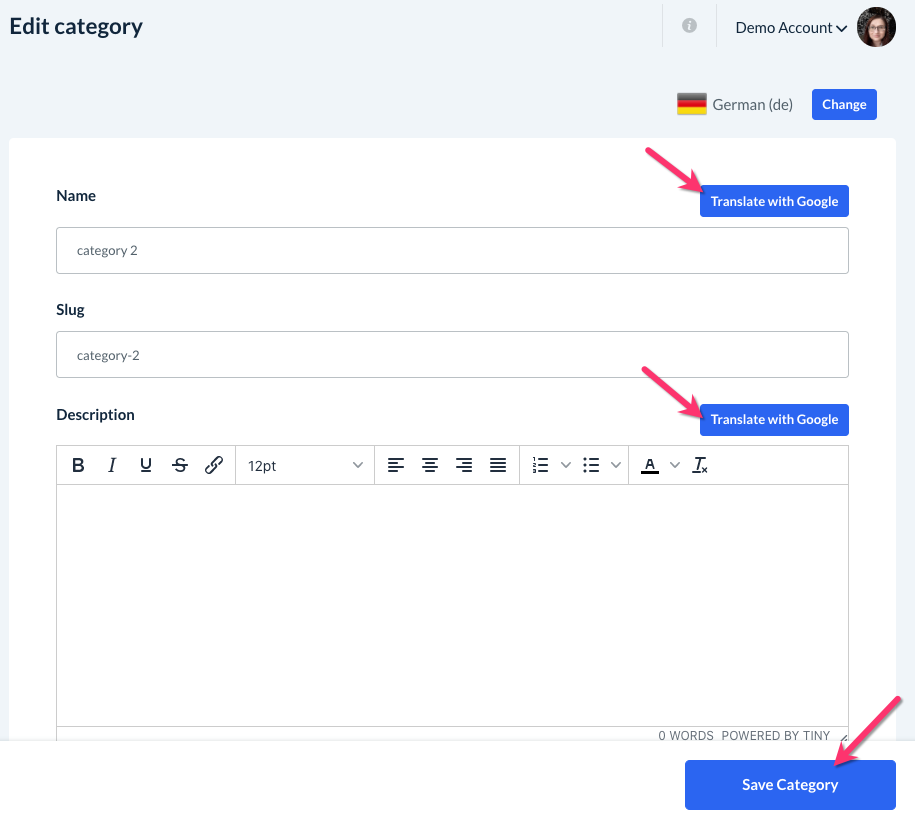
Click the blue "Save Category" button at the bottom of the page to save the translated category.
The newly translated category will be listed under the section for your second language. If you look under the "Language" column, you will now see "2/2", meaning both languages have a published post.
You can switch between versions by clicking the flag icon next to the "Add Category" button.