The purpose of this article is to help you learn:
What are funnels
Where to view your funnels
How to create a new funnel
What are funnels?
A funnel represents the framework of your hiring process, breaking down each aspect into stages and tasks. Most funnels start with collecting your prospect's information and qualifications with the final goal being to onboard a new hire.
Some examples of steps in a typical hiring funnel include:
Filling out forms
Scheduling and conducting an interview
Collecting documents and IDs
Sending and signing a contract
Performing a background check
Each step inside your funnel can be fully customized based on your needs.
Where do I view the funnel(s)?
Your funnel(s) will display under the Onboarding tab inside the hiring module.
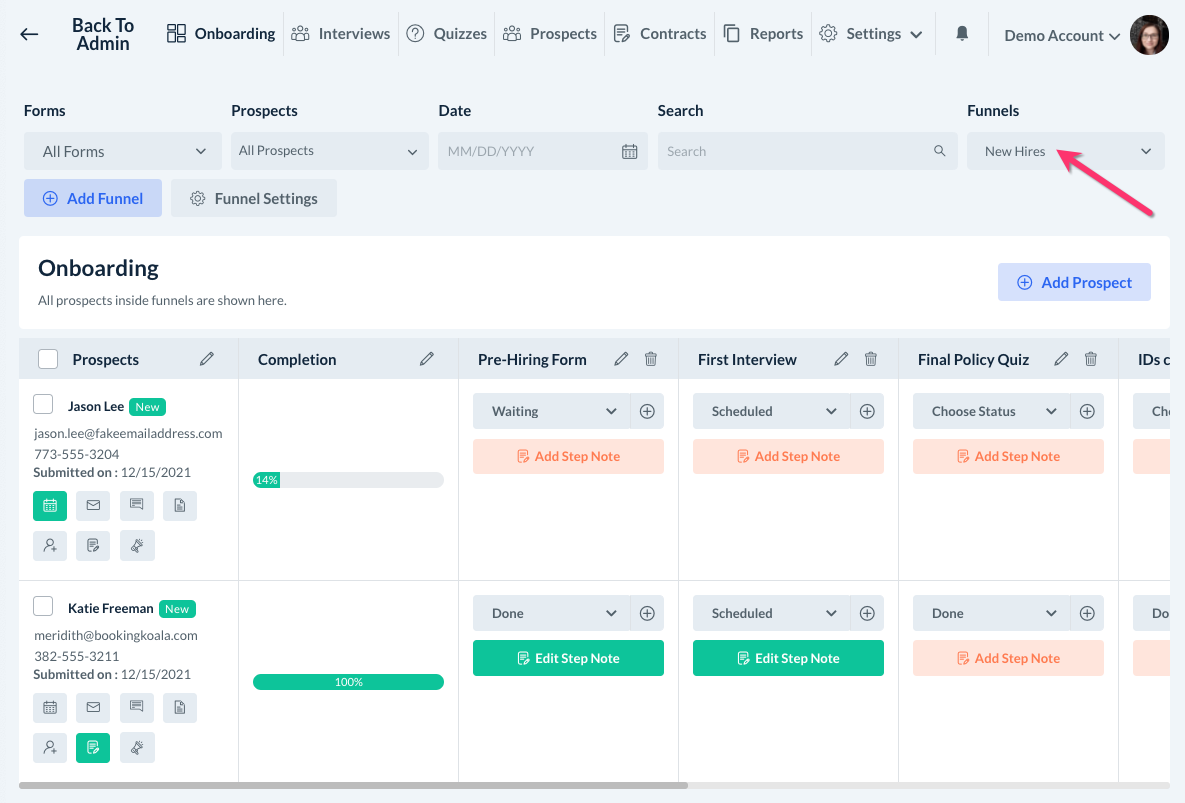
If you have multiple funnels, use the Funnels drop-down menu to switch to another one.
How do I add a new funnel?
To create a new funnel, click the blue Add Funnel button at the top of the Onboarding page.
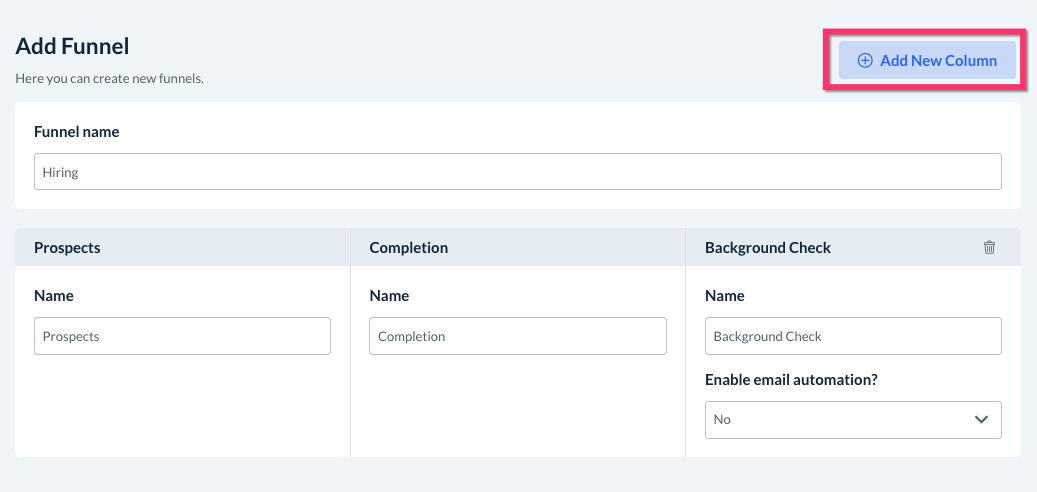
Start by entering the Funnel Name at the top of the page.
Columns
Funnels use columns to separate each step of your hiring process. There are three columns automatically included in every new funnel.
Prospects - This is where your prospective new hire/applicant information will be displayed.
Completion - This box will display what percentage of the funnel's steps have been completed by the applicant or admin.
Background Check - This column can be kept if you perform background checks as a part of your hiring funnel, or made into something else.
The Name of each column can be edited to the label of your choice so you can change any pre-existing columns in your funnel.
Add a new column
To add a new column, click the blue Add New Column button in the top-right corner of the page.
An Add Column pop-up box will appear where you can type in the Column name.
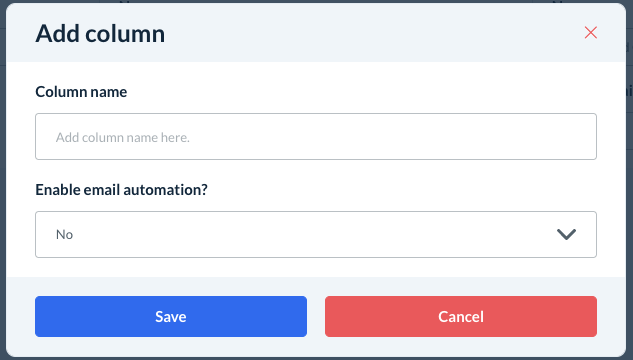
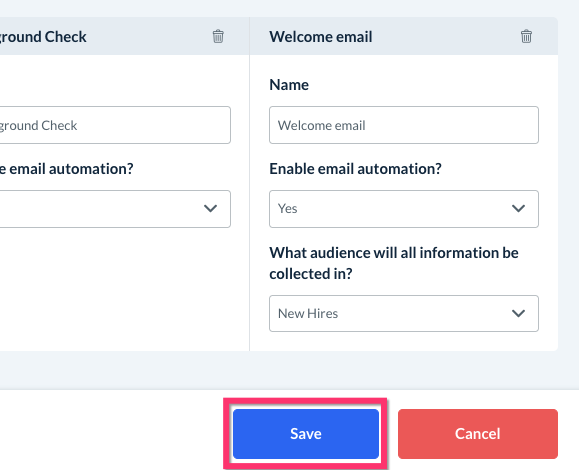
Enable email automation
Then, you can select "Yes" if you'd like to Enable email automation for this column. Email automation can be added to any custom column and corresponds with the campaigns under the Marketing section.
Select the desired audience below where it says "What audience will all information be collected in?" and then click the blue Save button to add the column to your funnel.
Delete a column
To delete a column, click the trash can icon next to the column name. A pop-up window will ask you to confirm if you want to delete the column. Click Yes to proceed.
Rearrange the columns
If you would like to change the order of the columns, click and hold the column title and drag it to a new position.
Saving your Funnel
Once you are done adding columns to your Funnel, click the blue Save button at the bottom of the page.
Your tunnel will now be available for use in your Onboarding section.
For more information about how to edit, archive, and delete existing funnels, please click here.