The purpose of this article is to help you understand:
What are single-step, two-step, and multi-step forms
How to change which type of form your customers will use when booking services
Single Step vs. Two-Step vs. Multi-Step Forms
There are three types of forms when it comes to how many steps the customer has to go through to submit a booking: single-step, two-step, and multi-step.
A single-step form allows a customer to fill out all of their booking information on a single page.
A two-step form allows customers to fill out the job information and their email address on the first page, and then navigate to the second page by clicking "Find Availability" to select a time and finish filling out their information.
A multi-step form breaks each section of the booking form into its own step, with the client clicking "Next" until they reach the final page.
Please note: The multi-step booking form is only available for Premium subscribers.
Change the From Steps Type
To change the type of booking form your client uses on the front end, please go to:
Settings > Industries > [Industry Name] > Settings > Form Settings
Click "Options", "Edit" to the right of the form you'd like to update.
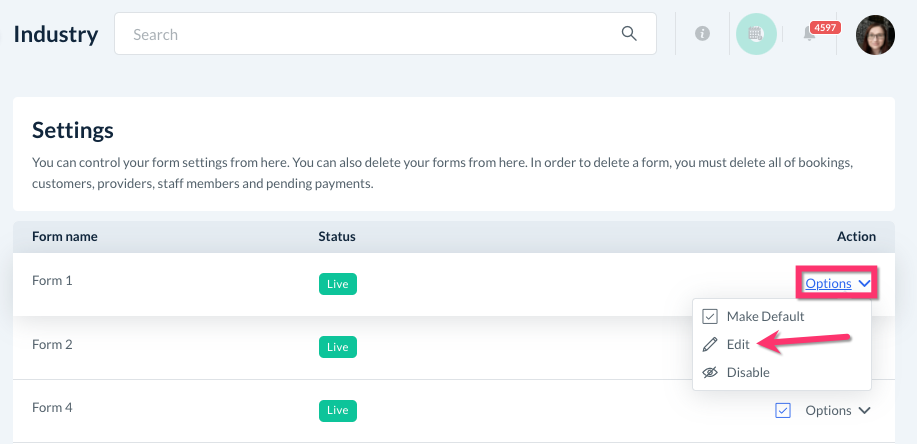
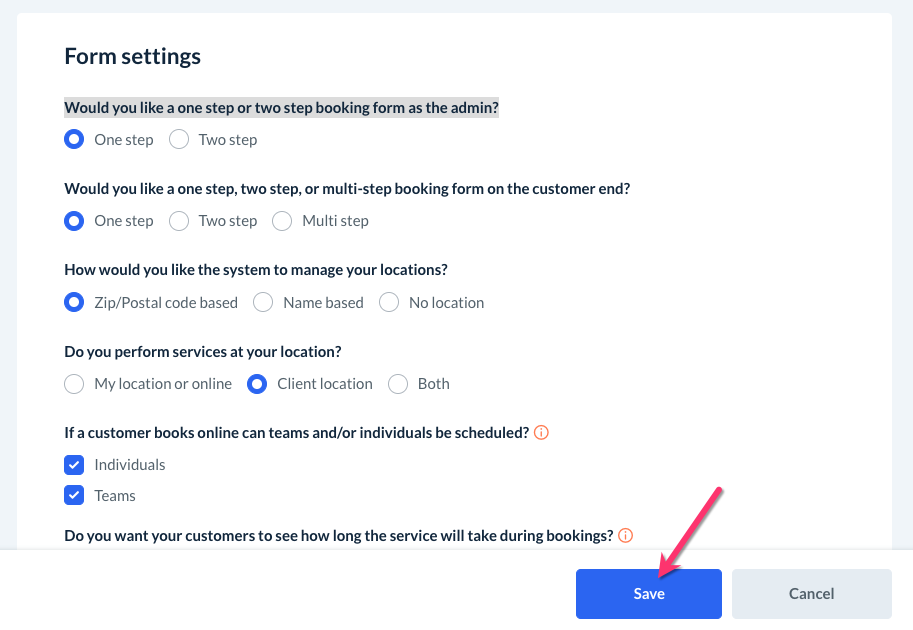
The second question in this section says, "Would you like a one-step, two-step, or multi-step booking form on the customer end?"
Select "One Step" to have the booking form appear as a single page on the backend of the site.
Select "Two-Step" if you'd like to have two pages to navigate between when booking on the backend.
Select "Multi-Step" if you'd like to break each section into its own step.
Once you've made your selection, click the blue "Save" button at the bottom right corner of the page.