The purpose of this article is to help you learn:
How to enable tips or parking fees for your booking form
How to enable the automated tip notifications
How to add a tip from the admin end
How customers can add a tip to their service
Enable/Disable Tips and Parking
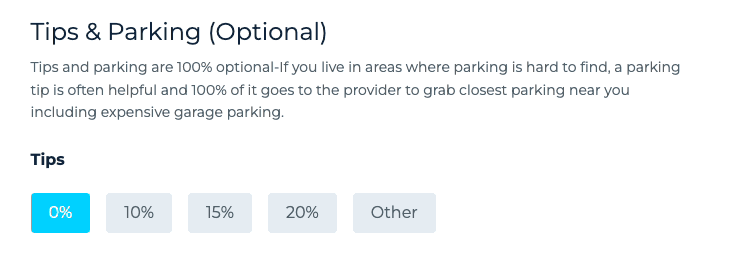
If you would like your customers to be able to leave tips or pay parking fees for your provider, you can enable a tip and/or parking section on your booking form. 100% of tips and parking goes directly to the provider or team performing the job.
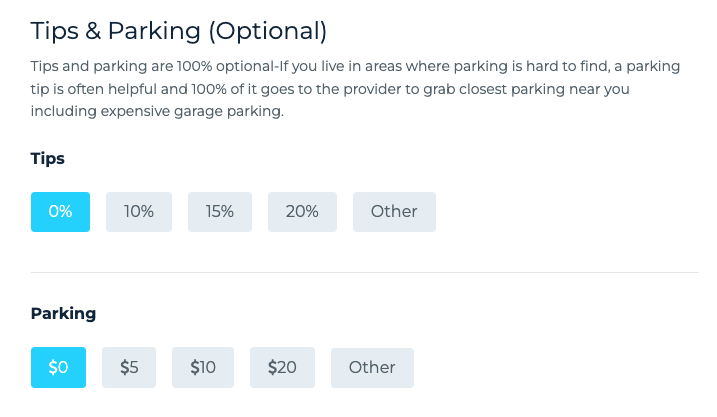
Customers can select one of the preset amounts, or click "Other" to enter a custom flat-rate or percentage-based tip.
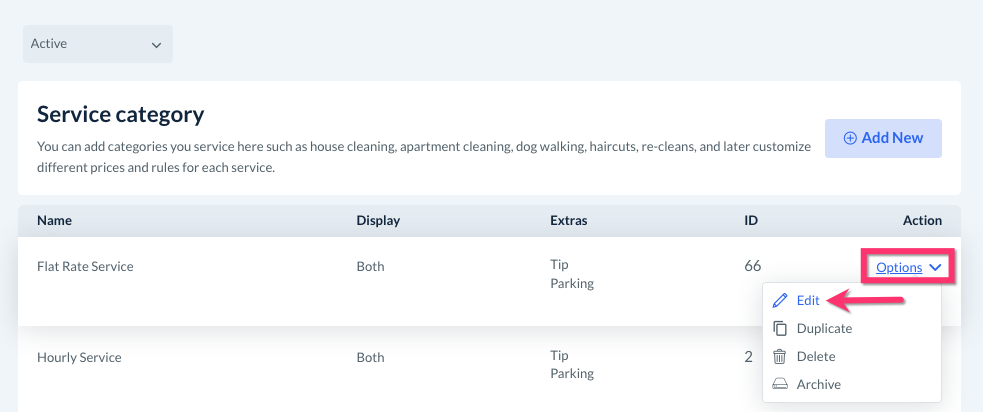
Tips and parking are controlled under the "Service Category" section of your booking form, allowing you to decide which services you want to enable or disable this feature for.
To begin, go to:
Settings > Industries > [Industry Name] > Form [#] > Service Category
Click "Options", and then "Edit" to open an existing service category.
Scroll down to the bottom of the page until you see the "Extras" section.
To enable tips or parking fees, click the red "Disabled" button to switch to "Enabled".
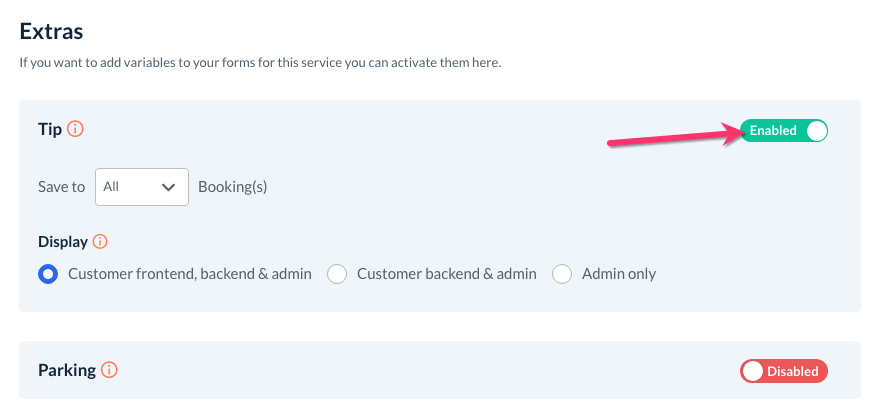
Next, decide whether you want the tip saved to "All" bookings or just the "First" booking if a customer has added a tip to a recurring service.
Under "Display", decide when you want the tip or parking option to show on the booking form.
Customer frontend, backend, & admin - New customers, existing customers, and admin/staff will all be able to see and use the tip or parking option on the form.
Customer backend & admin - Only existing customers and admin/staff can add tips and/or parking.
Admin only - Only the admin and staff can see the tip and/or parking section on the booking form.
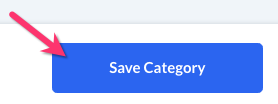
Once you are finished making your selections, click the blue "Save Category" button at the bottom of the page to update your changes.
Enable Automatic Tip Notifications
You can also set up BookingKoala to send customers an automated email and/or SMS notification asking them to leave a tip after completing their service.
Before you begin, please make sure you have set up your email and SMS notifications.
Click here to learn how to set up your email notifications.
Click here to learn how to set up your SMS notifications.
To enable the notification, go to:
Notifications > Emails
or
Notifications > SMS
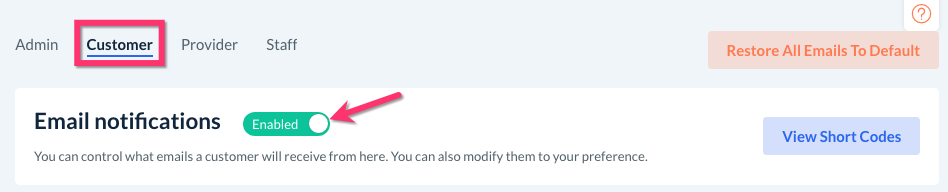
At the top of the page, click the "Customer" tab. You'll also want to check that the toggle button at the top of the section is toggled to "Enabled".
Scroll down to the "Completed Booking" section and click anywhere to expand it.
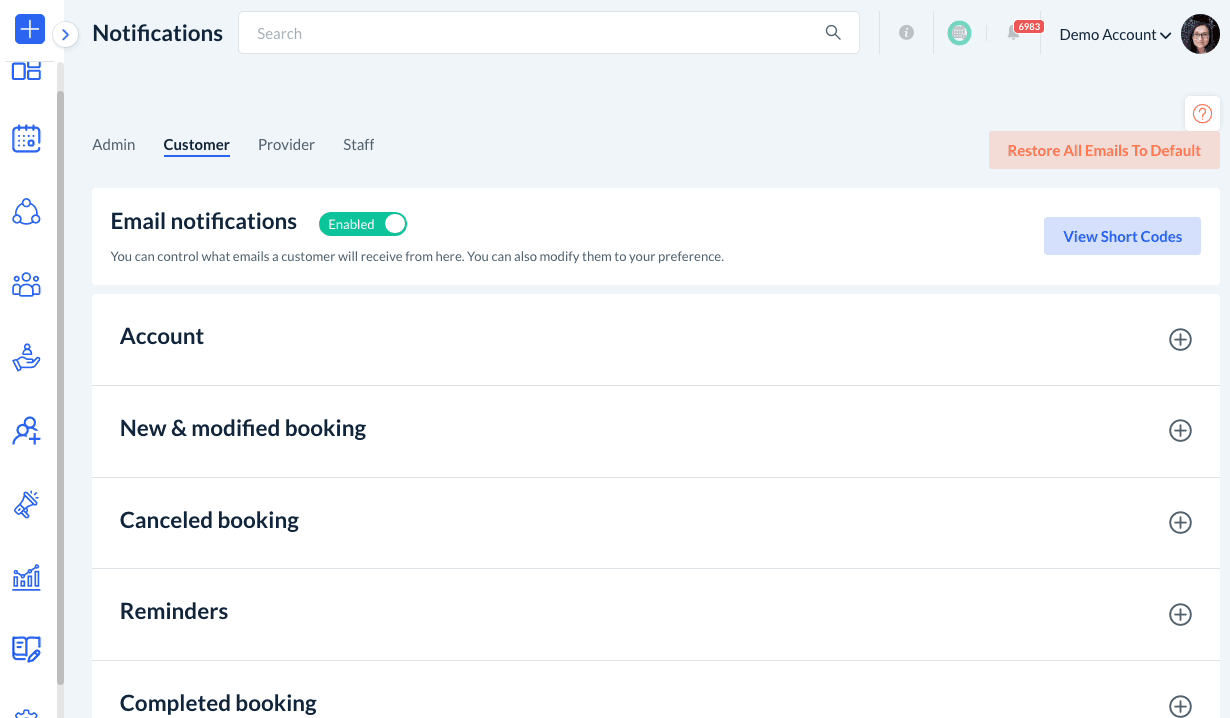
Click the red "Disabled" button next to the "Leave Tip" template to switch it to "Enabled". A pop-up will appear, asking if you are sure you want to enable this notification. Click "Yes" to proceed.
You can also edit the template by clicking the "Edit" button on the far right.

The default message looks like this:
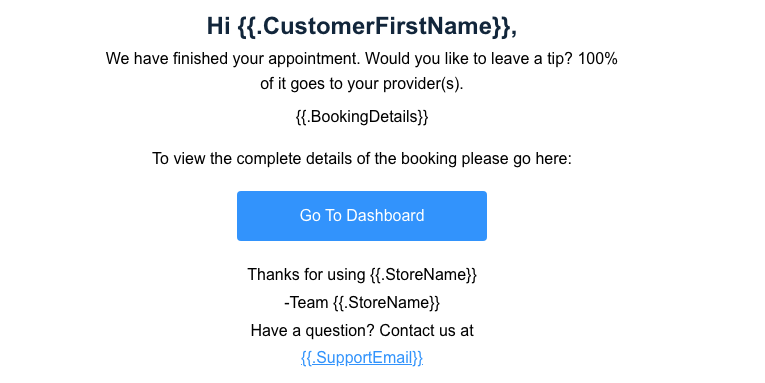
Once the customer clicks the "Go to Dashboard" link, they can click on the "Previous Appointments" tab and then click the "Add Tip" button below the booking. This is discussed in greater detail in a later section.
Adding Tips/Parking from the Admin End
Once you have enabled tips or parking for a service category, you can easily add a tip on behalf of a customer while filling out the booking form.
Simply scroll down the "Tips & Parking (Optional)" section and then use the buttons to select or enter the amount the customer would like to add.
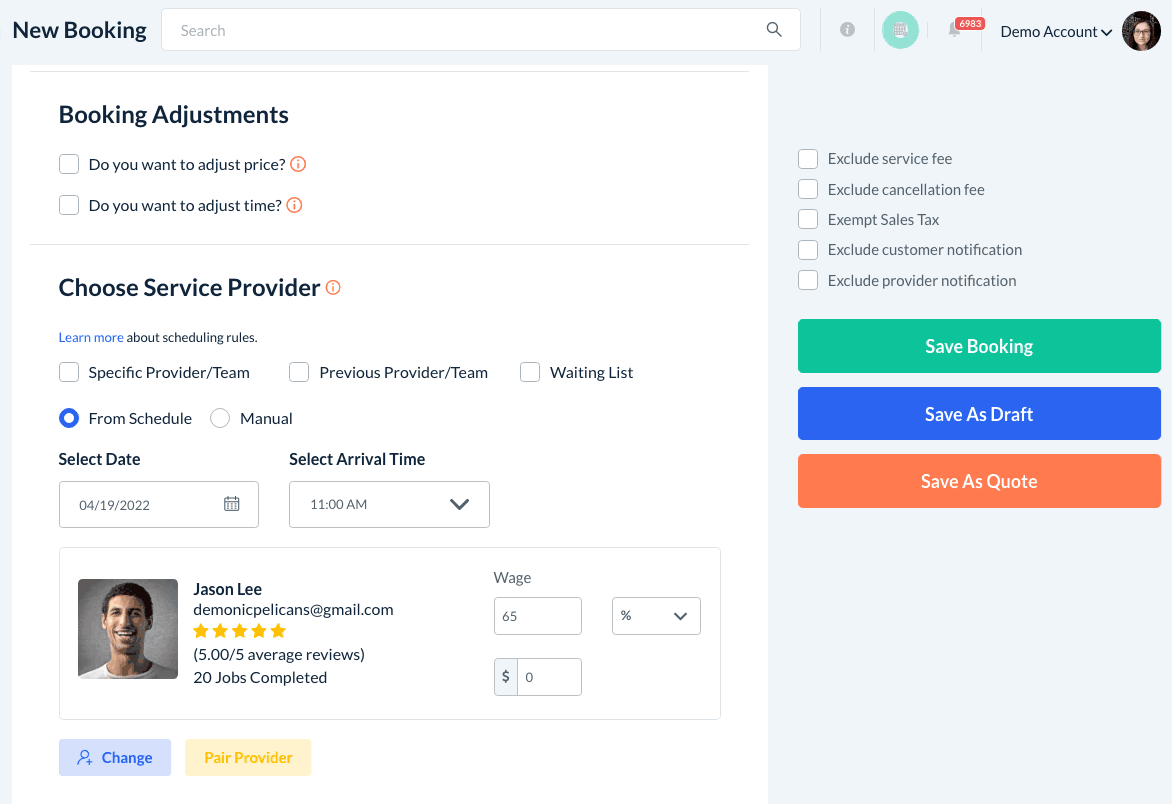
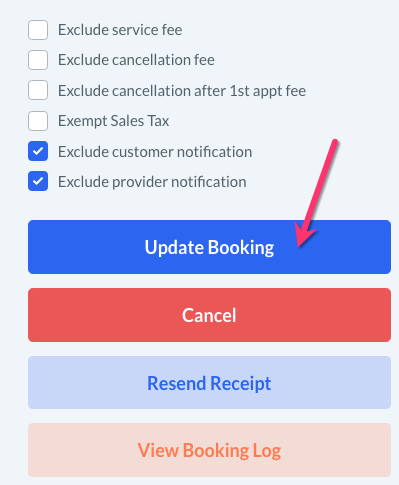
Once you are finished filling out the form, click the green "Save Booking" or blue "Update Booking" button to add the tip.
Click here to learn how to add a tip after charging a customer for their service.