The purpose of this article is to help you learn:
How to offer services to existing customers only
How to create admin-only service categories
Service Category Display Settings
Whenever you create a new service category for your booking form, you can decide where that service will be displayed. This allows you to create "secret services" that are only available to different kinds of users.
For example, if you manage a cleaning business, you would likely need a way to schedule special appointments for "re-cleans" or touch-ups of missed areas. However, you probably wouldn't want customers to be able to schedule these types of services on their own.
To achieve this, you can create a "Re-Clean" service category and set it to display only on the admin end.

In another example, let's say you run an organization business. You would like all new customers to schedule a "New Client Home Consult" for their first appointment. Once they've had one appointment with your company, they can schedule an "Existing Client Follow-Up" at a discounted rate. To achieve this, you can create an "Existing Customer" service category that only displays on the customer backend and admin end.
To create or change the visibility of a service category on the customer front-end, customer-backend, or admin-end, please go to:
Settings > Industries > [Industry Name] > [Form #] > Service Category
If you are setting up a new service category, click here for more detailed instructions.
If you are updating an existing category, click "Options" then "Edit" to view its settings.
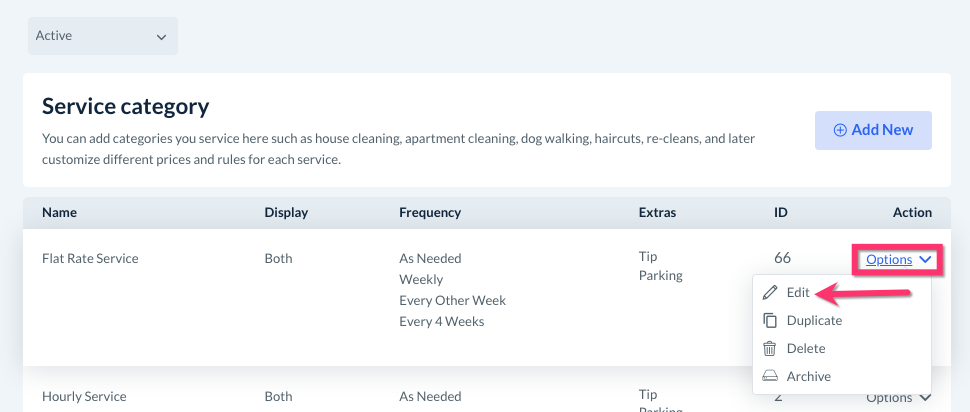
Scroll down to the "Display" section and select one of the following options:
Customer frontend, backend & admin - The service category can be selected by new customers, existing customers, and the admin/staff for booking.
Customer backend & admin - The service category can only be selected by existing customers or admin/staff and will not display for new customers.
Admin only - The service category can only be used by admin or staff when making bookings.

Once you have made the change, click the blue "Save Category" button at the bottom right corner of the page.