The purpose of this article is to help you understand:
What variables and pricing parameter categories are
How to set up pricing for Form 4
How to add and modify a pricing parameter category
How to add, modify, and change the order of variables
What are "pricing parameters"?
Pricing Parameters are the variables used to calculate the price (or estimate) for your services.
In Form 4, pricing parameters come in the form of variables and a single variable category, referred to as the pricing parameter category. The pricing parameter category is a description of what is being measured, while variables are options associated with the rates used to estimate the booking's price and/or time.
Form 4 has a single pricing parameter category which can contain one or more variables. The booking total is calculated by selecting a variable from the drop-down menu and then entering the total number of units/items/measurements being serviced.
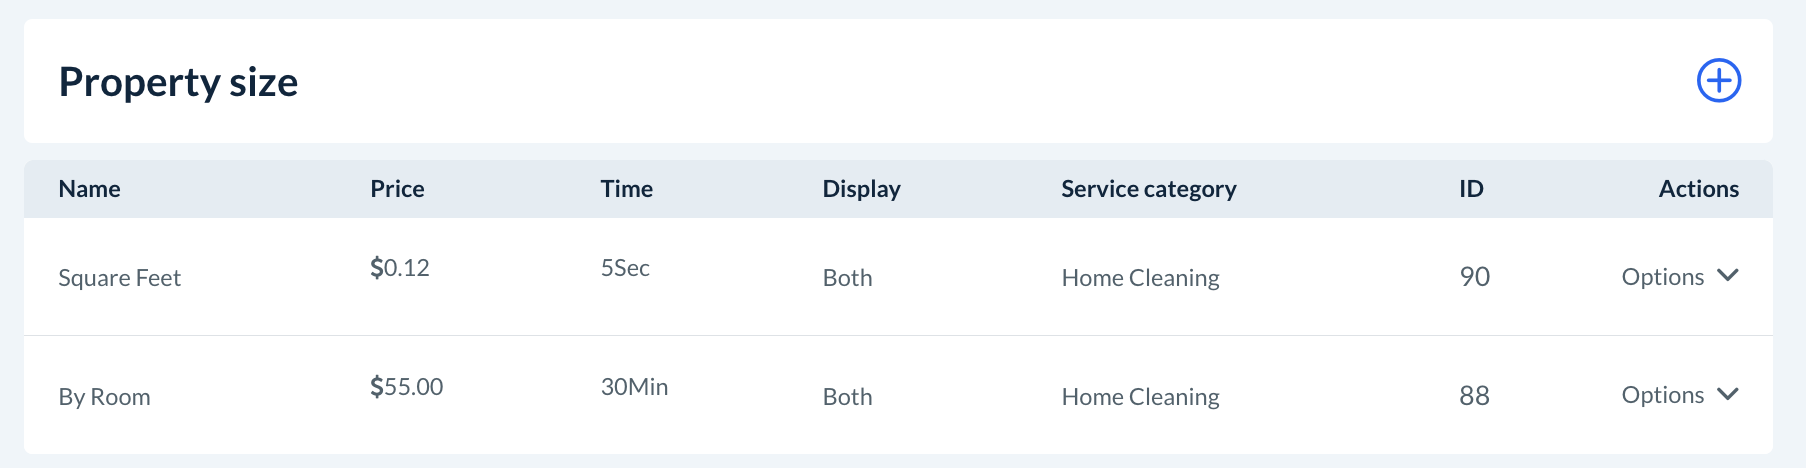
For example, the form pictured above has a pricing parameter category called "Property Size" (only visible in the backend) with two different variables: "Square Feet" and "By Room".
The variable for "Square Feet" charges $0.12 per square foot and estimates the job length by multiplying the total square feet by 55 seconds.
The variable for "By Room" charges $55.00 per room and estimates the job length by multiplying the total room count by 30 minutes.
New variables can be added to your form at any time. Any variables that came with your industry's default booking form can be edited, archived, re-activated, or deleted.
How to Add and Modify the Pricing Parameter Category
The first step in setting up your form's variable(s) will be to create a new pricing parameter category or edit the existing pricing parameter category for your form. To begin, go to:
Settings > Industries > [Industry name] > Form 1 > Pricing Parameter
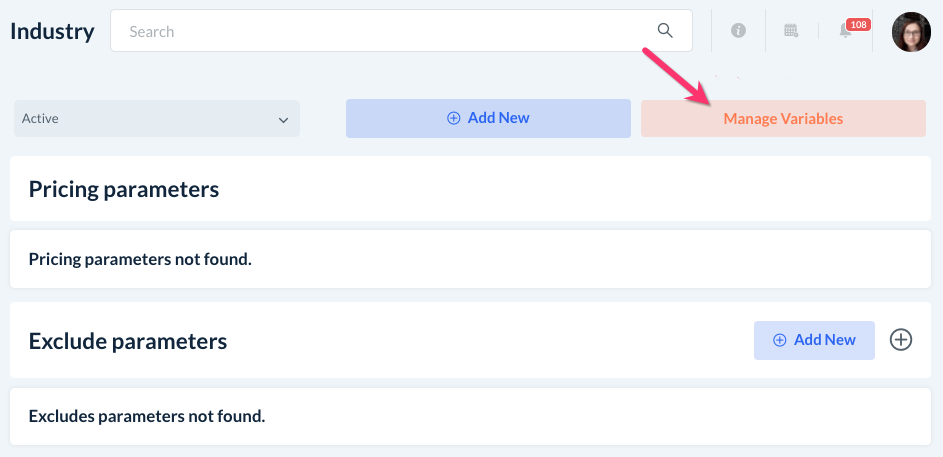
Click on the orange "Manage Variables" button on the top right corner of the page.
Add a New Pricing Parameter Category
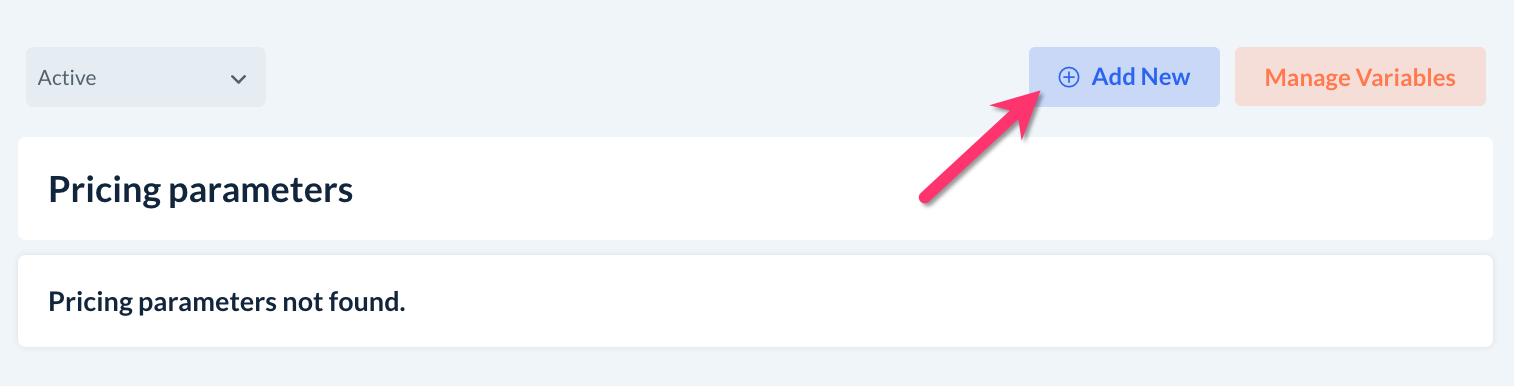
Click on the blue "Add New" button to add the pricing parameter category for your form.
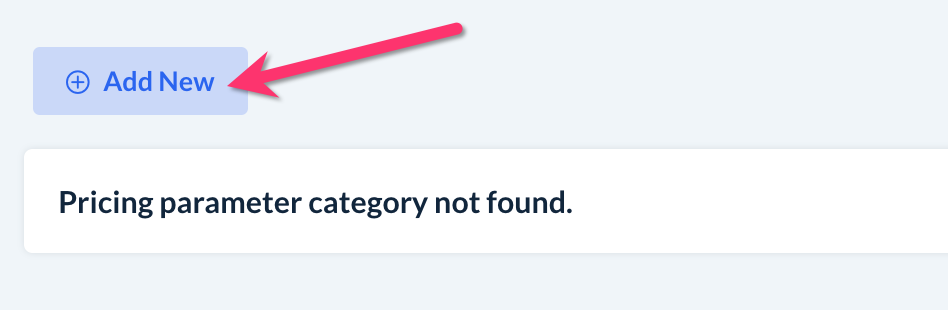
Please note: You will only see this button there are no pricing parameter categories currently added to your form. Form 4 allows for a single pricing parameter category.
Next, enter the name of your pricing parameter category. The category name is used to describe your unit(s) of measurement, like "Time", "Distance", "Home Size", or some other quantifiable feature.
For example, if you use square footage and/or square meters to calculate the booking total, your pricing parameter category's name could be "Property Size". If you only use square feet to calculate prices, the pricing parameter category could just be called "Square Feet".
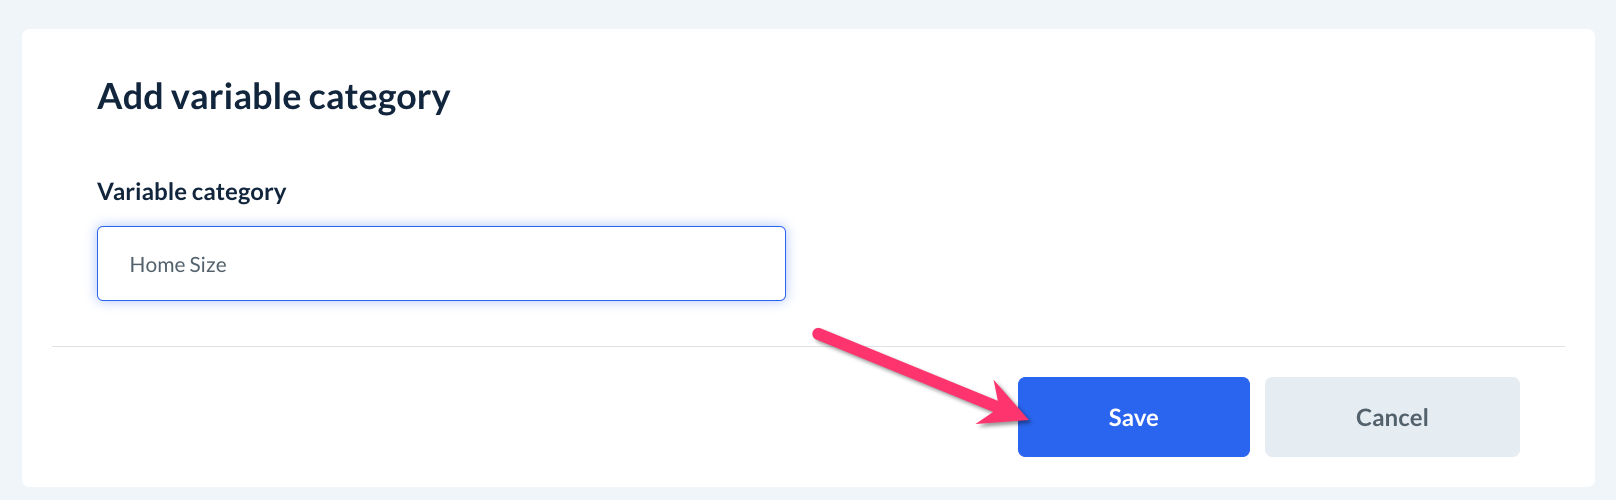
Once you've typed in the name of the category, click the blue "Save" button at the bottom of the section.
A green system alert will appear in the top right corner confirming the category has been saved.
Edit the Pricing Parameter Category
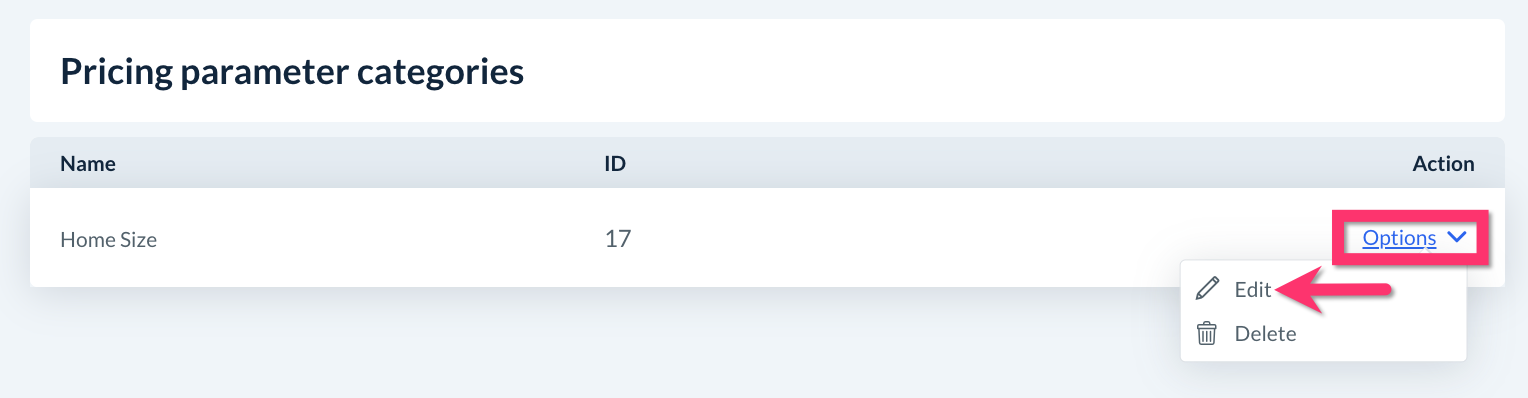
To edit your pricing parameter category, click "Options" and select "Edit" from the "Pricing Parameter Categories" page (Settings > Industries > [Industry Name] > Form 4 > Pricing Parameters > Manage Variables).
Enter the new name into the box and then click the blue "Save" button at the bottom corner of the page.

A green system notification will appear in the top-right corner of the page, letting you know the pricing parameter category has been updated successfully.
Delete the Pricing Parameter Category
It is not possible to delete your pricing parameter category unless you cancel any active or past-due bookings in the system that use the category. Instead, we recommend editing the pricing parameter category if you would like to make any changes to its label in the system.
However, if you do want to delete the pricing parameter category for any reason, click on "Options" and select "Delete" from the "Pricing Parameter Categories" page (Settings > Industries > [Industry Name] > Form 4 > Pricing Parameters > Manage Variables).

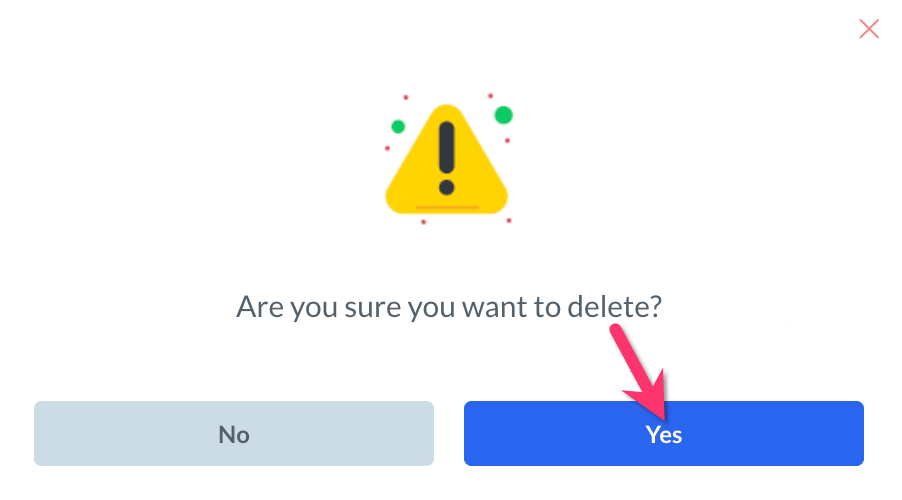
A pop-up window will ask if you want to delete this category. Click "Yes" to proceed.
A green system notification will appear in the top-right corner of the page, letting you know the pricing parameter category has been updated successfully.
How to Add and Modify Variables
Once you are finished setting up your pricing parameter category, you can proceed back to the main Pricing Parameters section to begin adding your variable(s). Please go to:
Settings > Industries > [Industry Name] > Form 1 > Pricing Parameter
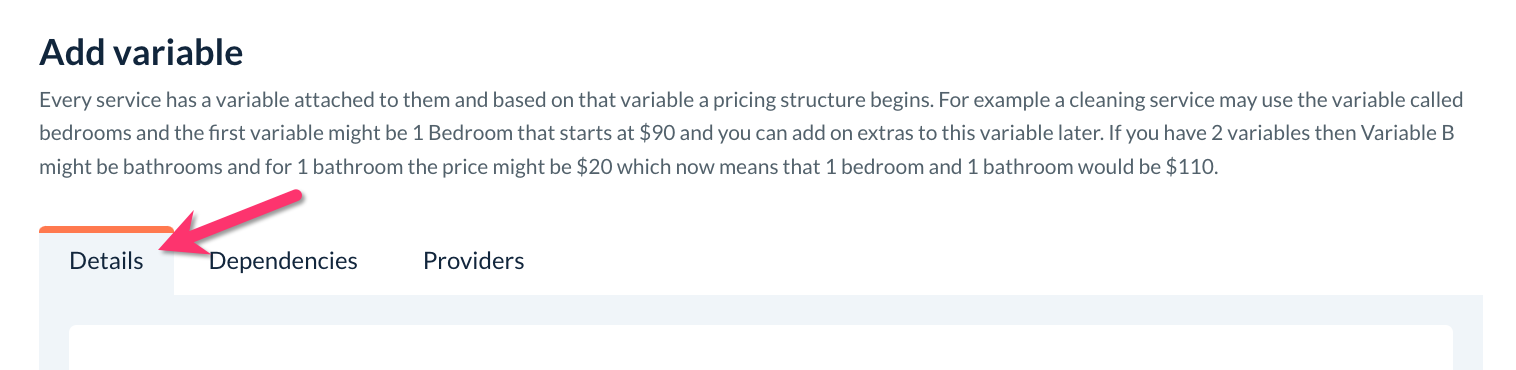
Add a Variable: Details Tab
Click the blue "Add New" button at the top of the page.
You will be redirected to the "Details" tab on the"Add Variable" page.
First, add a Name for the new variable. This will be displayed on both the admin side and the customer side of the software.
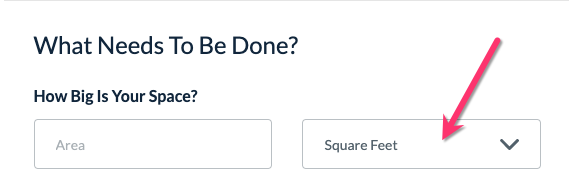
If you would like for a different name to display on the customer's end, check the box next to "Different on customer end" and enter the name in the box below. If you use this option, the admin will see the top-most name, while the customer will see the name you put in the "Different on customer end" box.
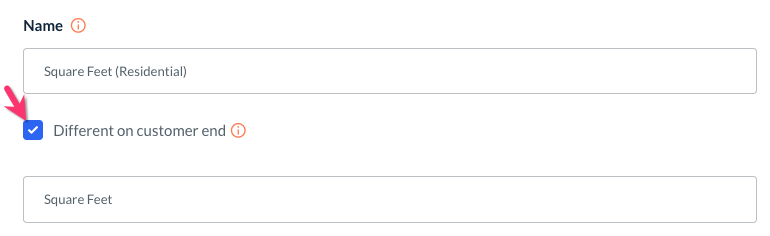
For example, if your pricing parameter category is called "Property Size", you may want to use the name "Square Feet (Residential)" on the backend for admin and stuff but display "Square Feet" on the front end for your customers.
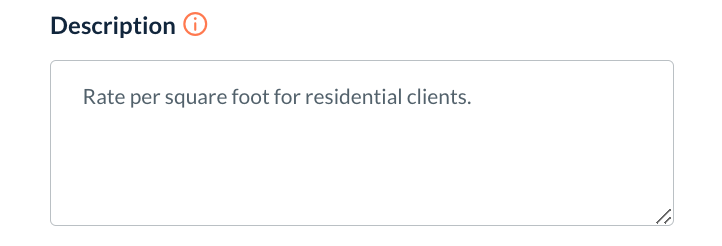
Below the name(s), there is a place to enter a Description of the variable. This is only seen by the admin/staff with permission to edit the variable.
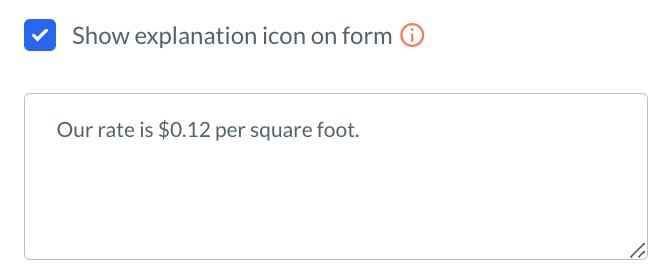
Check the box next to "Show explanation icon on form" if you would like to add an explanation icon next to the variable on the form. The explanation is displayed when the user hovers over the icon with their cursor.
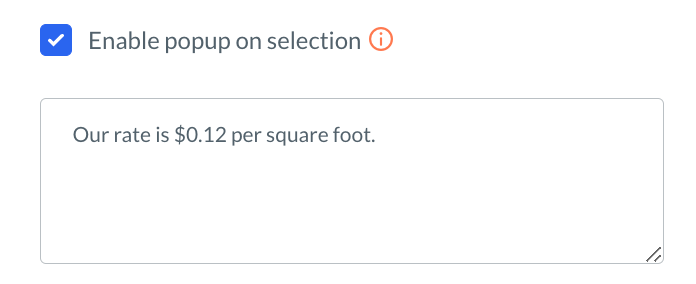
If you would like to display a pop-up message when the customer selects the variable, check the box next to "Enable pop-up on selection" and type in the message you would like to display.
You can also customize when the pop-up will display. The options are:
Customer frontend, backend & admin - The pop-up will display for both customers and admin/staff on the front-end and back-end of the site.
Customer backend & admin - The pop-up will only display for the admin or when the customer is logged into their dashboard.
Customer only (frontend & backend) - The pop-up will display for the customer only: on the front-end of the site as well as when they are logged in.
Admin only - The pop-up will only display for admin and staff members.
Next, under the "Display" section, select an option for which users will be able to see this variable on the booking form. The options are:
Customer frontend, backend & admin - The variable can be selected by new customers, existing customers, and the admin/staff for booking.
Customer backend & admin - The variable can only be selected by existing customers or admin/staff and will not display for new customers.
Admin only - The variable can only be used by admin or staff when making bookings.

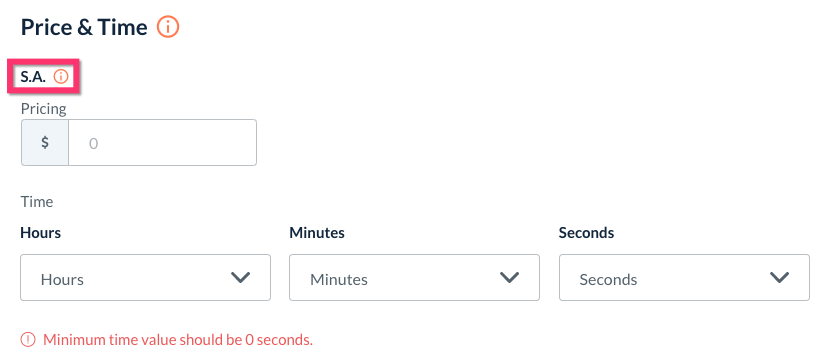
Near the bottom of the page, set up the price and time for the variable.
If your industry uses service areas, there will be an "S.A." label just above these boxes.
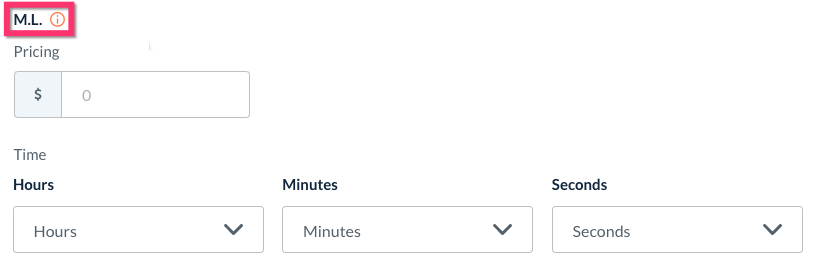
If you have a storefront or office, there will be an "M.L." (merchant location) label instead.
If your business uses both service areas and merchant locations, both options will be provided. This allows you to set different prices for service areas versus store locations.
For the variable's price, enter how much it costs to service just one unit of this variable.
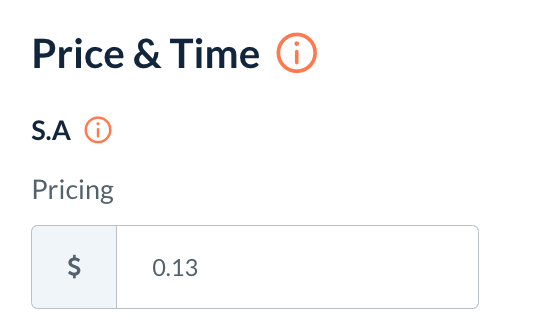
For example, let's say a carpet cleaning business offers rates based on square feet. They charge $0.13 per square foot for commercial services. Thus, the variable "Square Feet (Commerical)" would have a rate of $0.13 per single square foot.
If a customer enters "1000" into the field after selecting this variable, the booking estimate will be $130.00 (1000 x $0.13).

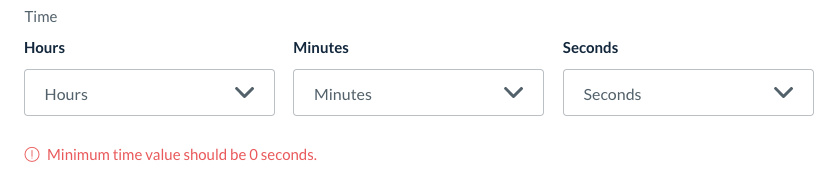
For the variable's time, enter how much time it takes to complete one unit of measurement for the service. If you do not want any time associated with the variable, select "0" under the "Seconds" menu.
Adding time lengths to your variables helps with estimating the job length and ensures more accurate scheduling if you check the length against the providers' availability. Click here to learn more about setting up your account's scheduling and availability preferences.
When the customer enters a number into the form, the estimated time length of the booking is calculated by multiplying the variable's time length by that number.

For example, let's say it takes "4 seconds" per square foot for residential cleaning services. If the client enters 1000 square feet, the service length estimate will be approximately 1 hour and 6 minutes.
At the bottom of the first page, there is a checkbox next to the word "Default ". Check this option if you want a specific variable to be the default choice for its variable category on the booking form.

If no variable is set as the default, the form will display the variables in order of priority as set in the pricing parameters section (covered in an upcoming section).
Once you have finished making your selections, click the blue "Next" button at the bottom of the page.

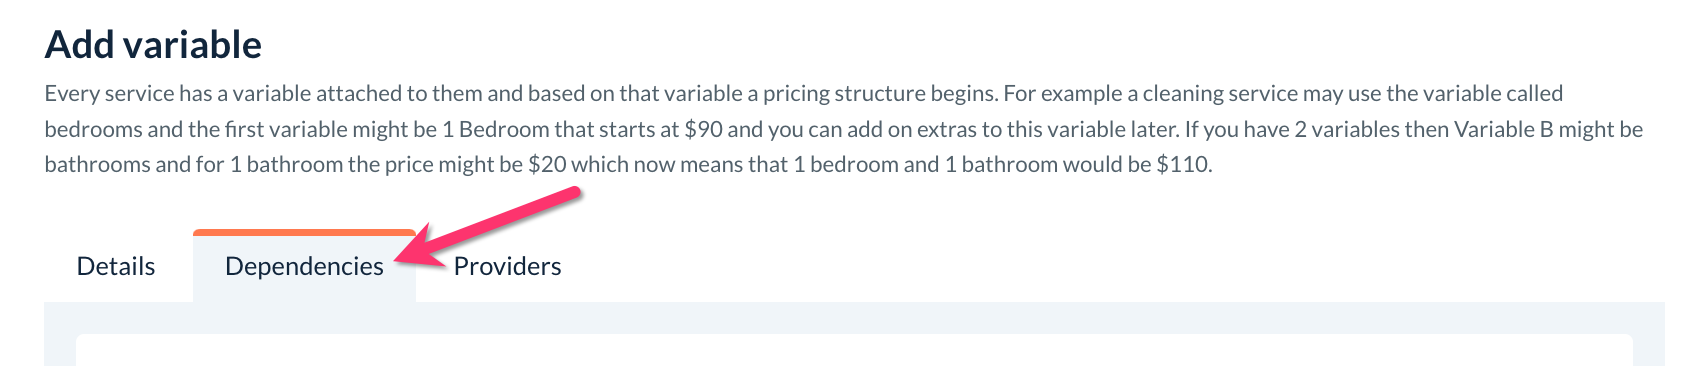
Add a Variable: Dependencies Tab
The next tab in the "Add Variable Page" is called the "Dependencies" tab.
When you enable dependencies for a variable, you gain the ability to associate that variable with select options on the booking form instead of using the same variable for every location, service category, frequency, etc.
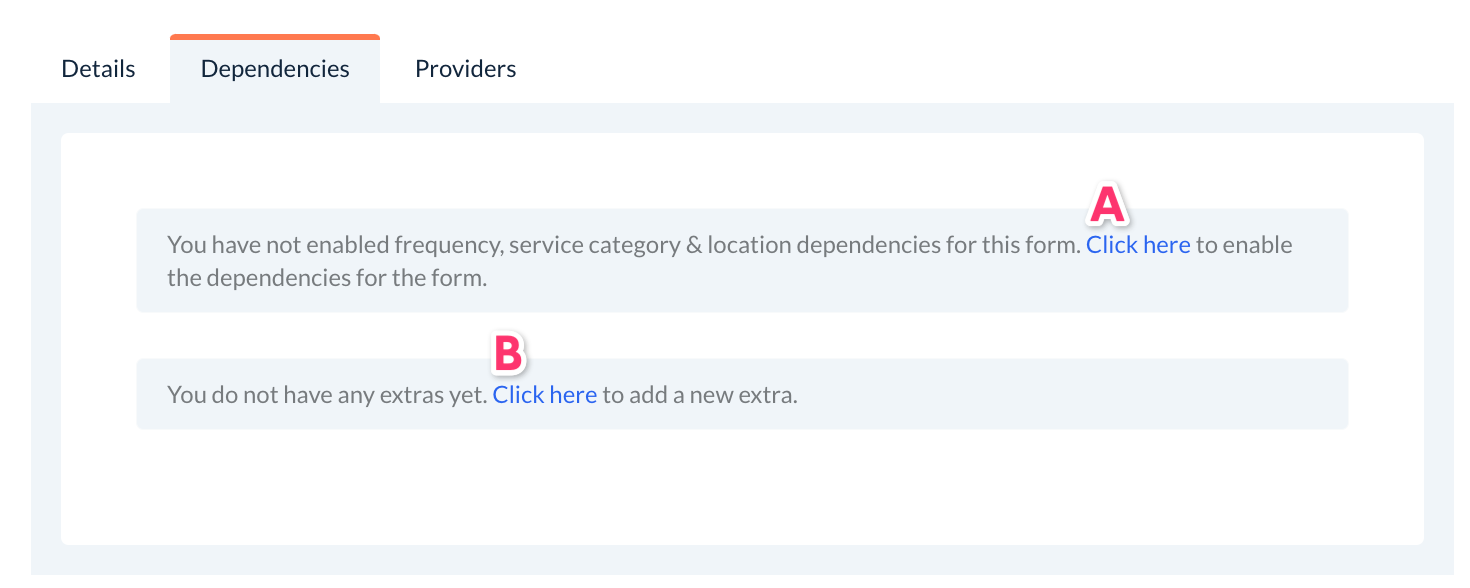
A. Click this link to enable variable dependencies on frequency, service category, and/or location Dependencies must be enabled under the Form Settings section (Settings > Industries > [Industry Name] > Settings > Form Settings). This box will not display if dependencies are enabled for all possible options.
B. Options for dependencies on extras will be displayed here. If you have not added any extras yet, click this link to open a new tab and launch the "Add Extra" page.
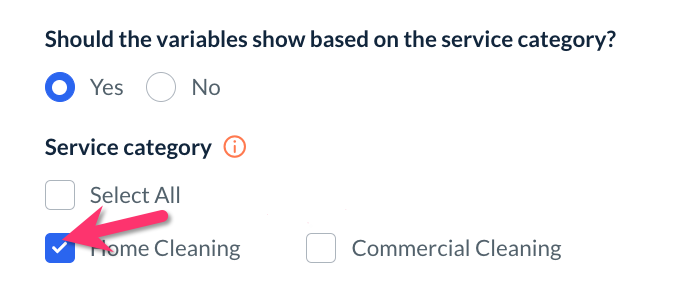
Once dependencies are enabled, any options that have been added to each section will be displayed next to a checkbox. If the box is checked, the variable will display as an option for that particular selection. If the box is not checked, the variable will not be displayed for that selection.
Click here to learn how to enable dependencies and other settings for your booking form.
Once you are finished setting up your dependencies, click the blue "Next" button at the bottom of the page.

Add a Variable: Providers Tab
The final tab, called "Providers", is only visible when you add a new variable and cannot be accessed after the variable has been saved. This is because this section is used to block or exclude providers from accepting/being scheduled with bookings that contain this variable.

To use this section, check the box next to the name(s) of the provider(s) you do not want to receive jobs with this variable.
For example, if this variable is called "5", as in "5 bedrooms", you would check off any providers who would not want to service homes with 5 bedrooms.
This section will only display if you have enabled the option for provider availability to be based on the selections made on the booking form. Click here to learn how to enable or disable this option to set provider availability using form parameters like location, frequency, service category, pricing parameters, extras, etc.
At the bottom of the page, click the blue "Save" button to add the new variable to your form.

If your form has more than one variable, repeat these steps until you have represented all of your service rates.
Duplicate a Variable
If you are creating a list of variables that have similar categories, prices, or settings, the duplicate option can be used to make a copy of an existing variable.
Go to the Pricing Parameters section (Settings > Industries > [Industry Name] > Form 1 > Pricing Parameters).
Select "Options" next to the variable you'd like to copy.
Click "Duplicate".
A pop-up window will ask if you are sure you want to duplicate this variable. Click "Yes" to proceed.
The word "-Copy" will be added to the name of the new variable so you can tell it apart from the original.
Once you have finished making any adjustments, click the blue "Save" button at the end of the steps to update the variable.
A green system notification will appear in the top-right corner of the page, letting you know the variable has been duplicated successfully.
Edit a Variable
Go to the Pricing Parameters section (Settings > Industries > [Industry Name] > Form 1 > Pricing Parameters).
Select "Options" next to the variable you'd like to edit.
Click "Edit".
You will be brought to the Edit Variable page where you can modify any of the settings you'd like.
Click the blue "Save" button to save any changes.
A green system notification will appear in the top-right corner of the page, letting you know the variable has been updated successfully.
Important note: If you edit a variable's price or length of time while there are active or pending bookings/booking charges using the variable, those existing bookings will retain the original rate. All new bookings will use the new price and/or time.
To use the new variable for existing bookings, the booking can be edited, and the new variable can be selected instead of the current option, which will say "Archived" next to it.
Archive a Variable
To manually archive a variable, go to the Pricing Parameters section (Settings > Industries > [Industry Name] > Form 1 > Pricing Parameters).
Select "Options" next to the variable you'd like to archive.
Select "Archive".
A pop-up window will ask if you are sure you want to archive this variable. Click "Yes" to proceed.
The variable will now be listed under the "Archived" menu. Once a variable has been archived, neither the customer nor the admin/staff can see it on the booking form unless it was already selected for an existing booking.
Unarchive a Variable
If you would ever like to start using an archived variable again, you can easily "unarchive" it.
Go to the Pricing Parameters section (Settings > Industries > [Industry Name] > Form 1 > Pricing Parameters).
Click on the drop-down menu at the top of the page and select "Archived".
Select "Options" next to the variable you'd like to unarchive.
Select "Unarchive".
A pop-up window will ask if you are sure you want to unarchive this variable. Click "Yes" to proceed.
The variable will be moved back to the "Active" pricing parameter listing. You and your customers will now be able to see and use the variable again on the booking form.
Reordering the Variables
You can change the order of the variables on your booking form.
Go to the Pricing Parameters section (Settings > Industries > [Industry Name] > Form 1 > Pricing Parameters).
Click and hold anywhere on a variable's row to drag it into a new position in the list.
Once you are satisfied with the order, click the blue "Update Priority" button at the bottom of the page.
A green system notification will appear in the top-right corner of the page, letting you know the priority has been updated successfully.