The purpose of this article is to help you learn:
What are pop-ups
How to add a pop-up to your website
How to manage existing pop-ups
What are pop-ups?
One of the great features of the BookingKoala website and theme builder is that you can add pop-ups to your website.
Pop-ups can be used in a variety of ways:
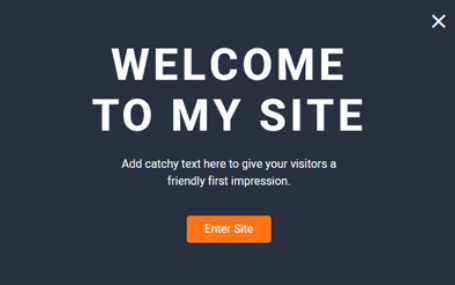
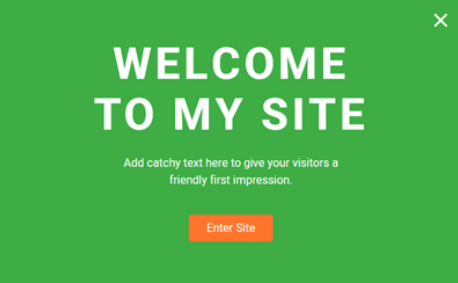
Welcome visitors to your website
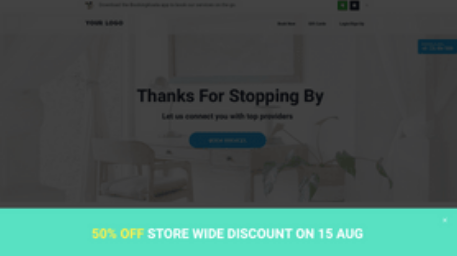
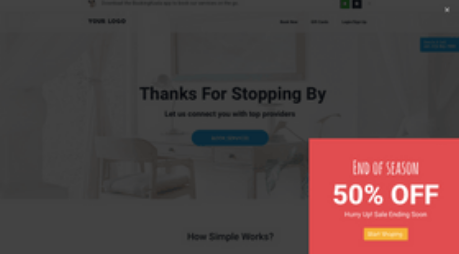
Promote a service
Advertise a coupon
Subscribe visitors to your mailing list
Send a coupon via a subscription to your mailing list
Display contact information
Play a video or ad
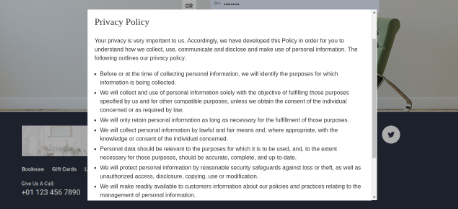
Pop-ups can be triggered automatically or connected to buttons or links on your website. Your website already comes with two pop-ups to display your privacy policy and terms of service. Click here to learn how those work and where you can edit them.
Add a Pop-Up
To add a new pop-up to your site, you'll first need to open the website and theme builder. Please go to:
Settings > Design Forms & Website > Website Builder & Themes
Click on the orange "Customize Theme" button to open the website and theme editor.
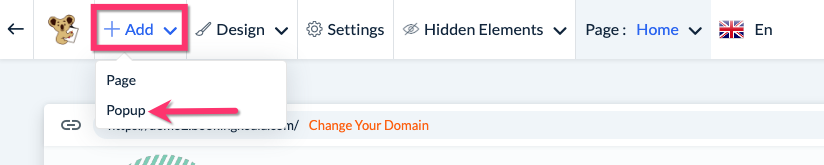
Next, click on the white "Add" button at the top left side of the menu, and select "Pop-Up".
An "Add Pop-Up" menu will appear on the left side of the screen. This contains several different templates you can browse through:
Welcome Pop-Ups:
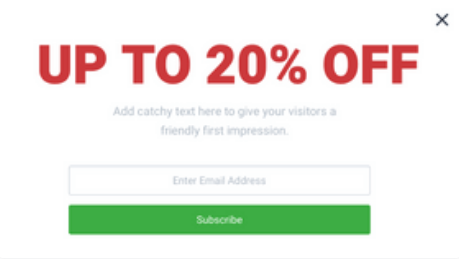
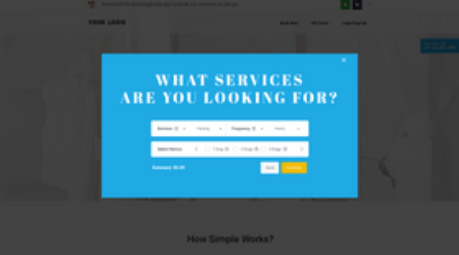
Promotion Pop-Ups:
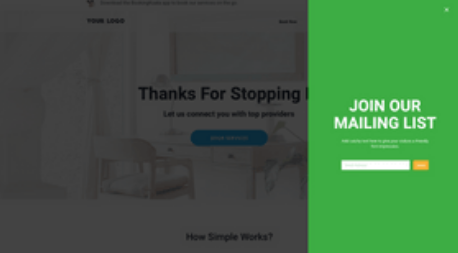
Subscription Pop-Ups:

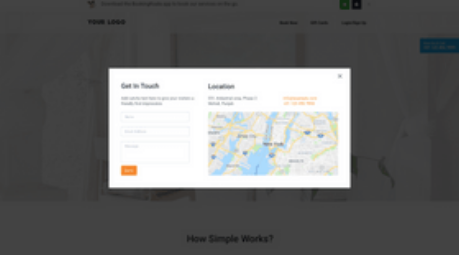
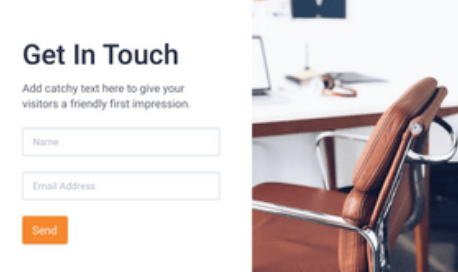
Contact Us Pop-Ups
Privacy Policy/Terms of Service Pop-Up
Short Form Pop-Up
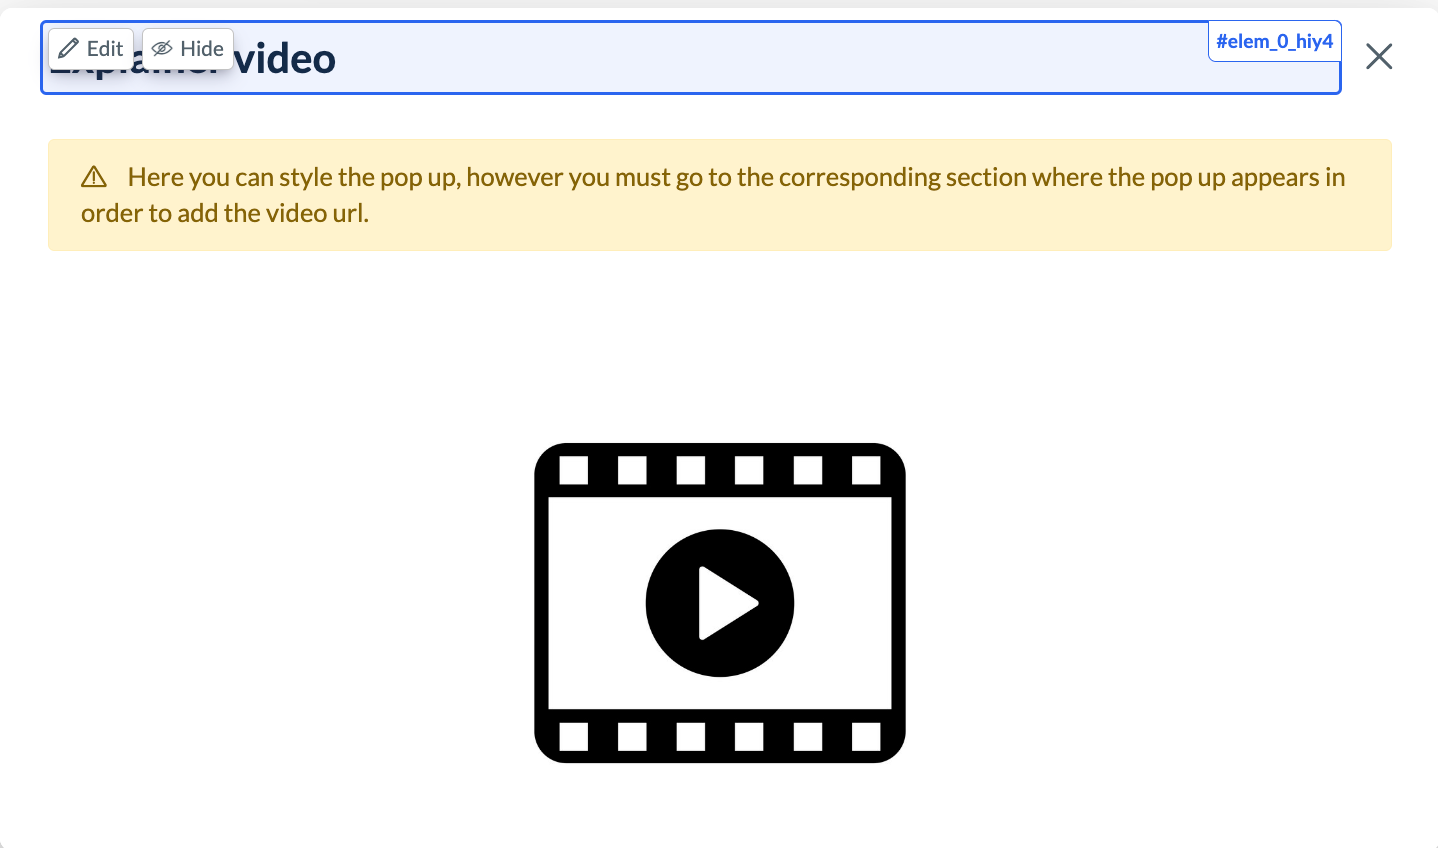
Video Pop-Up

Custom Pop-Up
Hover your cursor over the pop-up you'd like to add and click "Add This Pop-Up". Then click the "Settings" button to configure the pop-up.
The pop-up name will only be seen by you, so you can give it a label that makes it easy to recognize.
If you would like the pop-up to display automatically, check the box next to "Automatically display popup". If you've selected this option, decide whether the pop-up will occur on All pages, or select the specific pages you want it to display on.
Under "Delay", select how many seconds you want the system to wait before displaying the pop-up.
Select an option for if the pop-up should display once or each time the page is reloaded.
Should show up every time you go to a page
Just on time per visit to the site
Pick when the pop-up will show:
Every visit
Once every [day/week/month]
Every [1-100] [days/weeks/months]
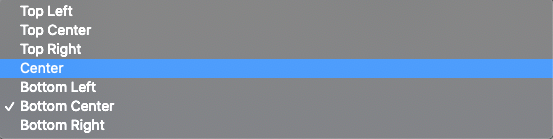
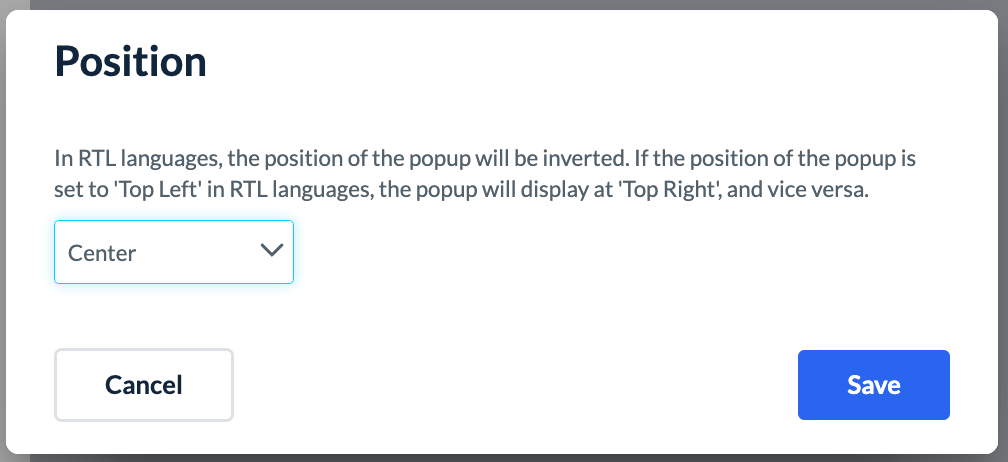
For the position, select where the pop-up will display relative to the rest of the page.
Click "Choose Color" to change the background color of the pop-up.

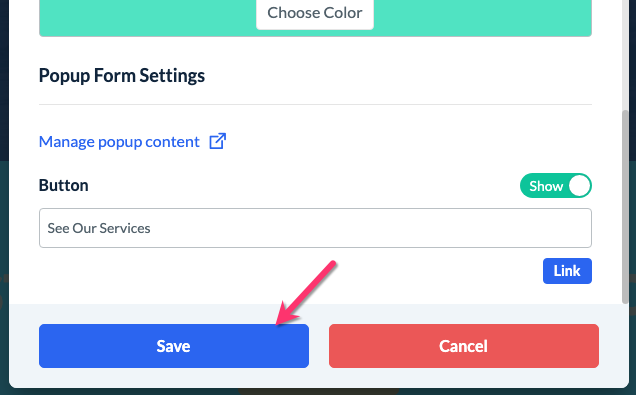
Below this area, you will find the Popup Form Settings. These will vary depending on which variety of pop-ups you are using.
Click the blue "Manage pop-up content" link to edit the test inside the pop-up. Then, click the blue "Save" button to save whatever changes you've made.
Some pop-ups have buttons that you can set up. These can be enabled or disabled by clicking the "Hide/Show" button.

Click the blue "Link" button to add a link to your button. You can link a page, web address, email address, phone number, pop-up, or section on your site. Once you've selected your link destination, click the blue "Save" button.
Once you are finished setting up your pop-up, click the blue "Save" button at the bottom of the window.
You will see a preview of your pop-up as well as a green system notification, letting you know the pop-up has been saved. From here, you can click the "Settings" button again to continue making changes, or the "X" icon to close out the pop-up.
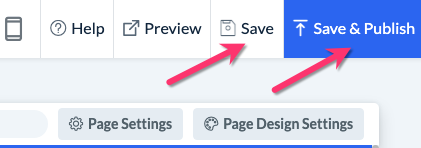
Don't forget to click the "Save" or "Save & Publish" button in the top right corner to save and/or publish the pop-up to your website.
Manage Pop-Ups
Once a pop-up has been added, it can be revisited by going to:
Settings > Design Forms & Website > Website Builder & Themes > Customize Theme > Page > Manage Pop-Ups
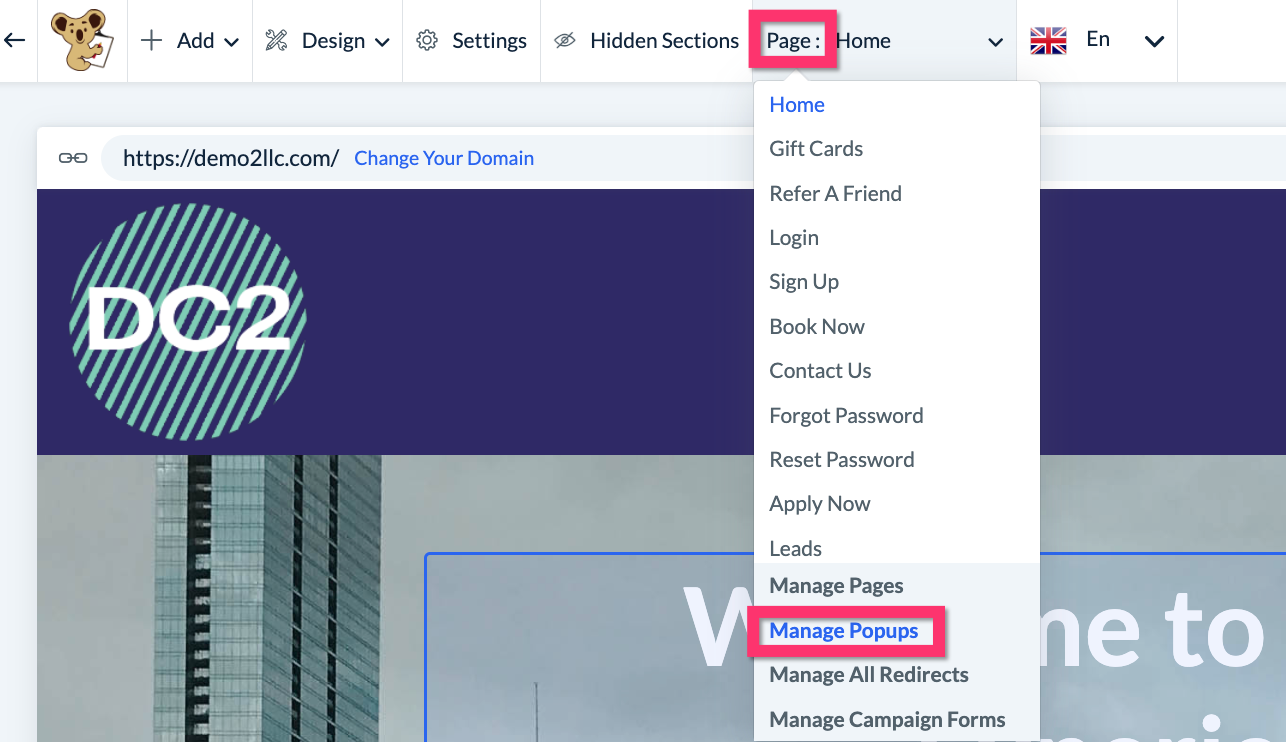
A menu will open on the left side of the screen with categories for each type of pop-up your website is using.

Pop-ups added through the website builder are found under the Website Popups category. Pop-ups relating to the customer dashboard are located in the Customer Dashboard Popups section. Lead popups are in Lead Popups, hiring popups in Hiring Popups, etc.
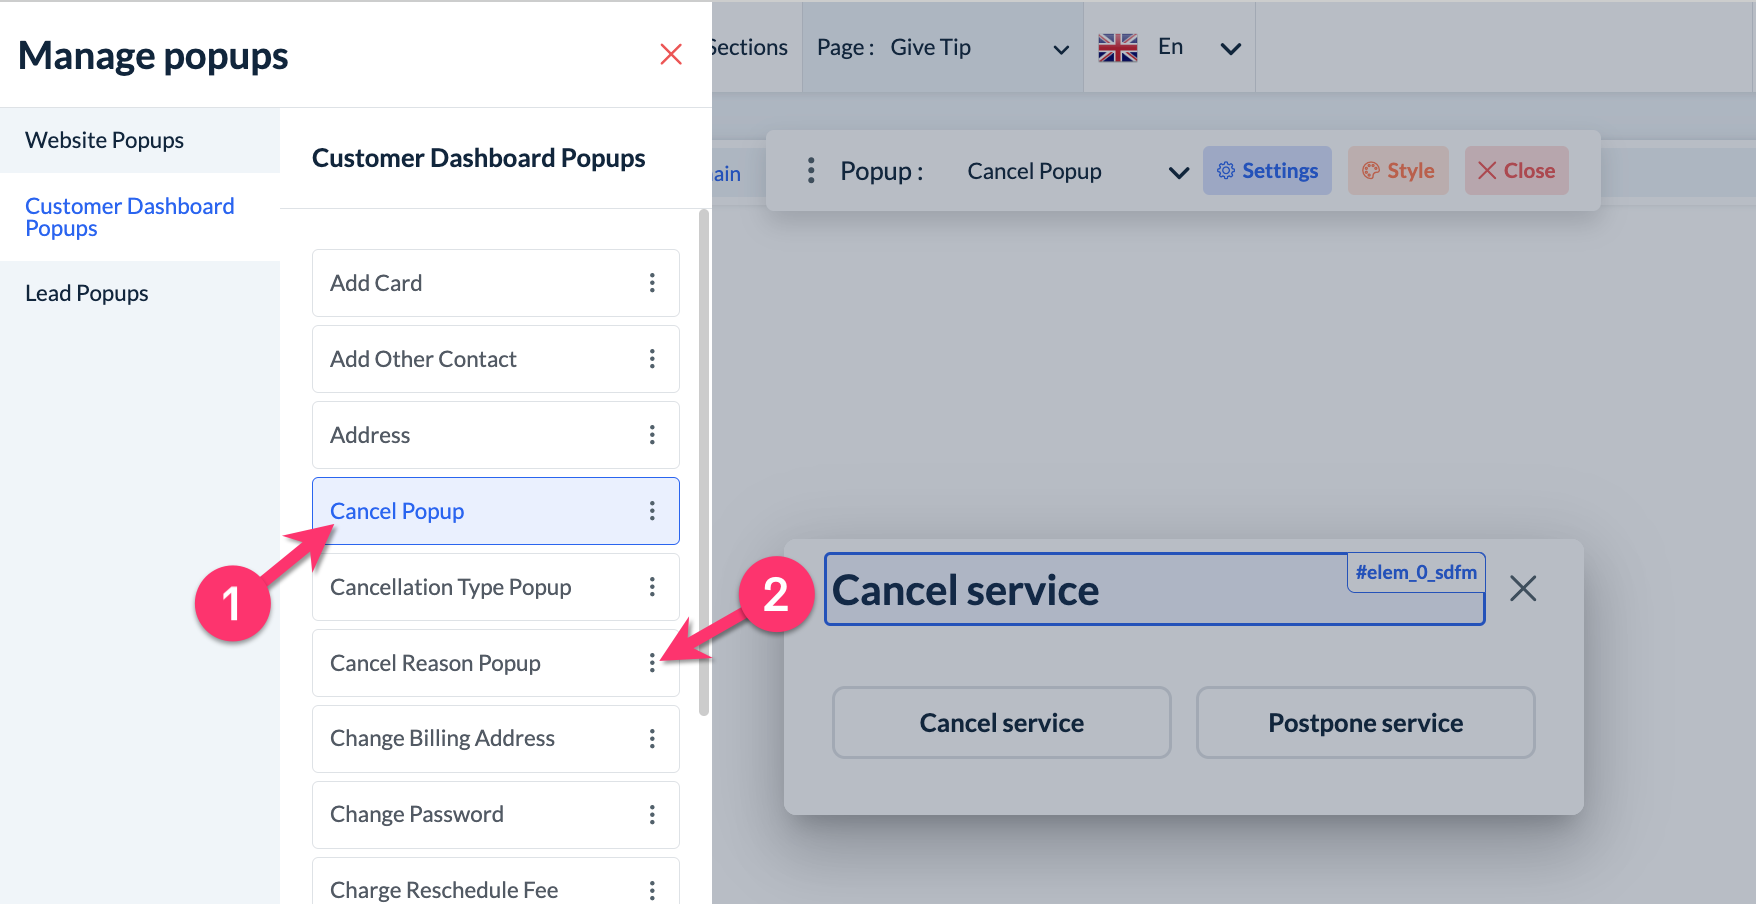
Click on the pop-up's name to view and edit its appearance and content.
Click the three dots icon and select Settings to view and edit the pop-up's position on the screen.
Customer Dashboard Pop-Ups
All accounts will have a Customer Dashboard Popups section to manage the various pop-ups customers experience when logged into their customer dashboards.
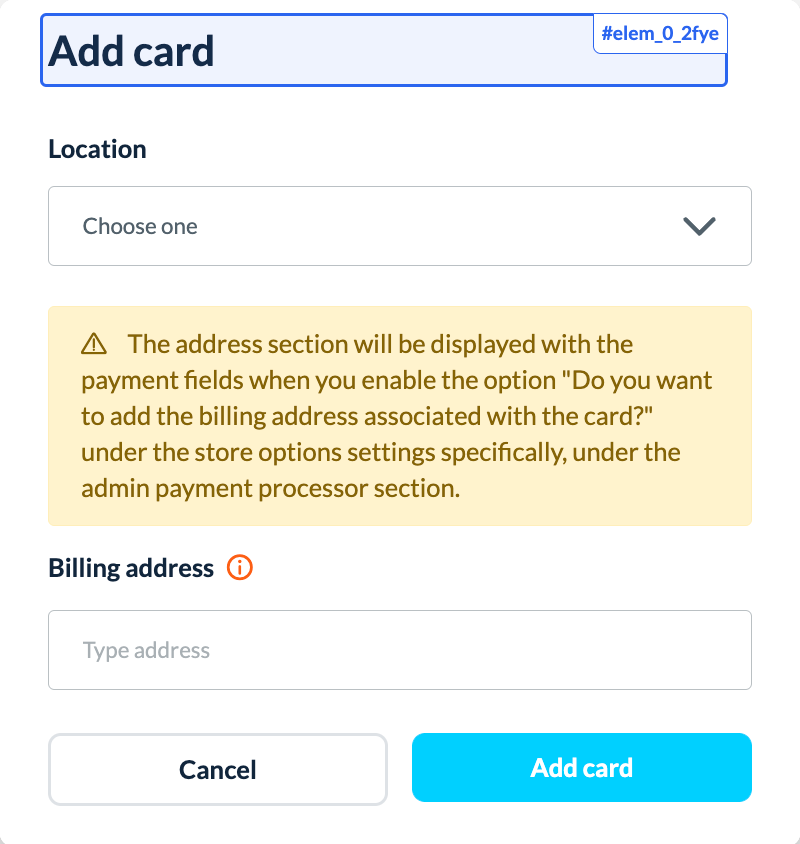
Add Card
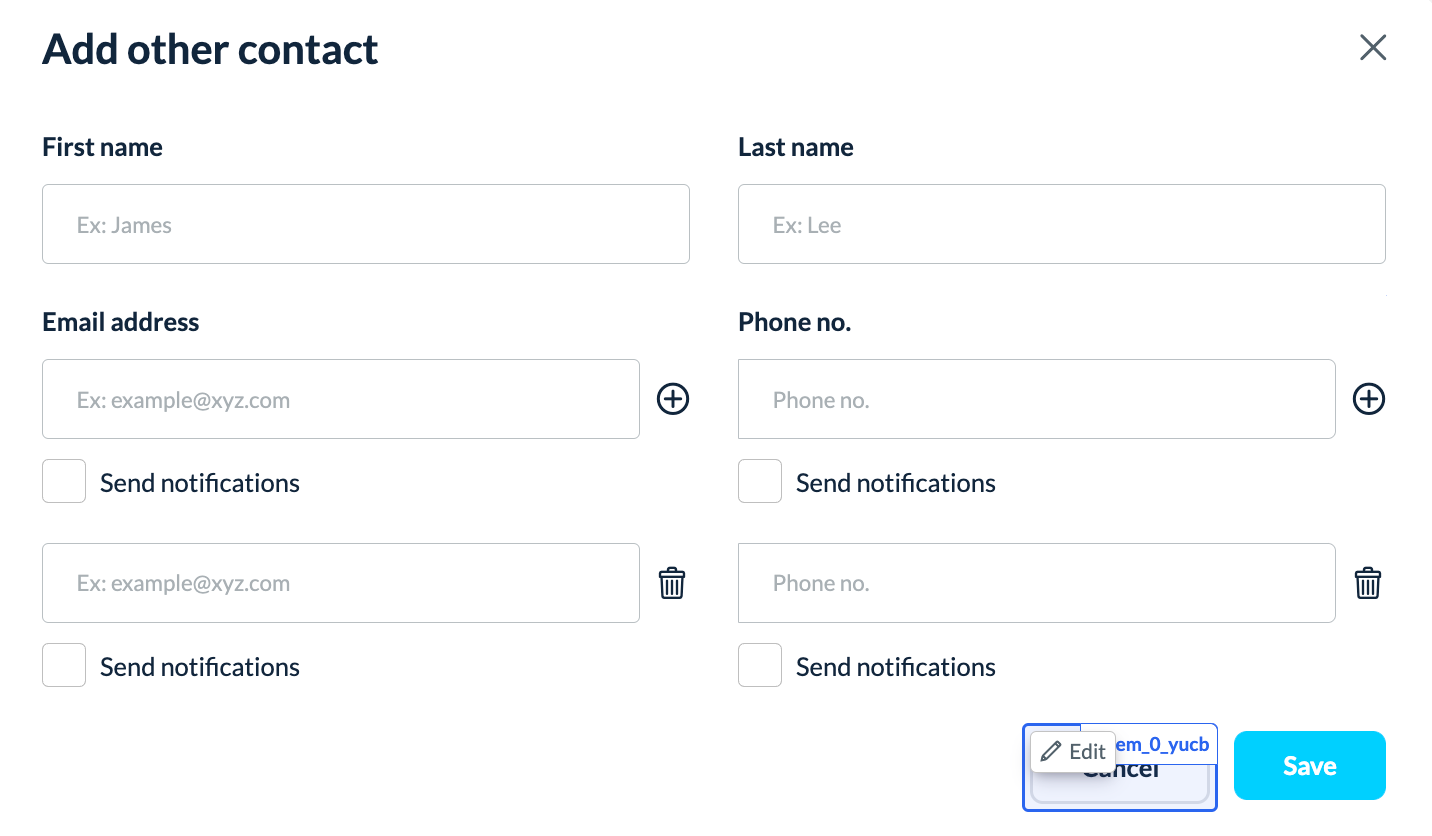
Add Other Contact
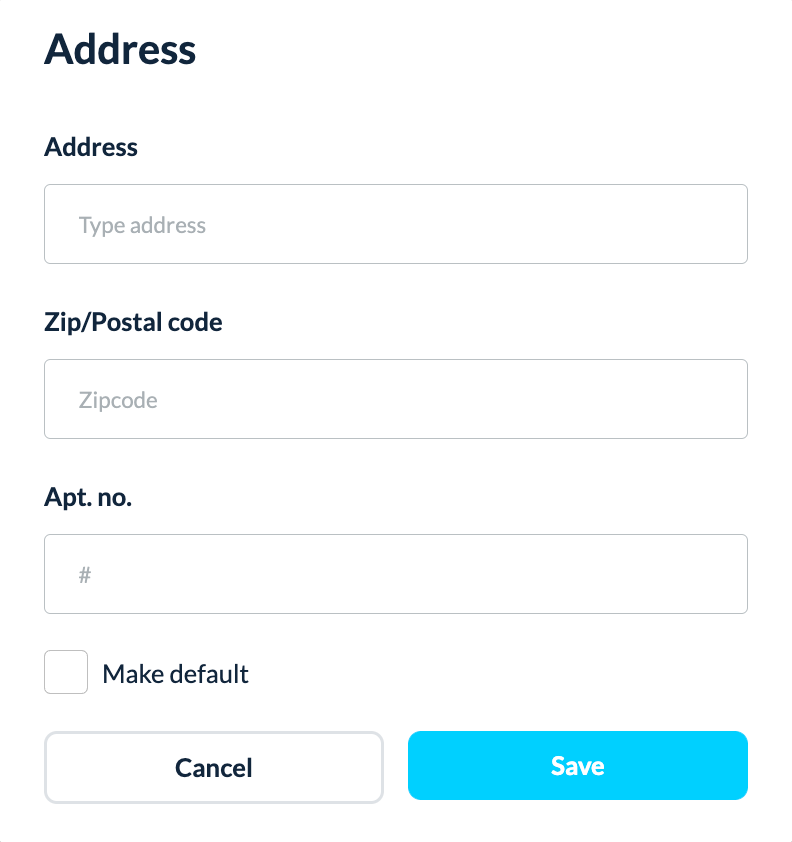
Address
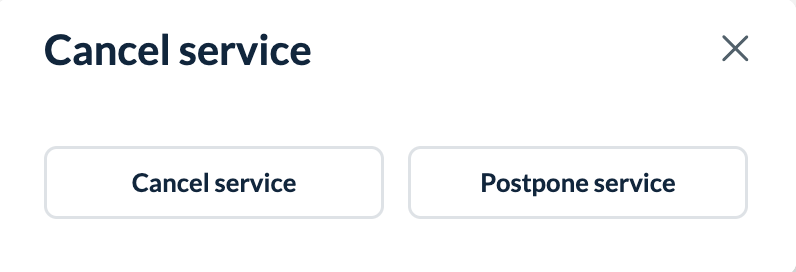
Cancel Popup
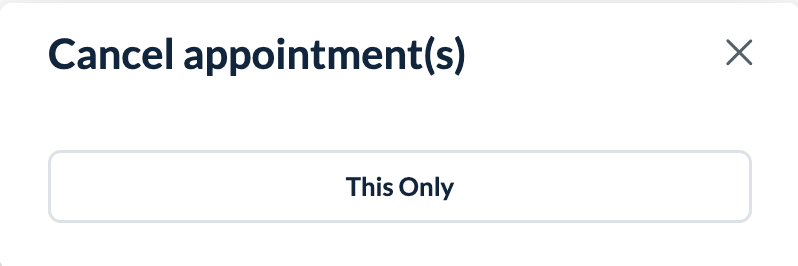
Cancelation Type Popup
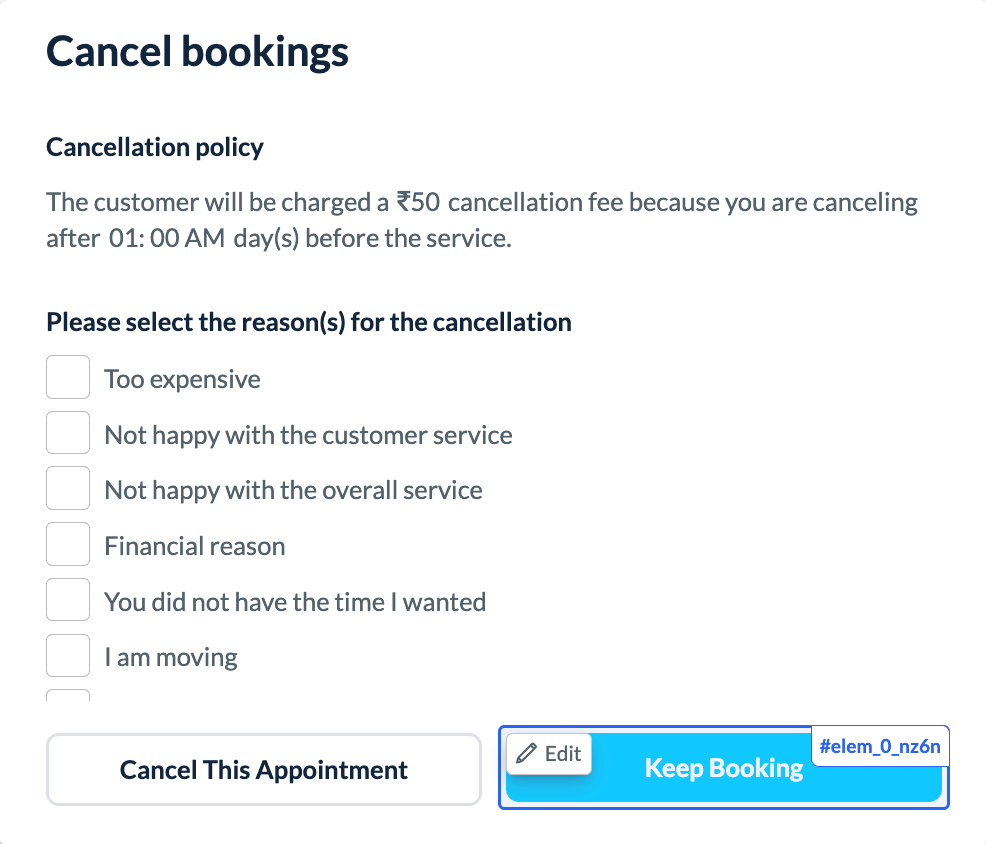
Cancel Reason Popup
Change Billing Address

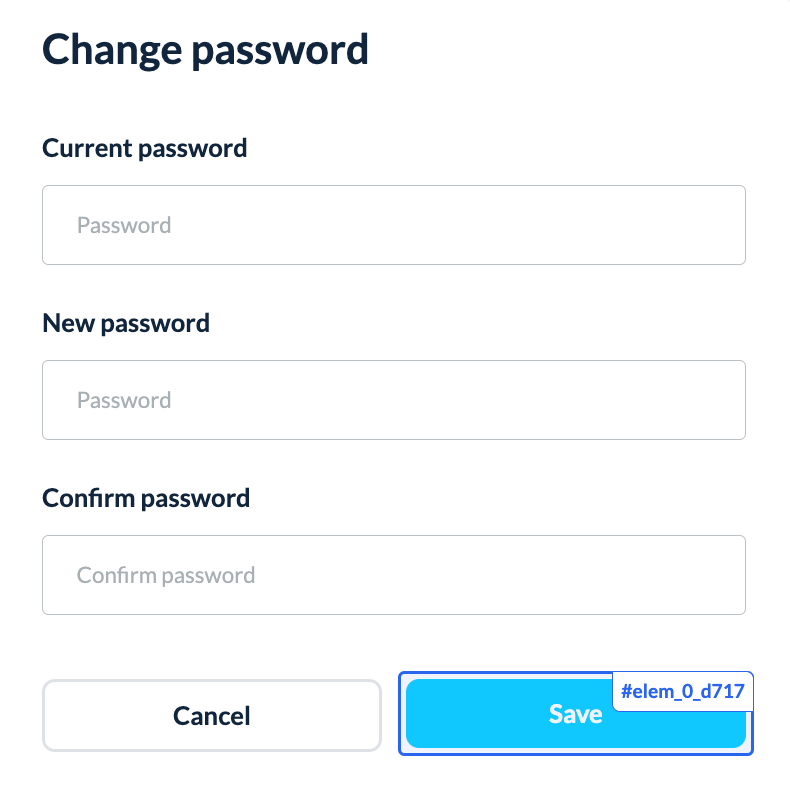
Change Password
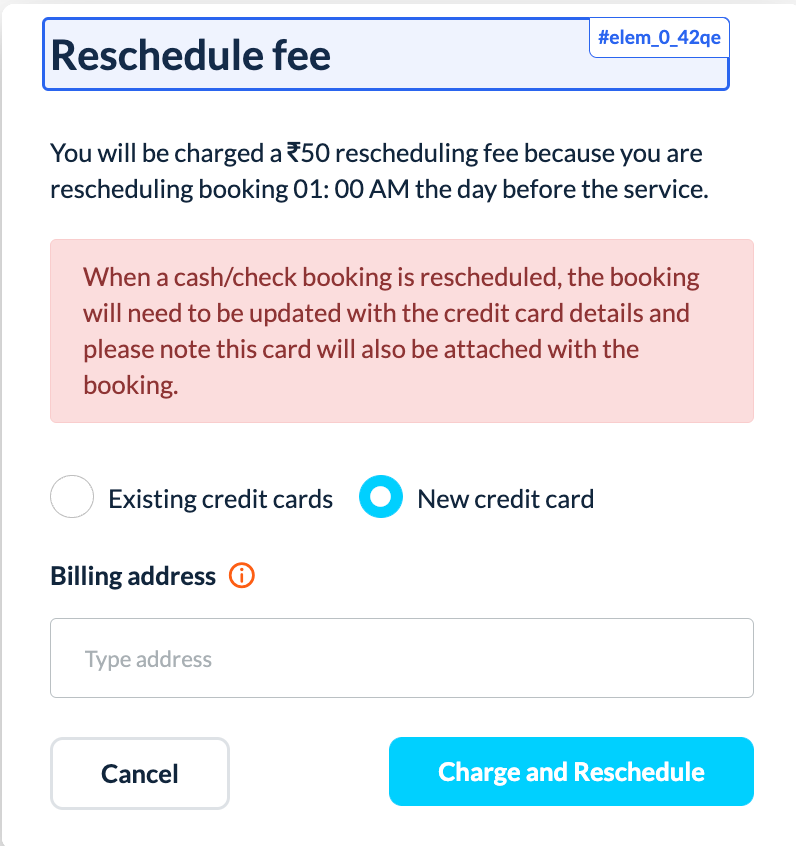
Charge Reschedule Fee
Confirmation Popup

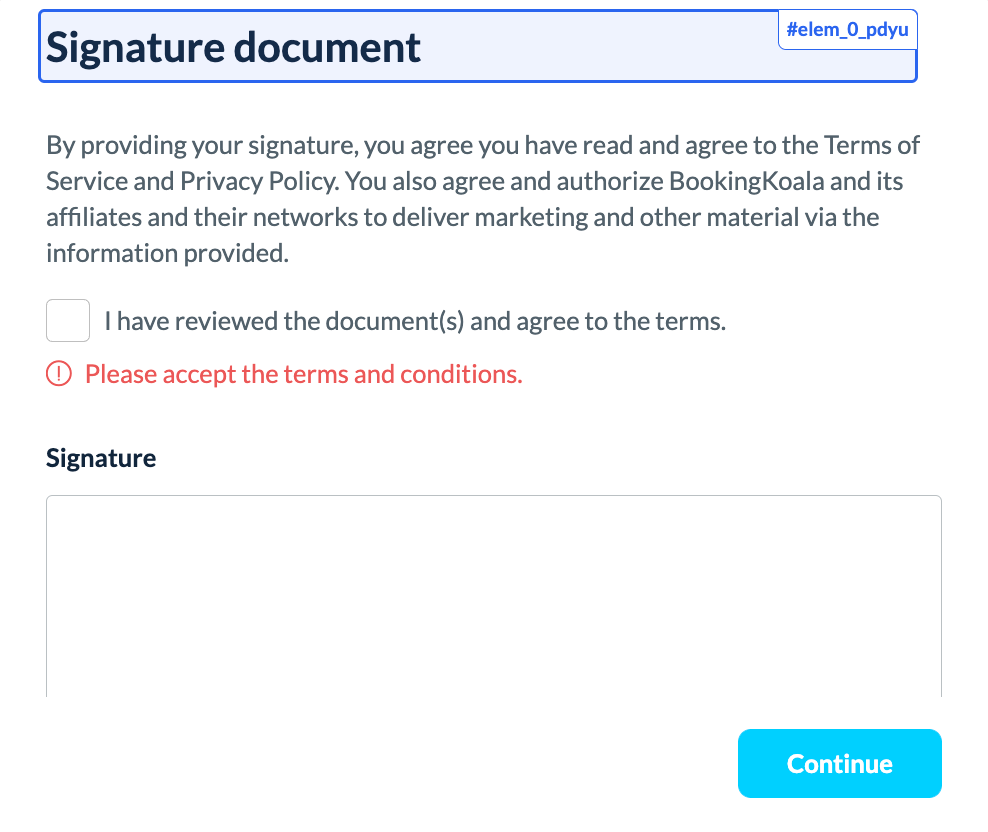
Contract
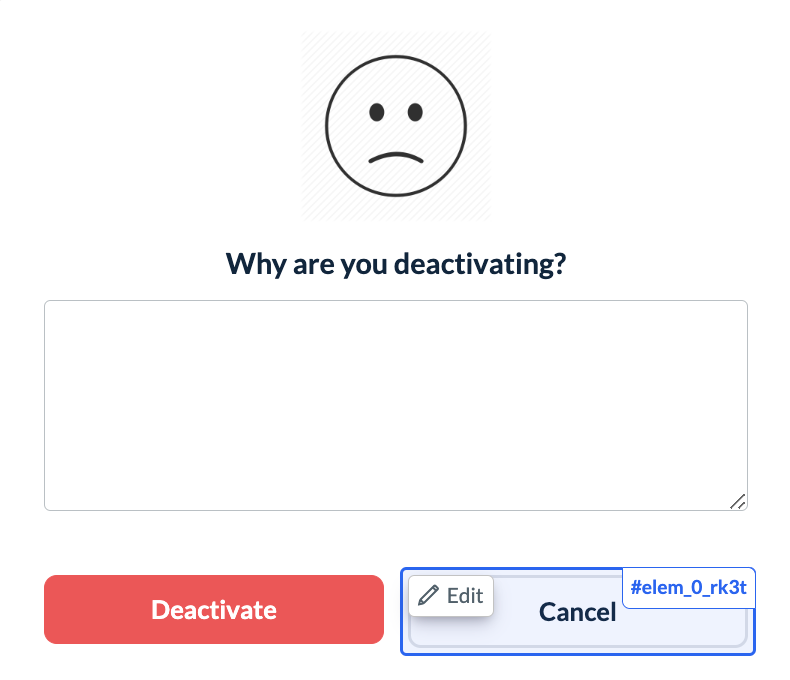
Deactivate Account
Give Tip

How It Works
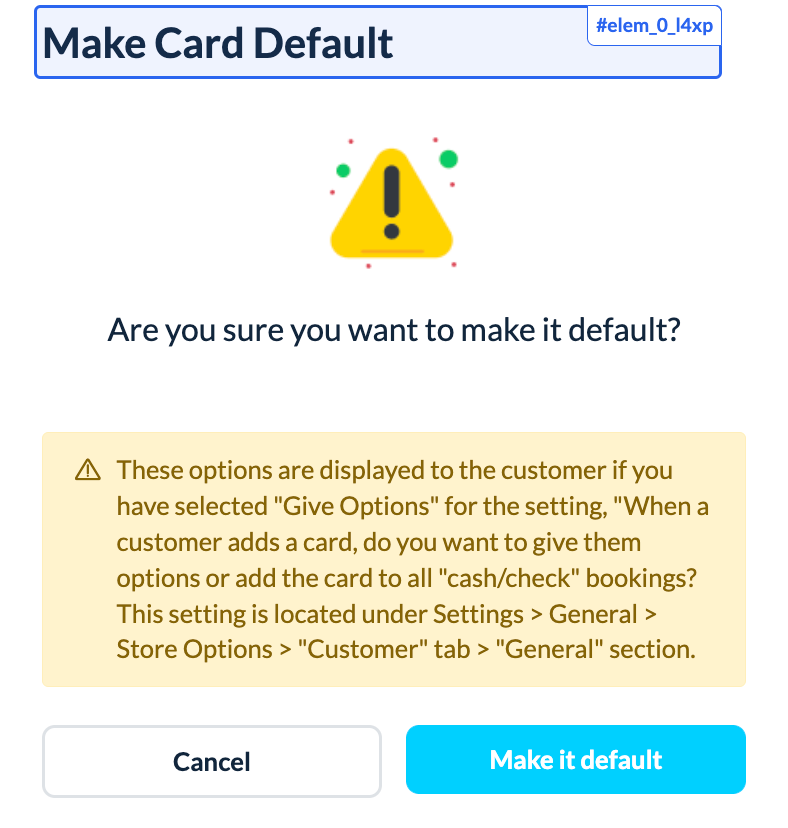
Make Card Default
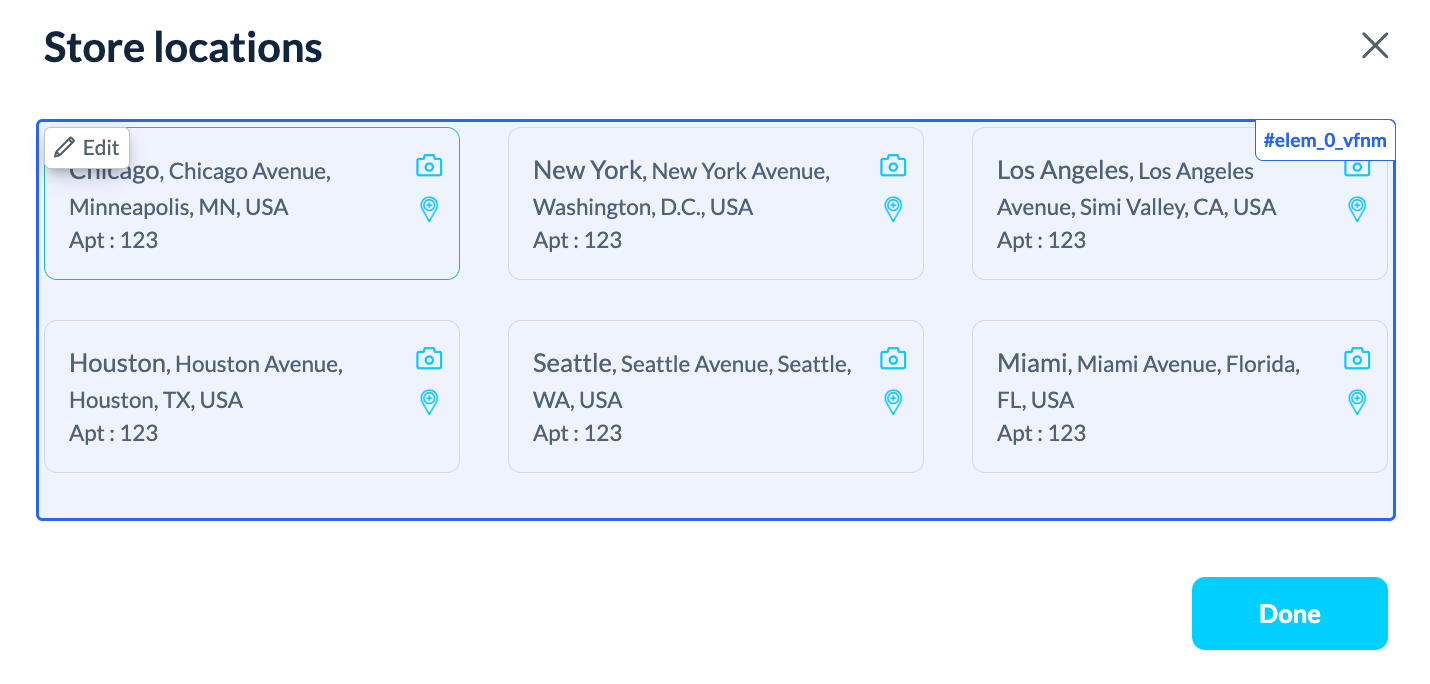
Merchant Locations
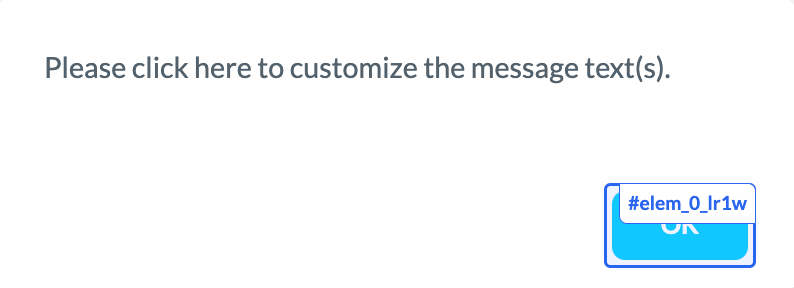
Message Popup
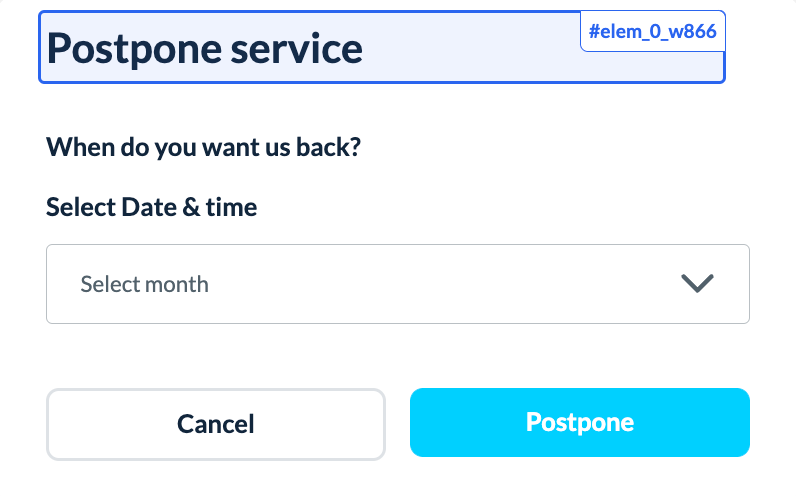
Postpone Popup
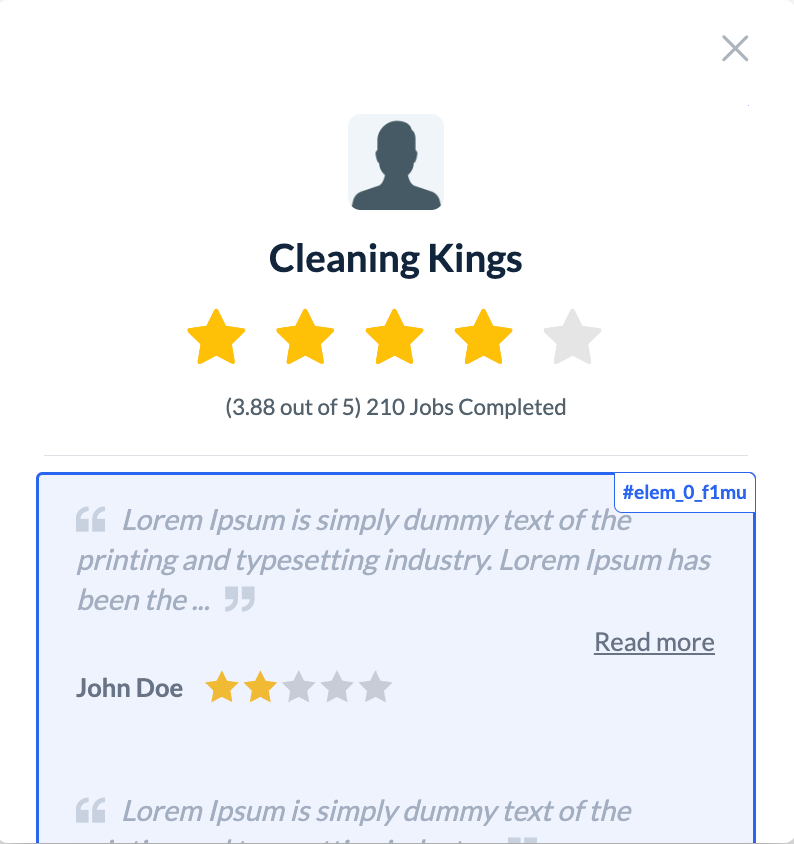
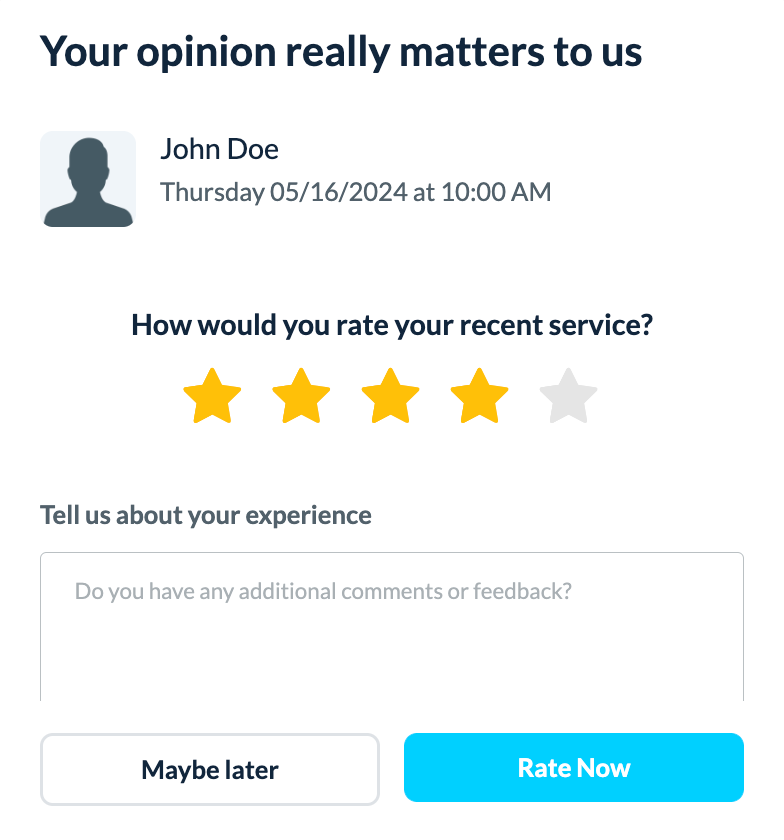
Rating Popup
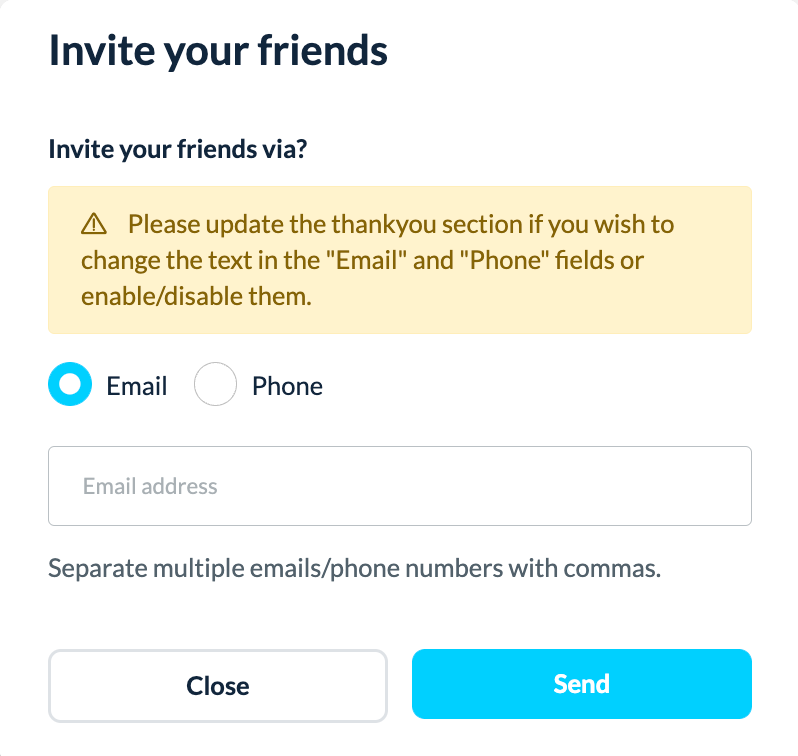
Referral Popup
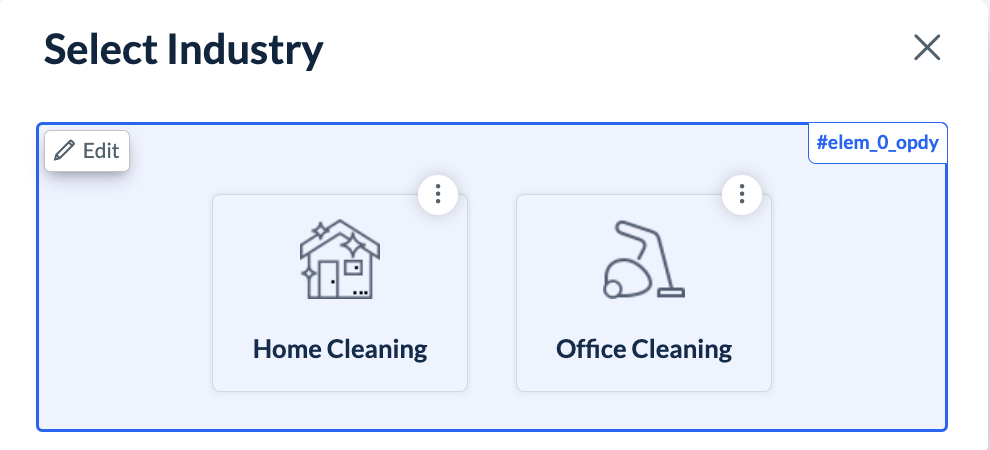
Select Industry Popup
Share Review
The Share Review popup settings can also be controlled under:
Settings > General > Store Options > Customer > Bookings > Would you like to allow your customers to rate your service? > Yes > Would you like to give your customers the option to share their internal review on an external review platform? > Yes.
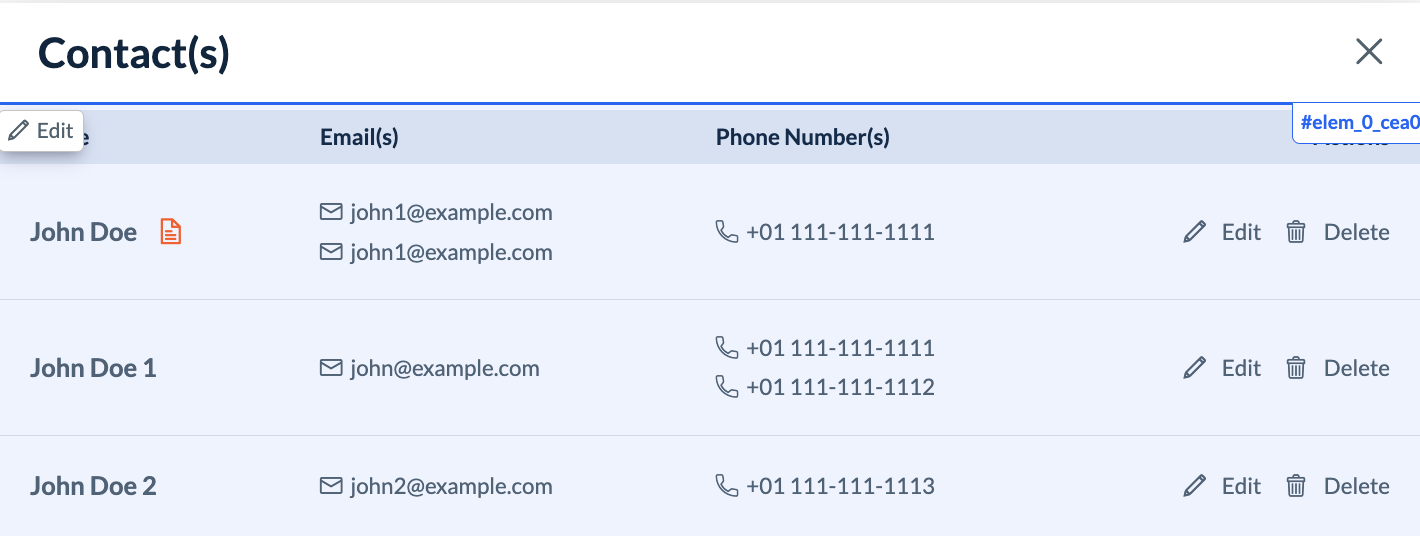
View Other Contacts
View Provider Reviews