The purpose of this article is to help you learn how to:
Add a new customer account
Deactivate and reactivate customer accounts
Delete customer accounts
New Customer Accounts
Admin and staff can add new customer accounts in two different ways.
Admin can manually add a customer account from the "Customers" section.
Admin can schedule a new service and the customer account will be generated automatically.
Manually Add a Customer
If you would like to create an account for your customer but are not ready to schedule a service, you can use the "Add Customer" option in the "Customers" section. Please go to:
Customers > Add New
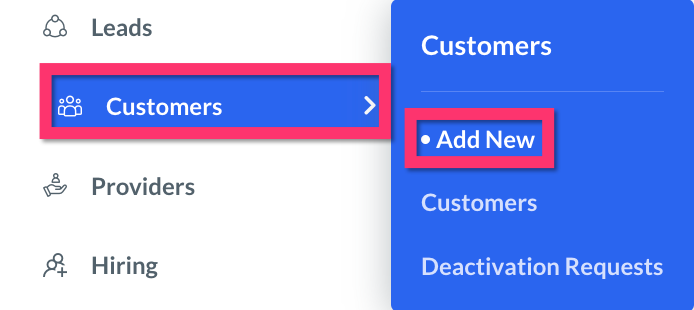
There is also a blue "Add New" button that is located at the top of the Customer's section. Both options lead to the same place.

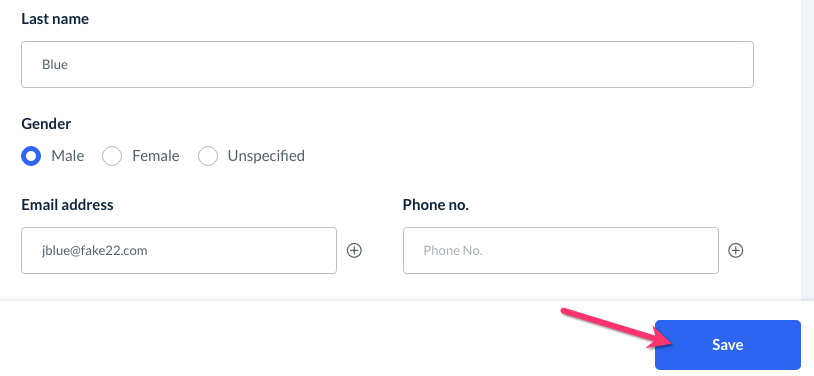
Once you click the button, you will be redirected to a blank "Add Customer" page.
You must fill out at least a First Name, Last Name, and Email Address to save a new customer account. You can also include a Company Name, Address, Phone Number(s), and Gender of the customer.
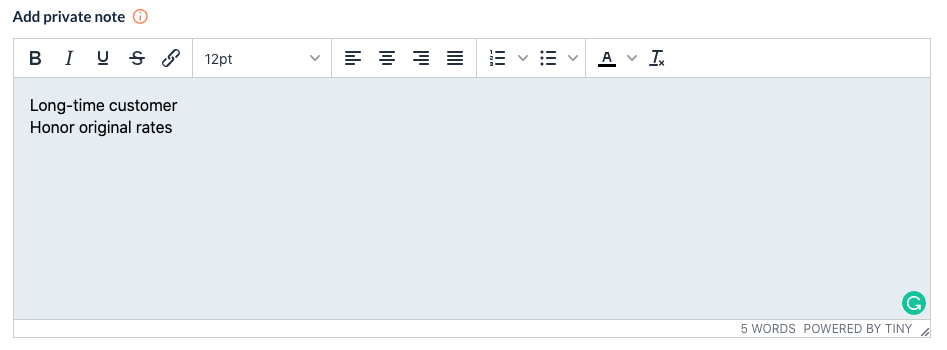
There is also an "Add Private Note" box where you can add notes about the customer's account. These can only be seen by the admin and staff.
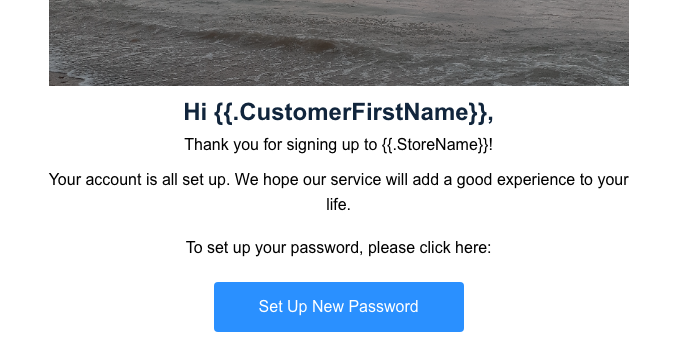
Towards the bottom of the screen, there is an option to "Send Invitation". This correlates with the "New Account" email/SMS templates located under:
Settings > Notifications > Email/SMS > Customers > Account
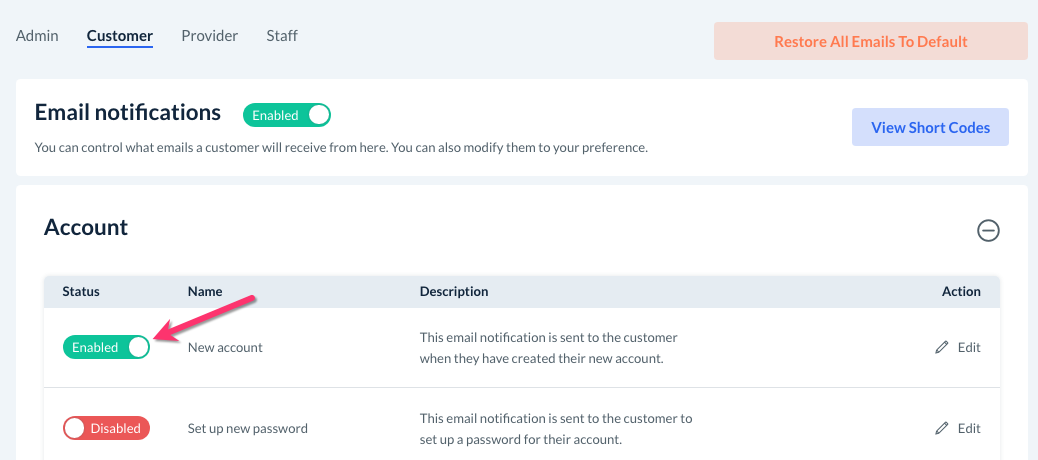
Please be sure this template is toggled to "Enabled" under the Notifications section if you'd like to send a notification inviting your customer to create a password and log into their account.
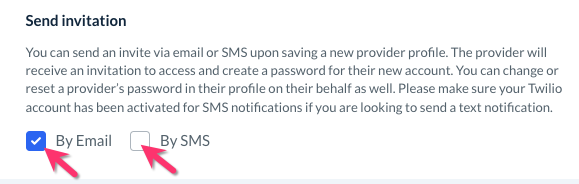
If you don't want to send the "New Account" notification to your customer now, you can always uncheck this box and send it at a later time from the customer's profile.
Once you are done filling out the customer's basic information, click the blue "Add" button to generate the customer account.
You will be redirected to the customer's Dashboard. A green system notification will appear in the top-right corner, letting you know the customer account has been saved.
Add a Customer by Booking a Service
As mentioned earlier, the other way admin and staff can create a new customer account is by saving a new booking.
The fasted way to create a new booking from the admin/staff dashboard is to click the blue "Add Booking" button at the top of the left side menu.

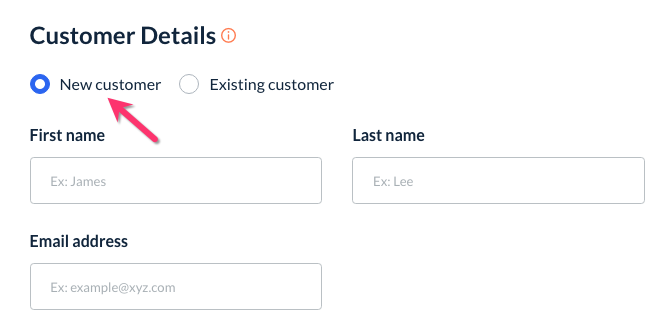
As you fill out the form, select "New Customer" under the "Customer Details" section. You will need to enter a First Name, Last Name, and Email Address for the booking to save.
Once you have finished filling out the booking form, click the green "Save Booking" button on the right side menu (or at the bottom of the page for mobile devices).
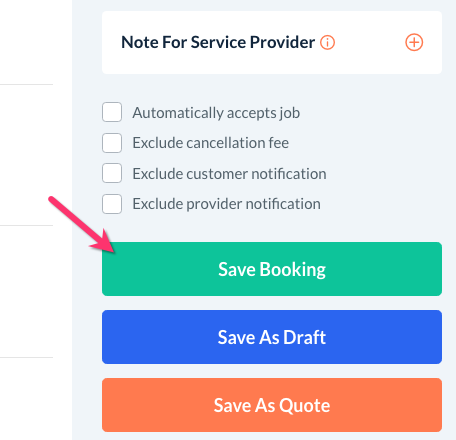
You will see a green system notification in the top right corner of the page letting you know the booking has been saved. If you click the customer's name in the booking, you will be redirected to their new customer profile.
New Customer Notifications
There are email and SMS notification templates to alert customers when a new account has been created for them. This notification also includes a link to set up a password for the account.
To enable these notifications, please go to:
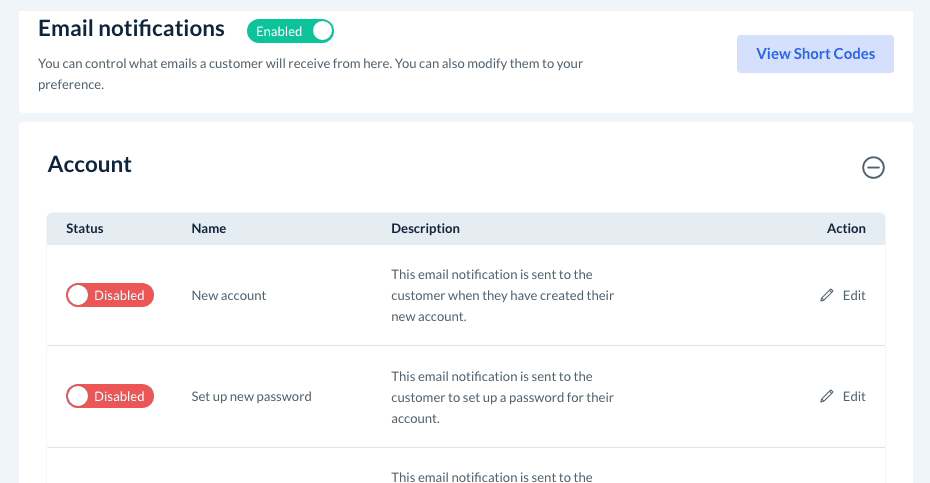
Settings > Notifications > Email/SMS
Click on the "Customers" tab at the top of the page, then click anywhere in the "Account" section to expand it.

Next, check to see if the "New Account" template has been set to "Enabled".
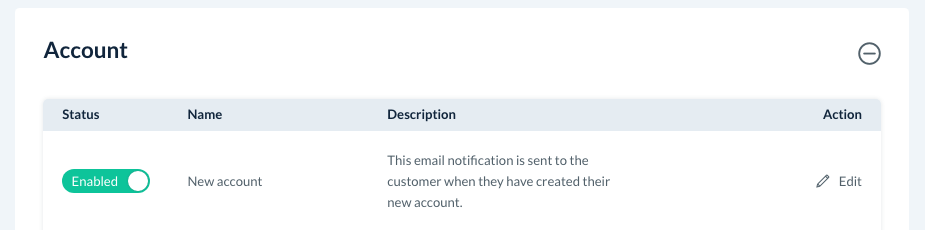
If the notification is red and says "Disabled", click the toggle button to switch it to "Enabled".
Deactivate/Reactivate Customer Accounts
Deactivate a Customer Account
If you deactivate a customer account, they will no longer be able to log into their dashboard, create new bookings, or sign up again using this email address.
Customers can also request an account deactivation from their dashboard. Click here to learn more about deactivation requests and how to process them.
Admin and staff can deactivate a customer by going to:
Customers > Customers
This will bring you to the active Customers section. Click on "Options", then "Deactivate" to the right of the customer you'd like to deactivate.

A pop-up window will appear, asking if you are sure you want to deactivate this customer. You can also check the box next to "Exclude notification from being sent" if you do not want the customer to be notified that you are deactivating their account.
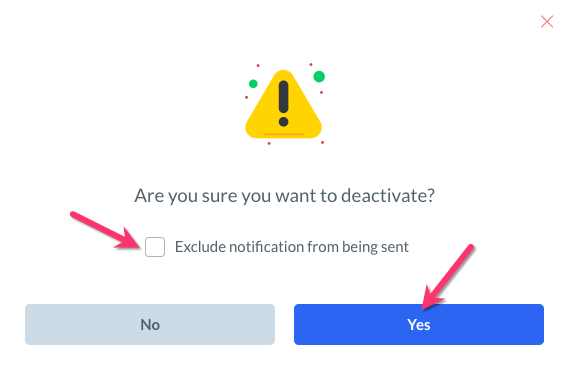
Click the blue "Yes" button to proceed with deactivating the customer's account.
Once completed, you will see a green system notification in the top right corner of the page, letting you know the customer has been deactivated successfully.
Reactivate a Customer Account
If you'd ever like to reactivate a customer's account, go to:
Customers > Deactivation Requests
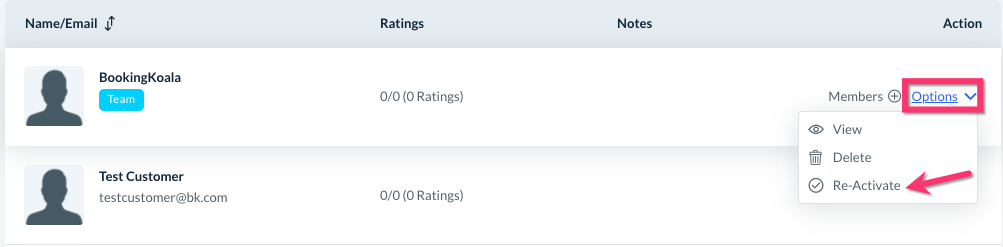
Click on the "Deactivated Customers" tab at the top of the page to view a list of all deactivated customer accounts.

Once you locate the correct account, click on "Options", then "Re-Activate".
A pop-up window will appear, asking if you are sure you want to reactivate this customer. You can also check the box next to "Exclude notification from being sent" if you do not want the customer to be notified that you are reactivating your account.
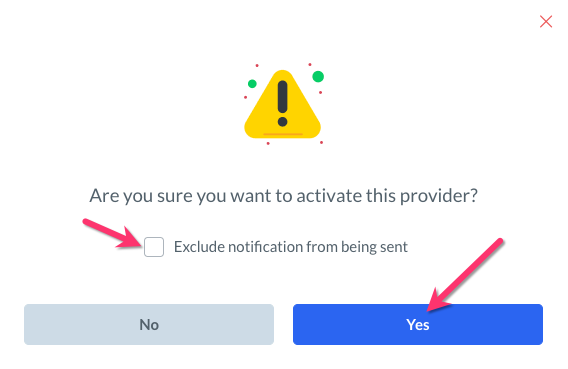
Once completed, you will see a green system notification in the top right corner of the page, letting you know the customer has been reactivated successfully.
Deactivation/Reactivation Notifications
There are notification templates designed to alert customers if their account has been deactivated or reactivated.
To enable these notifications, please go to:
Settings > Notifications > Email/SMS
Click on the "Customers" tab at the top of the page, then click anywhere in the "Account" section to expand it.

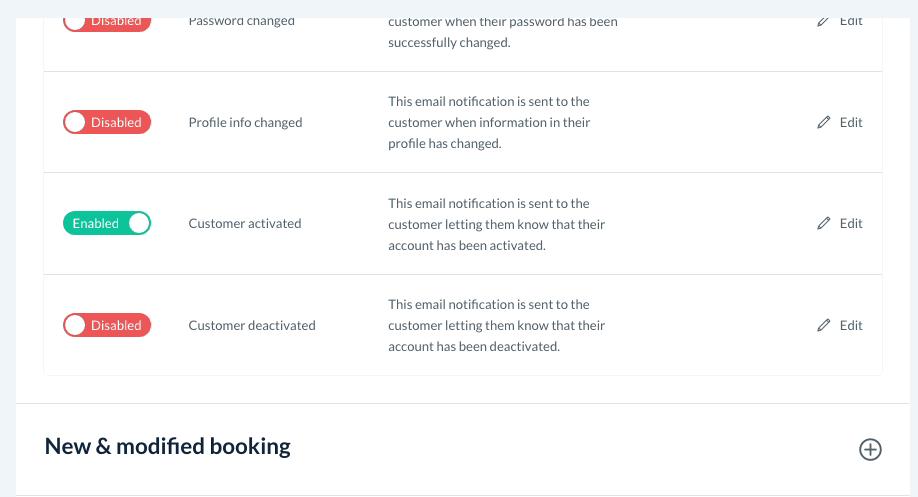
Next, check to see if the "Customer Activated" and "Customer Deactivated" templates have been set to "Enabled".
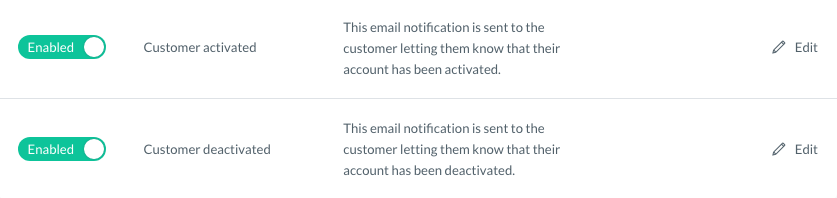
If the notifications are red and say "Disabled", click the toggle button to switch them to "Enabled".
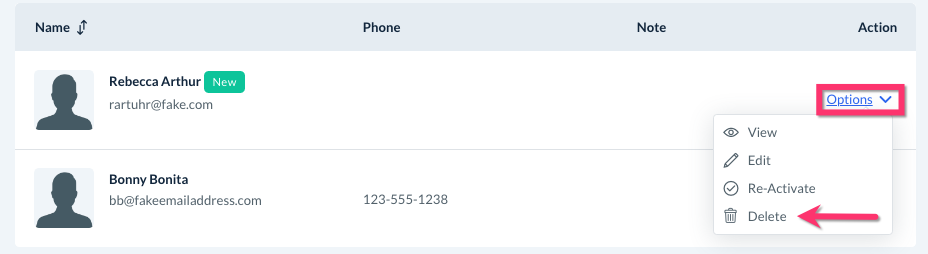
Delete a Customer Account
To permanently delete a customer account, you must first deactivate it. Then, go to:
Customers > Deactivation Requests
Click on the "Deactivated Customers" tab at the top of the page.

Once you've located the account you'd like to delete, click on "Options", and "Delete.
A pop-up window will appear, asking if you are sure you are ready to delete this customer. Once you click the blue "Yes" button, the account will be permanently deleted from the system and cannot be retrieved.
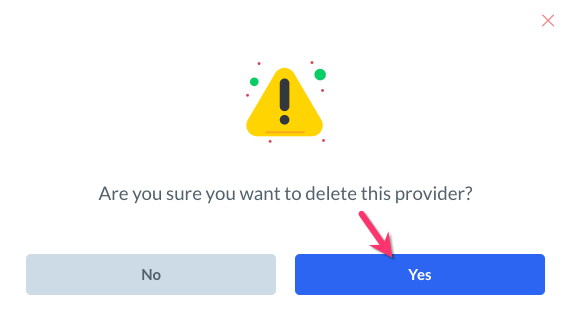
Once complete, you will see a green system notification in the top right corner of the page, letting you know the customer has been deleted successfully.