The purpose of this article is to help you understand:
How customers submit an account deactivation request
Where to process customer deactivation requests
How to enable notifications for deactivation requests
Customer Account Deactivation Requests
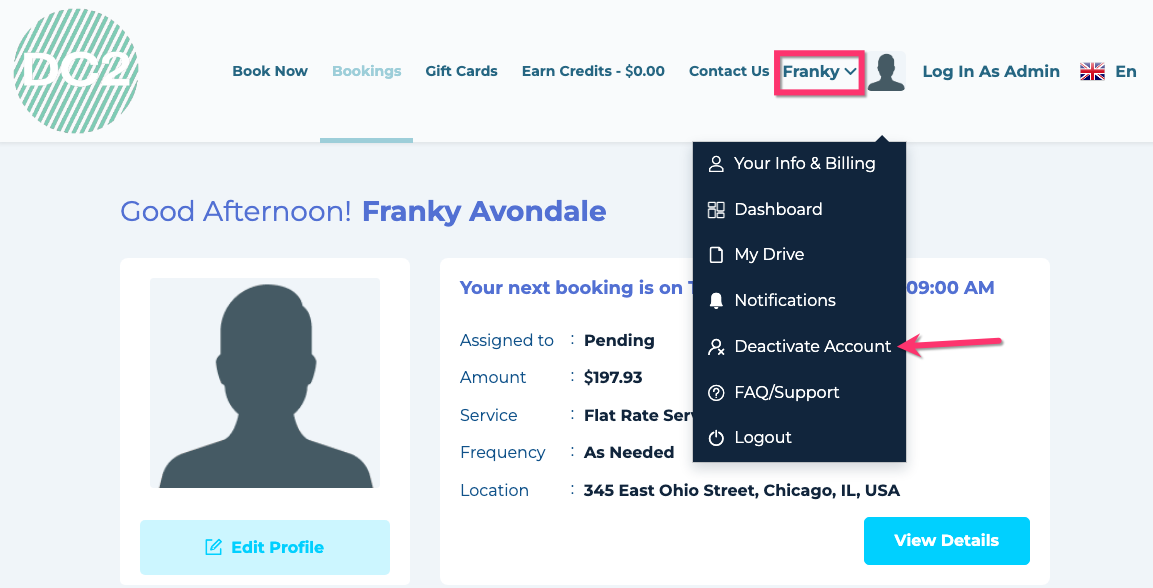
If a customer is no longer interested in keeping an account with your business, they can submit a deactivation request from their dashboard.
After logging into their dashboard, customers can click on their first name in the header section to view the drop-down menu. From here, they would select "Deactivate Account"
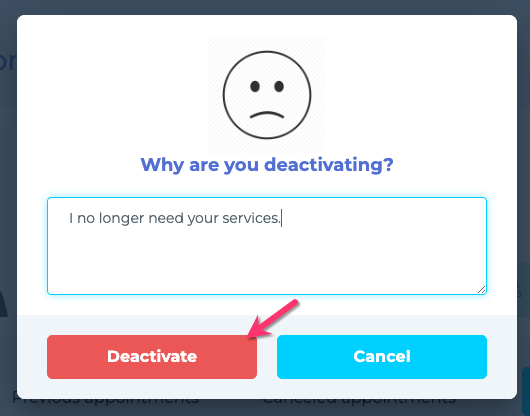
A pop-up will appear, asking why they are deactivating their account. Customers can add feedback or comments to their request if desired, and then click the red "Deactivate" button.
Once the request has been submitted, the customer will see a green system notification at the top of the page letting them know the request has been submitted successfully.
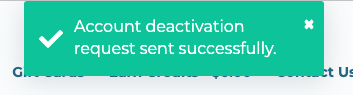
Customers will still be able to access their account, book services, etc. until the admin or staff approves their request.
Processing Customer Deactivation Requests
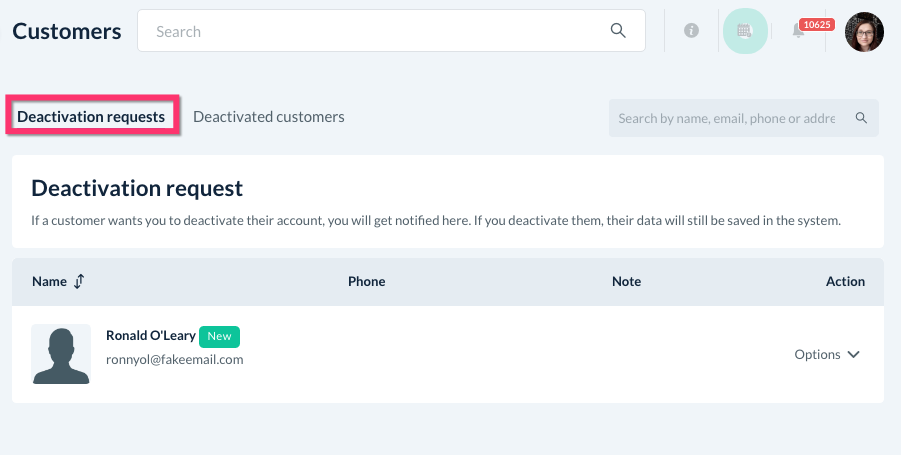
Whenever customers submit a deactivation request, staff and admin will be able to view them under:
Customers > Deactivation Requests
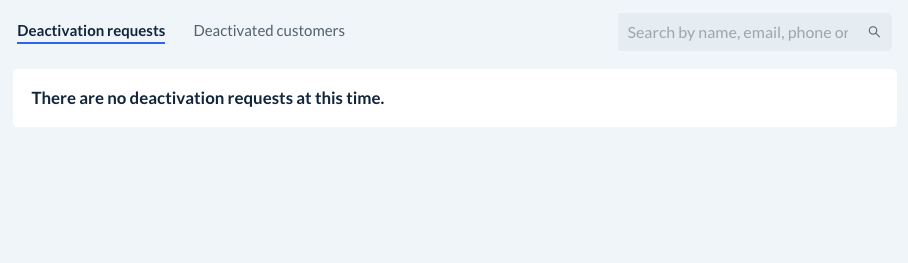
You will be redirected to the "Deactivation Requests" page by default. Any new requests will be listed in the section below.
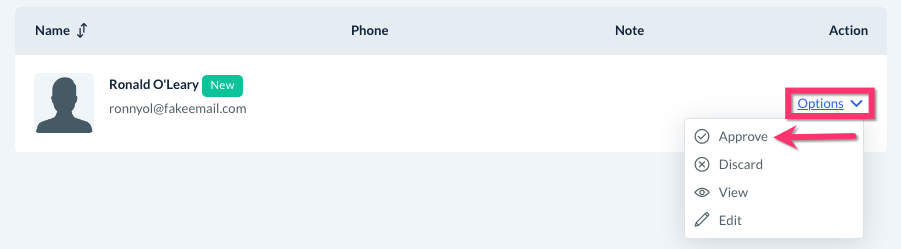
To approve the request, click on "Options", then "Approve".
A pop-up window will appear, asking if you are sure you want to deactivate the account. Once deactivated, the customer will no longer be able to use this email address to log in, view past bookings, or schedule new ones.
You also have an option to exclude notifications from being sent to the customer confirming the account deactivation. If you are ready to process, click the blue "Yes" button.

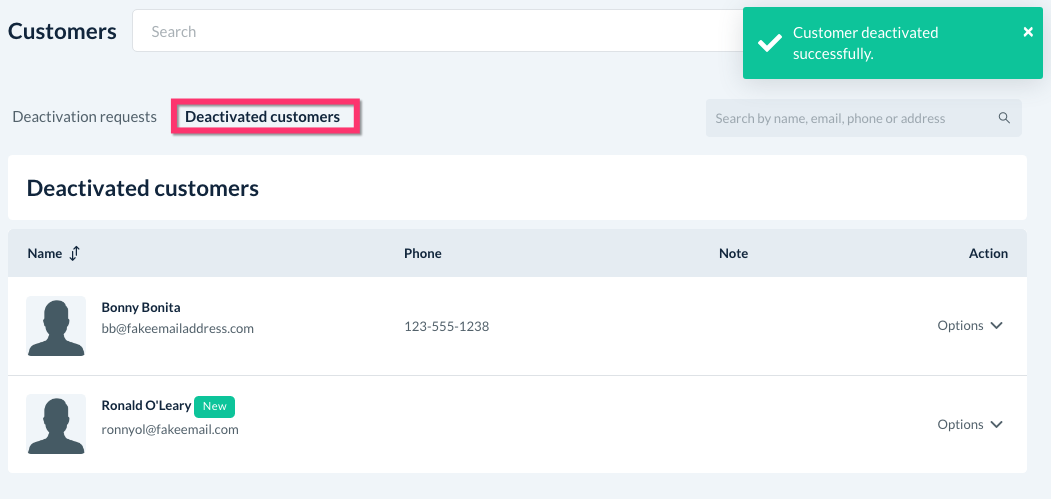
Once the deactivation is complete, a green system notification will let you know and you will be redirected to the "Deactivated Customers" tab.
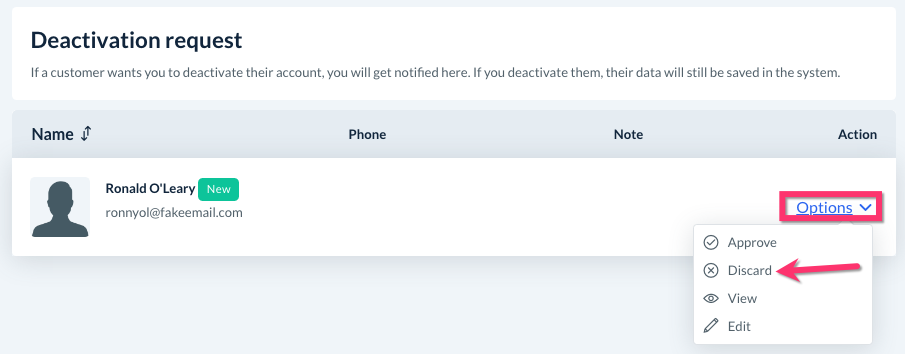
If you do not want to approve the request, you can click "Options", then "Discard" to get rid of the request.
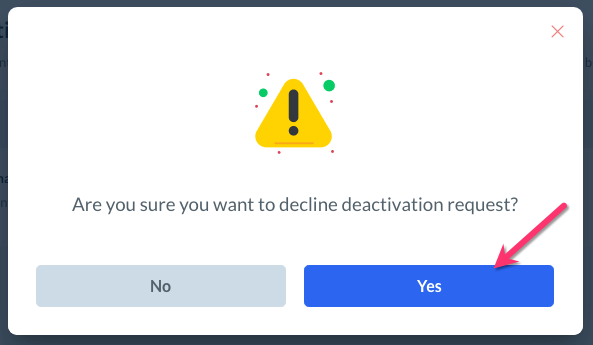
A pop-up window will appear, asking if you are sure you want to decline the deactivation request. Customers are not notified if their deactivation request is denied. Click "Yes" to proceed.
A green system notification will let you know the request has been declined. You will be directed back to the "Deactivation Requests" tab which will now be empty.
Deactivation Request Notifications
There are three ways to notify the admin and staff of a new customer deactivation request:
Email notification
SMS notification
System Alert
Email Notification
To enable the "Account Deactivation Request" email notification, you must first check that you have set up and verified your sender email address. Click here to learn how to set up email notifications for the admin, staff, customers, and providers.
Then, please go to:
Settings > Notifications > Emails
Expand the "Account" section and check to see if the notification is set to "Enabled".
If the notification is red and says "Disabled", click the button to switch it to "Enabled". A pop-up will appear, asking if you are sure you want to enable this notification. Click the blue "Yes" button to proceed.
Your admin email address will now receive email notifications whenever a customer requests to deactivate their account.
SMS Notification
To enable the "Account Deactivation Request" SMS notification, you must first check that you have set up and connected your Twilio account. Click here to learn how to set up SMS notifications for the admin, staff, customers, and providers.
Then, please go to:
Settings > Notifications > SMS
Expand the "Account" section and check to see if the notification is set to "Enabled".
If the notification is red and says "Disabled", click the button to switch it to "Enabled". A pop-up will appear, asking if you are sure you want to enable this notification. Click the blue "Yes" button to proceed.
Your Twilio number will now receive SMS notifications whenever a customer requests to deactivate their account.
System Alert
In addition to SMS and email templates, there is also a system alert for customer deactivation requests. Click here to learn more about how system alerts display in your account.
To enable the system alert, please go to:
Settings > Notifications > System Alerts
Expand the "Account" section and check to see if the alert is set to "Enabled".
If the alert is red and says "Disabled", click the button to switch it to "Enabled". A pop-up will appear, asking if you are sure you want to enable this alert. Click the blue "Yes" button to proceed.
Your admin and staff dashboard(s) will now display this system alert whenever a customer requests to deactivate their account.