The purpose of this article is to help you learn:
How to edit header and footer menus
How to disable a header or footer
What are the header and footer menus?
The header menu, when enabled, is the topmost section on any given page of your website. This menu displays your business's logo as well as links to important pages of your website. If you are utilizing the translation feature, you can also click the flag icon to switch between languages.

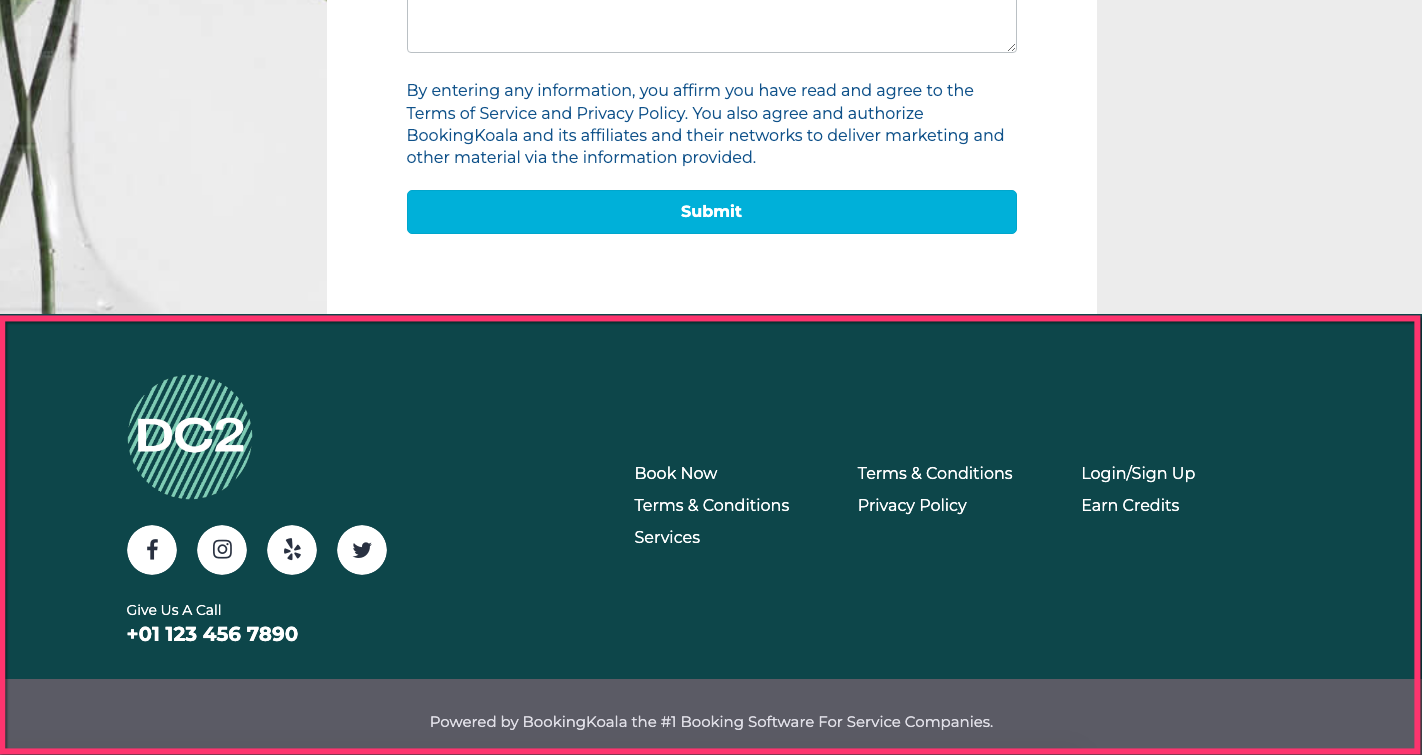
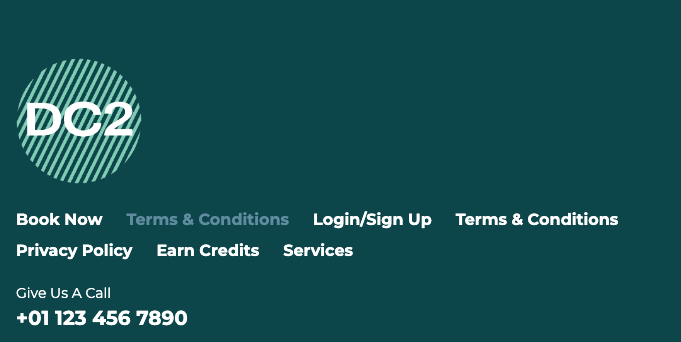
When enabled, the footer menu is displayed at the very bottom of your webpage. This menu also contains your business's logo, links to various pages, as well as additional options for linking social media buttons or adding contact information.
When you first sign up for BookingKoala, your account comes with a website that has the header and footer menus enabled for all pages. However, you want to edit the existing headers or disable them altogether. To make these changes, access the website and theme builder by going to:
Settings > Design Forms & Website > Website Builder & Themes
Click on the orange "Customize Theme" button to open the website and theme editor.

Updating the Header Menu
Once you first open the website and theme builder, you will be directed to your home page. By default, the header will be enabled for your website.
To begin editing, hover your cursor over the header until a white "Edit" button appears in the top left corner of the section.

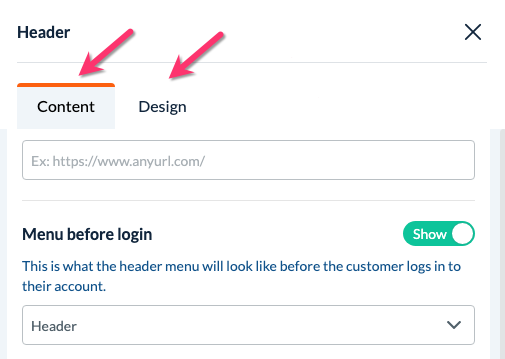
A menu will open on the left side of the screen. There are two different sections within the menu: Content and Design. The "Content" tab controls the menu's links, logo, and layout while the "Design" tab controls the header's colors and width.
Header Content: Logo
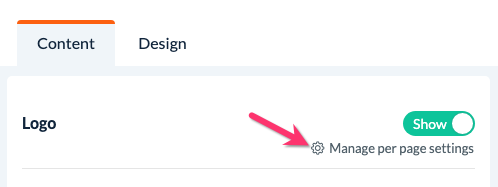
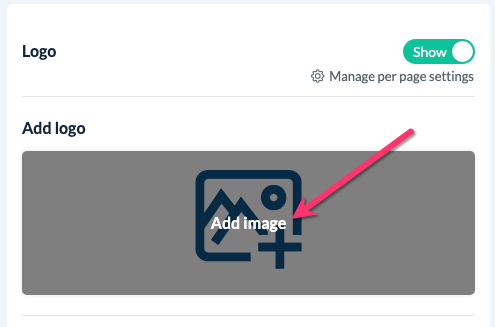
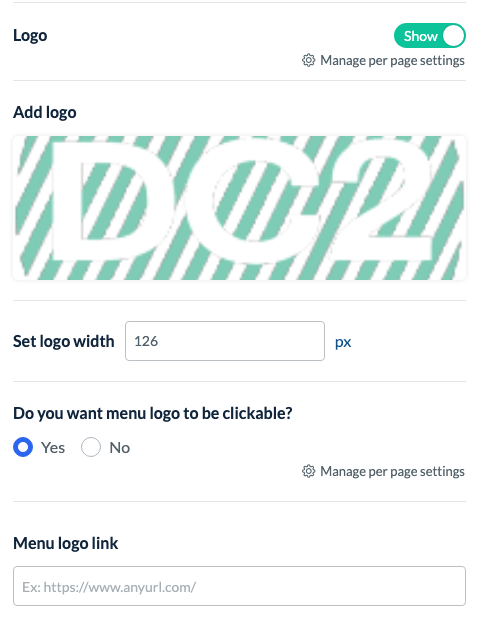
First, decide if you would like to upload your business's logo to be displayed on the header menu. If you only want the logo to display on certain pages of your site, click the "Manage per page settings" link below the "Show" button.
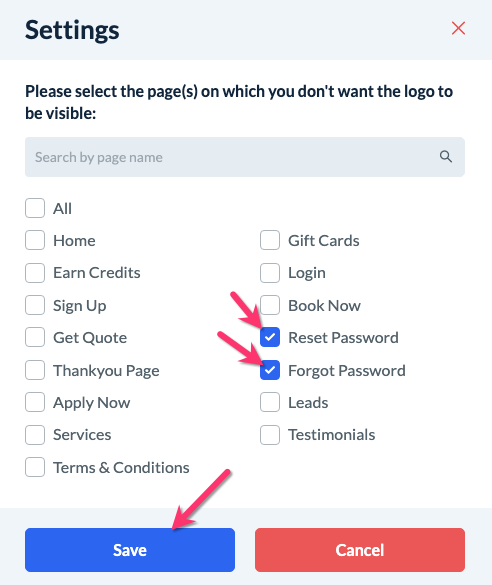
A pop-up will display all of the pages you have added to your site. If you would like to hide the logo from a page, check the box next to its name and then click the blue "Save" button. In the example below, the logo will be hidden from the "Reset Password" and "Forgot Password" pages.
To upload your logo, hover your cursor over the image in the "Add Logo" section and click "Add Image".
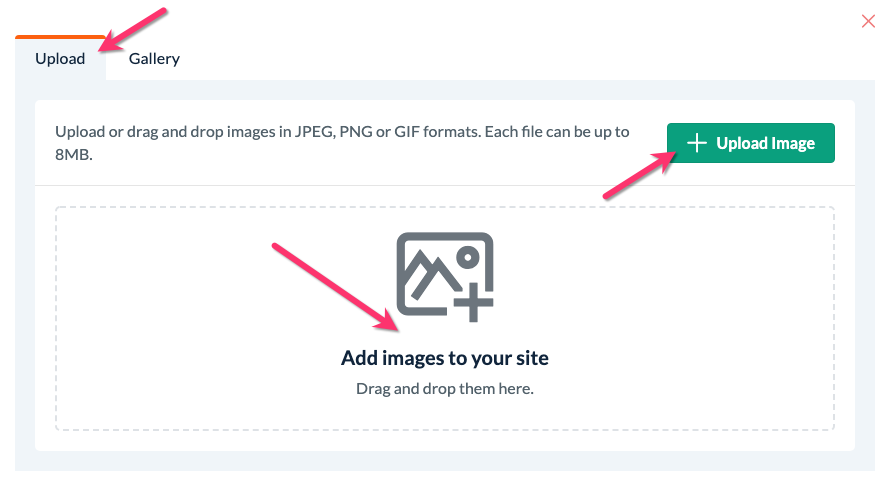
A pop-up image will appear. You can click "Add images to your site" to upload an image from your device. Once the icon has been selected, click the green "Upload Image" button.
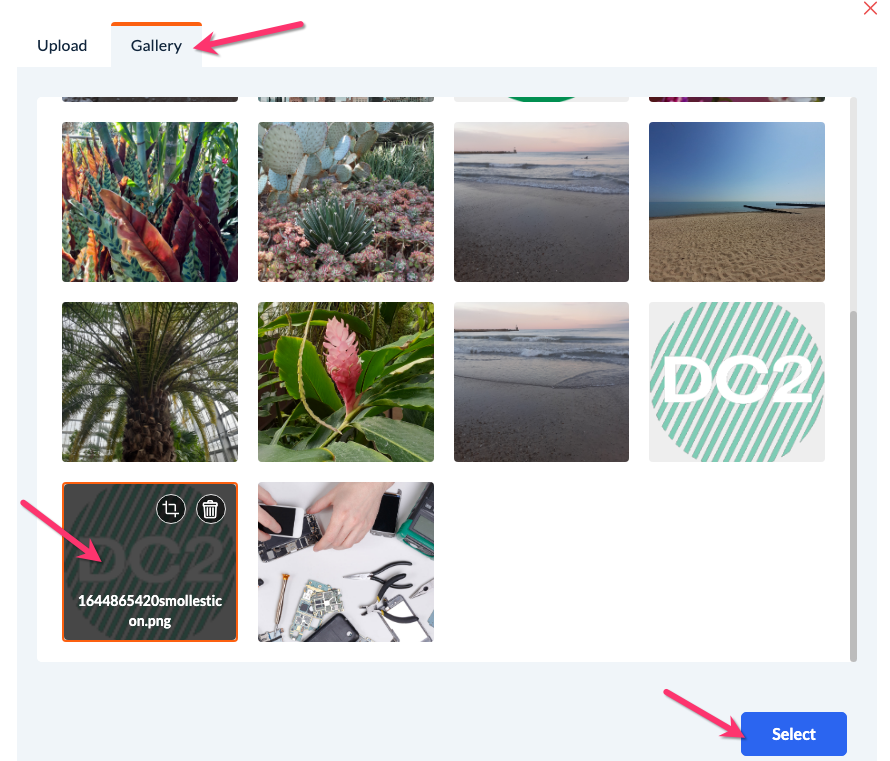
If you have already uploaded your icon to the website builder before, click the "Gallery" tag, click the image you would like to add, and then press the blue "Select" button.
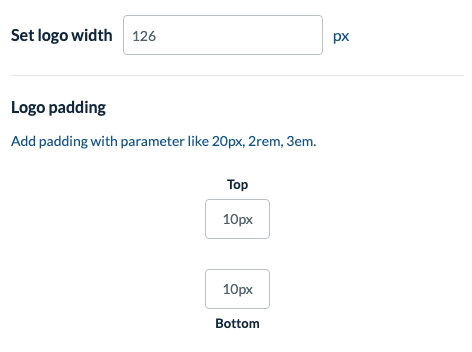
Once you've uploaded your logo image, you can use the "Set Logo Width" section to adjust the width of the logo in pixels. You can also add space above or below the logo by using the "Logo Padding" section. For this, you can use pixels, REMs, or EMs as the unit of measurement.
If you want the logo to be clickable, select "Yes" under "Do you want the menu logo to be clickable?" Click the "Manage per page settings" link if you would like to set pages where the logo will NOT be clickable.
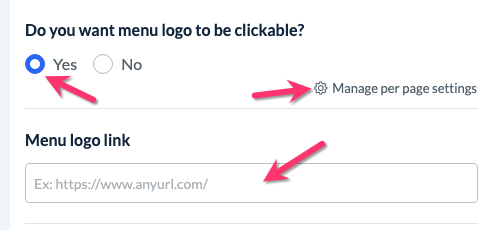
Below, add the URL you want to link to the logo. If you leave this box empty, the logo will automatically redirect users to your home page (or the login page if the home page is disabled).
If you do not want to use a logo in your header menu, click the green "Show" button to switch it to "Hide".
Header Content: Menu
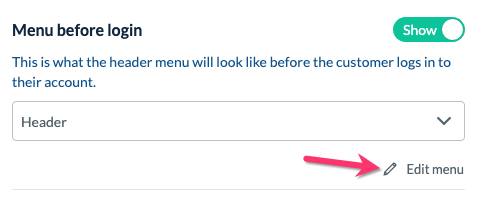
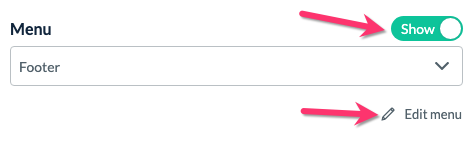
This section allows you to edit, disable, or delete the header menu. If you would like to preview what the menu will look like before a customer is logged in, be sure the toggle button is set to "Show".

You can also preview what the menu will look like once the customer is logged in by setting the toggle button next to "Menu after login" to "Show".

To begin making changes to the menu items, click the "Edit Menu" link below the drop-down box.
You will be redirected to the header and footer menu.
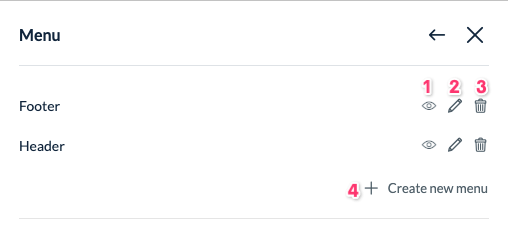
Click the eye icon to disable the menu. This means the menu will not be displayed on any of your pages. If the eye icon has a slash through it, click it once to re-enable the menu.
Click the pencil icon to view and edit the links for this menu.
Click the trashcan icon to delete the menu. A pop-up will appear asking if you are sure you want to delete the menu. If you are certain, click the blue "Yes" button to proceed.
Click the plus sign icon/"Create New Menu" link to create a new menu from scratch.
Once you click the "Edit" button, you will see the header's title and links listed below.
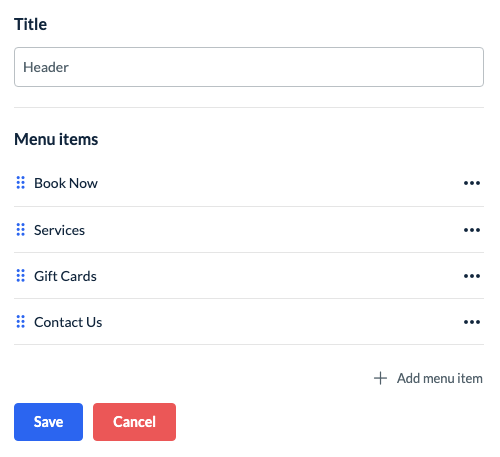
Click the "Add Menu Item" link to link a new page to your header, or the three dots icon next to an existing item to edit its settings or delete it.
Click here for more detailed instructions on how to add and edit links in your header or footer menus.
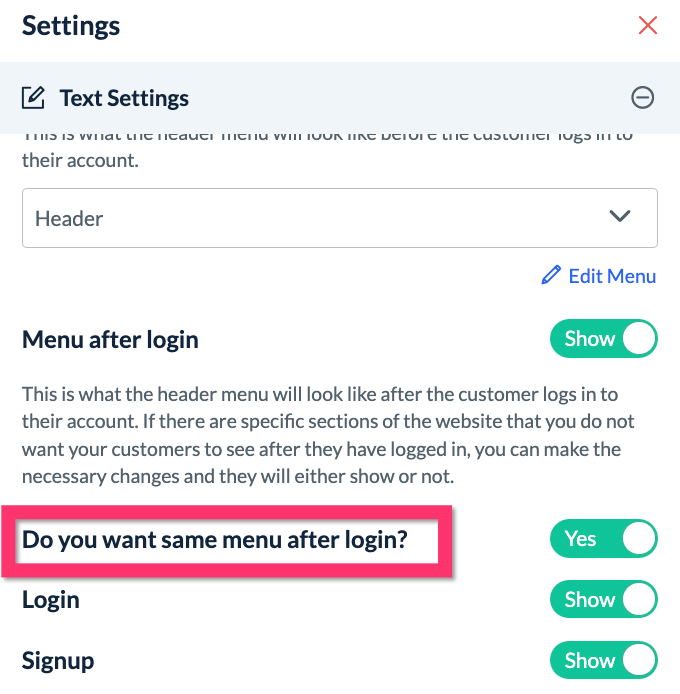
For "Do you want the same menu after login?", select one of the following options:
Yes - All the header menus that you have created for the frontend customers will be available for the backend customers.
No - The default menu in the customer dashboard appears which have the 5 menu options as "Book Now", "Bookings", "Gift Cards", "Earn Credits", and "Contact Us" along with the Account dropdown menu.
Beneath this section, decide if you would like to show or hide the Login and Signup links for the menu after login.
Header Design
Click on the "Design" tab to view options for the header's general appearance.
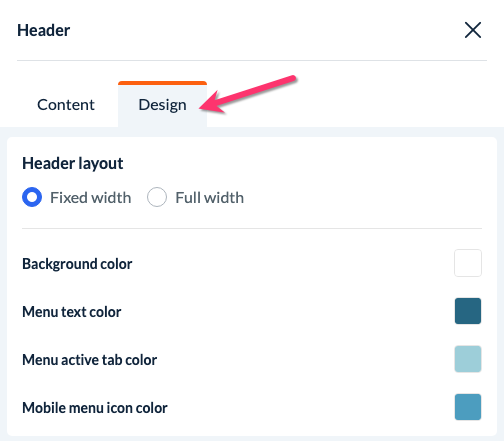
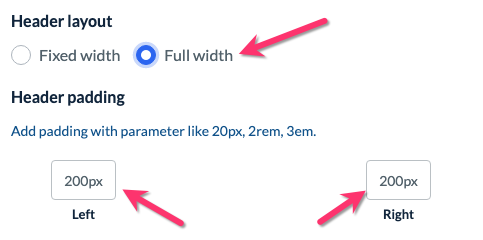
For the header layout, select "Fixed Width" to spread your logo and menu items across the entire width of the page. If you select "Full Width", you can add padding to the left and right sides of the header to create an indentation before the content is displayed.
Below, select the colors for the header's background, menu text, active tabs, and mobile menu icon.
Once you close out the left-side menu, your header updates will be displayed in the website preview.
Updating the Footer Menu
When you first open the website and theme builder, you will be directed to your home page. By default, the footer will be enabled for your website.
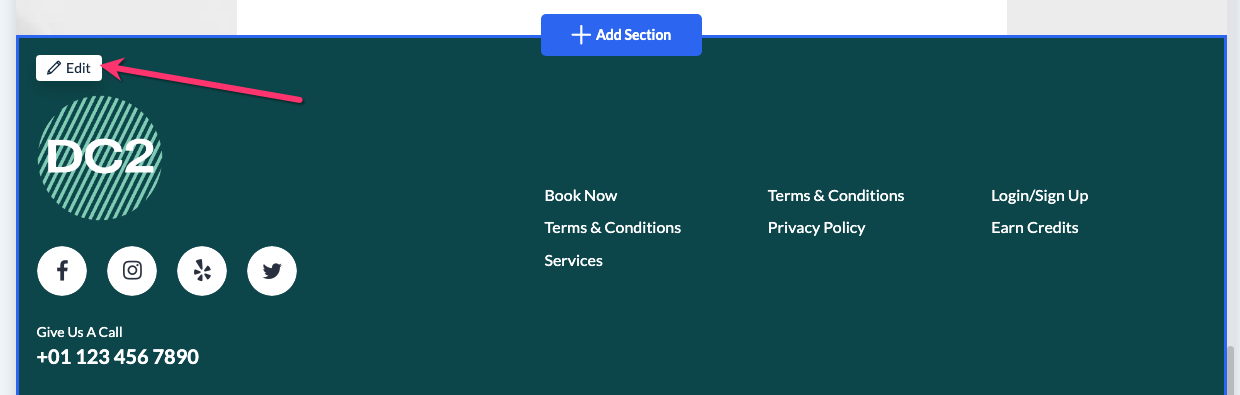
To begin editing it, scroll down to the bottom of the page and hover your cursor over the footer until a white "Edit" button appears in the top left corner of the section.
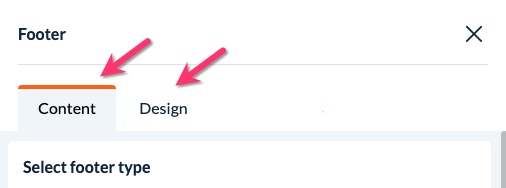
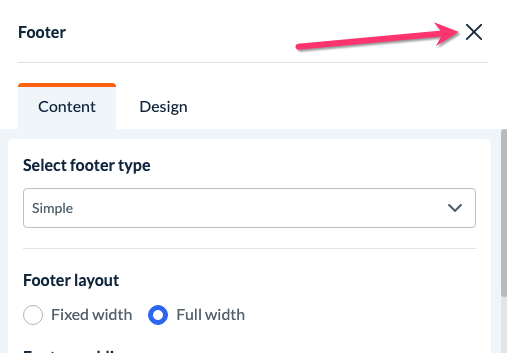
A menu will open on the left side of the screen. There are two different sections within the menu: Content and Design. The "Content" tab controls the menu's links, logo, and layout while the "Design" tab controls the footer's colors and fonts.
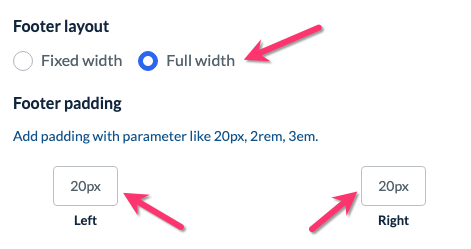
Footer Content: Layout
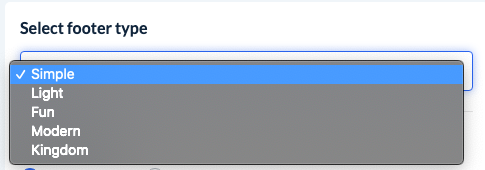
At the top of this section, you can preview different footer layouts by using the "Select Footer Type" dropdown menu.
For the footer layout, select "Fixed Width" to spread your logo and menu items across the entire width of the page. If you select "Full Width", you can add padding to the left and right sides of the header to create an indentation before the content is displayed.
Footer Content: Logo
The footer section contains all of the same logo options that are offered in the header section.
Please visit the "Header Content: Logo" section above to revisit these settings.
Footer Content: Menu
The footer section also contains the same options for adding links and footer visibility as the header section.
Please visit the "Header Content: Menu" section above to revisit these settings.
Footer Content: Social Links
In addition to menu links, footers also can display "social links", or links to the various social media pages for your business.
To use this feature, make sure the toggle button is set to "Show".
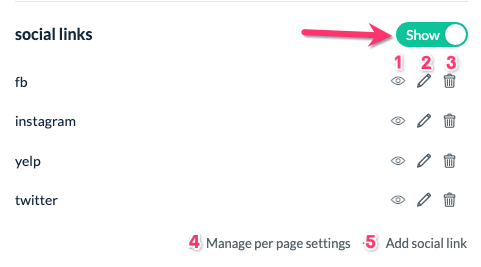
Click the eye icon to disable the social link. This means the menu will not be displayed on any of your pages.
If the eye icon has a slash through it, click it once to re-enable the social link.
Click the pencil icon to view and edit the social links in the footer.
Click the trashcan icon to delete a social link.
A pop-up will appear asking if you are sure you want to delete the link. If you are certain, click the blue "Yes" button to proceed.
If you only want the social links to display on certain pages of your site, click the "Manage per page settings" link.
A pop-up will display all of the pages you have added to your site. If you would like to hide the logo from a page, check the box next to its name and then click the blue "Save" button.
Click the "Add social link" link to add a new social link to your footer.
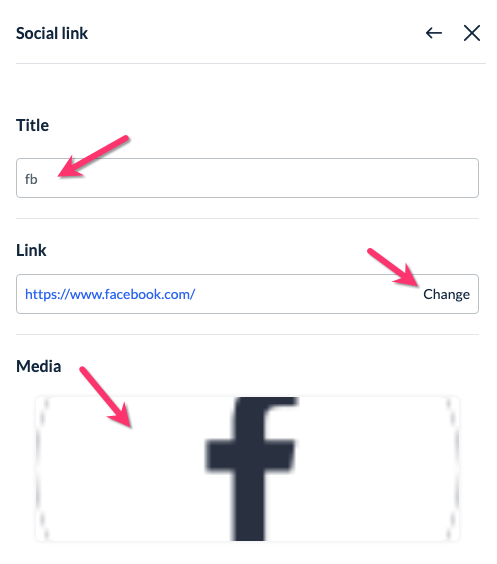
When you edit or add a new social link, you will be redirected to a "Social Link" page within the left-side menu.
Here, you can enter the name, set the URL, and upload an image to represent the link.
Footer Content: Phone Number
The footer menu can also display a contact phone number for your business. To use this feature, make sure the toggle button is set to "Show".
Enter a description into the "Label" box and then list the phone number including any/all country codes, area codes, etc. in the "Number" box.
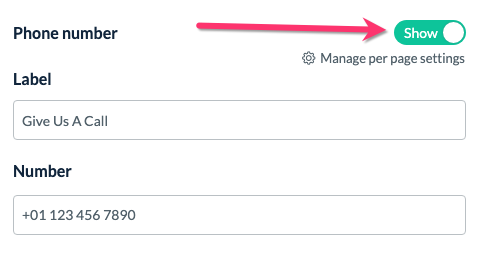
If you only want the phone number to display on certain pages of your site, click the "Manage per page settings" link below the "Show" button.
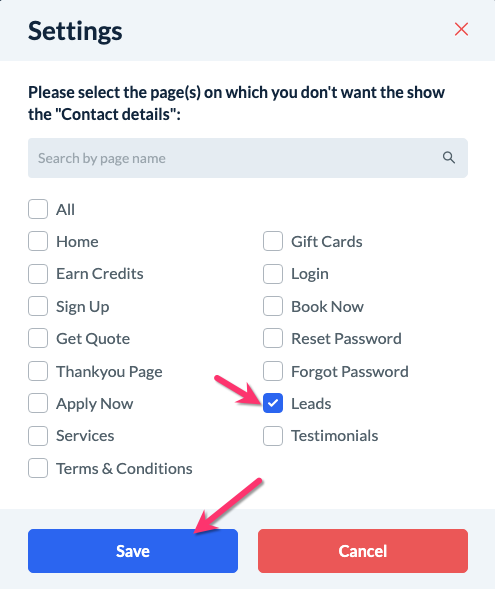
A pop-up will display all of the pages you have added to your site. If you would like to hide the phone number from a page, check the box next to its name and then click the blue "Save" button. In the example below, the phone number will be hidden from the "Leads" page.
Footer Content: Copyright
If you would like to include a copyright statement at the bottom of your footer, make sure the toggle button is set to "Show" next to the "Copyright Text" section, then enter the message into the box below.
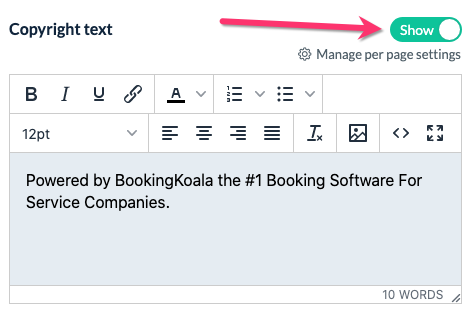
There is also a "Manage per page settings" link to control which pages you would like to hide the copyright text from.
Footer Content: Cookies
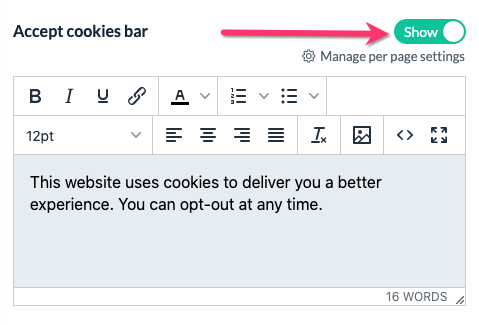
The last section in the footer "Content" section is the "Accept cookies" bar.
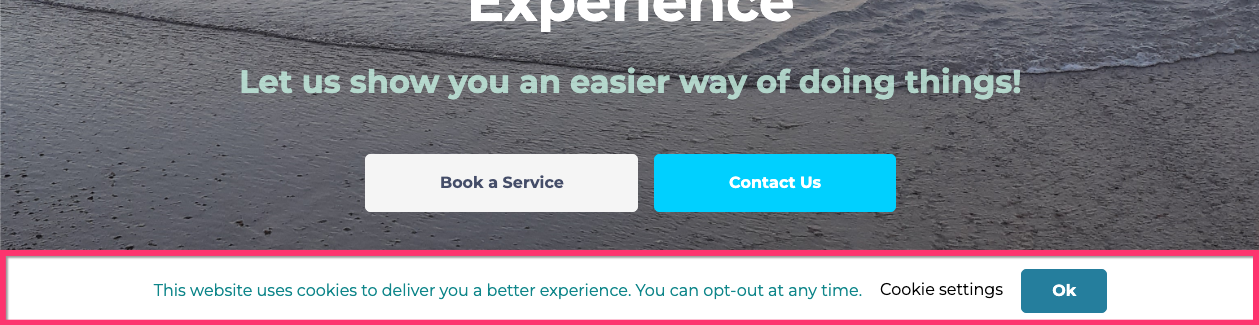
When the toggle button is set to "Show", visitors will see a bar across the bottom of the page informing them about your site's cookie policies.
Visitors can click the "Cookie Settings" link inside the bar to view more information about the cookie settings and opt out of non-essential cookies using the toggle button.
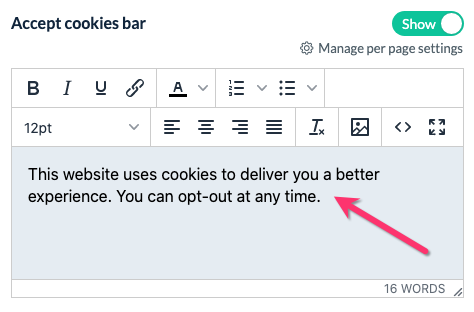
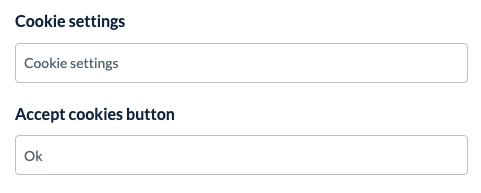
Enter the main message in the box beneath "Accept Cookies Bar".
You can edit the link name in the box beneath "Cookie Settings" and the "Accept Cookies Button" text.
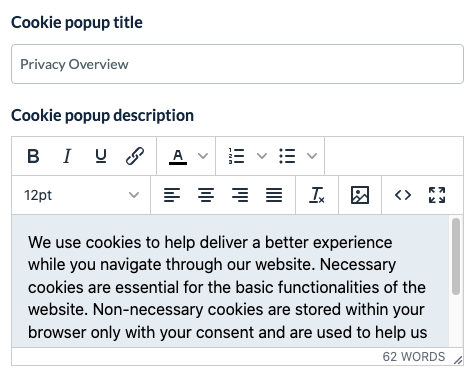
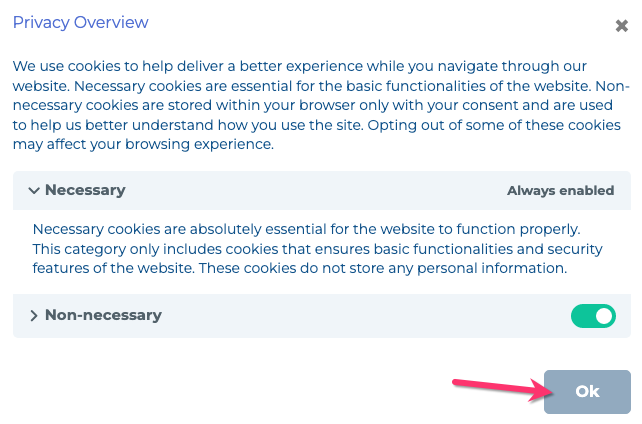
Next, set up the cookies pop-up that displays when the visitor clicks the link in the bar. Enter the title into the "Cookie Popup Title" box and add a description to the pop-up using the "Cookie Popup Description" box.
There are two sections within the pop-up, "Necessary" and "Non-Necessary".

The "Necessary" tab explains that there are certain cookies that are required to keep your website running securely and efficiently. These cookies do not collect personal information.
Enter a tab title, sub-title, and description into the first set of boxes.

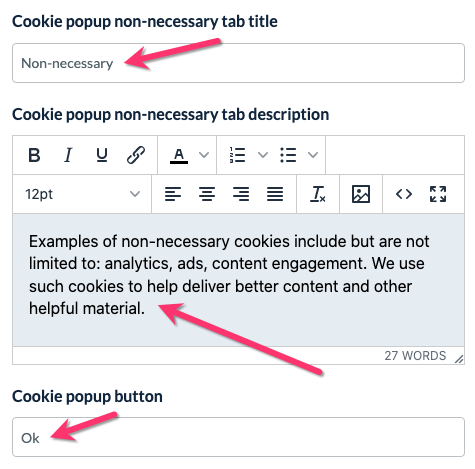
The "Non-Necessary" tab explains the type of cookies the visitor can opt out of. These cookies involve capturing visitor information for analytics, marketing, or user engagement.
Enter a tab title, description, and cookie pop-up button label into the second set of boxes.
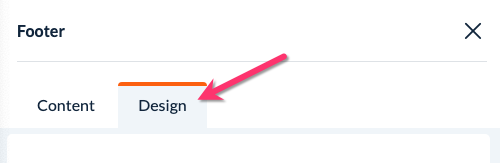
Footer Content: Design
Click on the "Design" tab to view options for the footer's general appearance.
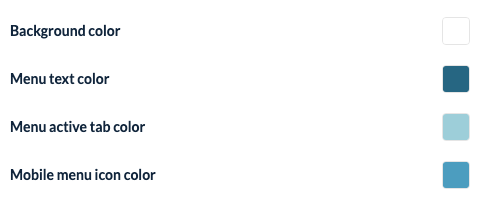
The first three boxes control the background color, menu text color, and menu active tab color.
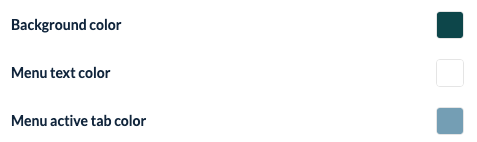
The mobile menu icon color controls the color of the menu symbol when displayed in the header or footer.

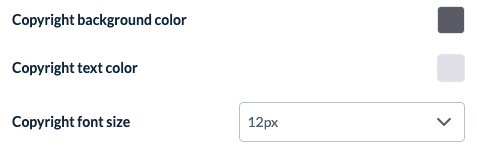
If you are using the "Copyright" section in your footer, you will see options to change the background color, text color, and font size.

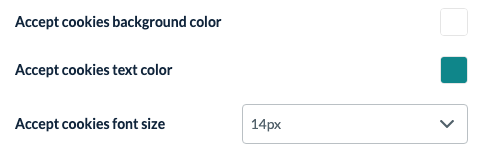
If you have enabled the "Accept Cookies Bar", use the following options to set the color and font sizes for the bar's background color, text color, and font size.

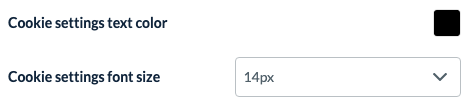
Use these boxes to set the "Cookie Settings" link text color and font size.

Set the color of the "Accept Cookies" button text and color.


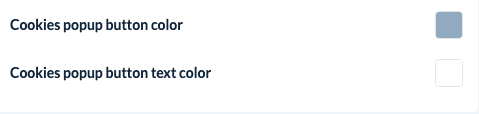
The last set of boxes controls the button color and text color of the "Accept Cookies"/"Ok" button inside the cookies pop-up.
Finishing Up
Once you are finished configuring your header and footer menus, you can close out the left-side menu using the X icon.
The web builder will automatically display any changes you've made in the site preview. To save the design changes on the backend (just inside the website builder), click the white "Save" button at the top right corner of the page.
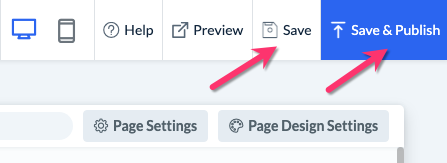
If you are ready to push the updates live, click the blue "Save & Publish" button.
Still Have Questions?
If you have questions on how to edit the header or footer menu and do not see the answer in this guide, please contact our support team at [email protected].