The purpose of this article is to help you understand:
How email notifications work
How to set up your sender email address(es)
Where to enable and disable email notifications
How to edit email notification templates
How do email notifications work?
Email notifications are notifications that get sent out from BookingKoala to a user's email address. Whenever a certain action takes place inside BookingKoala, a corresponding email will be sent to the email address associated with the account.
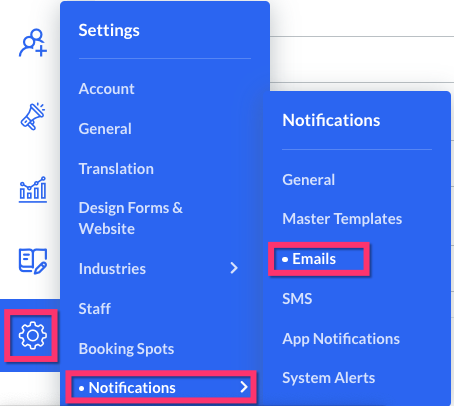
The types of email notifications sent out are managed on the Email Notifications page under Settings > Notifications.
Email notifications can be sent to anyone involved in the service process, including the admin, staff, providers, and customers, as long as the notification template has been enabled under the Email Notifications section.
Notifications can also be enabled for specific users by going to their profile and clicking on the Notifications tab.
Verify a "Sender" Email Address
To set up your account to send email notifications, you first need to verify a "sender" email address. A "sender" email address is the email address your BookingKoala account uses to deliver email notifications to the admin, customers, providers, and staff.
To begin setting up your emails, please go to:
Settings >Notifications > General
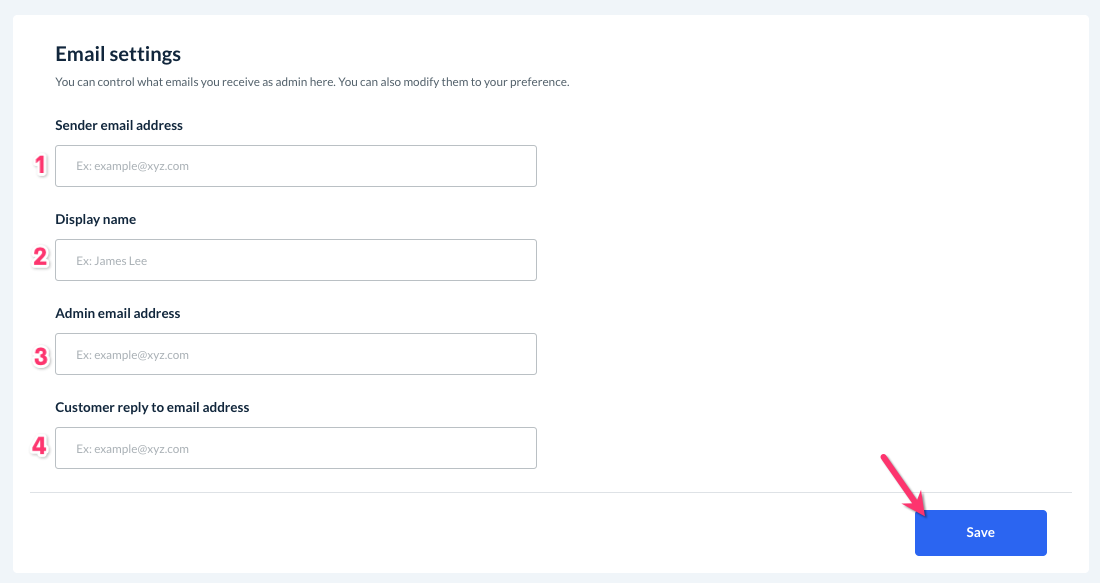
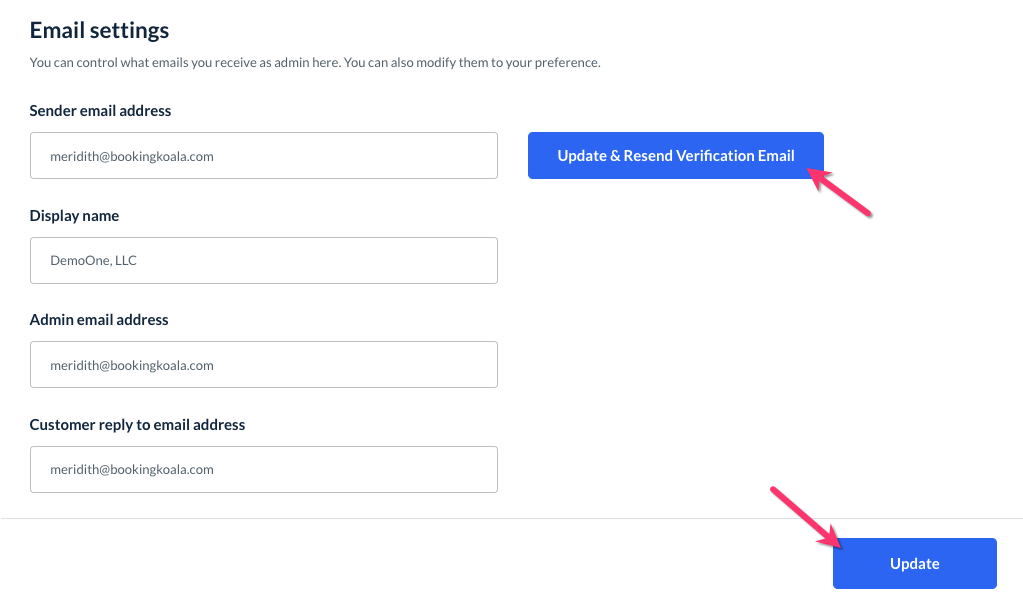
Enter your business's Sender Email Address into the first box. Please use a valid, active email address as the verification process requires you to click on a link in an email sent to this inbox.
Using a domain-based email address like "[email protected]" or "[email protected]" instead of a personal email address like "[email protected]" or "[email protected]" can help authenticate your email address so emails do not go into the spam folder. To learn more about how to prevent emails from being spammed or spoofed, click here.
Type in the Display Name you want recipients to see.
For example, your display name may be "Demo 2 LLC" if your company is called this.
Enter an Admin Email Address. This can be the same as the sender's email or you can use a different one.
The admin email address will be used for notifications under the "Admin" email notifications tab discussed later in this article
Enter a Customer Reply-To Email Address. This can also be the same as your admin and/or sender email address, or you can enter a specific address for when customers reply to your emails.
Once you have filled out all the boxes, click the blue "Save" button.
A green system notification will let you know that your settings have been updated successfully. You will now see a blue "Resend Verification Email" button appear next to the sender's email address. This means that the system has sent a verification email to this address.
Go to your inbox and find the email from [email protected]. Inside the email, there will be a link that you must click.
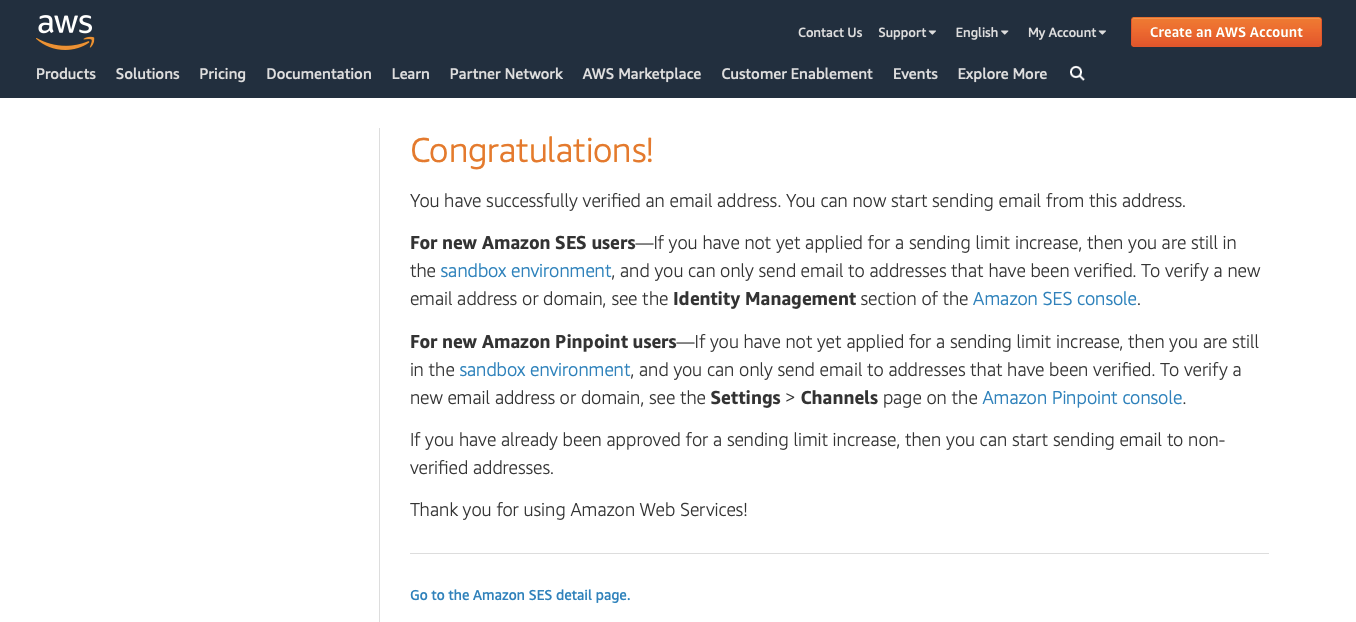
Once you've clicked the link, you will be redirected to an Amazon Web Service (AWS) page that says "Congratulations!". Once you see this, your email is now verified and you can begin sending out email notifications.
If you ever need to change your sender email, you can go back to this page, update the email address, and then click the blue "Update & Resend Verification Email" button.
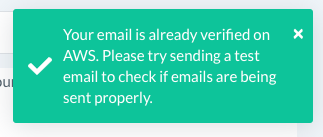
If you see this green system alert appear in the top right corner of the page after clicking this button, your email address has been verified and you are ready to start sending out email notifications.
How to Enable/Disable Email Notifications
Once you have connected and verified your sender email address, you can take a look at all of the possible notification templates BookingKoala has to offer. Go to:
Settings > Notifications > Email Notifications
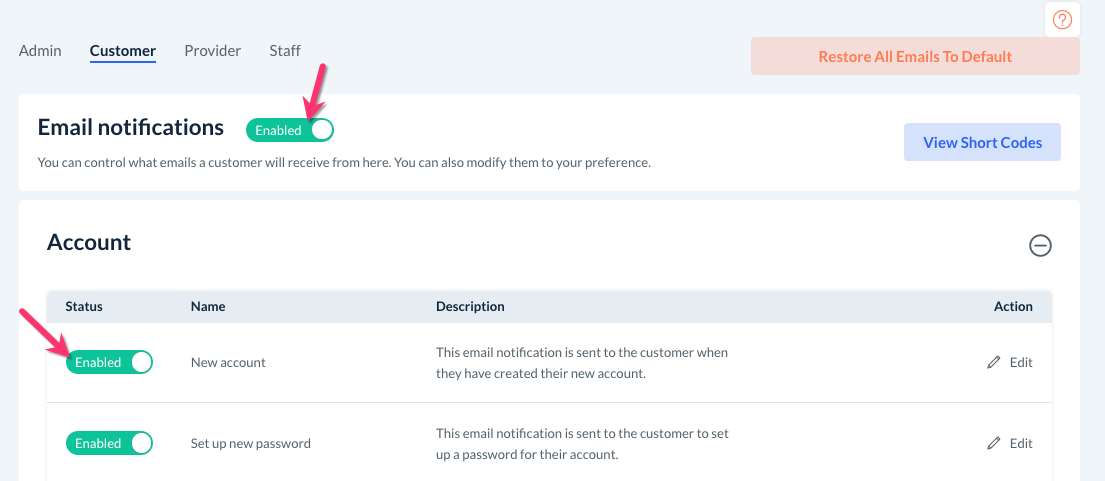
As mentioned earlier, email notifications can be sent to admin, customers, providers, and staff. To see notifications for each type of user, click the tabs at the top of the page.

All of the notifications are grouped into categories. To view the notifications in a category, click the "plus sign" or anywhere in the heading to expand it.

If a notification is green and reads "Enabled", this means that the notification is live and will notify the user when that action has been taken.
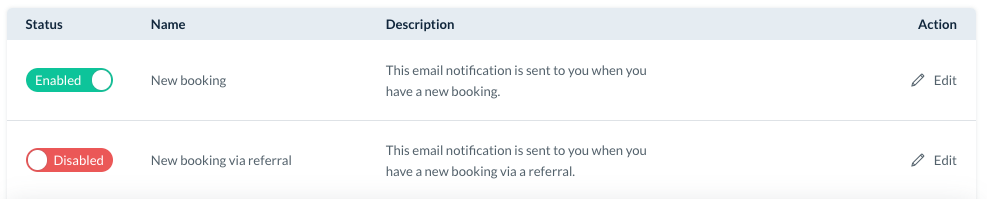
If the notification is red and reads "Disabled", this means that the notification is not live and will not be triggered when the action has been taken.
If you wish to enable/disable an email notification, all you will need to do is click on the "Enable/Disable" button to switch the status. A pop-up will appear asking if you are sure you want to make this change. Click "Yes" to proceed and the notification will be updated.
Editing Email Notifications
You can customize the message and content the user sees when they receive your email notifications. To modify an email notification, click the "pencil icon" to edit it.

You will be redirected to an "Edit Email Template" page.
At the very top right side of the page, there is a blue button that says "View Short Codes". Click this to view a list of "shortcodes", or placeholders for specific user information. Shortcodes can be inserted into your email templates to create a more custom experience for the recipient.

To learn more about how you can use shortcodes in your templates, click here.
The email's name and the trigger will be written at the top of the page for your reference. For example, this email notification "New account" is sent out whenever a new customer account is generated.

Below, you can edit the Subject line the recipient will see.

If you have created a master template you would like to use for this email, you can select it from the "Master Template" drop-down menu.
If you have not created any master templates yet, this will say "None".

If you'd like to use a master template and preview what your email will look like with it, check the box next to "Preview with Master Template".

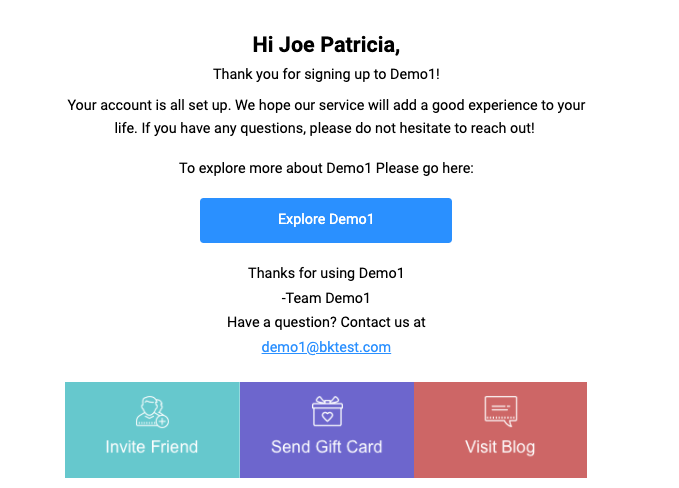
Below, you will see a preview box to view what the email will look like once it has been saved.
The box at the bottom of the page is the content editor. You can use various tools to modify the language, formatting, and overall layout of your email.
If you'd like to send a test email to see what the email will look like upon arrival, click the orange "Send Test Email" button at the bottom of the page, and then enter the email you want to send it to.
Please note that any shortcodes will NOT be populated as the system will not know which account to pull the information from. Instead, those fields will be populated with dummy data.
Once you are ready to use the notification, be sure to click the blue "Save" button at the bottom of the page. You can also click the grey "Restore to Default" button to restore the template to the system default.
