The purpose of this article is to help you understand:
How campaign forms work
How to create a new campaign form
What are campaign forms?
One of the features included in the Campaign Module is the ability to create your own custom booking forms specifically to capture leads. These campaign forms can be added to the BookingKoala website builder or embedded into any third-party site.
Campaign forms are based on the same parameters you set up when customizing your booking form.
When a lead fills out the form and clicks the "Get Estimate" button on a campaign form, BookingKoala captures their contact information and adds it to whichever mailing list, or audience, you have set up. The lead will be directed to a pre-filled booking form to finish the scheduling process.
Leads can be collected into different audiences depending on which option(s) they've selected on the form.
Create a Campaign Form
To begin building a campaign form, you'll first need to open the Campaign Module. From the left side menu, go to:
Marketing > Campaigns
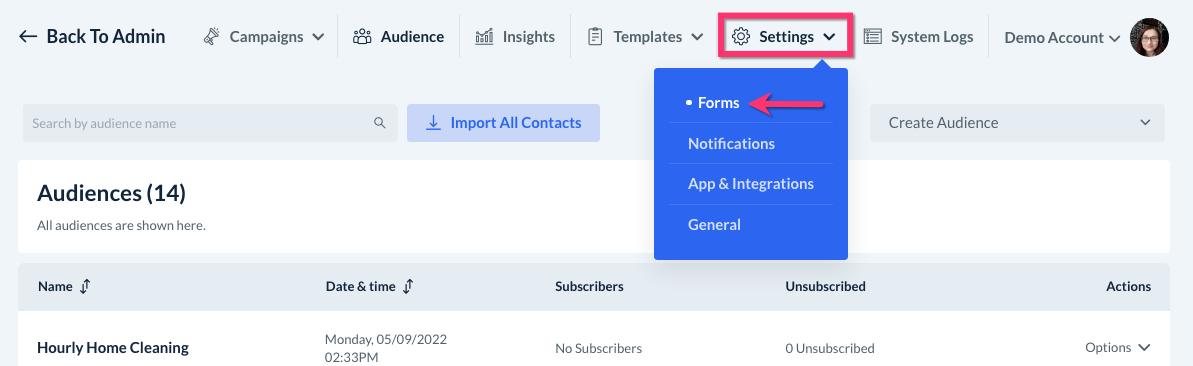
Once inside, click on the "Settings" tab in the top right corner of the page and select "Forms".
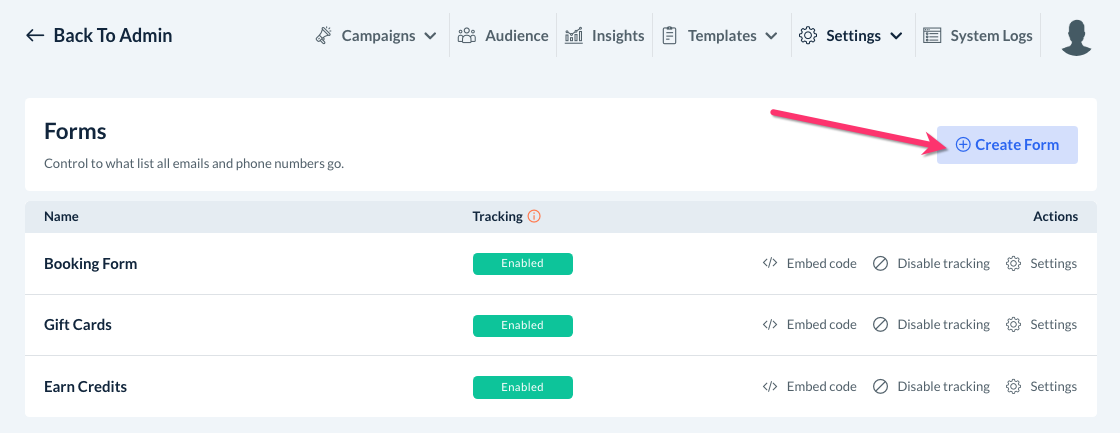
Next, click the blue "Create Form" button in the top right corner of the page.
A popup window will ask you to provide a title and a layout for the form. You can preview each layout by hovering over the thumbnail image and clicking "Preview". Once you've made your selection, chose "Select" and then click the blue "Add Button".
A green system notification will appear in the top right corner of the page letting you know your new campaign form has been generated. You will be redirected to the Add New Form page.
Select Industry/Form
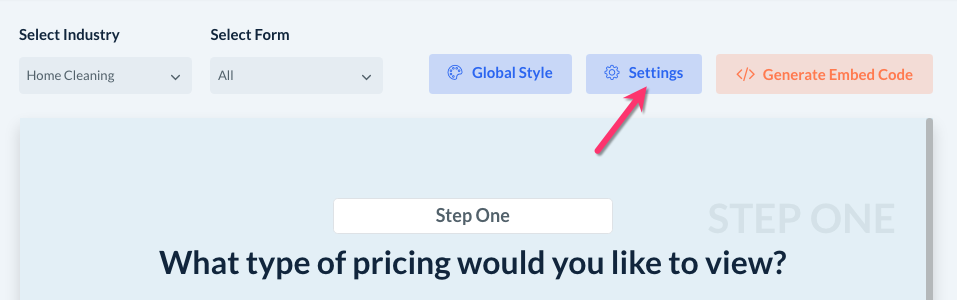
If your business has multiple industries, there will be a "Select Industry" drop-down menu at the top left corner of the form preview page. By default, "All" will be selected.
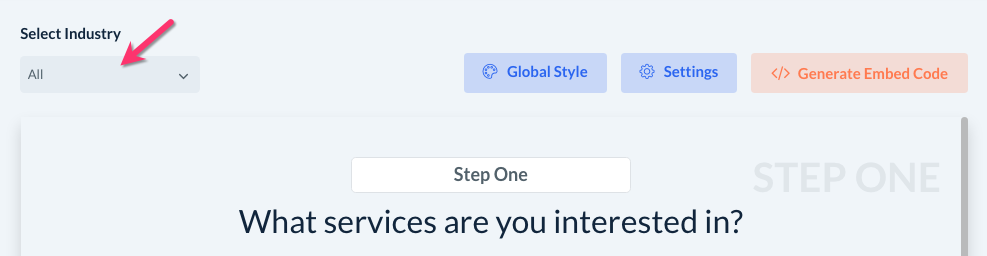
If you are looking to make a campaign form for a specific industry, click the drop-down menu and select the industry you'd like to use.
A pop-up window will appear letting you know that your Audience settings will reset. Click the blue "Yes" button to proceed.
If you use more than one booking form per industry, you can use the "Select Form" drop-down menu to select "All", or select a specific form from the list.
If you make any changes to the form selection, you will again see a pop-up window letting you that the audience settings will be reset just like if you were to change the industry.
Form Fields
On the left-hand side of the screen, you will see a "Form Fields" menu. The first tab, called "Fields Visibility", allows you to control which fields will be included on your campaign form.
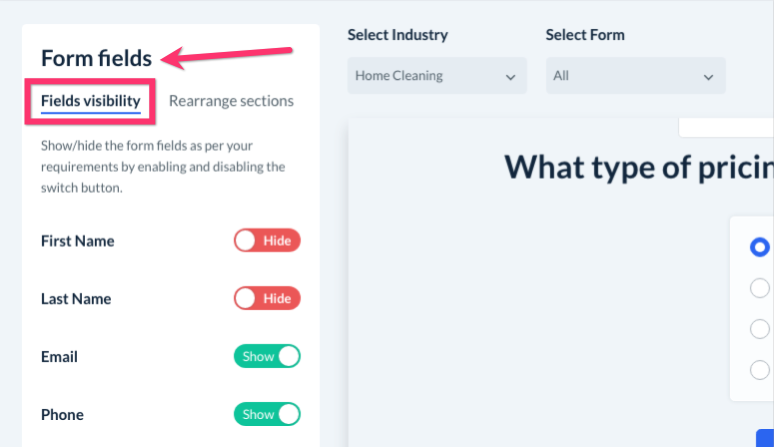
If the toggle button to the right of a field name is red and says "Hide", your campaign form will not include this field. If the button is green and says "Show", that field will be used in your form.
You can add or remove fields by clicking the toggle button to switch the status.
The second tab in the "Form Fields" menu is "Rearrange Sections". Click this tab to view and modify the order in which fields are displayed on the campaign form.
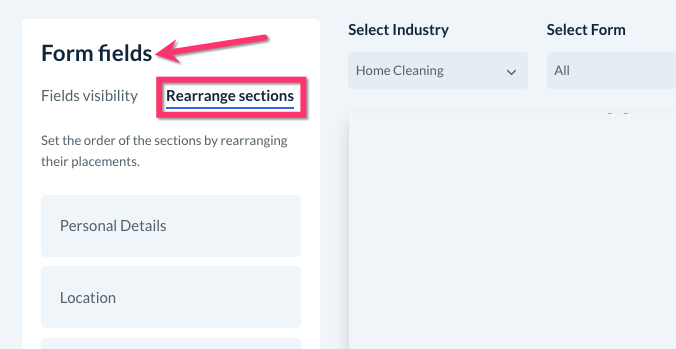
To rearrange the fields, click and hold the field names to drag and drop them into a new order. Once finished, click the blue "Save" button to update the field order. You can also click the orange "Reset To Default" button if you'd like to use the original order of the fields.
Global Style
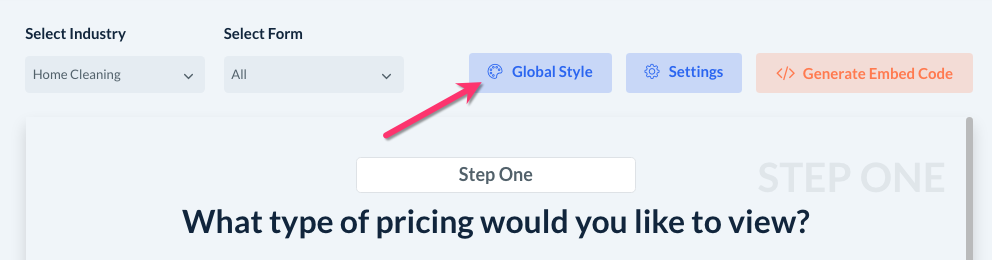
To make changes to the general appearance of the campaign form, click the blue "Global Style" button at the top of the page.
Under the "Text Settings" section, you can upload an image to use as the form's background. To enable background media, tap the red "Hide" button to switch it to "Show".
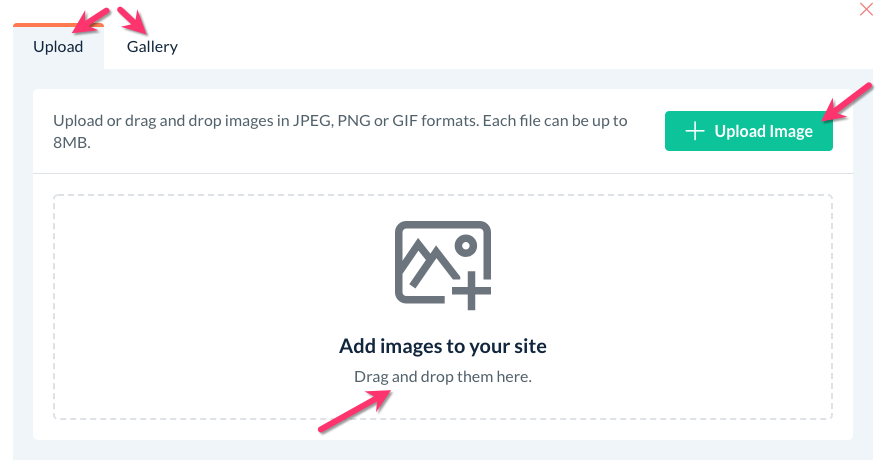
Next, select "Edit" or click the media image in the box below. This will open a pop-up window where you can upload a new image or use one from your gallery.
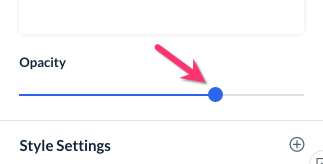
After you've uploaded an image, you can use the "Opacity" bar to adjust the image's transparency.
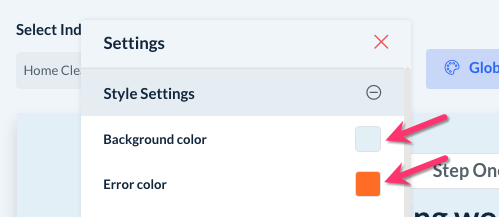
Under the "Style Settings" section, you can set a Background Color for the form as well as an Error Color (used if the lead tries to proceed to the next step without selecting an option).
Below, use the "Padding" section to adjust the spacing between the form content and the edge of the window.
Settings
Click the blue "Settings" button at the top right corner of the screen to enable tracking and select which list(s) will collect your lead information.
A menu will appear on the right side of the screen. If you would like to collect your lead information for campaign purposes, make sure the toggle button next to "Tracking" is green is says "Enabled".

Below, make a selection for "Should the tracking work based on?"
Select "All" to sort all leads into the same audience list. Pick which list will collect the information from the drop-down menu below.
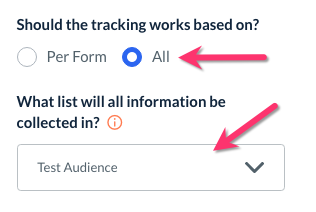
Select "Per Form" to segregate leads into different audience lists. If you have multiple forms or industries, you can select a different audience list for each form/industry.
You can further segregate your audience lists by location by selecting "Per Location" instead of "All".
Instead of selecting "Everything in one list", you can further break down your audience lists based on which option the lead has selected on the campaign form. You can collect information per service category, frequency, pricing parameters, packages, or whichever sections you have included for your form type.
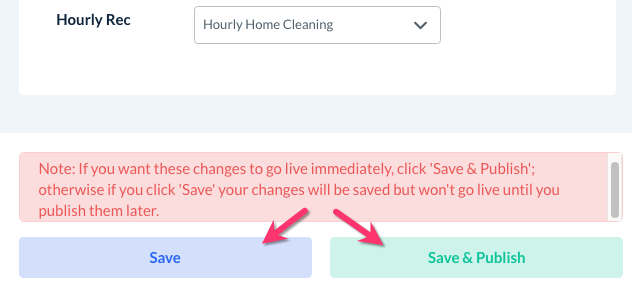
Once you have finished selecting the audience list(s) for the campaign form, click the blue "Save" button to save your preferences in the backend or click the green "Save & Publish" button to push the changes live immediately.
Editing Text, Layout, and Colors
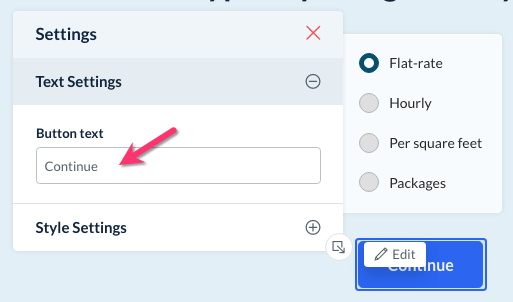
Just like the BookingKoala website and theme builder, hover your cursor over different elements on your campaign form to see more options for customization. A white "Edit" button will appear in the top-left corner of that element. Click on the "Edit" button to see style settings for that section.

Some fields will allow you to edit the text used for an element. Please note this is only for section titles or descriptions outside the name of the services categories, pricing parameter names, etc. you entered when creating your original booking form.
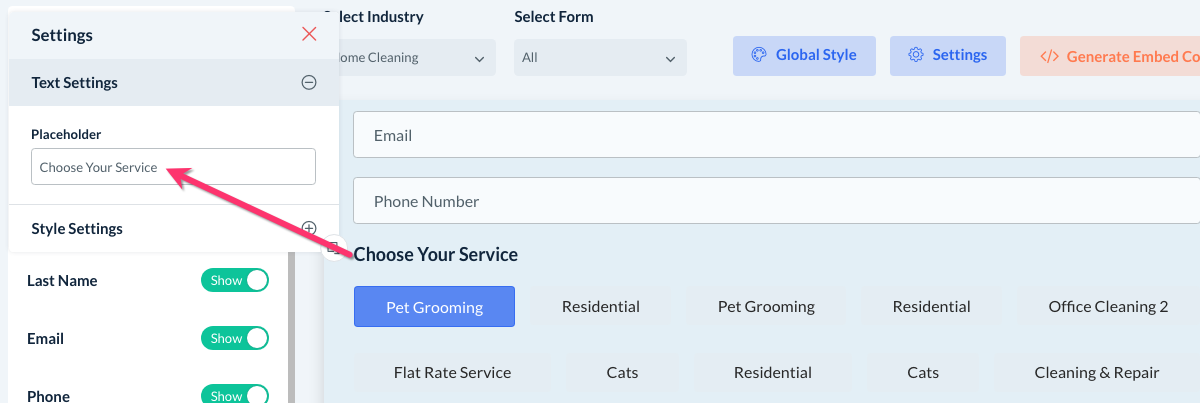
For example, you can edit the placeholder for "Choose Your Service", however, you wouldn't be able to change the service names like "Pet Grooming", "Residential", etc. in this form as these are controlled under the "Service Categories" section of your original booking form.
The "Personal Details" section also gives you the option to make certain fields required. When required, the lead must provide an answer or they will not be able to continue filling out the form.
Some sections will also have a white "Layout" button next to the "Edit" button. Click "Layout" to see different styles of presenting a field or its options.
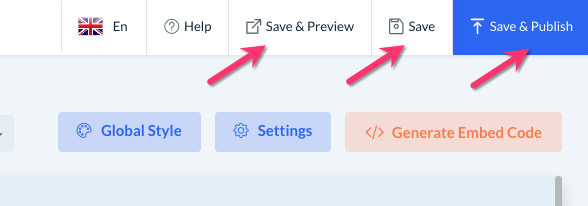
Preview, Save, and Publish
Once you are finished customizing your campaign form, you can click the white "Save & Preview" button in the top right corner of the page to see what the form looks like to leads. You can also click the white "Save" button to save your form and its settings to the backend of your site.

When you are ready to begin using the form, please click the blue "Save & Publish" button to push your form live. Once your campaign form has been published, you'll be ready to embed it on your website to start collecting leads.