The purpose of this article is to help you learn how to:
Set up a hiring campaign
Add campaigns to your funnels
Start a campaign for a prospect
Before You Begin
You must have a Premium subscription to access the Campaign Module and the Onboarding section of the Hiring Module.
You will also need to set up a funnel in the Hiring Module. Click here to learn how to set up a hiring funnel.
Add a New Audience List
First, you will need to create a new audience inside the Campaign Module. This is where your prospects' email addresses/phone numbers will be collected. Later on, you will select this audience when building your campaign.
To begin, go to the left side menu and click on:
Marketing > Campaigns
This will bring you into the Campaign Module. Click on the "Create "Audience" menu on the top right corner of the page and select "New Audience".
Enter the Audience Name into the pop-up window, then press the blue "Save" button.
Create an Automated Email Campaign
Next, you will set up an Automated Email Campaign. Automated campaigns contain different types of triggers to customize when your campaign email(s) will be sent out.
To begin, click on the "Campaigns" drop-down menu at the top of the page and select "Email", then "Automated".
Click the blue "Create Automation" button in the top-right corner of the screen.
Enter the Campaign Name into the first box, and then select which Audience you will connect to this campaign. Click the blue "Add" button to generate the new campaign.
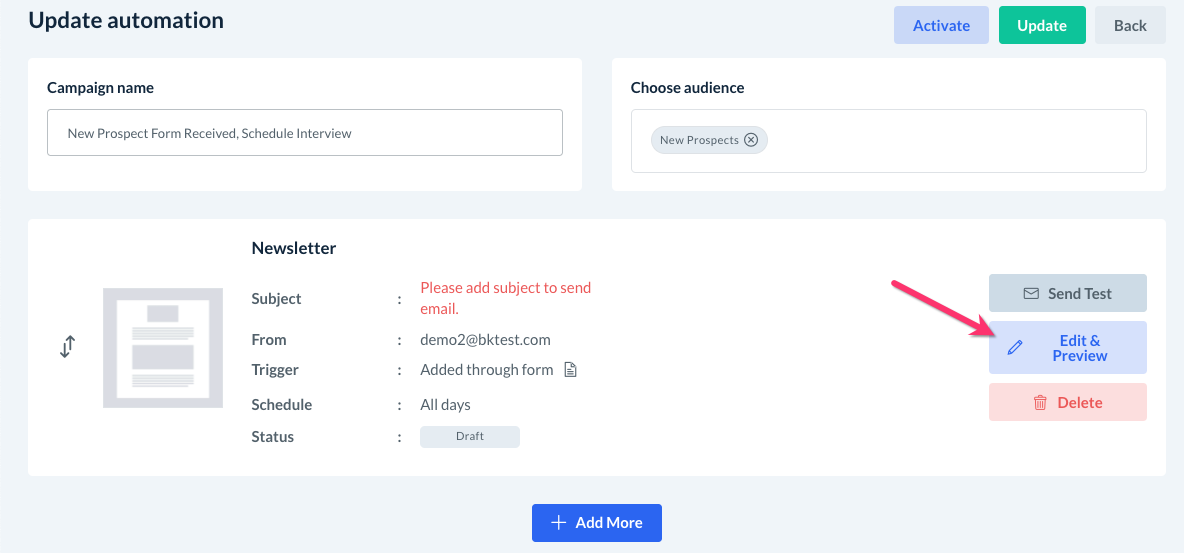
You will be brought to the "Update Automation" page. To begin setting up your automation triggers and email, click the blue "Edit & Preview" just below where it says "Send Test".
Basic Information
On the "Basic Information" page, enter a Name for your email sequence. This will only be seen by you. You can also add a Description for your own reference.
Next, enter the Email Subject into the box below. If you'd like, you can use shortcodes in the email subject to populate a field with custom information. You can insert any of these shortcodes by clicking the copy button and then pasting them into the Subject line.
Below, confirm the "From" sender email. Click the blue "Change" button to use a different email address to send out this campaign email. You can also enter a "Sender Name" and list a separate "Reply-To" email if you desire.
Trigger
Next, select a Trigger for the campaign. Click the blue "Change Trigger" button to see a list of all possible triggers for this first campaign sequence. For the system to add prospects to this campaign from the Hiring Module, you will need to select the trigger called "Added through Form".
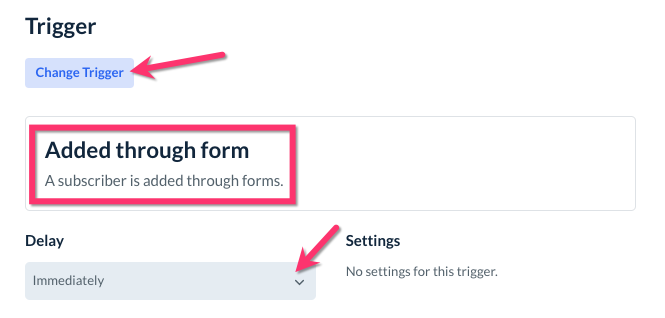
Under "Delay", click the grey drop-down box to select when you would like the campaign to be sent out.
Select "Immediately" for the campaign to be sent out to the prospect as soon as their email is added to the audience list.
Select "Hour(s)" to delay sending out the email by a set number of hours.
Select "Day(s)" to delay sending out the email by a set number of days.
Select "Week(s)" to delay sending out the email by a set number of weeks.
Most businesses will likely want the email to be sent immediately upon adding the prospect to the audience.
Schedule
Next, select which days the email will be sent out. If you want the email to be sent whenever it had been added, select "Sunday, Monday, Tuesday, Wednesday, Thursday, Friday, Saturday".
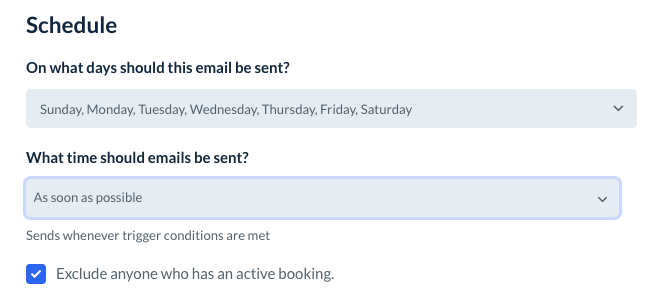
Under "What time should emails be sent?", you can select one of the following options:
"As soon as possible" - The system will send out the emails immediately.
"Send at" - The system will send the emails out starting at a specific time.
If you select this option, pick which time the system should start processing your campaign emails.
The checkbox next to "Exclude anyone who has an active booking" can be left checked or unchecked depending on your preference. If checked, any existing customers who apply to work with you will not be sent this campaign email.
At the bottom of the page, click the blue "Next" button to proceed to the next section.
Choose Template
In the next section, choose a layout for your email. Hover over each layout type and click the blue "Preview" to see an example of how it looks.
If you have created a master template, you can select it by clicking on the "Saved Templates" tab at the top of the page.
Once you have selected which template or layout you'd like to use, click the blue "Next" button at the bottom right of the screen.
Email Editor
In this section, you can edit the content of your campaign email.
Drag and drop blocks into the body of the email to insert different types of elements including text, boxed text, dividers, images, image cards, image + text, share bar, social follow, button, footer, custom code, and video.
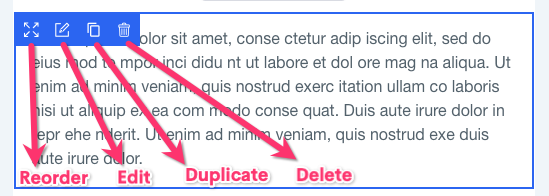
Click/hover over on any block in the email body to view its action buttons.
Switch into the "Style" tab to control the font size, color, and general appearance of your email's sections.
Once you are done creating the campaign email, click the blue "Save and Continue" button at the top right side of the screen. Your campaign will be saved and you will be brought back to the Update Automation page.
If you finished all of the setup steps, the status for the campaign will say "Active". This means that the campaign is ready to be sent out automatically as soon as a new email is added to the selected audience list.
You can add additional campaign emails to any sequence by clicking the blue "Add More" button below your first email. Any additional emails you add to your campaign sequence will have extra options for triggers.
The following triggers can be added based on whatever actions occurred (or did not occur) in the first email:
Previous email sent - This email will be sent out just after the previous email in the sequence is sent.
Previous email opened - This email will be sent out as soon as the prospect opens the previous email.
Previous email not opened - This email will be sent out if the prospect does not click the previous email after a certain period of time.
Previous email clicked - This email will be sent once the prospect clicks any link inside the previous email.
Previous email not clicked - This email will be sent out after a certain amount of time if the prospect has not clicked a link in the previous email.
You can use these triggers to create follow-up emails, reminding your prospects to complete the next steps, or ask if they have any questions.
Activate Your Campaign
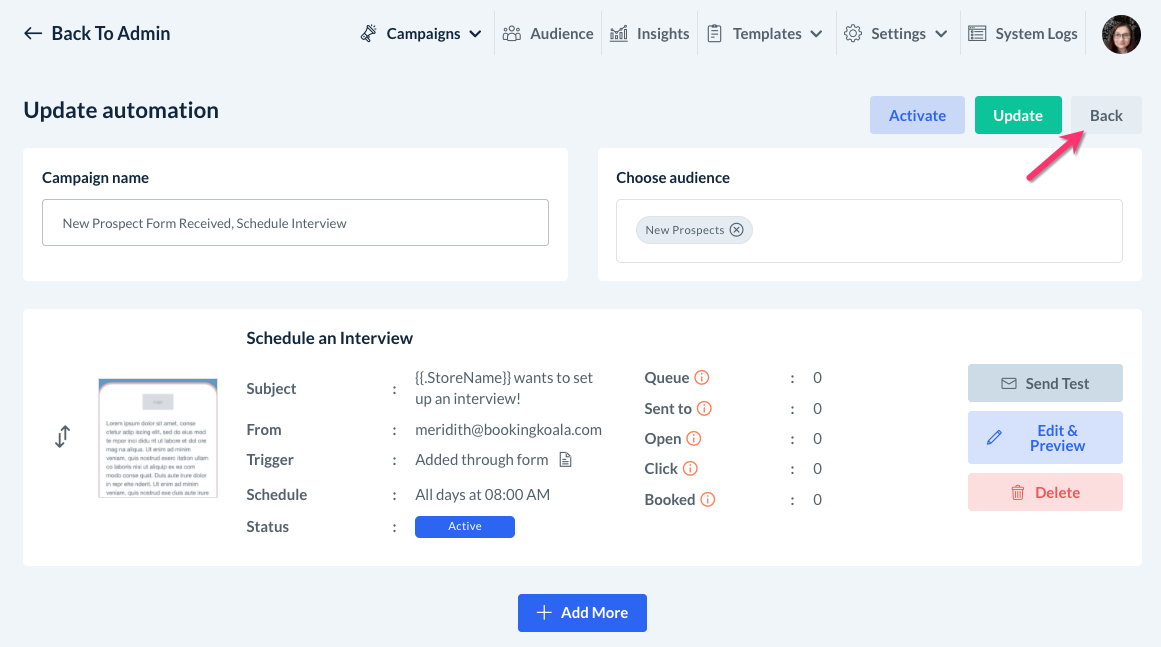
Once you have finished building your full campaign sequence, you will want to ensure it had been activated. Click on the grey "Back" button at the top right corner of the page to view the automation.
This will bring you back to the Automated Email Campaigns list. Click "Options", "Activate" next to your campaign to activate it.
A pop-up window will ask if you are sure you want to activate this campaign. Click "Yes" to proceed.
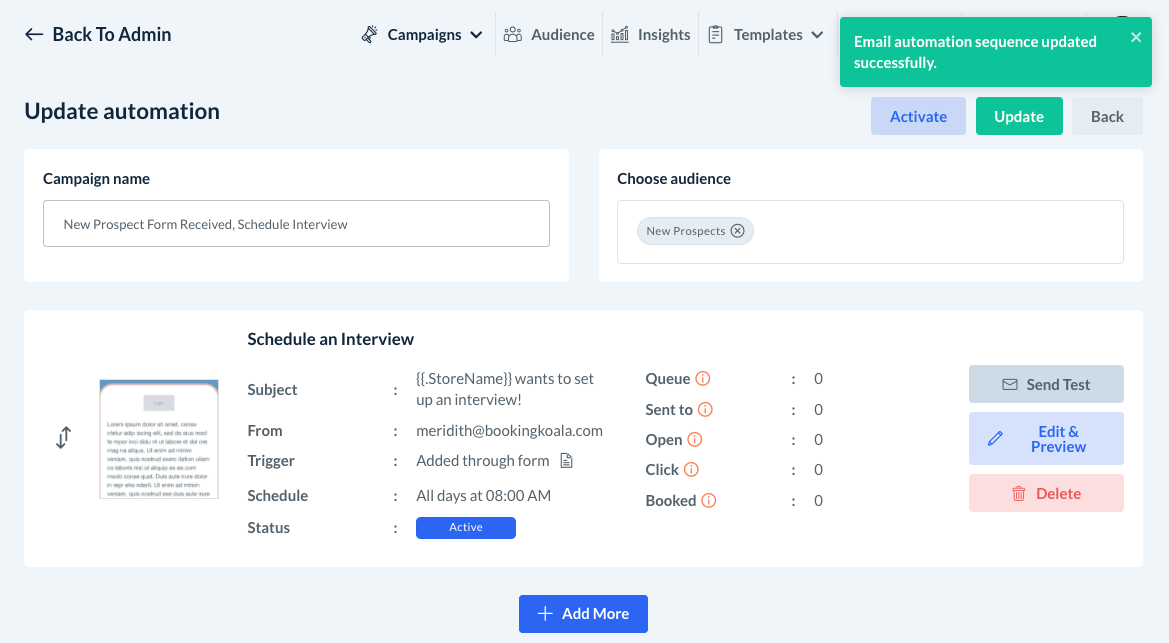
A green system notification will appear in the top right corner of the page letting you know the campaign has been activated successfully. Now, whenever prospects are added to the corresponding audience list, your campaign will be triggered.
Connecting Your Campaign to the Hiring Module
Once you have created your audience list and a campaign email, there are two different ways to connect your campaigns to the hiring module so prospects will receive your email(s). You can either add a campaign to a hiring funnel step or enable forms to collect prospect information.
Add a Campaign to a Funnel
If you would like to have more control over when your prospect is sent a campaign email, you can add a campaign to your funnel step(s).
To begin, go to the Onboarding section and select which funnel you would like to edit from the Funnels menu.
To add a campaign to a column, click on the pencil icon next to the column's name to edit it. An Update Column pop-up window will appear.
For "Enable email automation?" select "Yes". Then, select which audience your prospect's email will be collected in.
Click the blue Update button to save the new automation settings.
You will now see the column has been updated and a blue Start Campaign button has been added below the "Add Step Note" button.
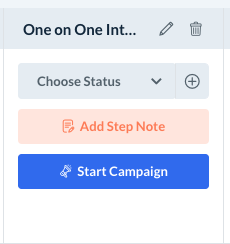
Once you have enabled email automation in a column, you are ready to send out the campaign to that prospect.
Click the blue Start Campaign button to send out the campaign.
After clicking the button, a green system alert will let you know that the campaign was started successfully and that the prospect has been added to the selected audience.
Enable Forms to Collect Prospect Information
The other way you can automatically send out campaigns to your prospects is by enabling your forms to collect the prospect's information into your audience list. This is a good option for your business if you have embedded your hiring forms in an ad or on your website, or send the form link manually to your prospects.
To begin, open the Hiring Module and go to Settings > Forms.
Pick the form type by clicking on the "Prospects", "Quizzes", or "Contracts" tab from the left-side menu.
Click the pencil icon to edit the form. Inside the Form Editor, click on the grey Setting tab at the top center of the page.
Scroll down to where it says, "What list will all information be collected in?" and select the pertinent audience.

Check the box next to "Don't collect information from rejected prospects" if you have set up auto-reject for this form type. This means that rejected applicants' information will NOT be added to the audience list and they will not receive any campaign emails associated with that list.
Click the blue "Save & Publish" button at the top right corner of the page to update your form settings. Now, whenever a prospect completed this form, their email will be collected into the audience list. Any automated campaigns you have set up will be triggered and sent to the prospect.
How do I know if my automated campaign is working?
You can go to the Campaign Module to check that your automated campaign setup is working properly. Go to:
Marketing > Campaigns > Campaigns > Emails > Automated
Click on "Options", "Campaign Logs" to see a log of all prospects that have been sent that campaign email.