The purpose of this article is to help you understand:
What types of lead notifications are available in the Lead Module
How to set up, enable/disable, and edit email notifications
How to set up, enable/disable, and edit SMS notifications
How to enable/disable and edit system alerts
Types of Lead Notifications
BookingKoala has built an extensive Notifications section to help automate lead communications from your business. Three types of notifications can be enabled for the Leads Module:
Email notifications
SMS (text) notifications
System alerts
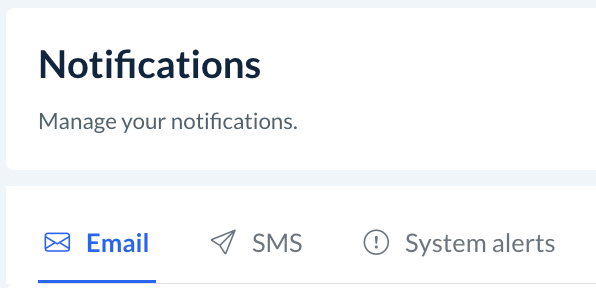
You can manage your lead notifications by going to:
Leads > Settings > Notifications
Email Notifications
Email notifications are notifications that get sent out from BookingKoala to a user's email address. Whenever a certain action takes place inside the Leads Module, a corresponding email will be sent to the email address associated with the action.
Email notifications can be sent to leads as well as the admin/staff.
Add or Change the Send Out Email Address
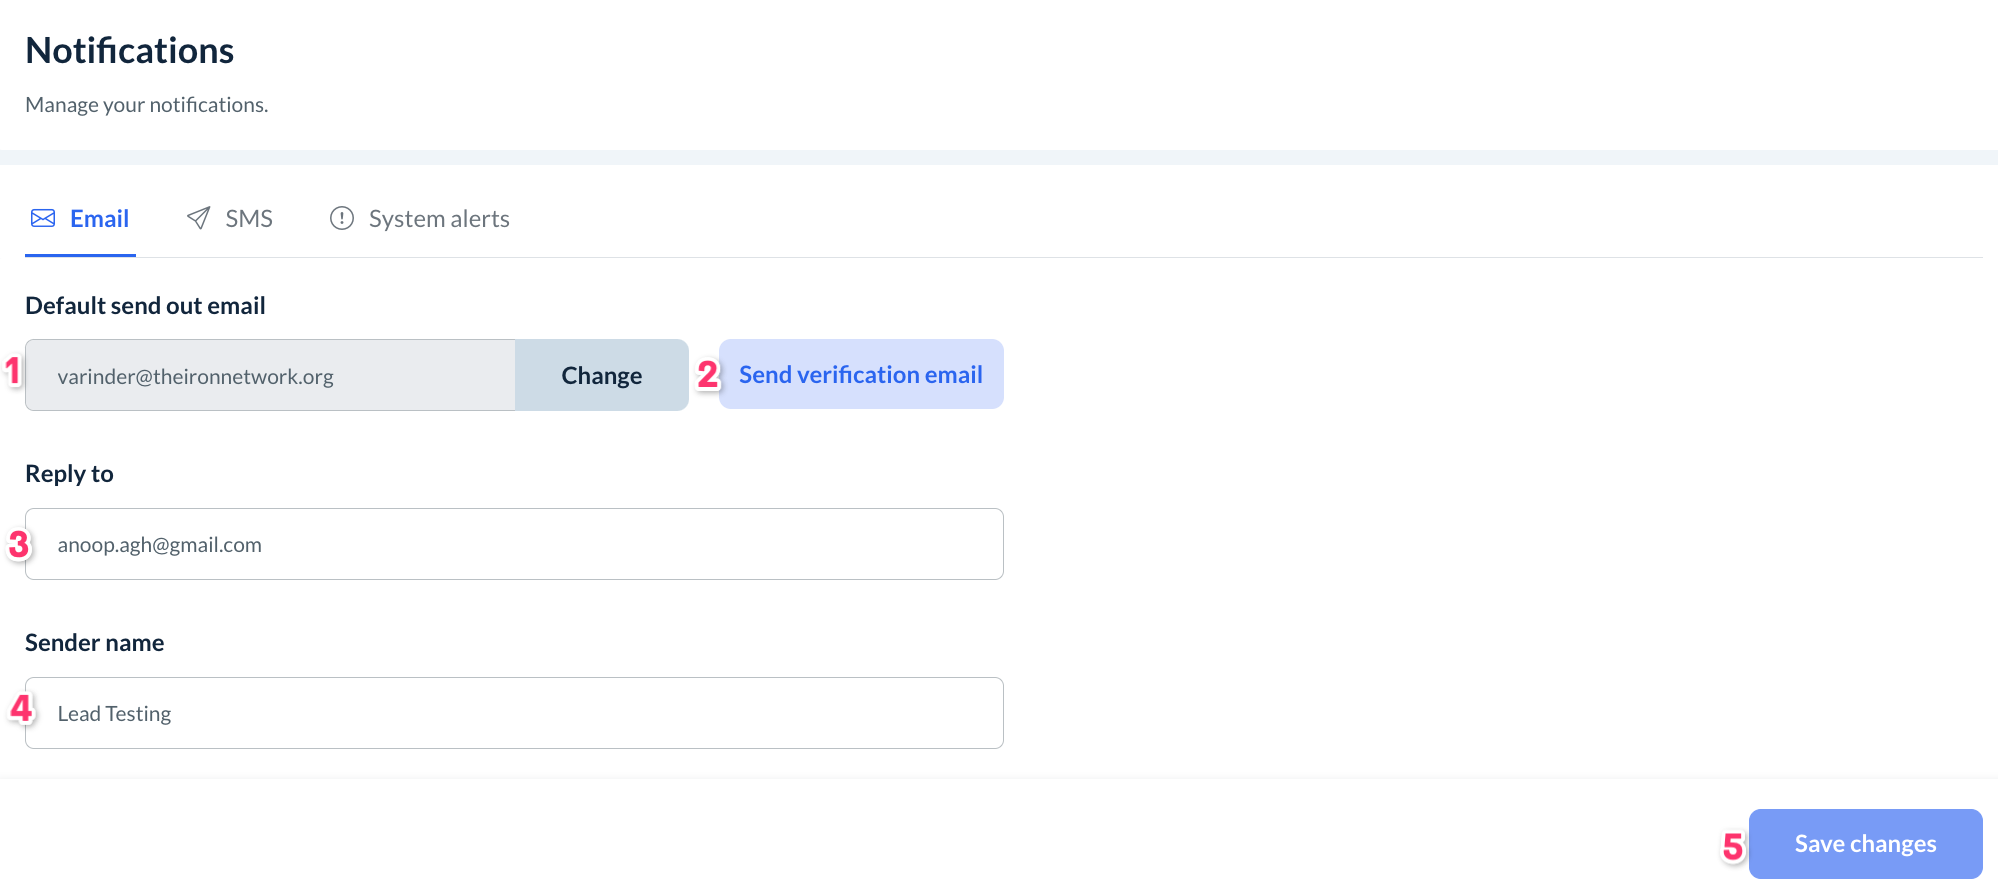
By default, emails are sent out by whatever send out email address you set up per the instructions in this article. However, you can use this section at the top of the Emails tab to set up a specific email address to use for this purpose.
To set up or change the email address you use to send lead notifications, follow these steps:
Enter a valid email address into the Default send out email field. If an email is already in the field, click the grey Change button and enter a new email into the box.
Using a domain-based email address like "[email protected]" or "[email protected]" instead of a personal email address like "[email protected]" or "[email protected]" can help authenticate your email address so emails do not go into the spam folder. To learn more about how to prevent emails from being spammed or spoofed, click here.
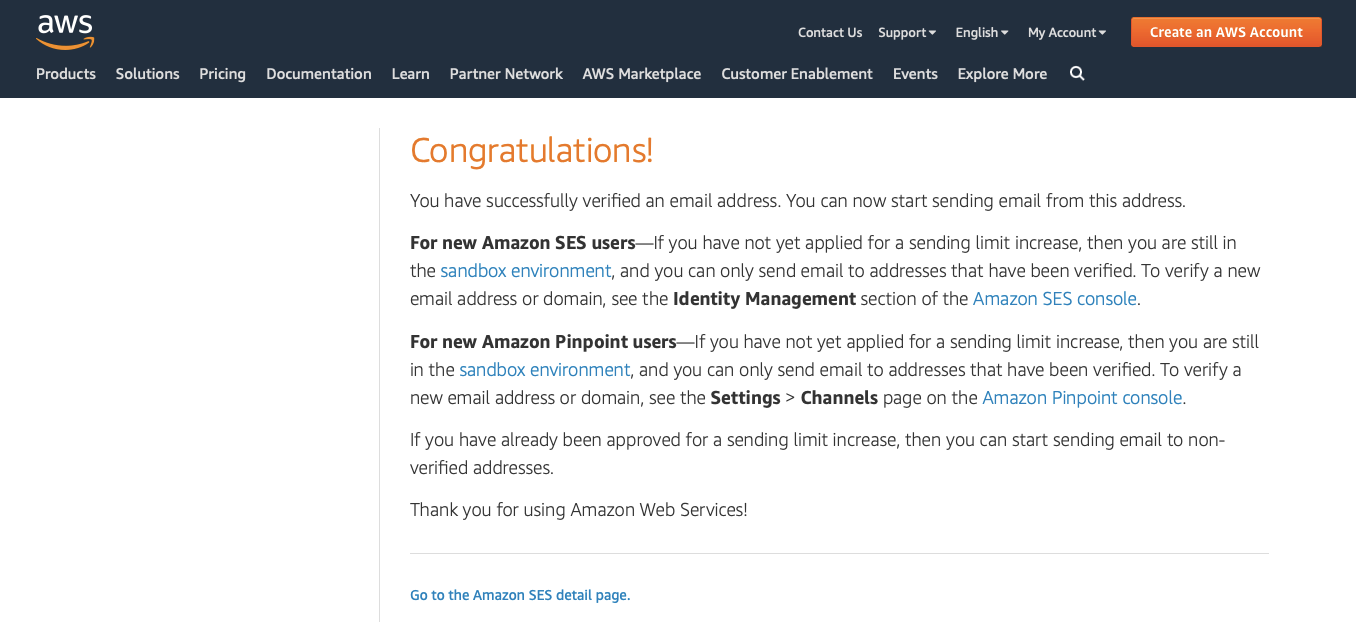
Click the blue Send verification email button. Check that email address's inbox for a verification email from [email protected]. Inside the email, there will be a link that you must click. Once you've clicked the link, you will be redirected to an Amazon Web Service (AWS) page that says "Congratulations!". Once you see this, your email is now verified and you can begin sending out email notifications.
Optionally, use a separate Reply-to email address by entering it into the field below.
Enter in the Sender Name you want recipients to see.
For example, your display name may be "Demo 2 LLC" if your company is called this.
Click the blue Save Changes button to update your sender email address details.
A green system notification will appear in the top right corner of the page confirming you have updated/added your sender email address successfully.
Master Templates
Below the sender email address area, the Master Templates section allows you to create custom email templates to match your business's branding. You can update the existing default templates or add your own using the Add master template button.
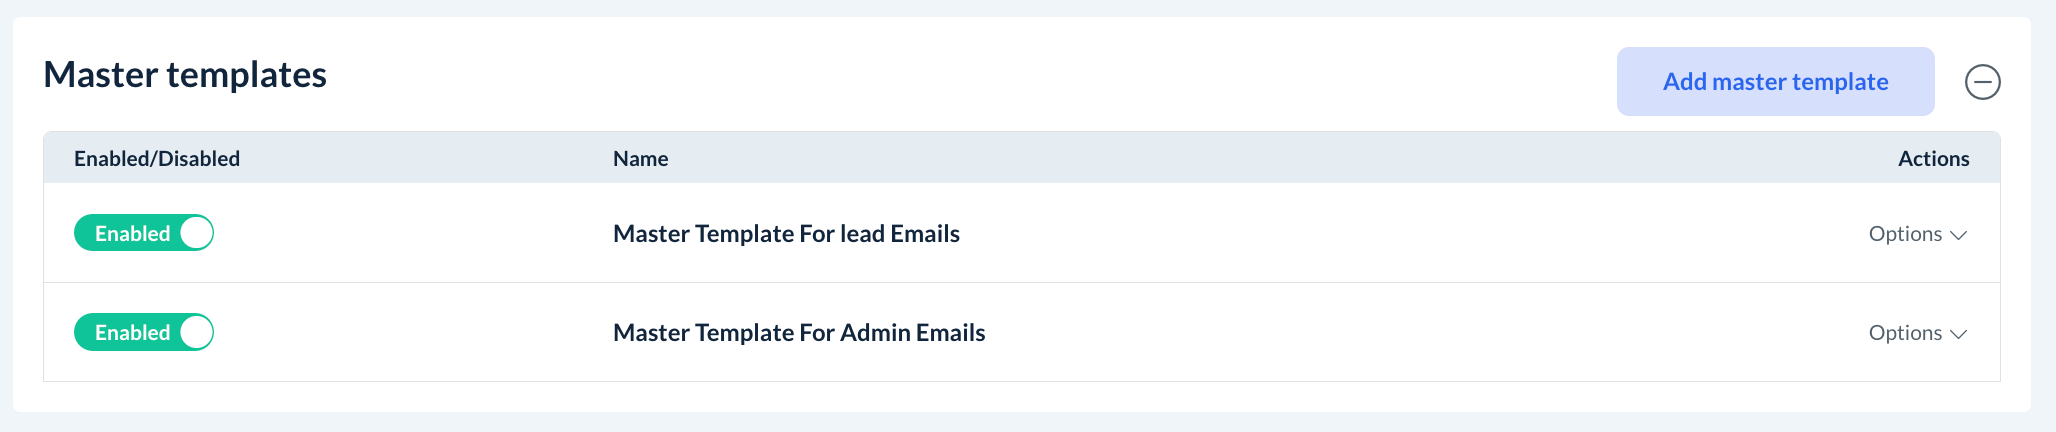
Master templates can save you a lot of time when it comes to customizing the appearance of your emails. Once enabled, these can be applied to any other email template in the lead section to display custom headers, footers, and other sections.
To edit an existing master template, click on Options below the action column and select Edit.
To add your own custom master templates, click the blue Add master template button.
To apply a master template to your existing email notifications, select Options and click on Appy to email.
Click here to learn more about how to set up and use master templates for your email notifications.
Edit, Enable, or Disable Email Templates
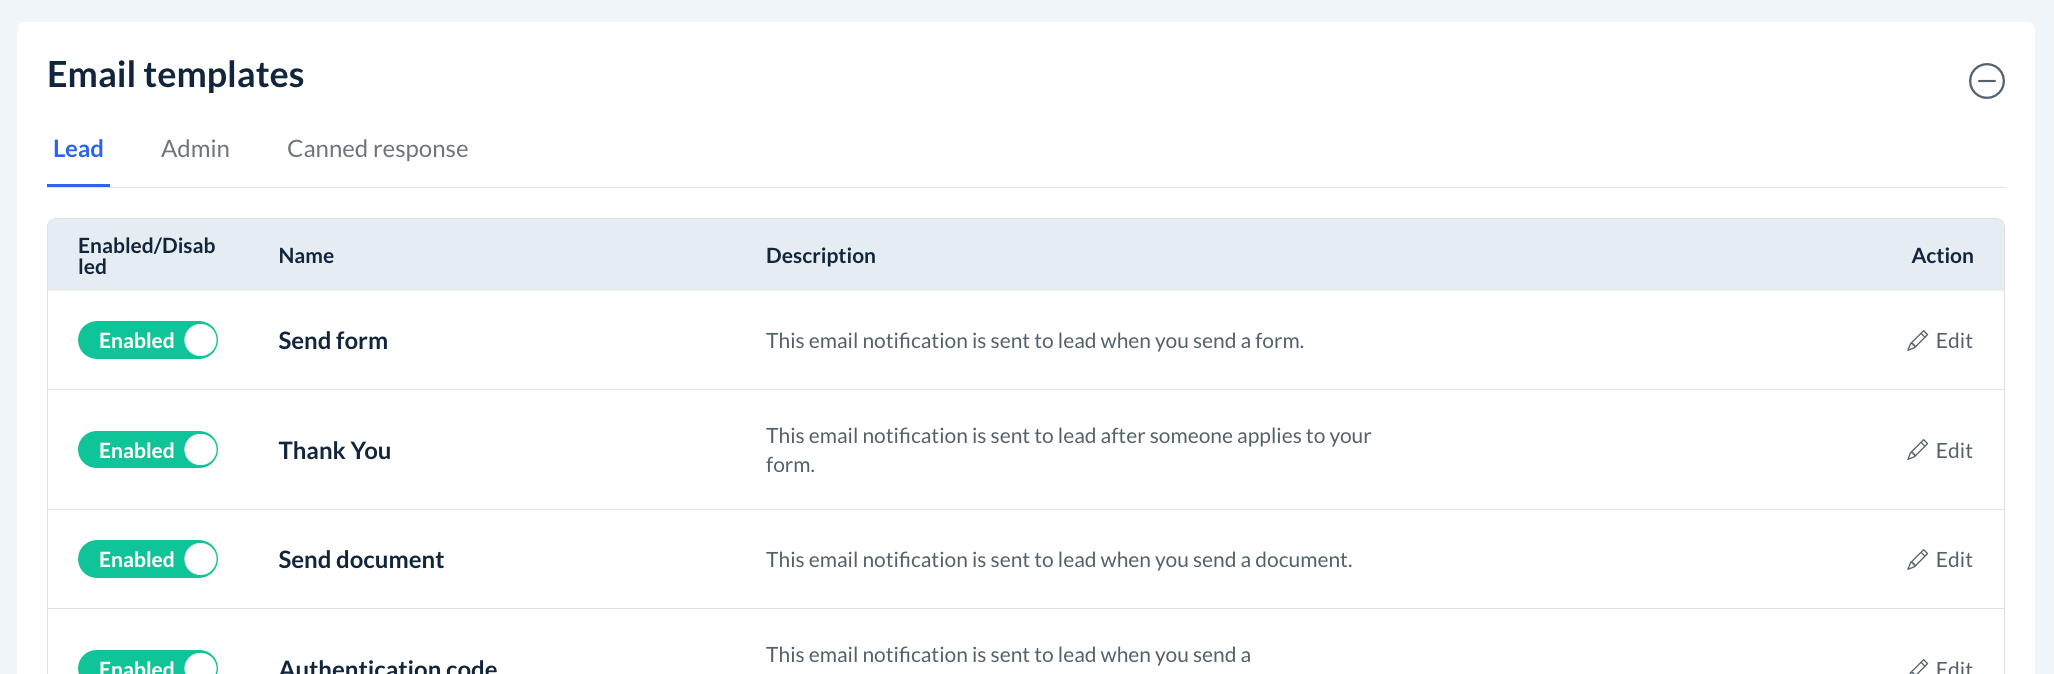
Below the master templates section are the email templates. These templates are organized into three categories:
Lead - Email notifications that are sent to the lead from your company.
Admin - Email notifications that are sent to your admin/staff regarding leads.
Canned response - Custom email templates your admin/staff can manually send to individual leads.

Each notification has an Enabled/Disabled button that can be switched on or off depending on your preference, the name and description of each notification will provide details as to when the notification is triggered, and the Edit button can be used to edit the content and appearance of the notification.
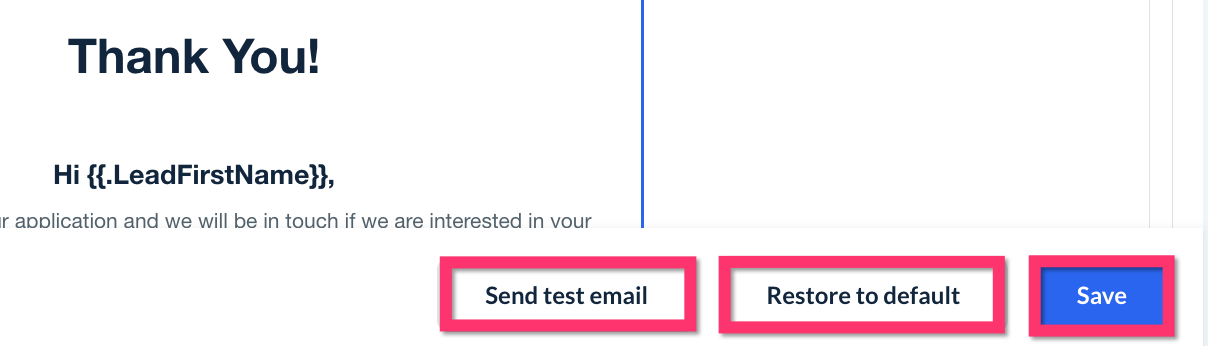
Almost all of the templates in BookingKoala make use of shortcodes to communicate details by customizing the information presented in the notification. You can insert shortcodes to further customize your notifications by clicking on the View shortcodes button at the top right corner of the page when you open a notification to edit it.
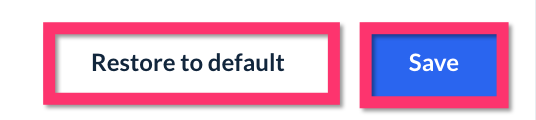
In addition to using the Save button to update the template, there are also buttons to Send a test email and Restore [template] to default if you'd like to start editing from the beginning again.
SMS Notifications
SMS notifications are included in the Growing and Premium Subscriptions.
SMS notifications are notifications that get sent out from BookingKoala to a user's phone number via text message through the use of a third-party integration called Twilio. Whenever a certain action takes place inside BookingKoala, a corresponding text will be sent to the phone number associated with the account.
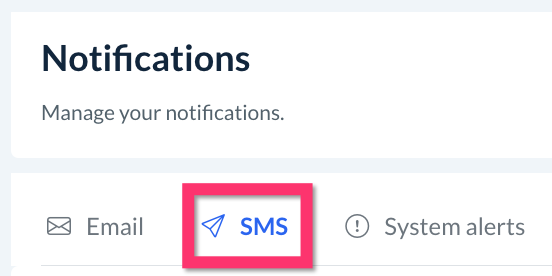
To manage your SMS lead notifications, click on the SMS tab at the top of the Notifications page.
Add or Change the Send Out Phone Number
By default, emails are sent out by whatever send out phone number you set up per the instructions in this article. However, you can use this section at the top of the SMS tab to set up a specific Twilio account to use for this purpose.
To set up or change the Twilio account you use to send lead notifications, follow these steps:
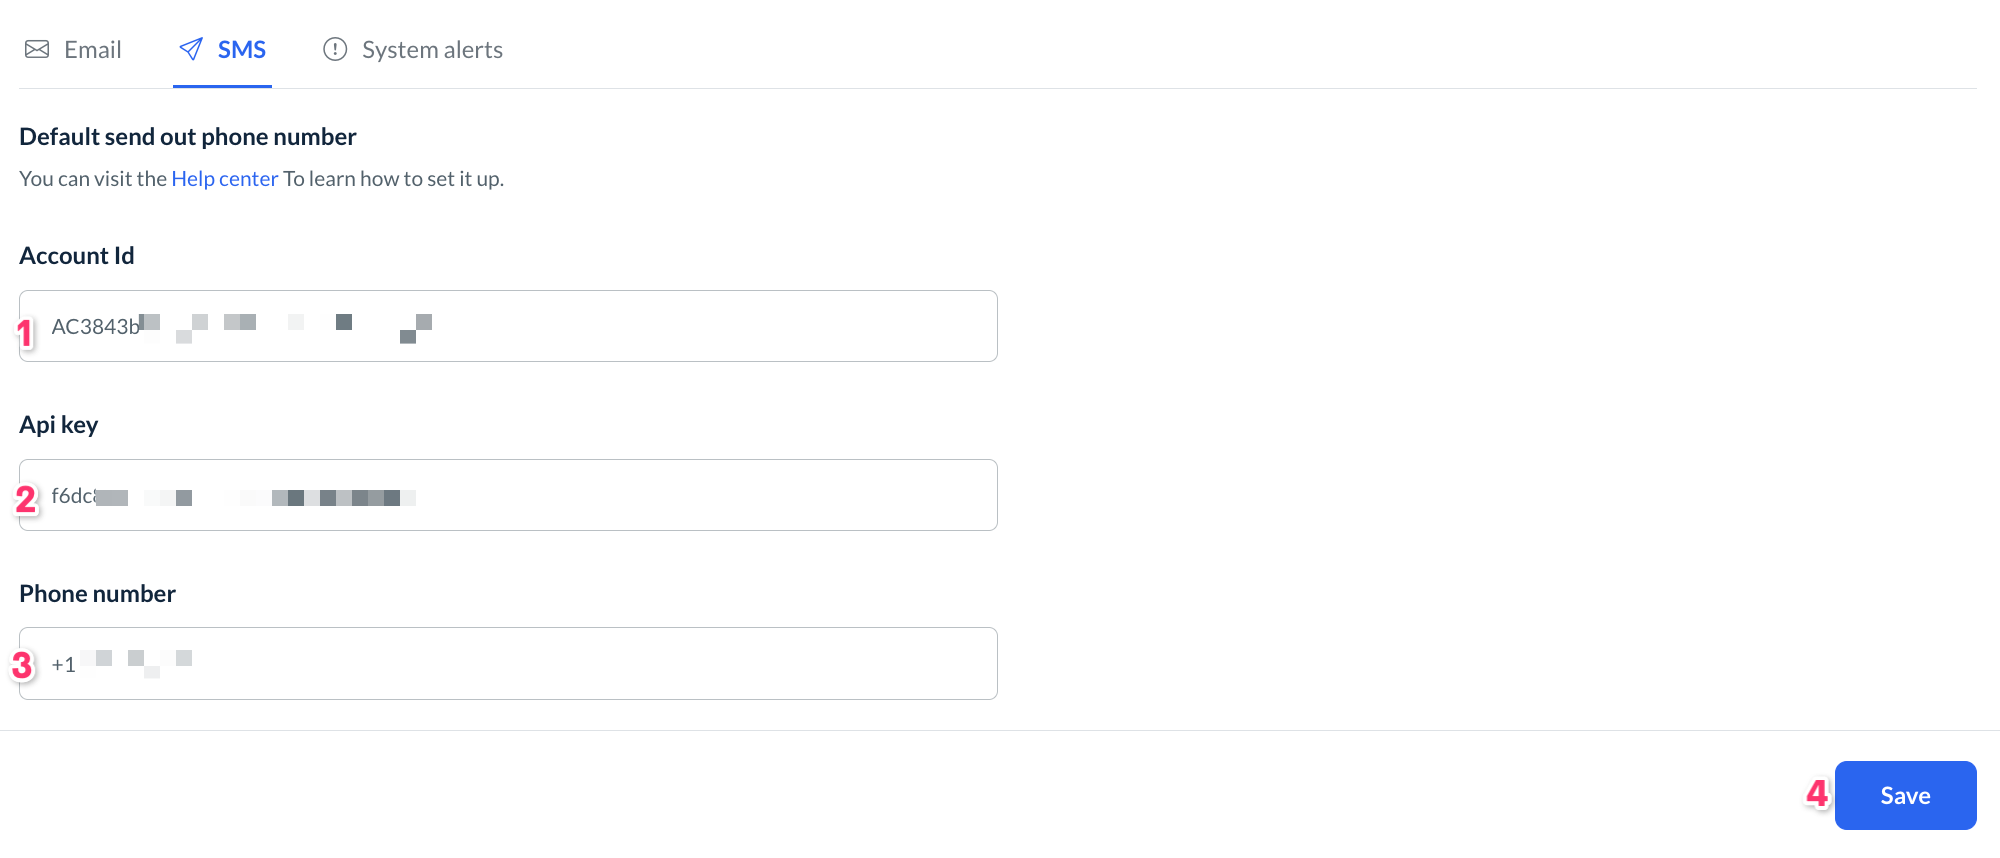
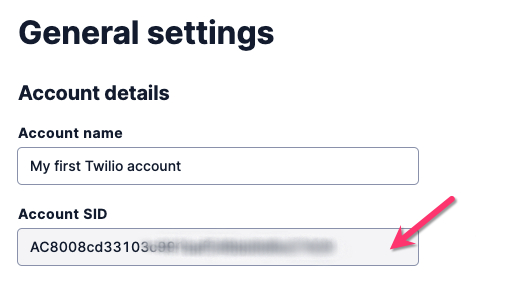
Enter your Twilio account ID into the first box. Your account ID will always begin with "AC" and then a long string of numbers and letters. You can find your account ID in your Twilio dashboard by going to Account > Manage Account > General Settings.
API key - Copy and paste the Auth Token into the box that says "API Key". In your Twilio dashboard, scroll down to the Account Info section.
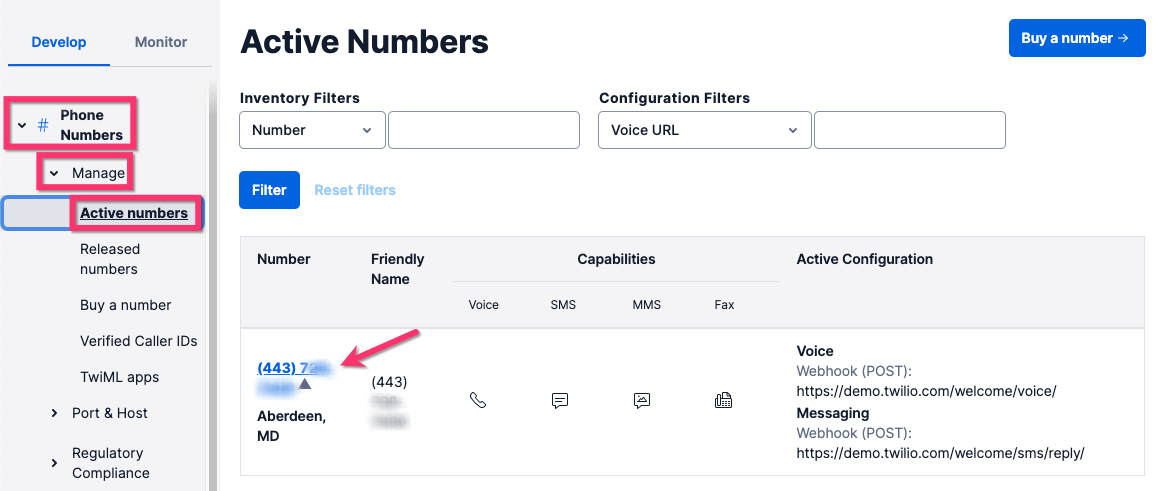
Phone number - Copy and paste your phone number into the third box.
Make sure your phone number is entered exactly as it is pictured under "My Twilio phone number". Enter "+" plus your country code followed by the rest of the phone number.
For example, "+15672299756" is correct.
"15672299756" is incorrect.
"5672299756" is incorrect.
"+1(567)2299756" is incorrect.
"+1-567-229-9756"is incorrect.
You can also find your phone number by going to Phone Numbers > Manage > Active Numbers in the left-side menu in your Twilio dashboard.
Once you have completed each field, click the blue "Save" button to connect the Twilio account to your Lead Module.
Edit, Enable, or Disable SMS Templates
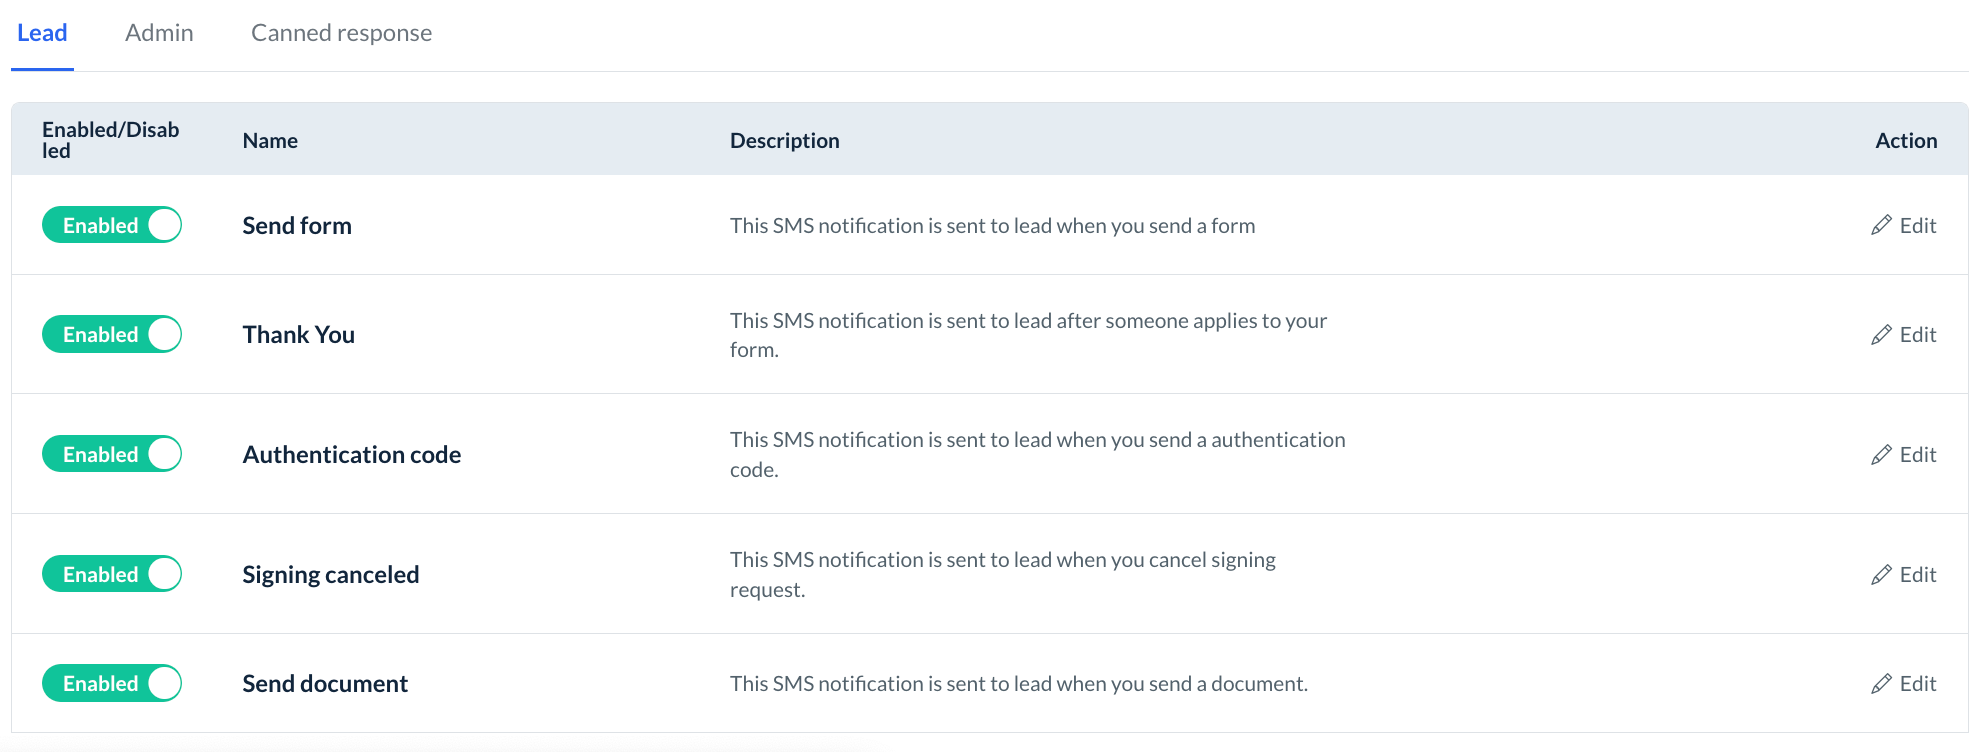
Below the send out email section are the SMS templates. These templates are organized into three categories:
Lead - SMS notifications that are sent to the lead from your company.
Admin - SMS notifications that are sent to your admin/staff regarding leads.
Canned response - Custom SMS templates your admin/staff can manually send to individual leads.
Like emails, each SMS notification has an Enabled/Disabled button that can be switched on or off depending on your preference, the name and description of each notification will provide details as to when the notification is triggered, and the Edit button can be used to edit the content of the notification.
Many of the SMS templates in BookingKoala make use of shortcodes to communicate details by customizing the information presented in the notification. You can insert shortcodes to further customize your notifications by clicking on the Insert shortcodes button at the top right corner of the page when you open a notification to edit it.

In addition to using the Save button to update the template, there are also buttons to Send a test SMS and Restore [template] to default if you'd like to start editing from the beginning again.

System Alerts
System alerts are included in the Growing and Premium Subscriptions.
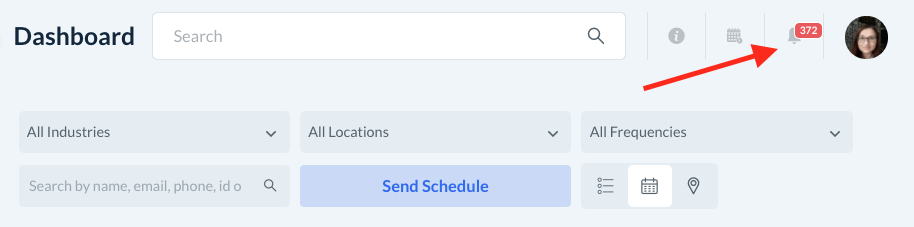
System alerts are notifications that are displayed at the top-right corner of your dashboard whenever a new action has been taken by an admin, staff member, or lead.
Only admin and staff are able to receive and view system alerts. System alerts pertain to day-to-day operations, so they are only displayed from the backend of BookingKoala when logged into an admin or staff account.
Specifically, you can enable these alerts when a new lead is added to the system and when a new note has been added for an admin or staff member.
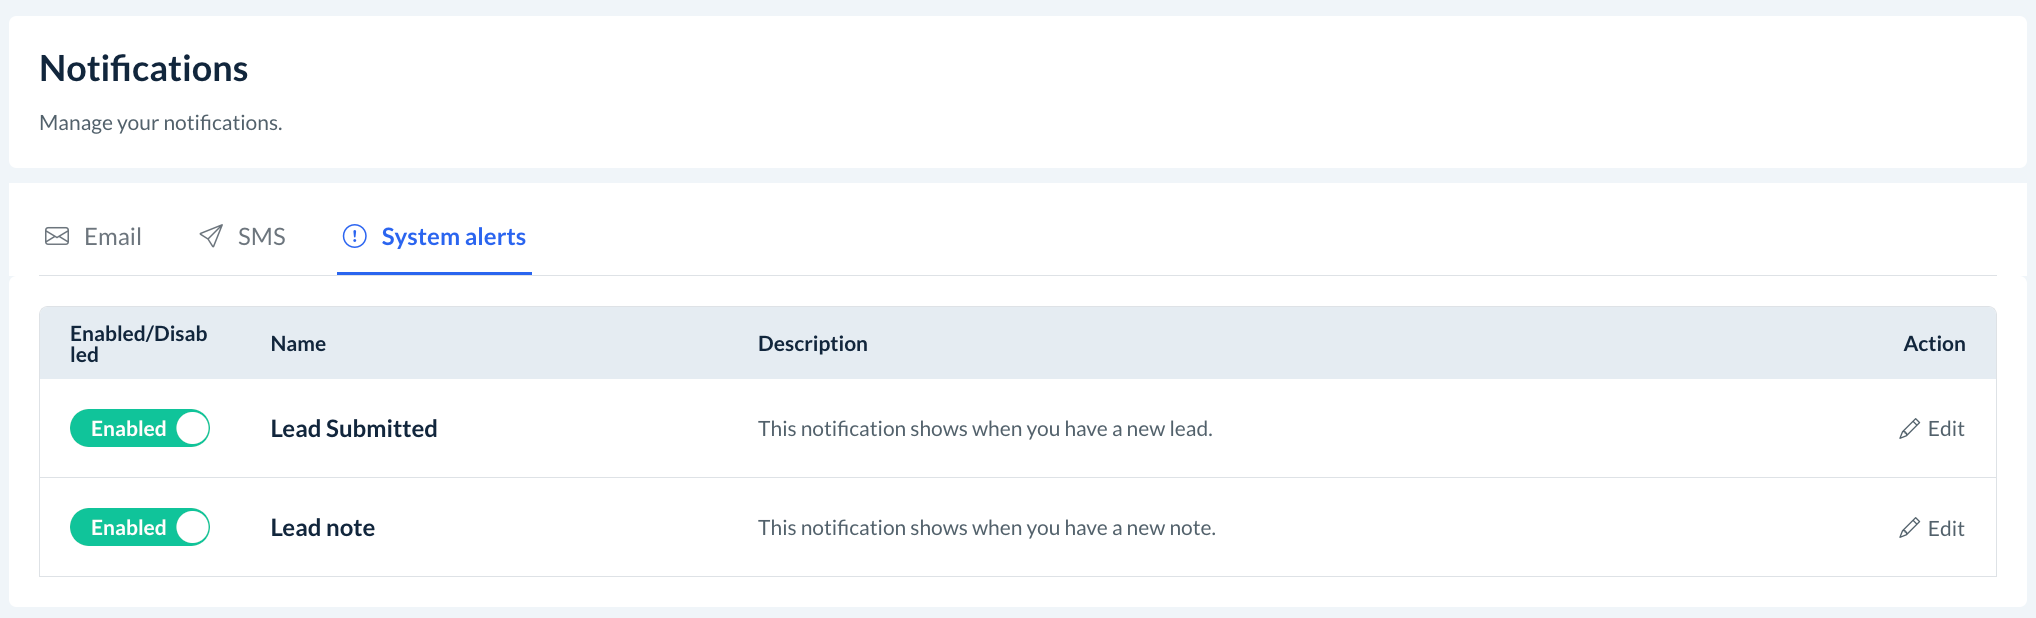
Edit, Enable, or Disable System Alerts
Like email and SMS notifications, each system alert has an Enabled/Disabled button that can be switched on or off depending on your preference, the name and description of each alert will provide details as to when the alert is triggered, and the Edit button can be used to edit the content of the alert.
In addition to the Save button, there also is a Restore to default button if you need to restore the alert to its original state.