The purpose of this article is to help you learn how to:
Send a quote to a customer
Set an expiration date for a quote
Enable a quote reminder
Offer a custom discount on a quote
Edit the quote email content
Share a quote link with a customer
View and modify saved quotes
How to Send a Quote
If your customer is not ready to book yet but you'd like to provide them with a quote for your services, you can easily send them a quote through your booking form.
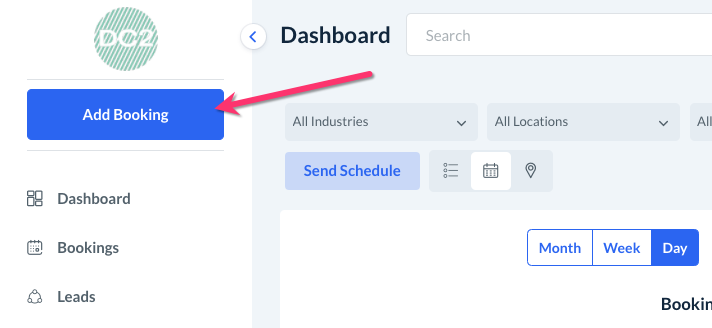
To begin, click the blue "Add Booking" button at the top of the left-side menu to begin filling out a new booking form.
To send a quote to a customer, you must include at minimum a First Name and Email Address for your customer. All other fields can be completed or left empty depending on which information you'd like to include in the quote.
Please note that if you leave a field empty, you likely want your customers to fill in the missing information. To allow this, you must ensure that customers have been enabled to edit quotes. If disabled, customers will not be able to make any changes to the quote beyond their personal contact information, home address, and customer notes. Click here to learn how to enable (or disable) customers' ability to edit their quotes.
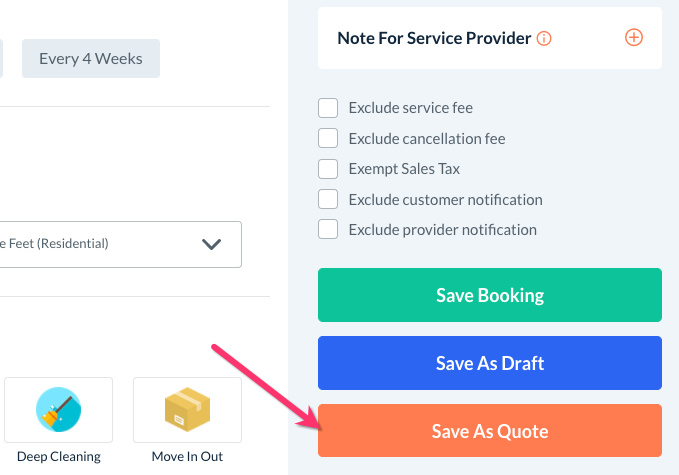
Once you have finished filling out the form, you will click the orange "Save As Quote" button
Email a Quote
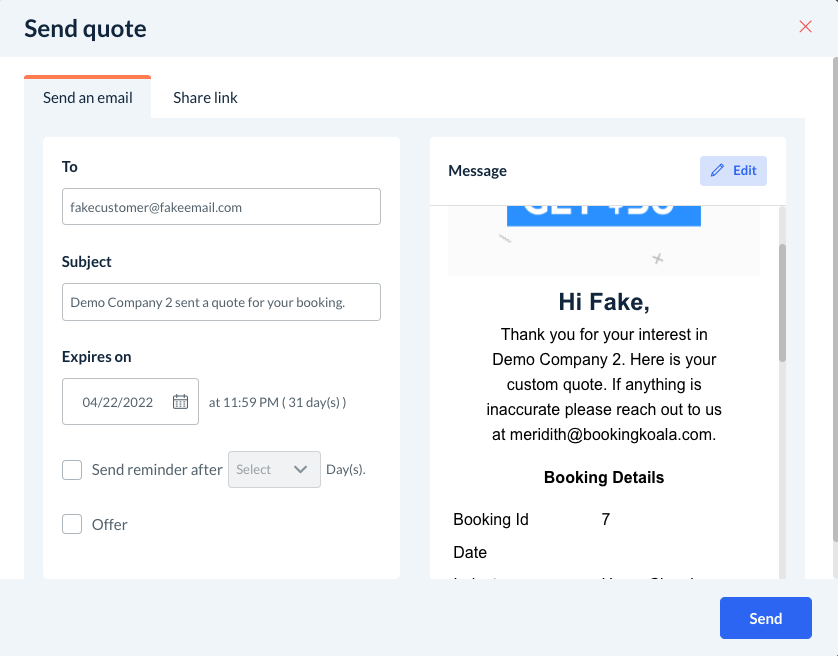
A "Send Quote" pop-up will appear. By default, you will be on the "Send An Email" tab.

To - The customer's email address will be located in the first box. You can edit the email if you'd like to send the quote to a different address.
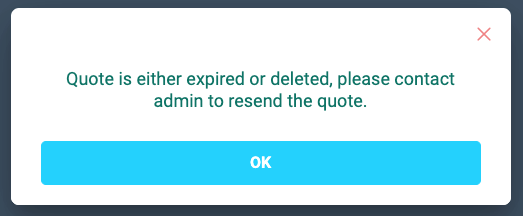
Expires on - You can set an expiration date for the link in the quote. If the customer clicks the link after the expiration date, they will see a message letting them know the quote has either expired or been deleted, and that they should contact the admin to resend the quote.
Once they click "Ok", they will be directed to your "Book Now" page.
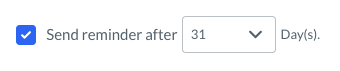
Send Reminder - Check the box next to "Send Reminder After [select] Days" to send an automated quote reminder email to the client.
Reminders can be sent up to 31 days after the original quote was created.
Offer - Check the box next to "Offer" to add a custom promotion to the quote.
Enter the discount amount into the first box and then select "%" for a percentage-based discount, or "$" for a fixed-rate discount.

Once you have finished making your selections, click the blue "Save & Preview" button to view how to email will look to the client. Once you are on the Preview tab, you also have the option to Edit the email content as desired.
When you are ready, click the blue "Send" button at the bottom left of the pop-up. You will be redirected to the "Drafts/Quotes" section under "Bookings".
The quote has been saved successfully according to the green system notification at the top of the screen. The most recently saved quote will appear at the top of the list.
Share a Quote Link
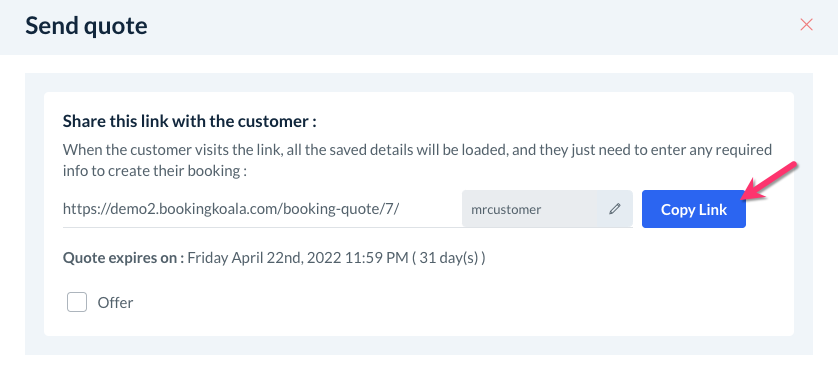
If you'd like to share a link to the quote instead of sending an email, click the "Share Link" tab at the top of the "Send Quote" pop-up.
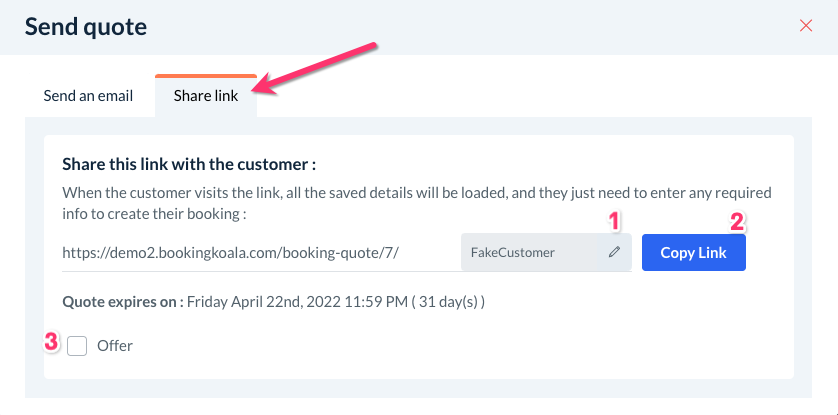
Pencil Icon - Click the pencil icon to edit the domain extension that your customer will use to view their quote.
Once finished, click the green "Save" button to update the link.
Copy Link - Click the blue "Copy Link" button to copy the link and share it with your customer.
Offer - Check the box next to "Offer" to add a custom promotion to the quote.
Enter the discount amount into the first box and then select "%" for a percentage-based discount, or "$" for a fixed-rate discount.

View and Modify Saved Quotes
Once you have sent out a quote, it will be saved in the "Drafts/Quotes" section under "Bookings".
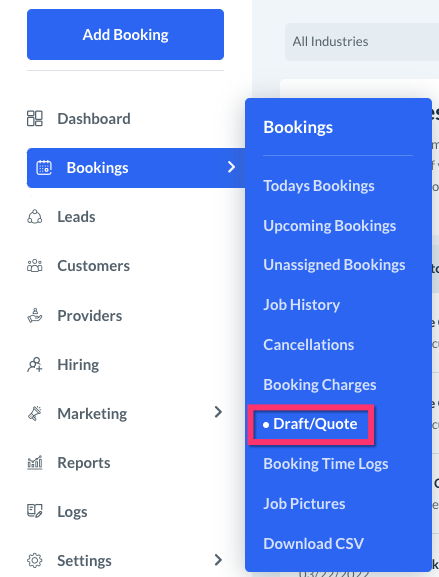
Here, you can view all quotes and drafts saved into the system. You can use the filters at the top of the page to view quotes for specific industries and locations or search for a customer's information.
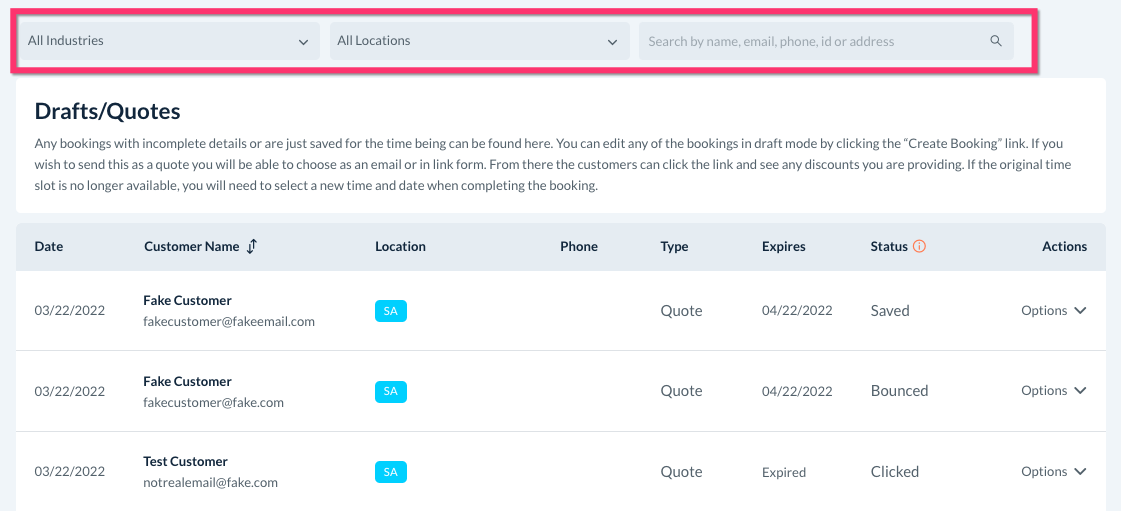
Below, you'll see the quotes and drafts organized into rows with the most recent quote being listed at the top of the page.
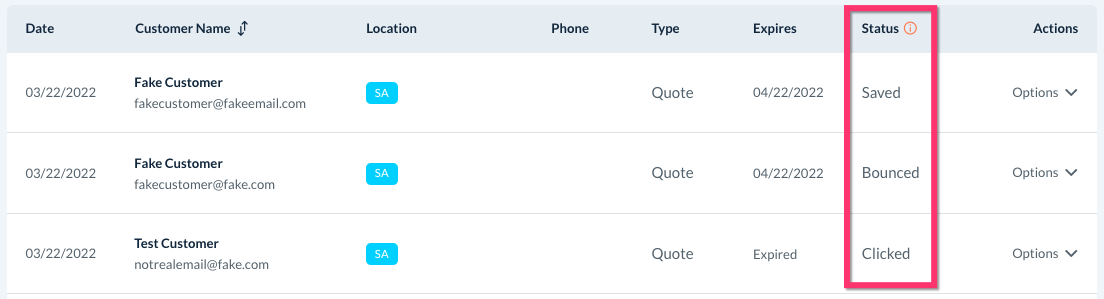
To see if a quote has been opened, clicked, or booked, look under the Status column located to the left.
At the far left of the column, you will see an "Options" button. These contain several different action buttons to modify the quote.
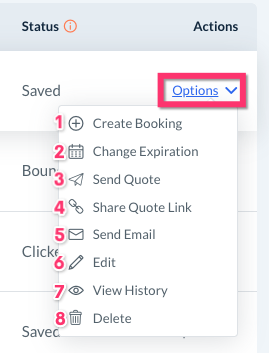
Create Booking - Click this option to open the booking form and pick up where you last left off.
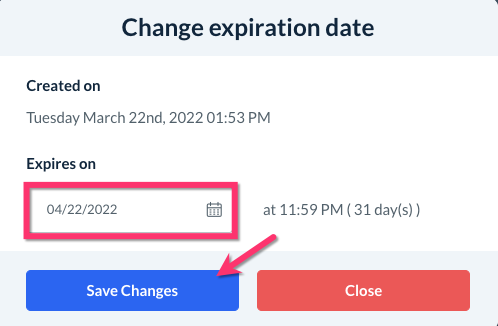
Change Expiration - Click here to update the expiration date for the booking. A "Change Expiration Date" pop-up will appear with the option to select a new date. Click the blue "Save Changes" button if you make any changes to the original date.
Send Quote - Click "Sent Quote" to open the "Send Quote" pop-up again.
Share Quote Link - Click "Share Quote Link" to open the "Share Quote Link" popup and view/modify the share link for the quote.
Send Email - Click "Send Email" to also open the "Send Quote" pop-up.
Edit - Click "Edit" to open the booking form and make changes to the quote.
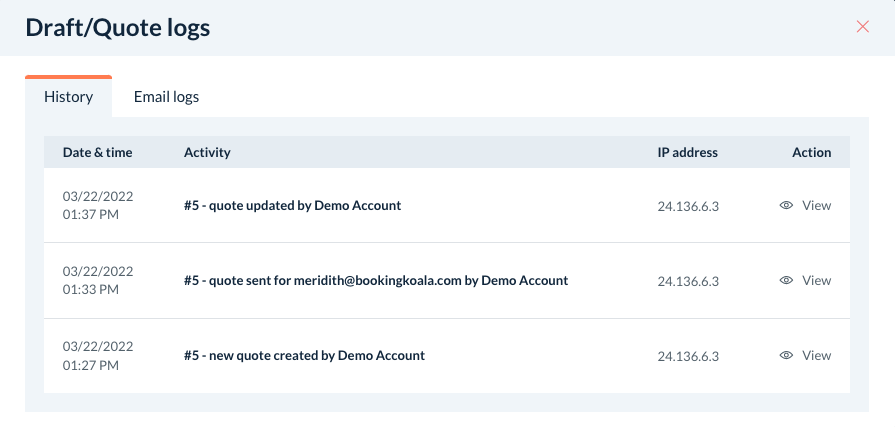
View History - This option allows you to look at the quote's logs to view any changes to its history.
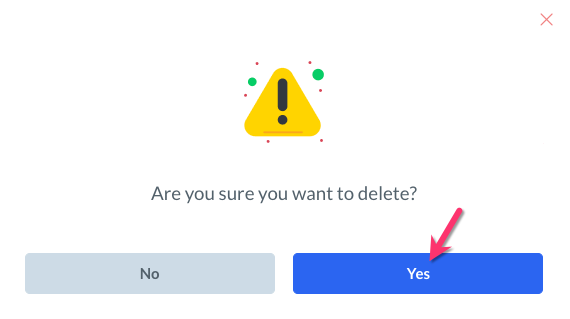
Delete - Select this option to delete the quote. A pop-up will appear, asking if you are sure you want to delete the quote.
Click the blue "Yes" button to proceed. Once a quote has been deleted, it cannot be retrieved from the system.