The purpose of this article is to help you understand:
What are staff accounts
How to add a new staff member
How to set up staff permissions
What are staff accounts?
If you have office employees or virtual assistants that help with running your day-to-day operations, you can create staff accounts to give them access to the backend of your BookingKoala account. As the admin, you can control each staff member's permissions to view and/or edit various parts of the software.
Add a Staff Account
To create a new staff account, you will begin by going to:
Settings > Staff > Add Staff Member
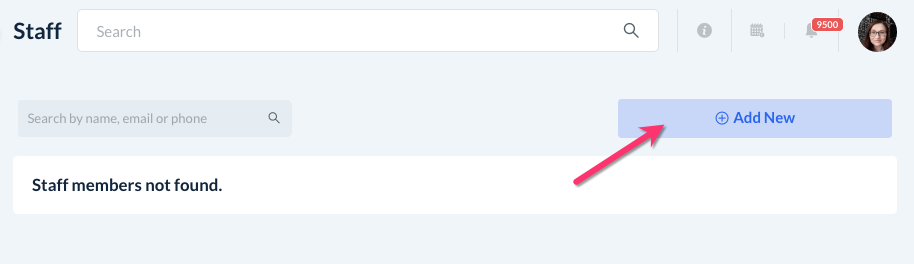
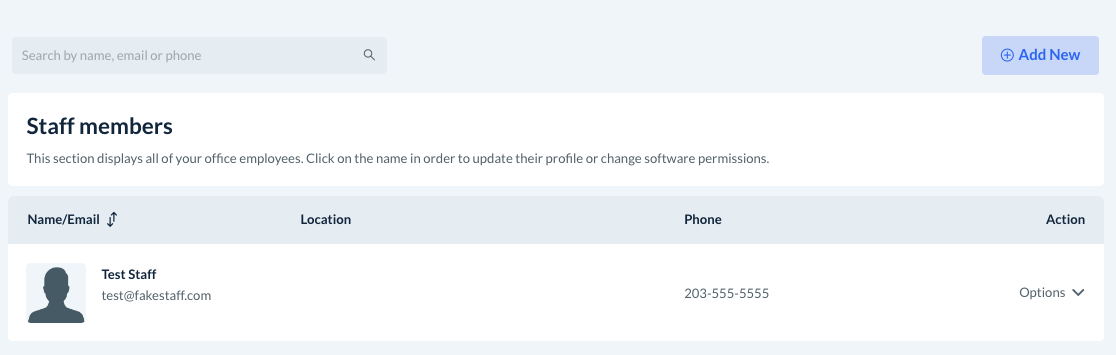
There is also a blue "Add New" button that is located at the top of the Staff Members section. Both options lead to the same place.
You will be redirected to the "Add Staff" page.
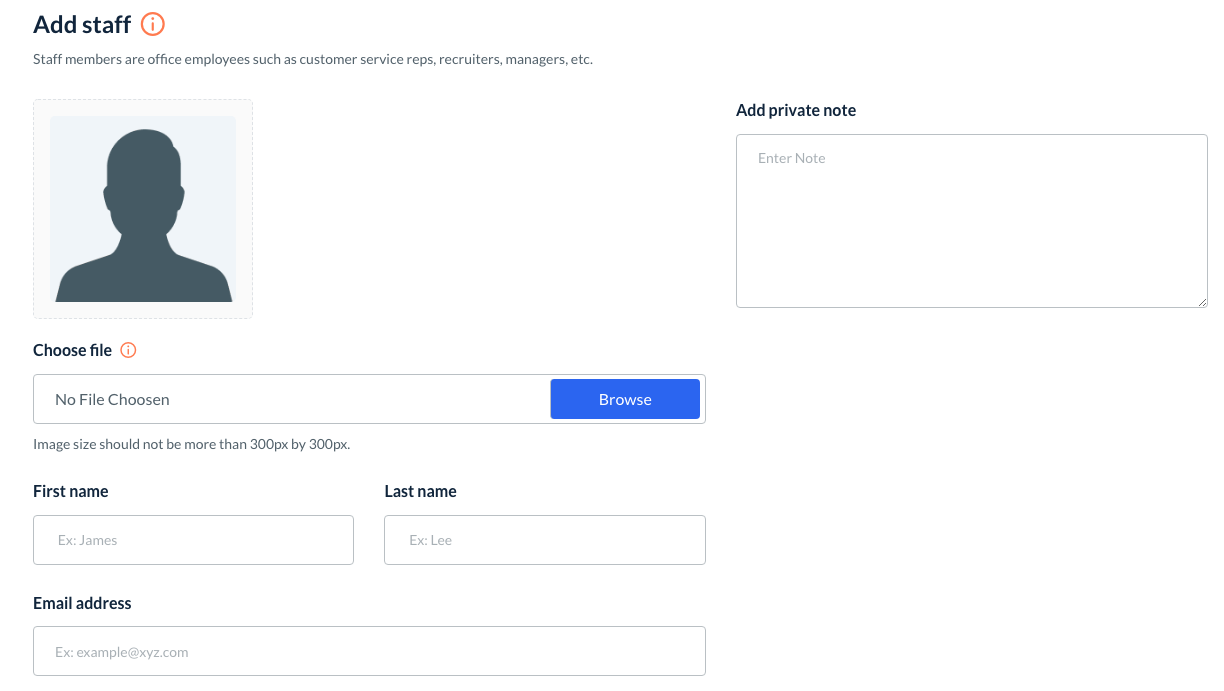
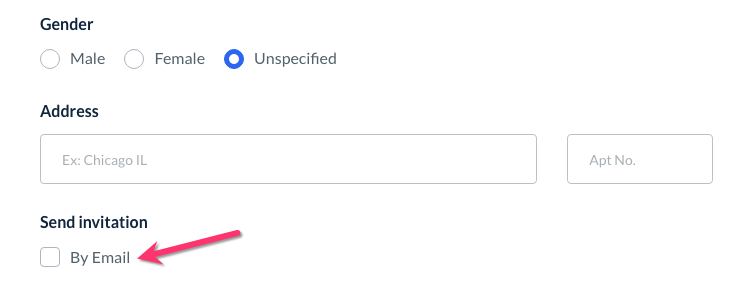
You must fill out at least a first name, last name, and email address to save a new staff account. You can also include a profile photo, address, phone number(s), and gender of the staff member. There is also a section to add private notes that can only be seen by the admin.
At the bottom of the screen, there is an option to "Send Invitation". This correlates with the "New Account" email template located under:
Settings > Notifications > Email > Staff > Account
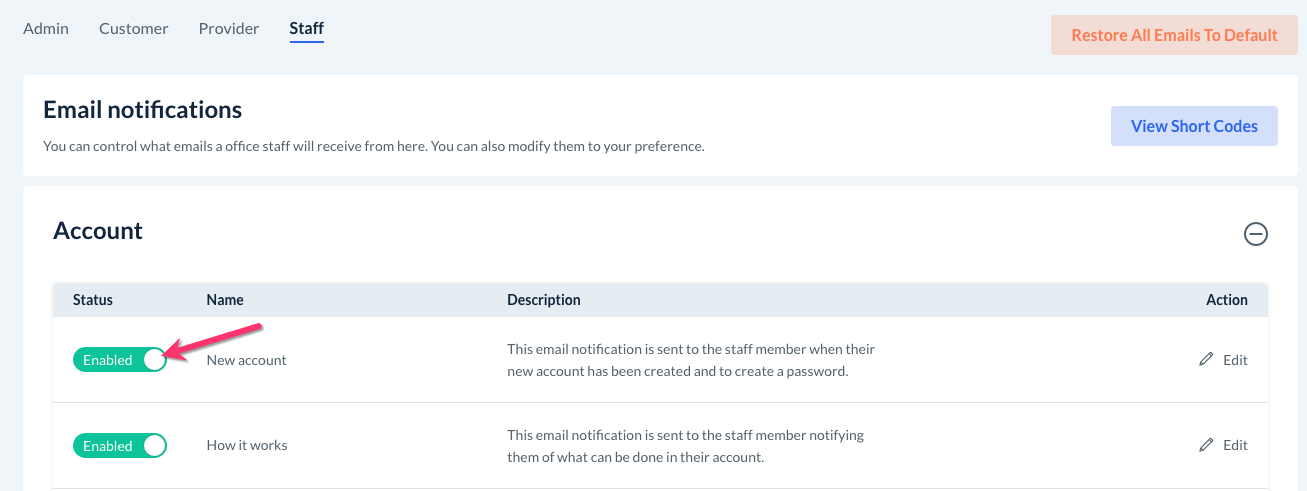
Please be sure this template is toggled to "Enabled" under the Notifications section if you'd like to send a notification inviting your staff member to create a password and log into their account.
If you don't want to send the "New Account" notification to your staff member now, you can always uncheck this box and send it at a later time from the staff member's dashboard.
Once you are done filling out the staff member's basic information, click the blue "Add" button to generate the staff account.
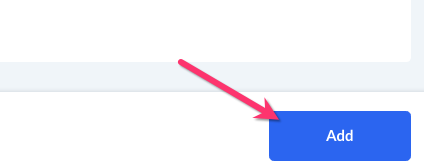
A green system notification will appear in the top-right corner, letting you know the staff account has been saved successfully, and you will be redirected to the "Staff Members" list.
Setting Up Staff Permissions
As mentioned earlier, the system admin can control which areas of the software each staff member has access to. To view or set up a staff member's permissions, you will go to:
Settings > Staff > Staff Members
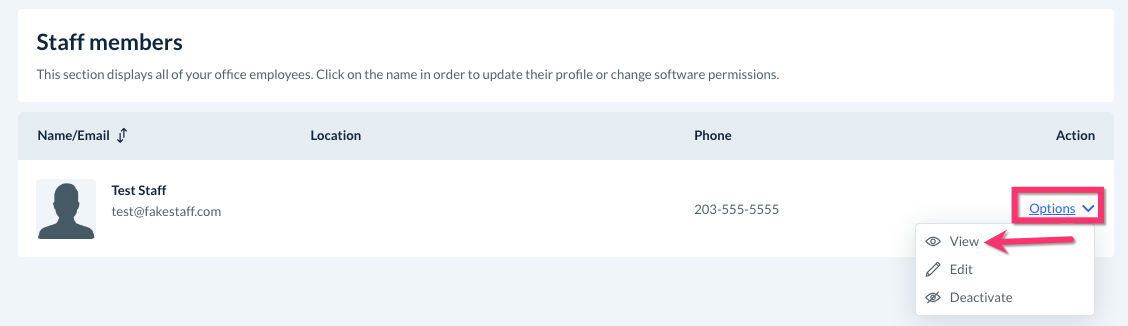
Select "Options", then "View" to open the staff member's dashboard.
At the top of the page, click on the "Permission" tab.
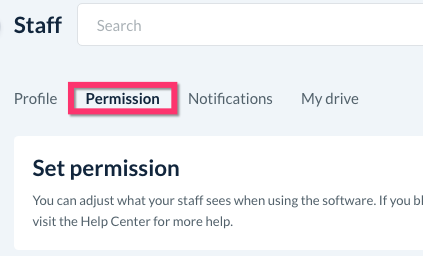
You will see a list of all possible permissions in the space below. Many permissions have three options: Block, View, or Edit.
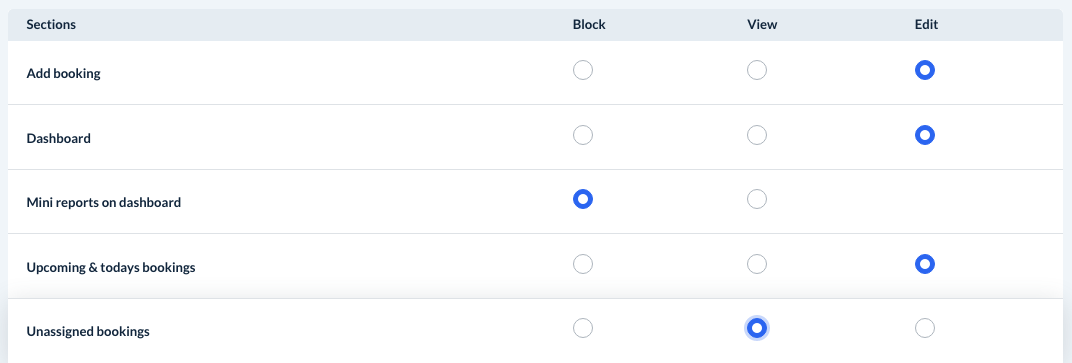
When permissions are blocked, the staff member will not have access to that area or type of action in the system.
When permissions are set to view, the staff member can look at that area of the software but cannot make any changes.
When permissions are set to edit, the staff member can both view and modify sections in the software.
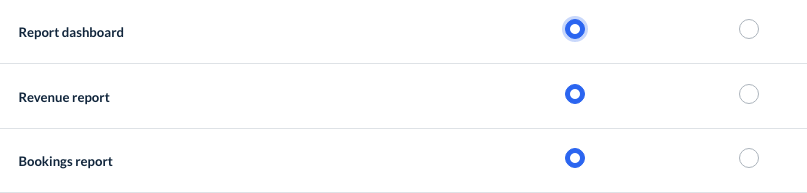
Permissions for some sections, like the "Reports" section, only have options to block or view. This is because reports cannot be edited by any type of user, including the admin. All reports are internally connected based on actions that are automatically taken from customers, providers, and staff accounts based on bookings, ratings, payments, trends, etc.
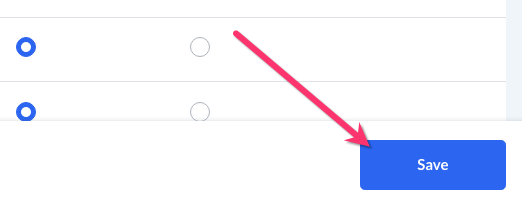
Once you are finished making your selections, please click the blue "Save" button at the bottom right corner of the page.
A green system notification will appear in the top right corner of the page letting you know the staff member's permissions have been updated successfully.