The purpose of this article is to help you understand:
How the unassigned folder works
Different uses of this feature
Getting Started
To begin, we’d recommend enabling your providers’ email and SMS notifications to alert them when new jobs are added to the folder. First, make sure your email and/or SMS settings are set up.
Click here to learn how to set up your email notifications.
Click here to learn how to create and connect a Twilio account to set up SMS notifications.
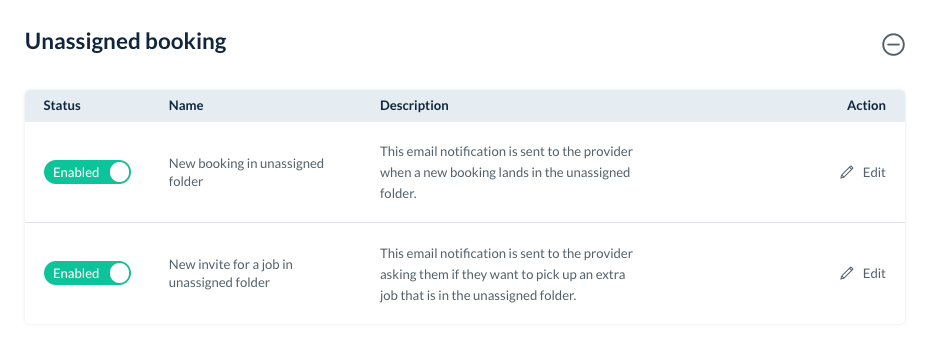
Next, be sure the following email templates are enabled:
Settings > Notifications > Email > Providers > Unassigned Booking
and
Settings > Notifications > SMS > Providers > Unassigned Booking
This way, your workers will be made aware of each opportunity as it comes in. You can also disable providers’ ability to see bookings in the unassigned folder if you do not want them to be able to see or add these jobs to their schedule. If you are comfortable allowing them to pick up jobs as needed, they can browse this area in their dashboard and view booking details to help with their decision process.
How does the unassigned folder work?
The "unassigned folder", found under the Bookings menu, utilizes your provider’s settings and availability to show the jobs that they are not yet booked for, regardless of whether they are marked as “available” or not.
As long as no other bookings are in the way, your providers can add a booking to their schedule, even on their days off. As soon as a job is picked up or added by an admin to a provider’s schedule, the booking will disappear from the unassigned folder so no other worker can grab it.
You can also set up your unassigned folder so that providers can see all jobs, even those outside of your settings. To change this and set up your unassigned folder and waitlist settings, click here.
How To Utilize the Unassigned Folder
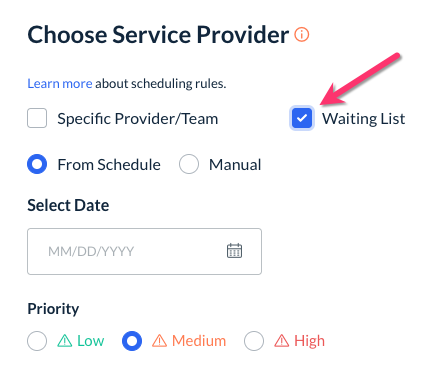
A new booking can be placed in the unassigned folder by navigating to the Choose Service Provider section in your booking form by checking the box next to "Waiting List".
If you are moving an existing appointment into the unassigned folder, click the blue “Reschedule” button, then you can select “All Future Appointments” if you are moving the entire recurring service in the folder, or “This Booking Only” if you are only looking to move a single job.
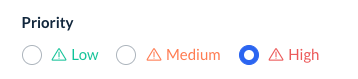
You can select the desired date and arrival time and even assign a priority level of “Low”, “Medium”, or “High”.
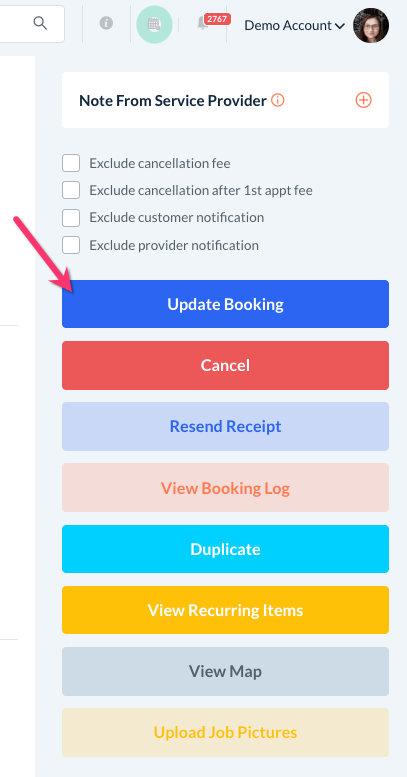
Once you have made the necessary modifications, click the blue “Update Booking” to complete the move.
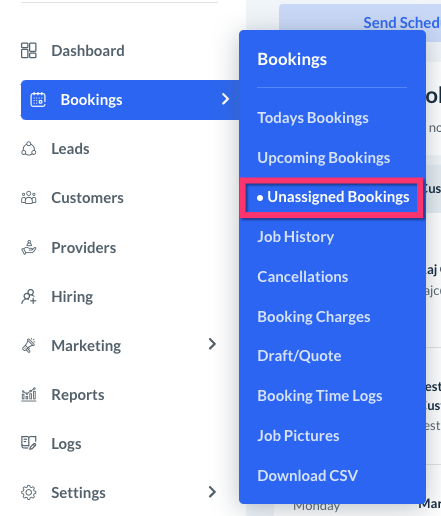
To view all upcoming jobs in the section, go to:
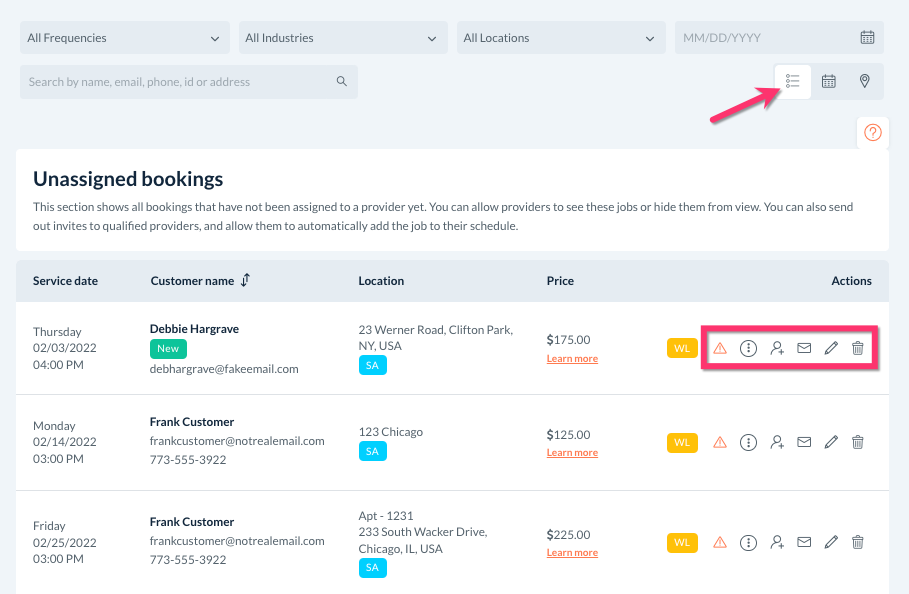
Bookings > Unassigned Bookings
Like all of the various sections under the Bookings menu, you can view the jobs in list view, calendar view, or map view.
Viewing the Unassigned Folder
Each booking in the unassigned folder has several different tools to help with tracking, promoting, and assigning the job. These tools are located in different places depending on how you are viewing the unassigned bookings.
While in list view, the action buttons will be located to the left of the booking details.
In the calendar view, the details and action buttons will be located in the pop-up sidebar when you click on the booking in the calendar.
In map view, click the flag on the map to view the booking details and see the action buttons in the side menu.
Action Buttons

The triangle icon allows you to assign a priority to a booking if you'd like. All bookings submitted to the waitlist by customers come at the lowest priority level, signified by the color green. They will also include an orange "WL", or "waiting list" tag added to the left of the priority.
Bookings added to the unassigend folder by admin and staff will be set to orange for medium priority by default. You can click the icon to elevate the priority and select the red icon to signify the highest level of priority.
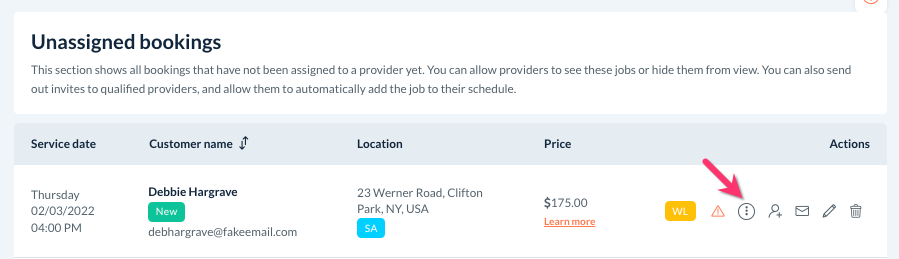
The next icon is the "details" icon.
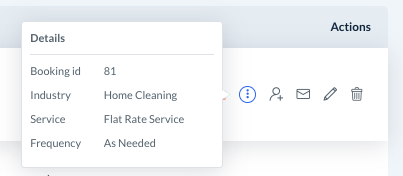
If you hover over this icon, it will display the basic details about the booking, including the booking ID, industry, service category, and frequency.
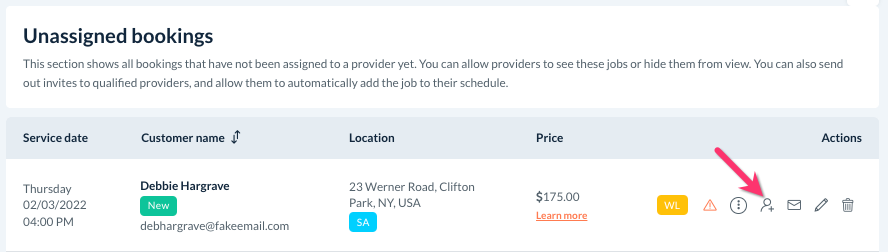
Next to this is the "assign provider" icon. By clicking this icon, you can view a list of all available and NA, or “not available”, providers.
Available providers have an opening in their schedule that can accommodate that booking's time and settings. “Not Available” or NA providers are not marked as available in the system, however, they do not have any other bookings or obligations in the system that would overlap with this booking’s time and length.
This allows you to assign work to your provider’s schedule, even if they originally were not set to work that day. Providers that have conflicts with the booking time, length, or settings will not be displayed in the Check Compatibility section.
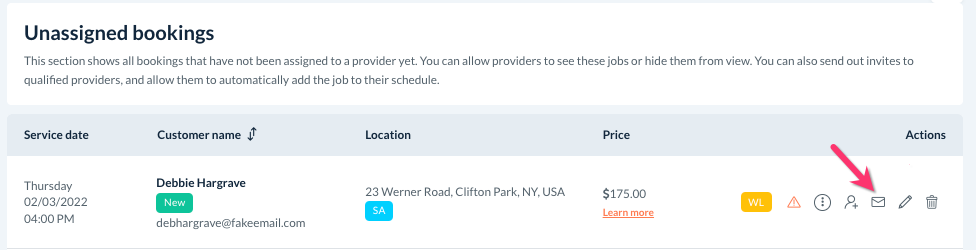
The following icon is the envelope icon. This allows you to send notifications to your providers to alert them to a job in the unassigned folder.

You can select providers and teams from both the available and not available lists, add a custom message, and then decide if you’d like to send the alert via email, SMS, app alert, or all three. When the alert is received, the provider can log in to their dashboard and grab the job if they are interested.
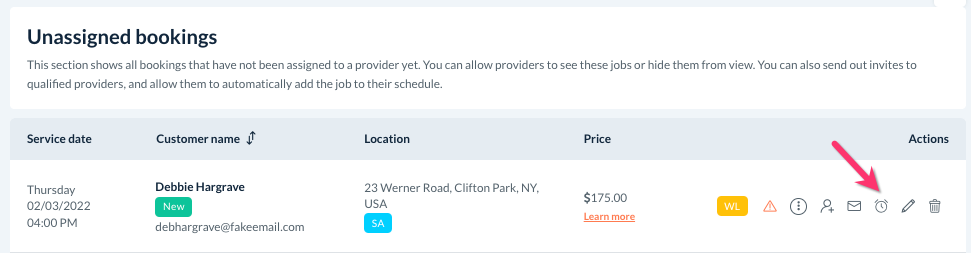
If you’ve already sent out an invitation using this icon, a clock icon will appear. This will automatically resend your original invitation and remind all the providers that the job is still available.
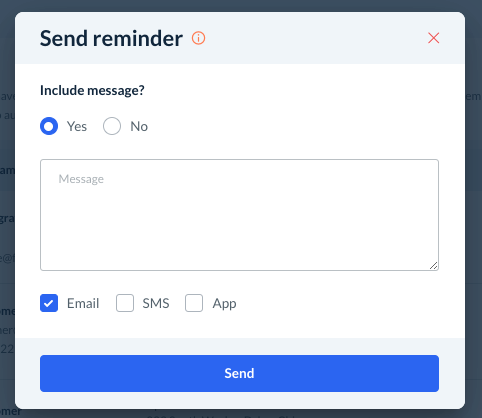
You can decide to include a new message, and select how the reminder will be delivered.
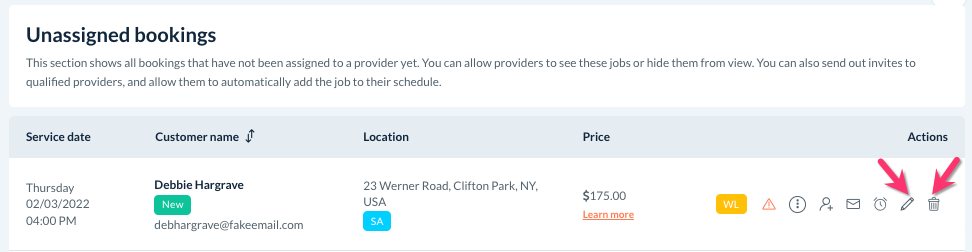
The pen icon can be used to edit and open the booking form, and the trashcan icon is used to cancel the booking. When you click to cancel a booking, a pop-up window will appear.
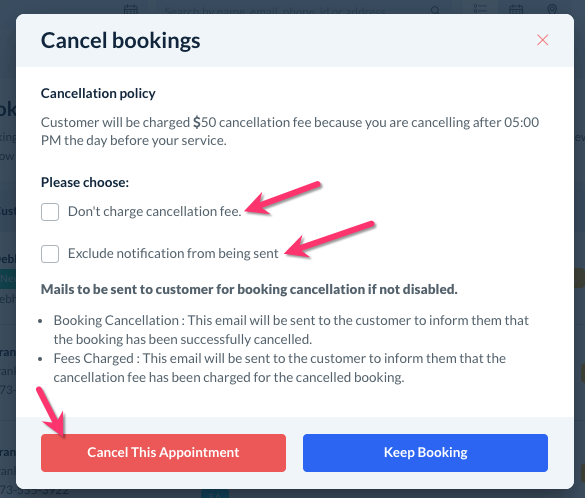
If you have set up a cancelation fee, you can check the box next to "Don't charge cancelation fee" to exclude it. You can exclude notifications from being sent out to the customer by checking the box next to "Exclude notifications from being sent". The notifications you exclude are listed below for your reference.