The purpose of this article is to help you learn:
How to update the logo on the admin panel
How to update the logo on the forms and website
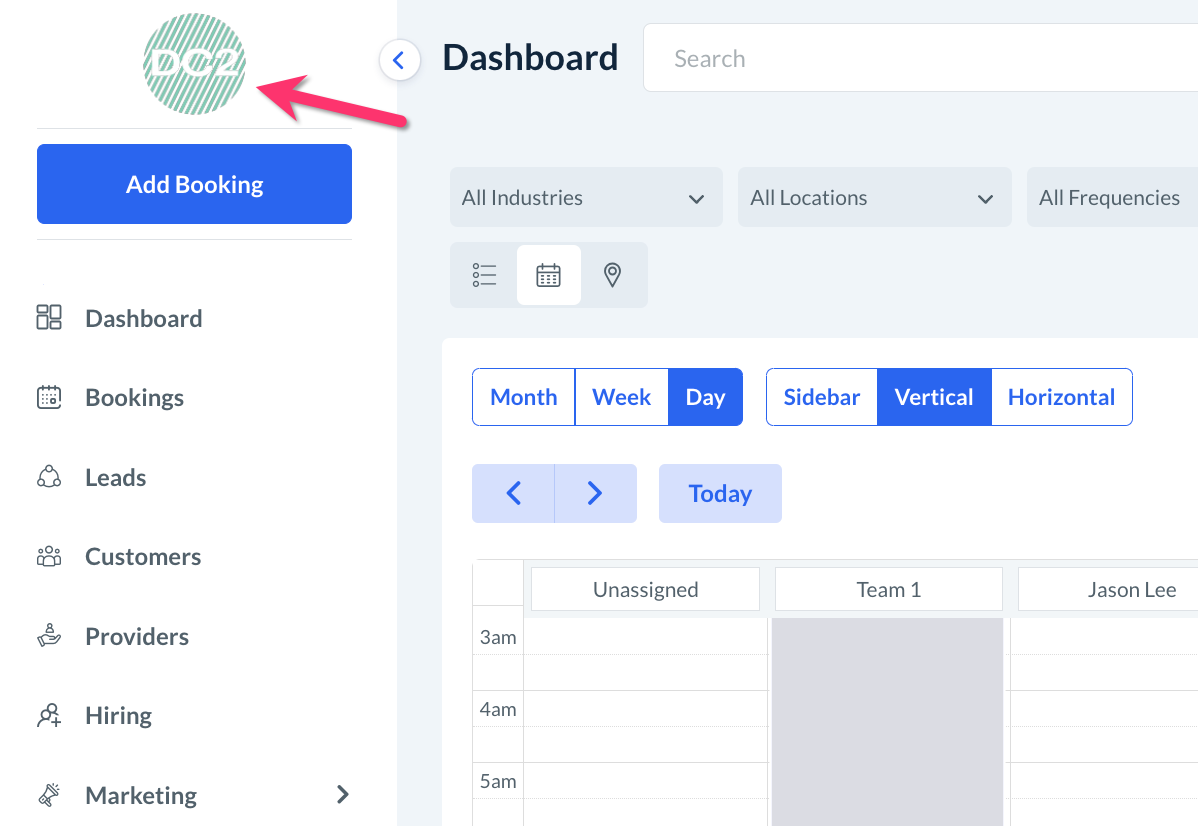
Add a Logo to the Admin Panel
You can add a custom logo to the admin and staff dashboard to showcase your brand.
To do this, please go to:
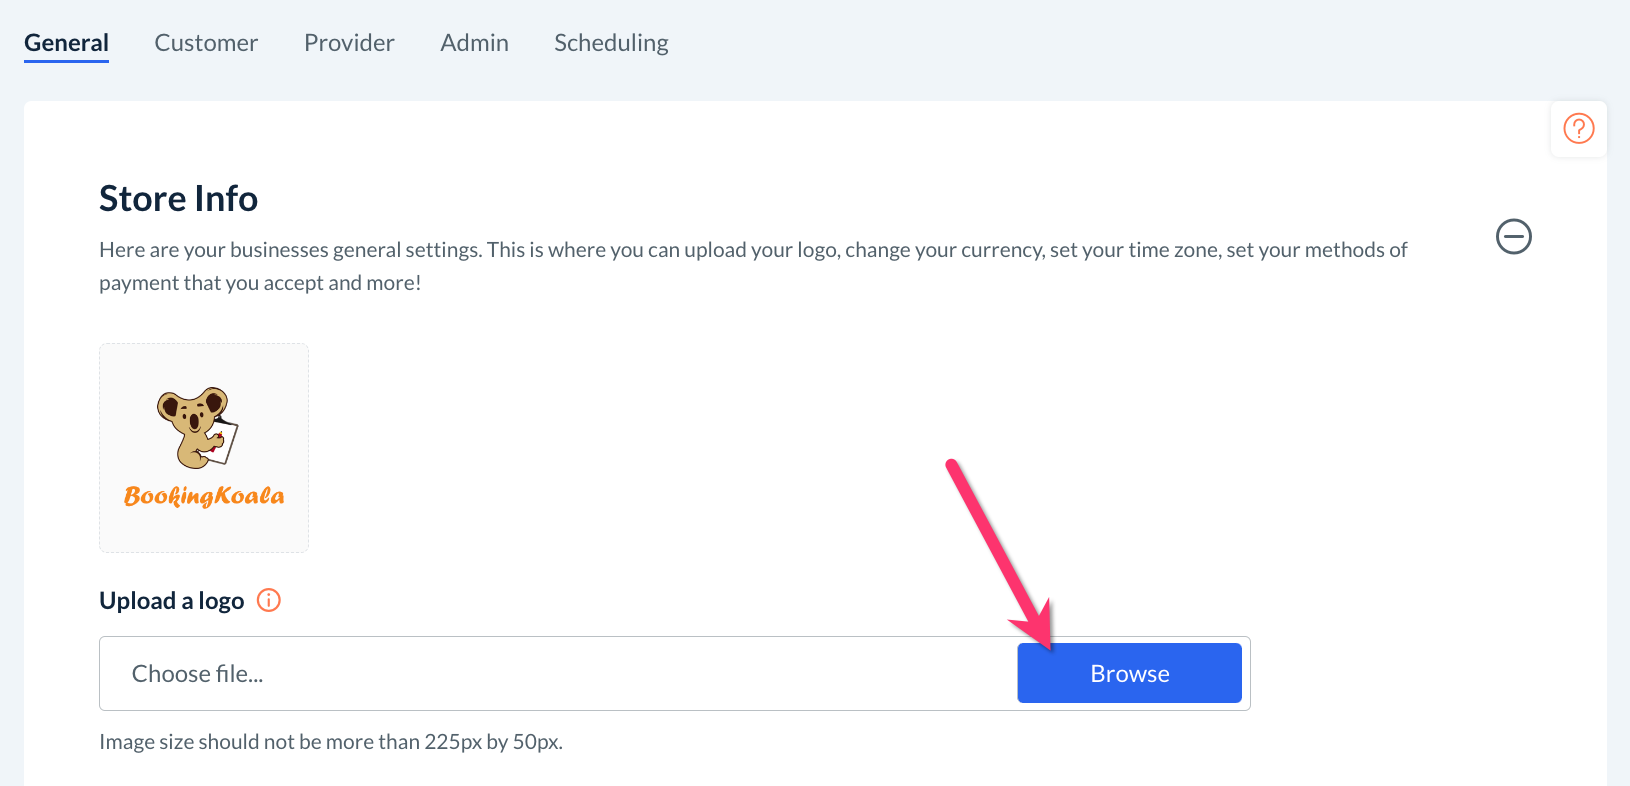
Settings > General > Store Options > General tab > Store Info section
Click on the blue "Browse" button to select a file. The image size should not be more than 225 by 50 pixels.
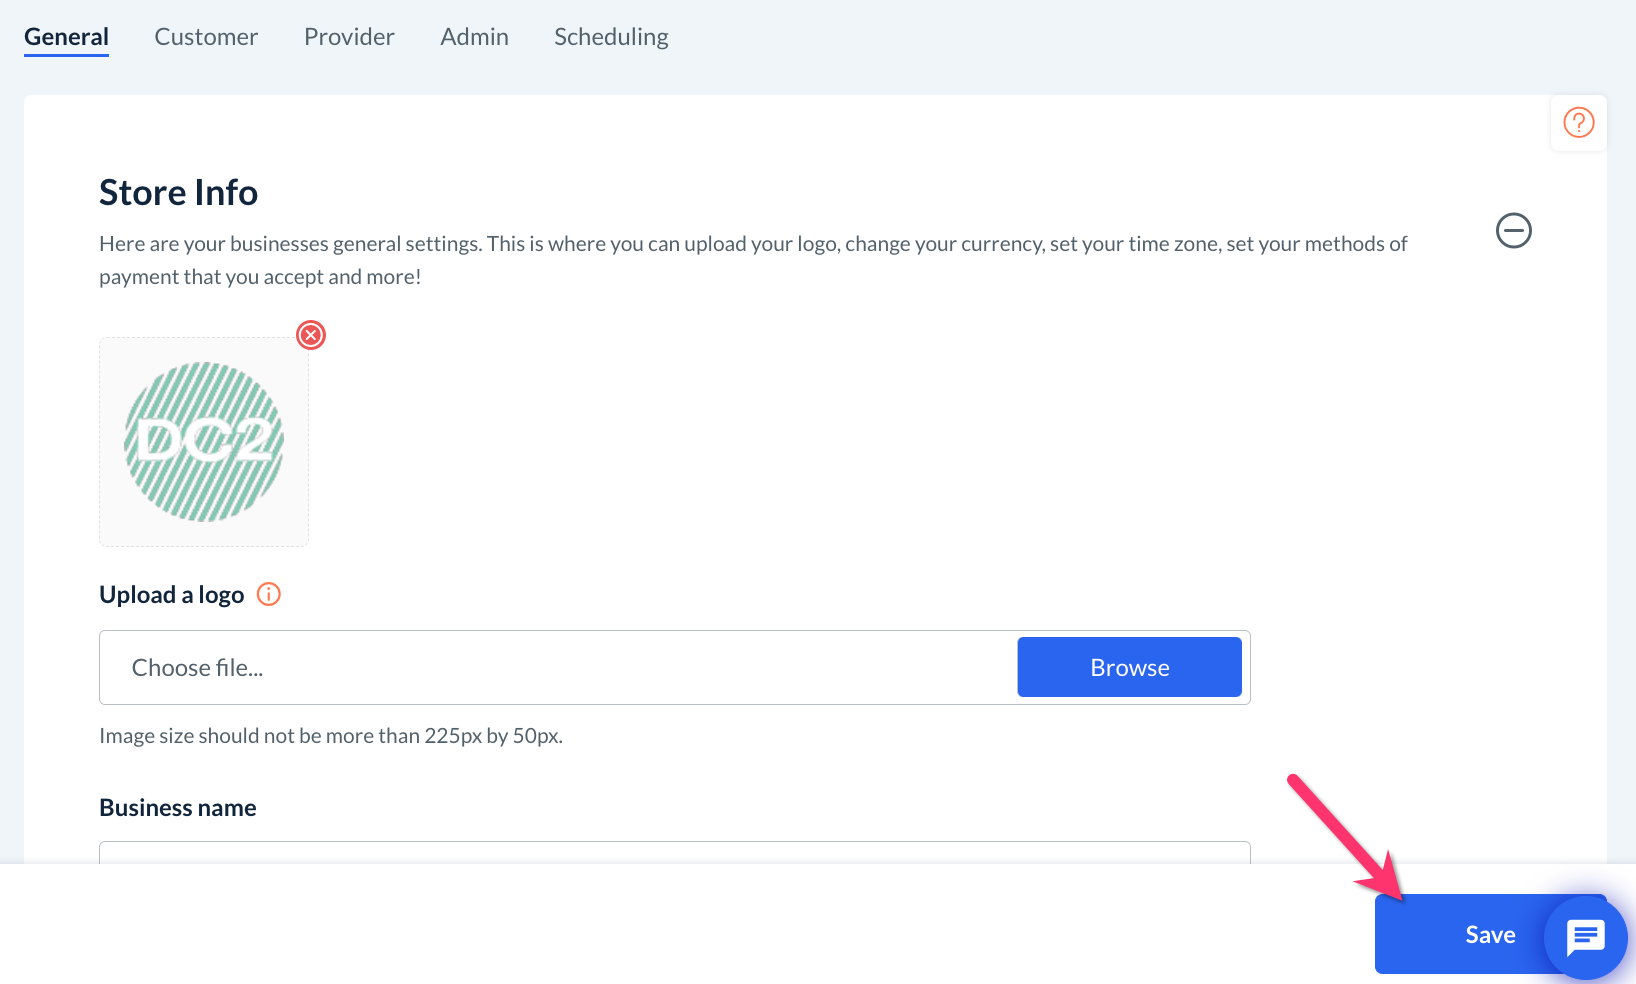
Once you have selected a file and uploaded it to your BookingKoala general settings section, remember to click the blue "Save" button at the bottom of the page.
Add a Logo to Your Forms and Website
You can also add your business's logo to your BookingKoala forms and website. This can be done using the Website and Themes Builder.
To begin, please go to:
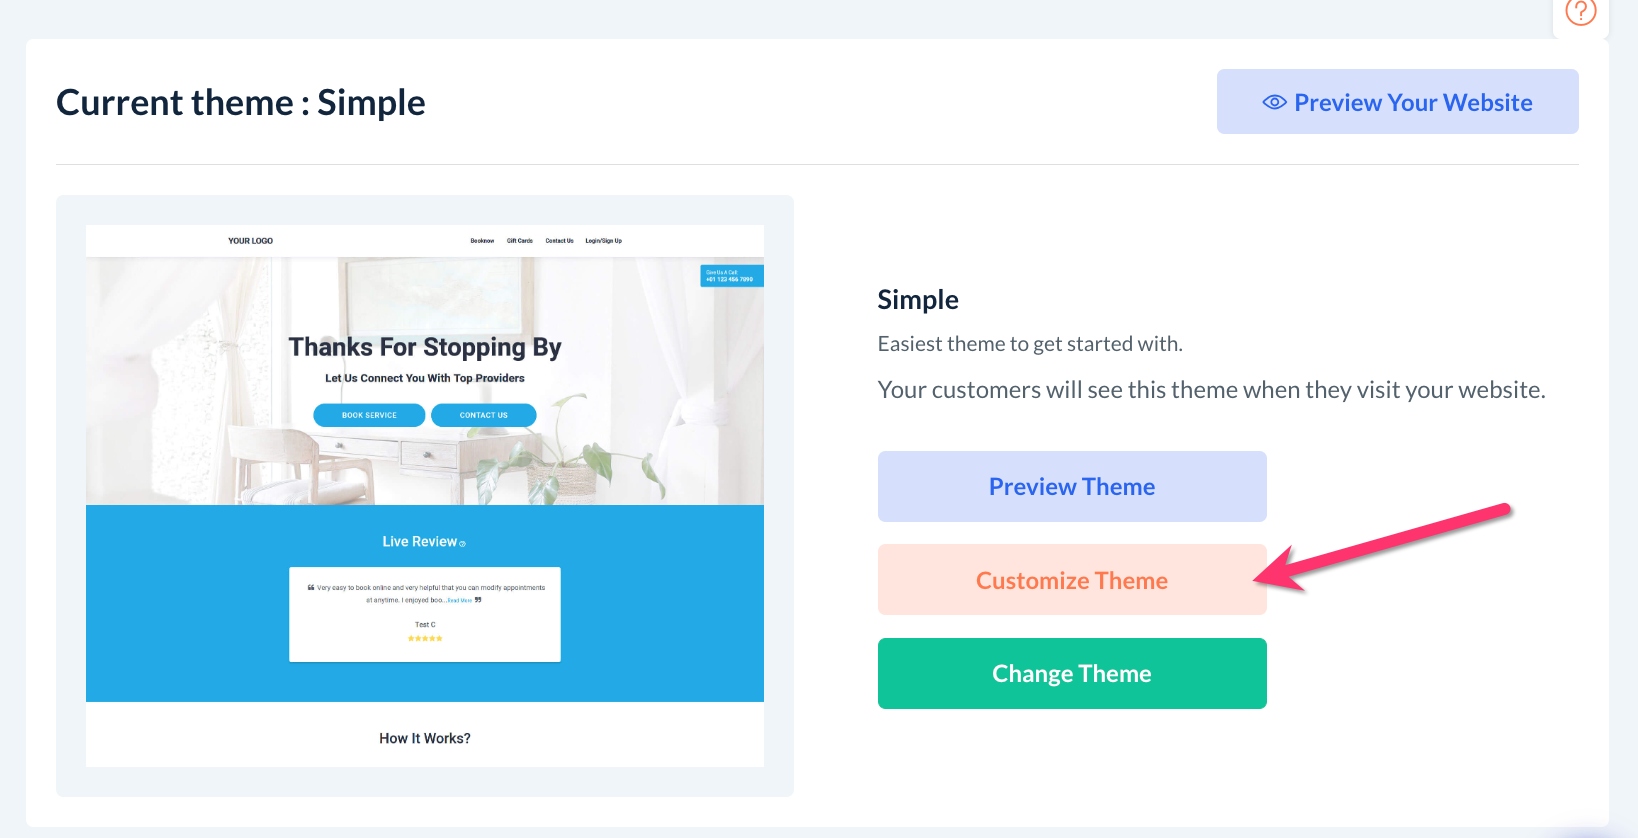
Settings > Design Forms & Website > Website Builder & Themes
Next, click on the orange "Customize Theme" button.
Header Logo
Once you land on the home page, click on the logo icon at the top left side of the header. A white "Edit" button will appear. Click "Edit" to open a Settings pop-up. Here, you can hover over the logo and select "Replace".
Use the "Upload" tab to upload a new image for your logo to your website builder gallery, or click on the "Gallery" tab if you've previously uploaded a file you'd like to use as your logo.
Then, select the desired file from your gallery and click the blue "Select" button. Your logo will now appear on your header.
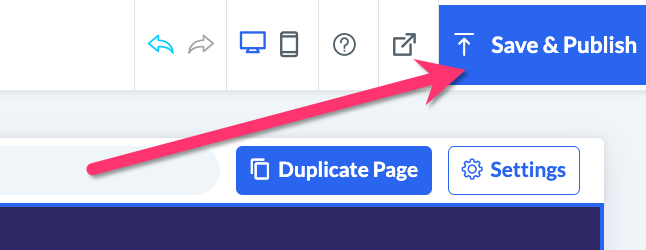
Finally, click the blue "Save & Publish" button at the top right corner of the website builder to save your changes.
Footer Logo
A logo is also on the footer of your forms and website. To edit this, scroll down to the bottom of the editor until you see the footer section.
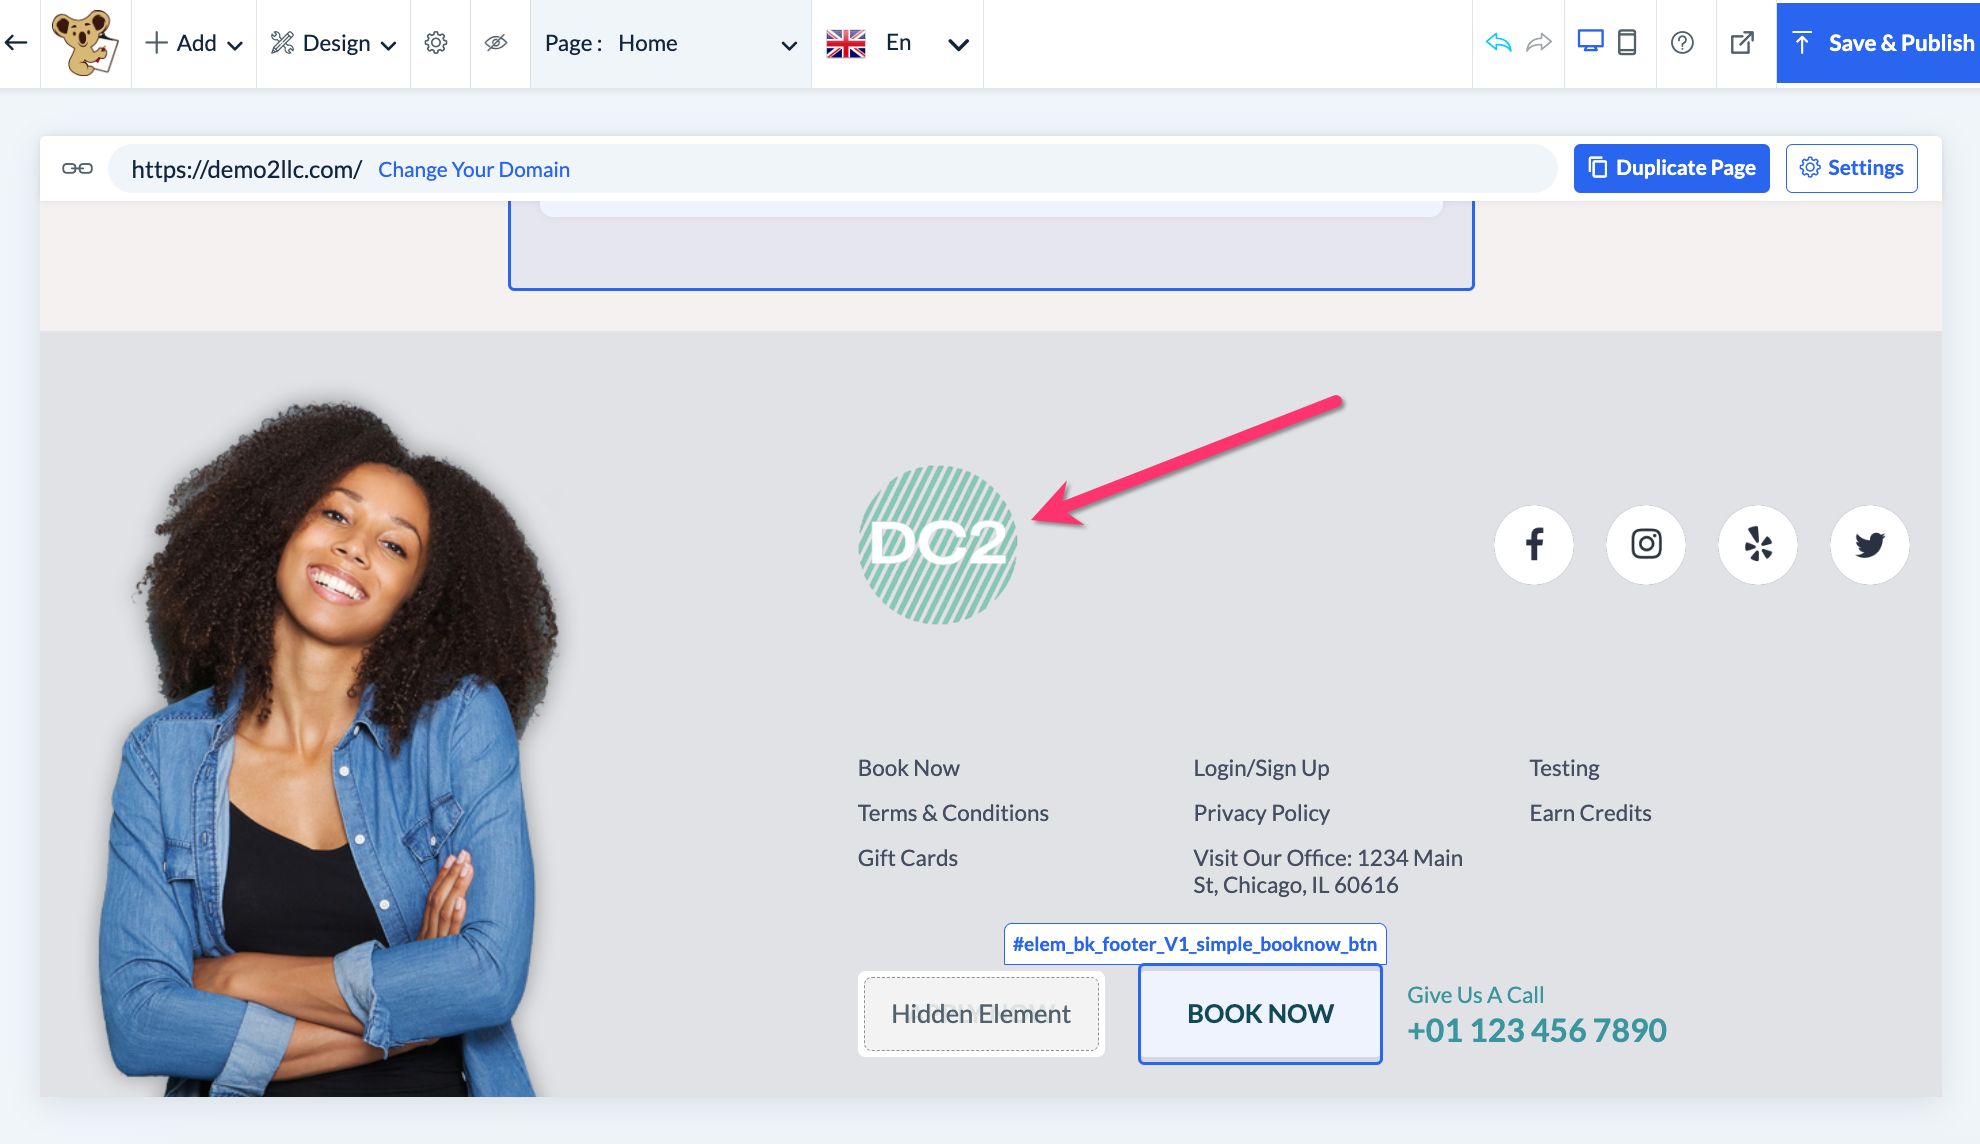
This can be edited in the same manner as the logo in the header, by clicking on the logo to reveal the white "Edit" button. From here, you can upload a new file or use one of your previously uploaded files from your gallery.
As always, click "Save & Publish" once you are finished making your changes.
