The purpose of this article is to help you understand:
Where to go to edit the text and section layout of the booking form
How to change the design of the Customer Details section
How to edit to appearance of buttons
How to edit the appearance of the booking calendar
How to enable/disable certain sections of the booking form
How to add a new section above or below the booking form
How to add a custom section to the booking form
Editing the Booking Form Text and Sections
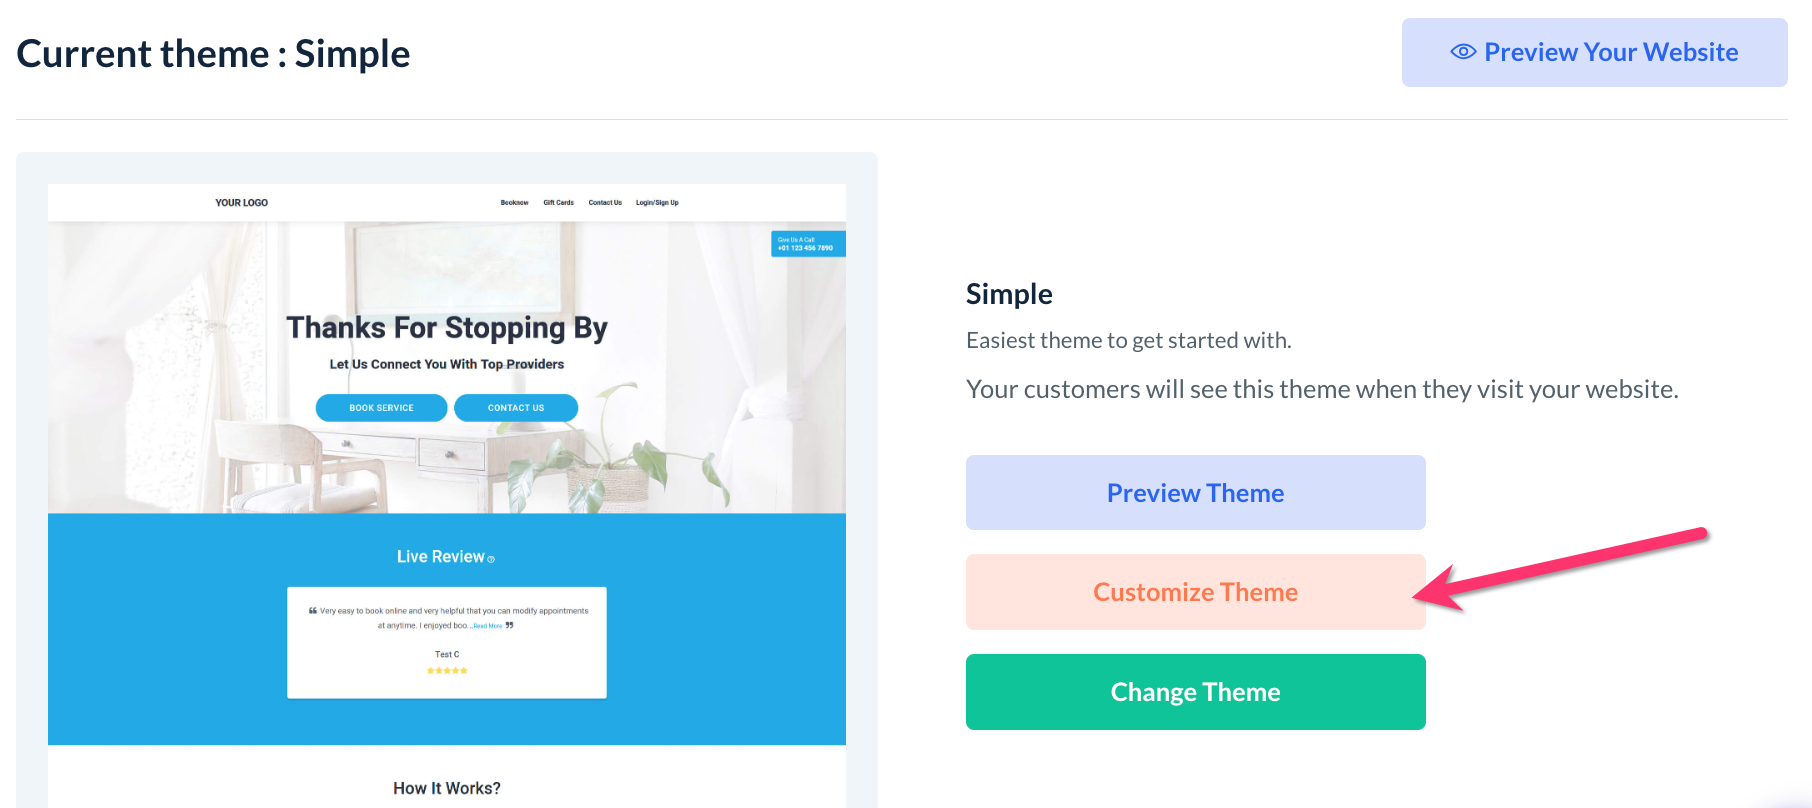
The booking form's text and sections can be edited in the Website and Theme Builder. To begin, please go to:
Settings > Design Forms & Website > Website Builder & Themes > Customize Theme
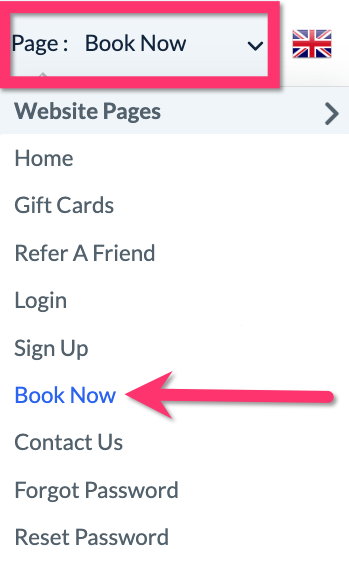
Once you are insight the website builder, click on the top center Page menu and select the Book Now page.
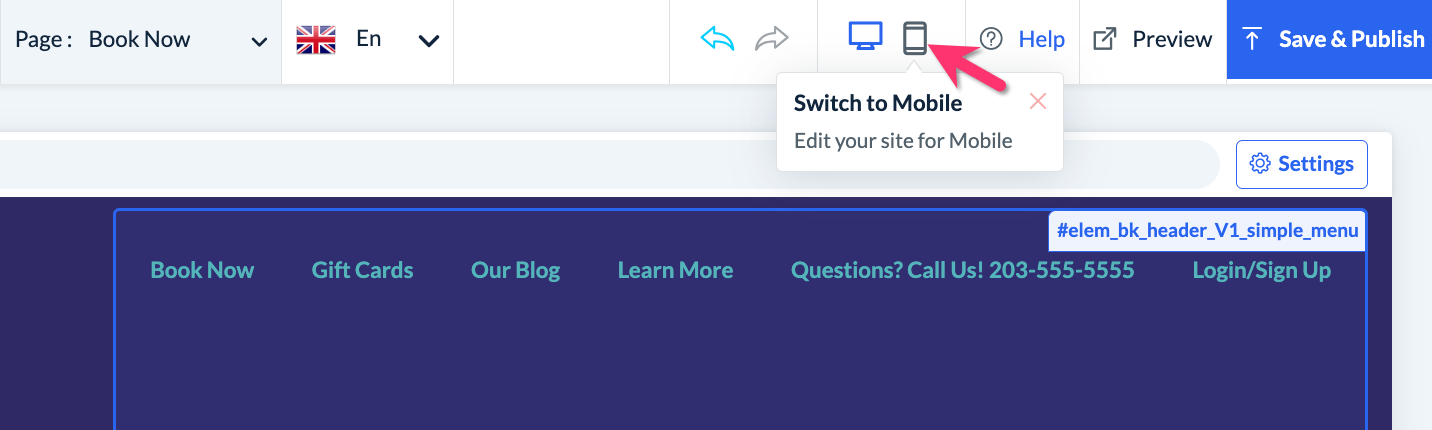
Next, select whether you would like to edit the desktop version of your booking form, or the mobile version. Please note that these two version of the site are edited separately.
Edit the Booking Form Text
To edit any of the headers or text on the booking form, scroll down to that section and click on the text. Two buttons will appear. One button will be to Edit and the other is to Hide/Show.
Once you click Edit, a pop-up will appear that allows you to change the text, add formatting, and adjust the style. Text in the text box can be styled by highlighting it with your cursor and selecting a font, color, format, etc.
Please note that some text, such as the labels in the Customer Details section, cannot be formatted at this time. However, most text fields include a Style Settings section in the pop-up that controls the font color and size.
Change the Design of the Customer Details Section
The Customer Details section is one of the sections on the booking form that has a Design button. This button is used to choose the layout of the customer detail fields. There are 4 options to pick from:
Layout 1 - Customer and address details are displayed as a single section along with a single address field.
Layout 2 - Customer and address details are displayed as a single section along with multiple address fields (city, state & zip code).
Layout 3 - Customer and address details are displayed in two different sections. The address section has a single address field.
Layout 4 - Customer and address details are displayed in two different sections. The address section has multiple address fields (city, state & zip code).
Please Note: the fields in which the customer's first name, last name, email address(es), and phone number(s) cannot be deleted; however, the secondary email address and phone number fields can be disabled from the front end by going to:
Settings > General > Store Options > Customer tab > Bookings section
Select the "Yes" option for the question "Would you like to disable the secondary email address and phone number on the booking form?".
Formatting Buttons on the Booking Form
Most buttons on the booking form can be modified in some way, whether it is the text, color, or style. To edit a button, click anywhere on the button to reveal the Edit button. Once you click edit, there will be a Text Settings and a Style Settings section that allows you to edit the text and style.

Some edit buttons control the formatting of multiple buttons on the page. For example, the plus/minus buttons for the exclusion parameters and extras will display the same colors and formatting.
Editing the Booking Calendar
To edit the appearance of the booking calendar, click anywhere on the calendar to reveal the Edit button. Click Edit and a Settings popup will open with options to modify almost every aspect of the calendar.
Enable/Disable Optional Sections of the Booking Form
There are several optional sections towards the bottom of the booking form that can be enabled or disabled depending on your preference.
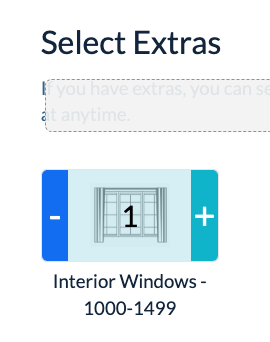
Extras section
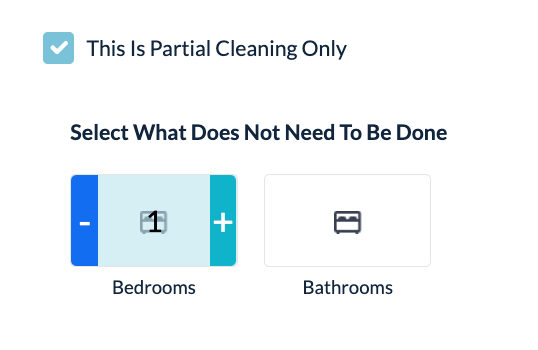
Exclusion parameters section
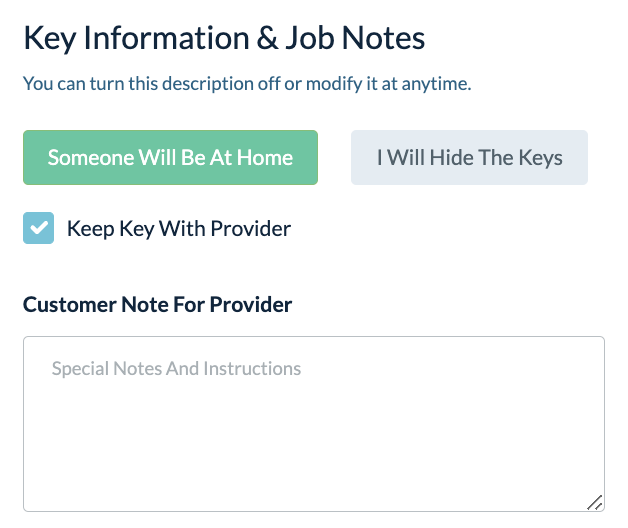
Key Information & Job Notes section
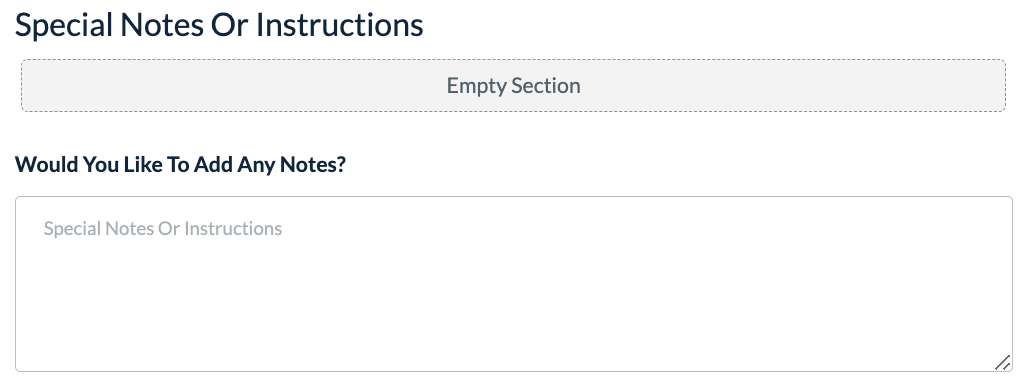
Special Notes Or Instructions section
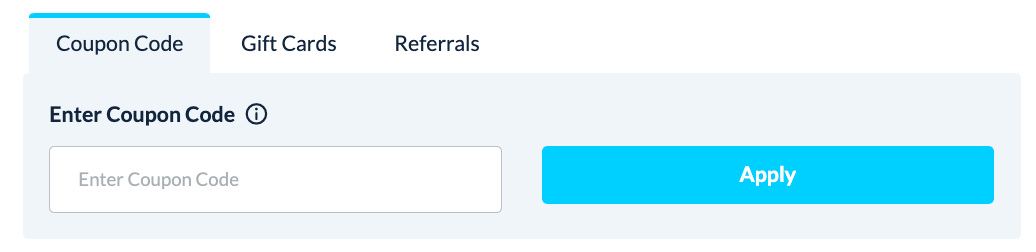
Discount/Gift Card/Referral section
Tips section

Parking section

Reminders section

These sections will have an Enabled/Disabled button near the top right corner of the section. If a section is disabled, any existing bookings that used that section will remain the same, however, all new bookings will have it hidden.
How to Add Another Section to the Booking Form
There are two ways to go about adding a new section to the booking form. The first is to add a new section through the website builder which will appear before or after the booking form. To do so, simply scroll to the top or bottom of the booking form and click on the blue "Add Section" button that appears.
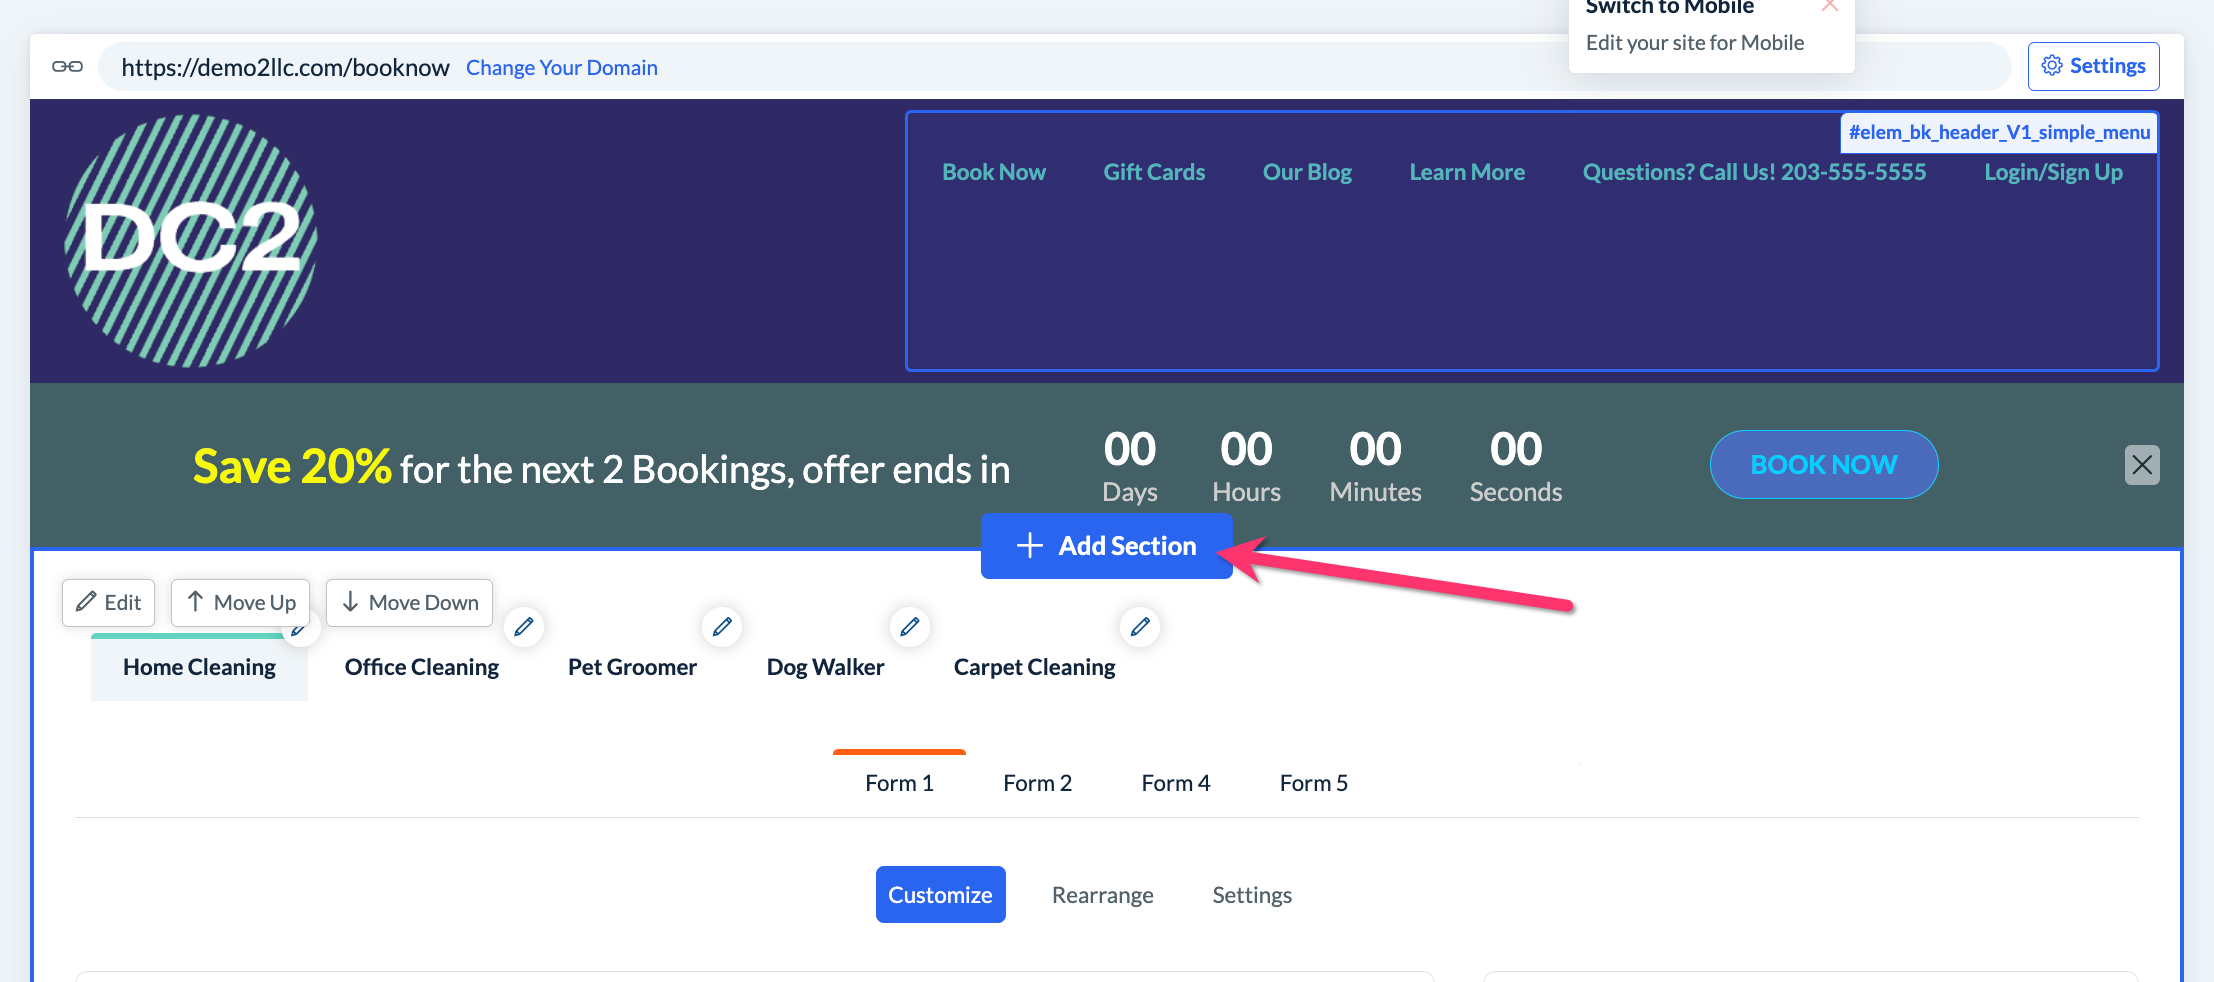
This will open the Add Section side menu where you can click to add one of the many options.
If you are looking to add a new section within the booking form itself, this can be done by adding a custom section. Custom sections are extremely versatile and allow you to create priced or non-priced questions or statements on the booking form.
Custom sections are set up under:
Settings > Industries > [Industry Name] > Form [#] > Custom Section
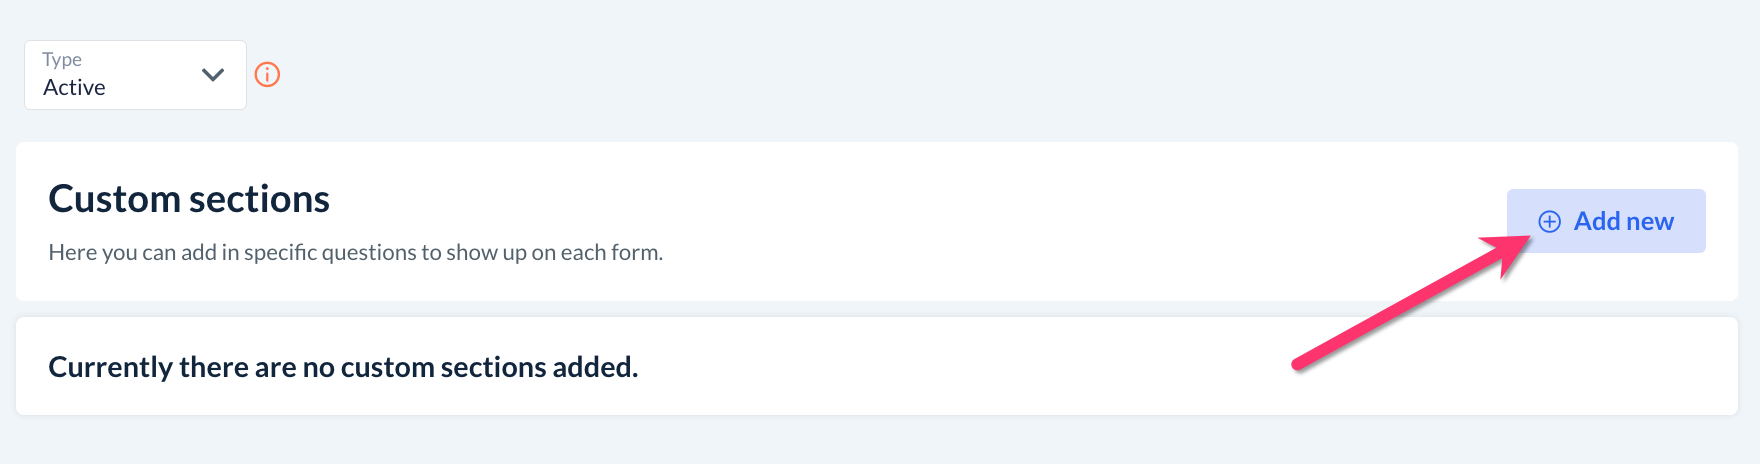
Click here to learn how to set up one or more custom sections for your form.