The purpose of this article is to help you learn:
What are conditions
How checklist conditions work
How to add new conditions to checklists
How to manage existing conditions
Getting Started
This article goes over how to customize checklist conditions for a new or existing checklist in the Checklist Module. If you have not created a checklist yet, click here to learn how to create your first checklist.
What are "conditions"?
"Conditions" or "conditional logic" is used in the BookingKoala Hiring and Checklist Modules to set rules that tell the system to show or hide a field based on the state of a different field.
In the Checklist Module, checklist conditions are used to show or hide subtasks based on the status of another subtask. Applying conditional logic to your checklists helps the checklist user(s) navigate and complete tasks with greater ease.
Conditions hide tasks that do not apply to a job, saving time for the provider(s)/admin/staff when viewing the checklist.
Hidden tasks help provider(s)/admin/staff focus on the tasks that apply to the job.
Conditions can be used to create sequential tasks that are only displayed after the previous task has been completed.
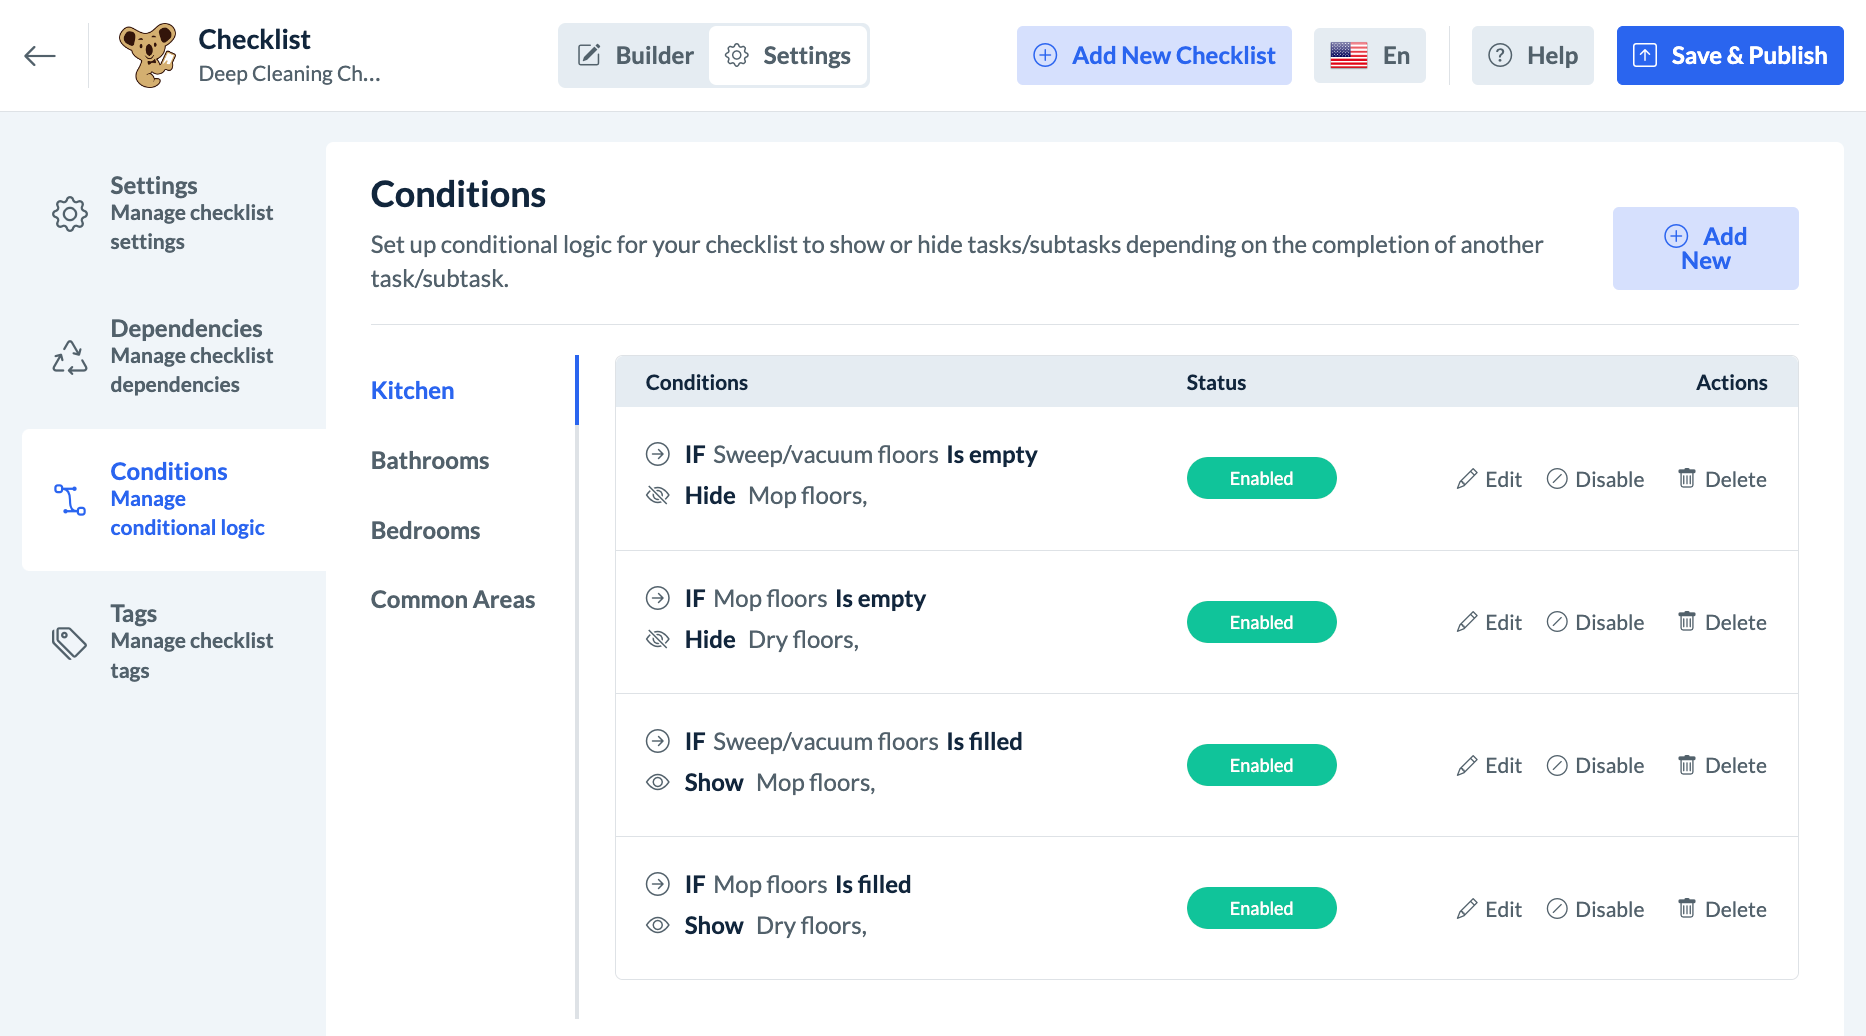
Checklist conditions are set up in the "Conditions" settings section for each checklist in the Checklist Builder. This section contains options to add new conditions as well as edit, disable, or delete existing conditions for a checklist.
How do checklist conditions work?
Although there are many forms of conditional logic, the Checklist Builder uses "IF statements" to carry out directives on which subtasks will be displayed on the checklist. "IF statements" allow you to make logical comparisons between an actual value and the expected value by checking for a condition and returning results if the condition is considered true or false.
If something is true, the checklist will do something.
If something is false, the checklist will do something else.
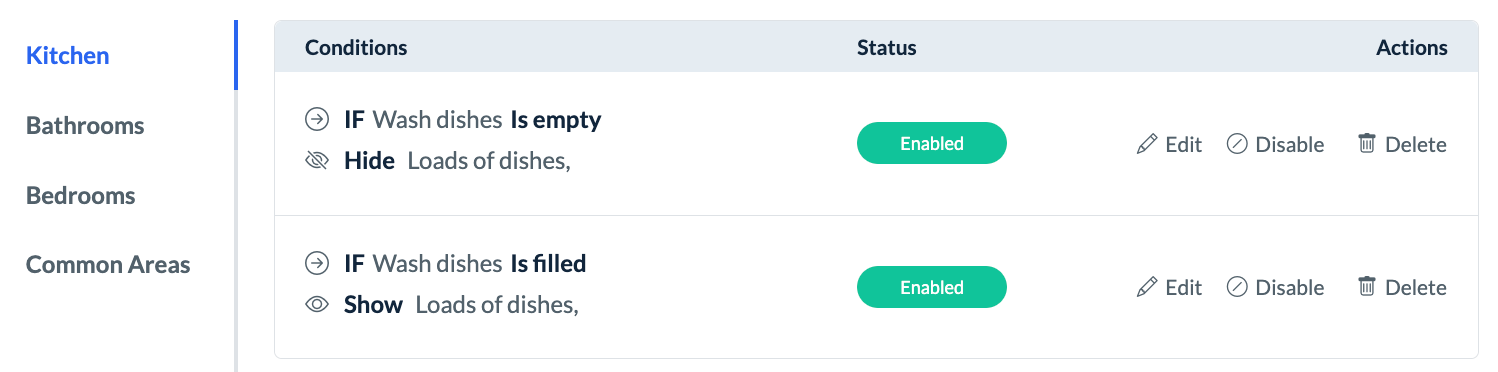
For example, let's say a home cleaning checklist has a kitchen cleaning subtask called "Wash dishes". Conditions can be set up to show a second field, "How many loads of dishes were washed?", but only if dishwashing has been completed.
These rules can be translated into "IF" statements and added to the checklist's "Conditions" section.
If the "Wash Dishes" field is empty (incomplete), hide the "How many loads of dishes?" field from the checklist.
If the "Wash Dishes" field is filled (completed), show the "How many loads of dishes?" field on the checklist.
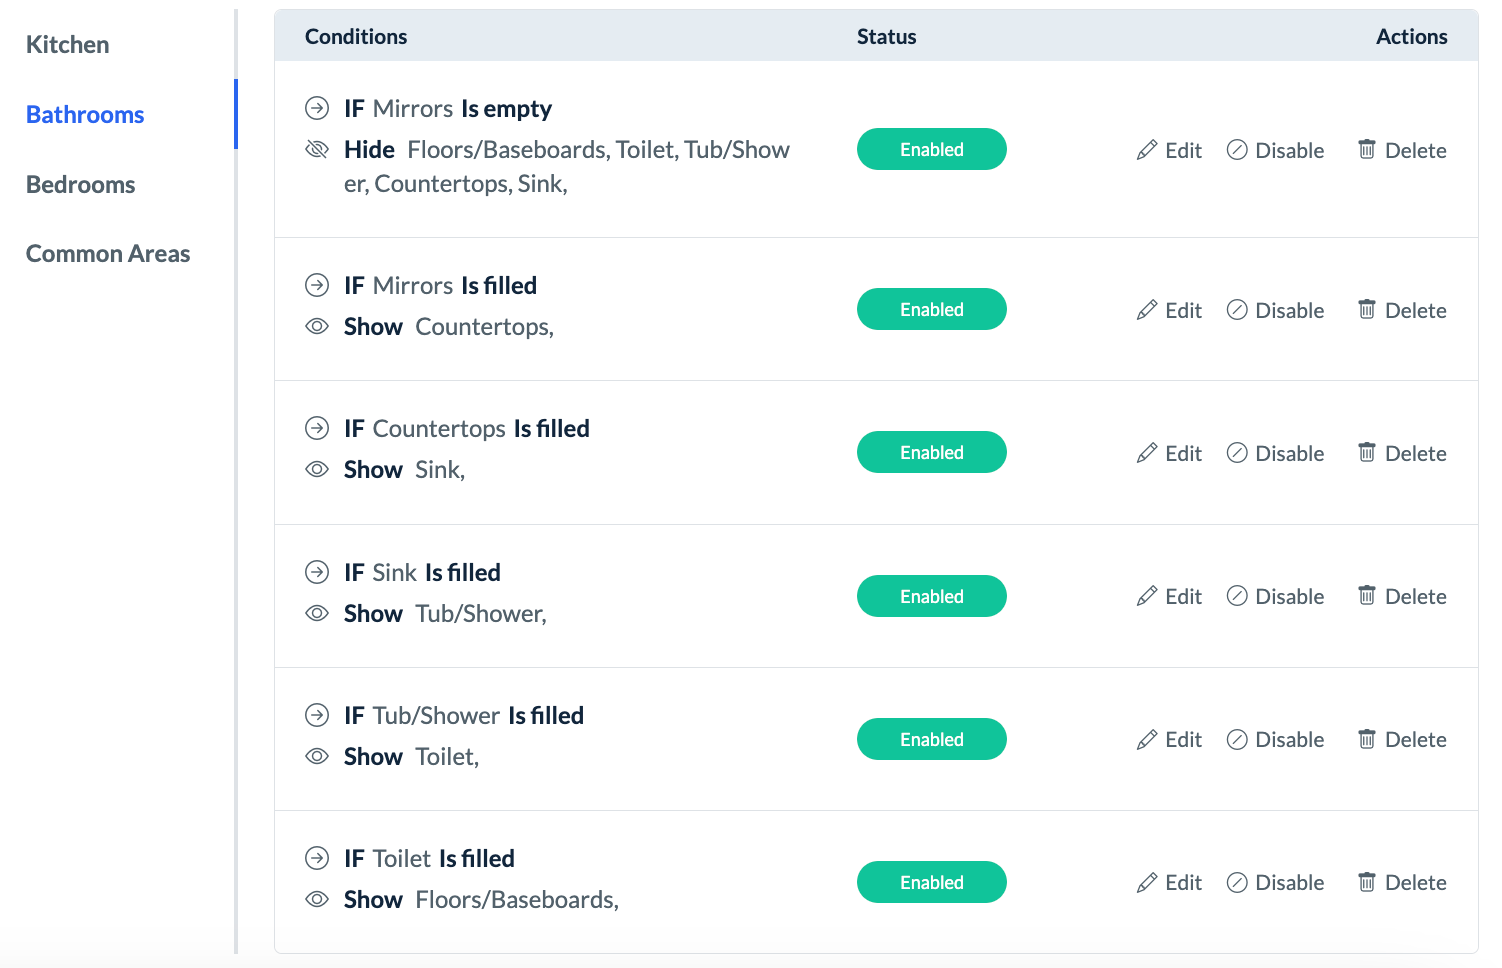
Another example is if providers are encouraged to follow an order of operations while cleaning a bathroom. Checklist conditions can be used to display one step at a time, only showing the next task once the previous task has been completed.
If the task order is "Mirrors", "Countertops", "Sink", "Tub/Shower", "Toilet", and "Floors/baseboards", the following "IF" statements would be added to the checklist's "Conditions" section.
If the "Mirrors" field is empty (incomplete), hide the "Countertops", "Sink", "Tub/Shower", "Toilet", and "Floors/baseboards" fields from the checklist.
If the "Mirrors" field is filled (completed), show the "Countertops" field on the checklist.
If the "Countertops" field is filled (completed), show the "Sink" field on the checklist.
If the "Sink" field is filled (completed), show the "Tub/Shower" field on the checklist.
If the "Tub/Shower" field is filled (completed), show the "Toilet" field on the checklist.
If the "Toilet" field is filled (completed), show the "Toilet" field on the checklist.
If the "Tub/Shower" field is filled (completed), show the "Floors/baseboards" field on the checklist.
Setting Up Checklist Conditions
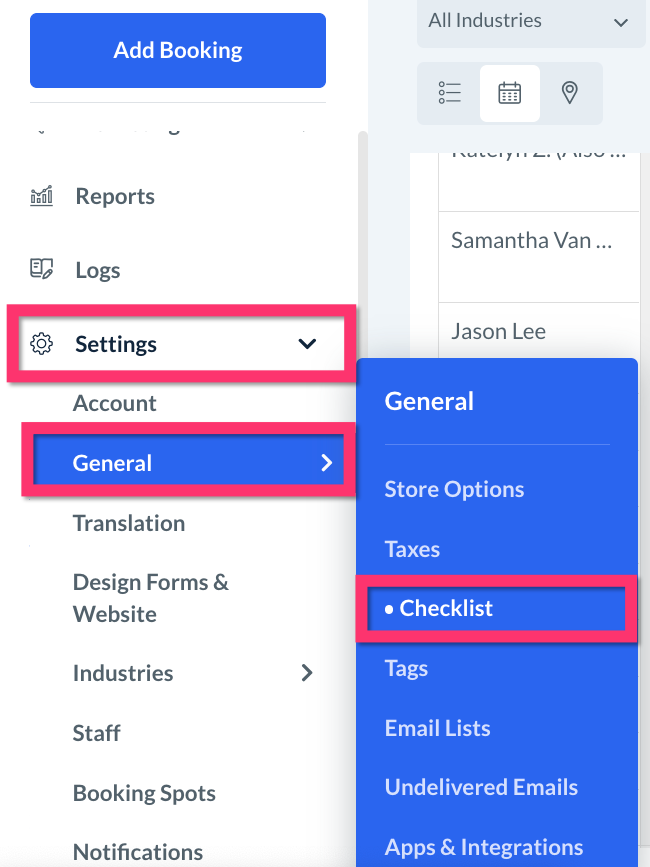
As an admin or staff (with permission), you can access the admin checklist dashboard from the left-side menu in the admin/staff dashboard under:
Settings > General > Checklist
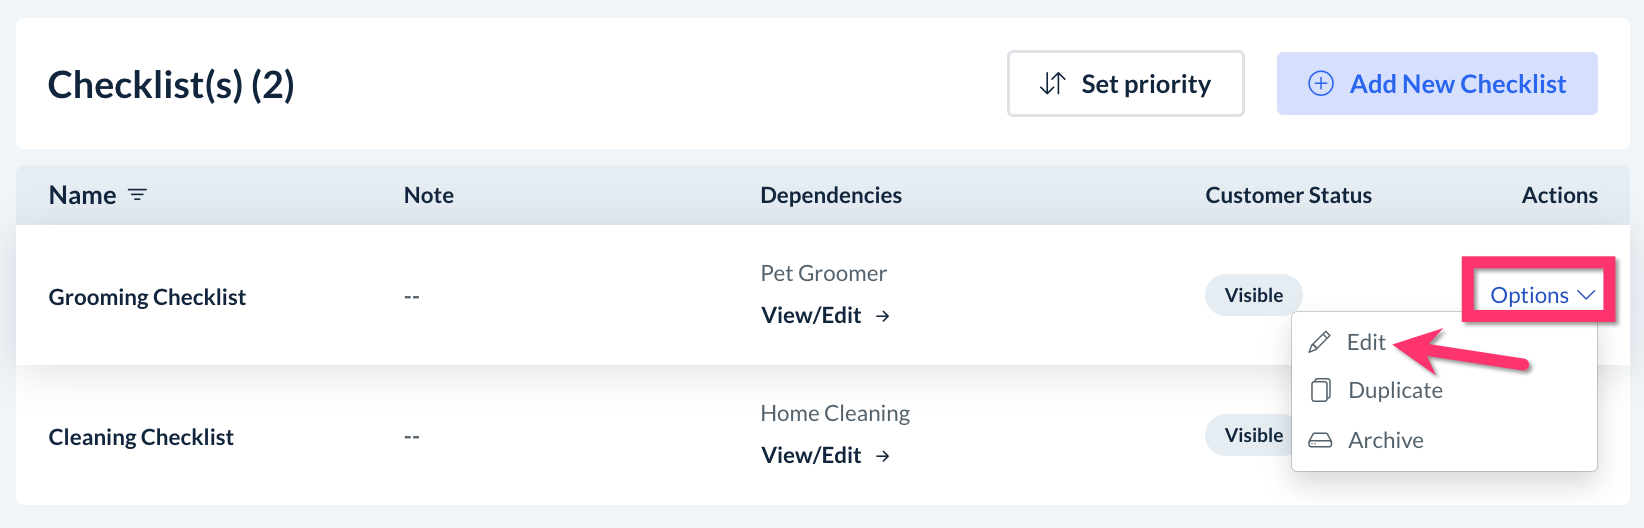
Once the dashboard has opened, select "Options" then "Edit" under the "Actions" column to open a specific checklist.
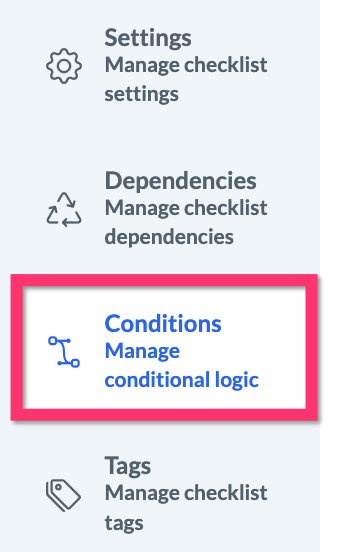
Next, click on the "Settings" tab to the right of the "Builder" tab at the top of the Checklist Builder page.

Then, click on the "Conditions" section from the left-side menu.
Add a New Condition
To create a new condition, click the blue "Add New" button at the top right corner of the page and an "Add condition" menu will appear on the right side of the page.
Conditions are built using four main components: "IF", "STATE", "DO", and "FIELD". The "STATE" component may also require a "TARGET" if the condition is comparing one subtask or value to another.
Click on the "IF" dropdown menu to select a field/subtask to check.
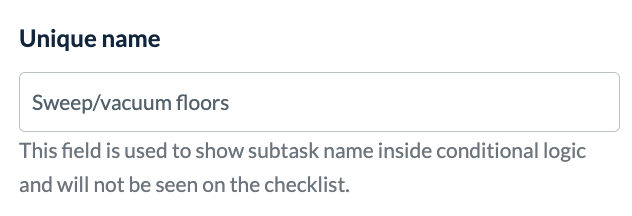
The names of the field/subtasks in this list are set up under the "unique name" option for each element in the Checklist builder.
Click here to learn more about how to add and customize checklist elements in the Checklist Builder.

Next, select a "STATE" from the dropdown menu to set how the system will evaluate this element.
There are 6 options for the conditions STATE:Is Equal To - A checklist element will be shown or hidden if it is equal to another element or its value.
For example, if the "Flooring type" field is equal to the option "Ceramic/tile", show the "Sweep floors" and "Mop Floors" subtasks.
Is Not Equal To - A checklist element will be shown or hidden if it is not equal to another element or its value.
For example, if the "Flooring type" field is not equal to the option "Genuine wood", hide the "Wax floors" subtask.
Is Empty - A checklist element will be shown or hidden if another element is empty or incomplete.
For example, if the "Counter type" field is empty/incomplete, hide the "Wet wipe with marble cleaner", "Wet wipe with granite cleaner", "Wet wipe with general degreaser", and "Wet wipe with wood oil cleaner" subtasks.
Is Filled - A checklist element will be shown or hidden if another element is filled or complete.
For example, if the "Wash dishes" field is filled/complete, show the "Total Loads of dishes" field.
Is Less Than - A checklist element will be shown or hidden if another element or its value is less than the designated value.
For example, if the field "How dirty are the baseboards on a scale of 1 - 5? (1 = very clean, 5 = very dirty)" is less than the value "3", show the "Dust baseboards" subtask.
Is Greater Than - A checklist element will be shown or hidden if another element or its value is greater than the designated value.
For example, if the field "How dirty are the baseboards on a scale of 1 - 5? (1 = very clean, 5 = very dirty)" is greater than the value "3", show the "Wet wipe baseboards" subtask.
If a condition's "STATE" compares one element to another, there is a "TARGET" dropdown to designate another element or option.
Select "Value" to compare a field's options or value to another. For example, the "Flooring type" field has the following values: "Genuine wood", "Manufactured wood", "Ceramic", "Ceramic/tile", and "Laminate".
In this case, values are used to show different tasks based on the type of flooring in the room.
Select "Another Field" to compare the name of one field to another field.
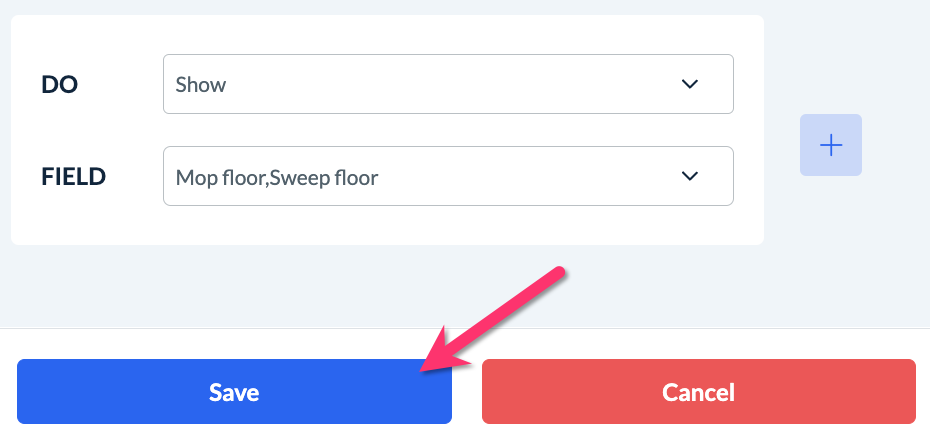
After selecting options for the "IF" and "STATE" (and a "TARGET", if applicable), select an action from the "DO" dropdown menu.
Select "Show" to display another subtask or element on the checklist if the condition is met.
Select "Hide" to remove another subtask or element on the checklist if the condition is met.

Finally, select an option from the "FIELD" dropdown menu. This is the field that will be shown or hidden if the condition is met.
Once you are finished making your selections, click the blue "Save" button at the bottom of the page to add the condition to the checklist.
A green system alert will appear in the top-right corner confirming that the condition has been added successfully.
Multiple "IF" and "DO" Conditions
It is possible to add multiple "IF" and "DO" clauses to a single condition by clicking the blue "+" icon to the right of the clause. To delete a clause, click the blue "-" icon.
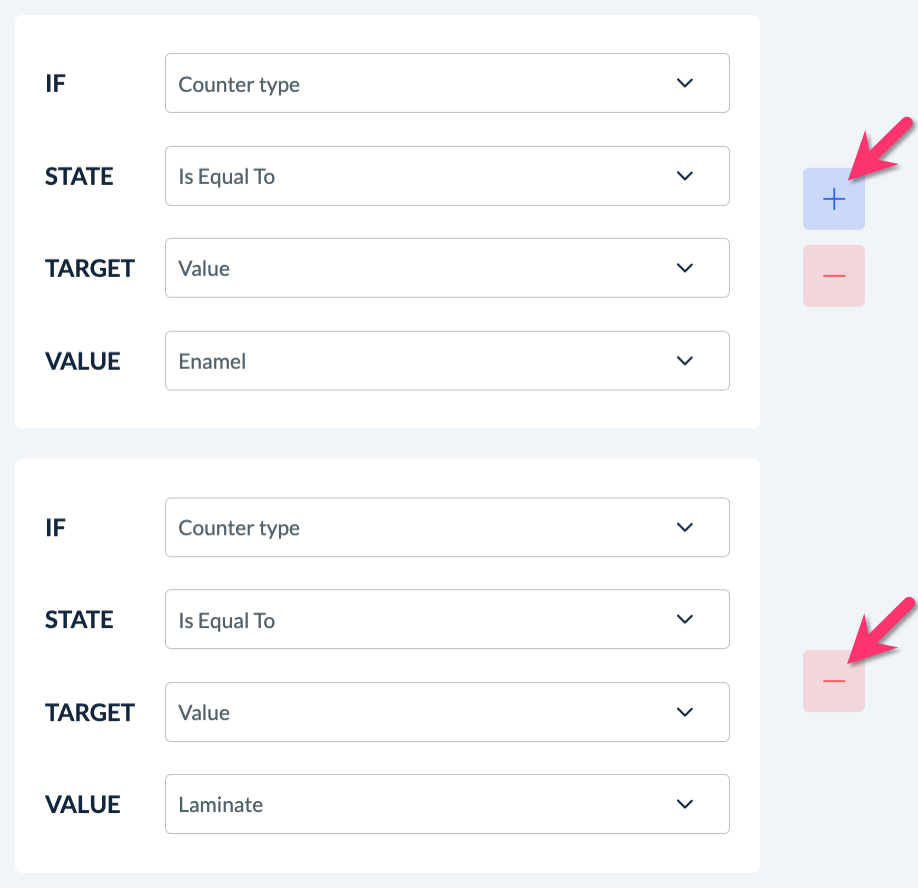
If there is more than one "IF" statement, select if the actions should be performed if ANY of the conditions are met, or only if ALL conditions are met.
Edit a Condition
To edit a checklist condition, click the pencil icon/"Edit" button under the "Actions" column.

This will open the right-side menu where you can view and edit the condition's clauses. Once finished, click the blue "Save" button to update the condition.
A green system alert will appear in the top-right corner confirming that the condition has been updated.
Disable or Enable a Condition
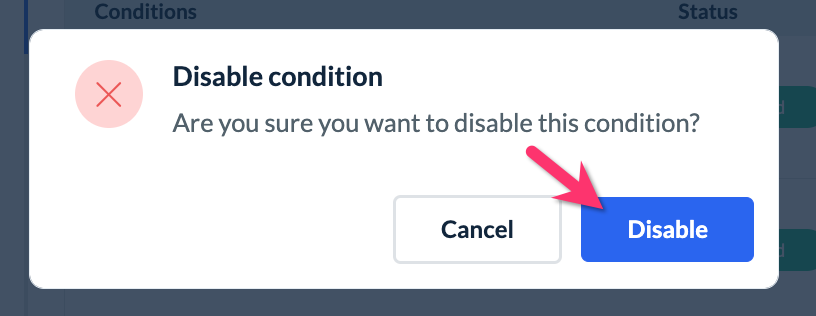
To disable a condition, click the slash icon/"Disable" button under the "Actions" column.

A pop-up window will appear asking if you are sure you want to disable this condition for the checklist. If you are certain you'd like to proceed, click the blue "Disable" button in the window. If not, use the white "Cancel" button to return to the "Conditions" section.
A green system alert will appear in the top-right corner confirming that the tag has been disabled successfully. The tag's status in the "Conditions" will now show as "Disabled".

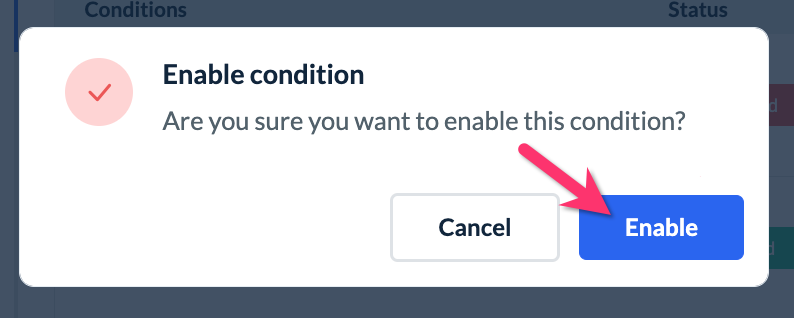
To enable a condition, click the slash icon/"Enable" button under the "Actions" column.

A pop-up window will appear asking if you are sure you want to enable this condition for the checklist. If you are certain you'd like to proceed, click the blue "Enable" button in the window. If not, use the white "Cancel" button to return to the "Conditions" section.
A green system alert will appear in the top-right corner confirming that the tag has been disabled successfully. The tag's status in the "Conditions" will now show as "Enabled" again.

Delete a Condition
To delete a condition, click the trashcan icon/"Delete" button under the "Actions" column.

A pop-up window will appear asking if you are sure you want to delete this condition from the checklist.
If you are certain you'd like to proceed, click the blue "Delete" button in the window. If not, use the white "Cancel" button to go back to the "Conditions" section.
A green system alert will appear in the top-right corner confirming that the tag has been deleted.
Save and Publish
Once you've finished making changes, please remember to click the "Save & Publish" button to save the new checklist settings.
Next Steps
Once you have set up conditions for a checklist, you should review the final section located in the checklist "Settings" tab.
Click here to learn how to set up and manage checklist tags under the "Tags" section.
You can also return to the Checklist Builder or the other checklist Settings sections to adjust other aspects of the checklist.
Click here to learn how to build a checklist by adding tasks, subtasks, and other elements from the Checklist Builder.
Click here to learn how the "Dependencies" section is used to set up checklists for different job types or combinations of services.
Click here to learn how to display or hide certain tasks/subtasks using conditional logic in the "Conditions" section.