The purpose of this article is to help you learn:
How checklist "tags" work
How to add new tags to checklists
How to manage existing tags
Getting Started
This article goes over how to customize checklist tags for a new or existing checklist in the Checklist Module. If you have not created a checklist yet, click here to learn how to create your first checklist.
What are "checklist tags"?
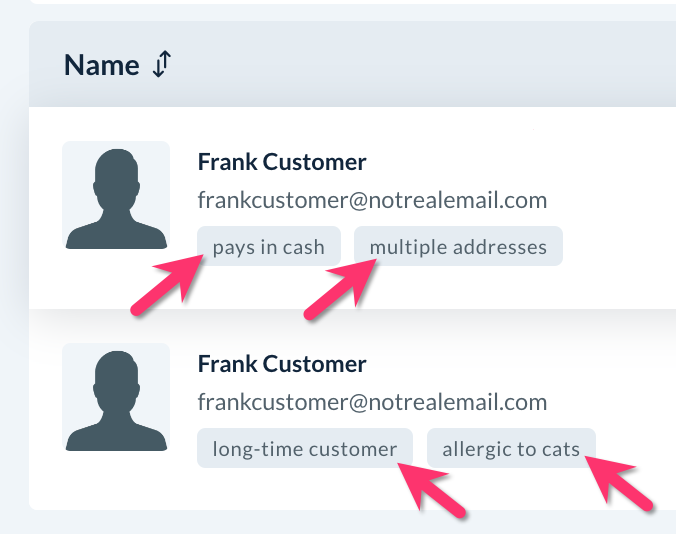
"Tags" are labels used throughout the BookingKoala dashboard to help you more quickly identify important details about customers, providers, staff members, or bookings in your account.
In the Checklist Module, checklist tags are used to label job media (previously referred to as "Job Pictures") uploaded to the checklist.
Once tagged, media can be filtered by tag in the "Job Media" section by the admin, provider(s), staff, and customers depending on your checklist settings.
Managing Checklist Tags
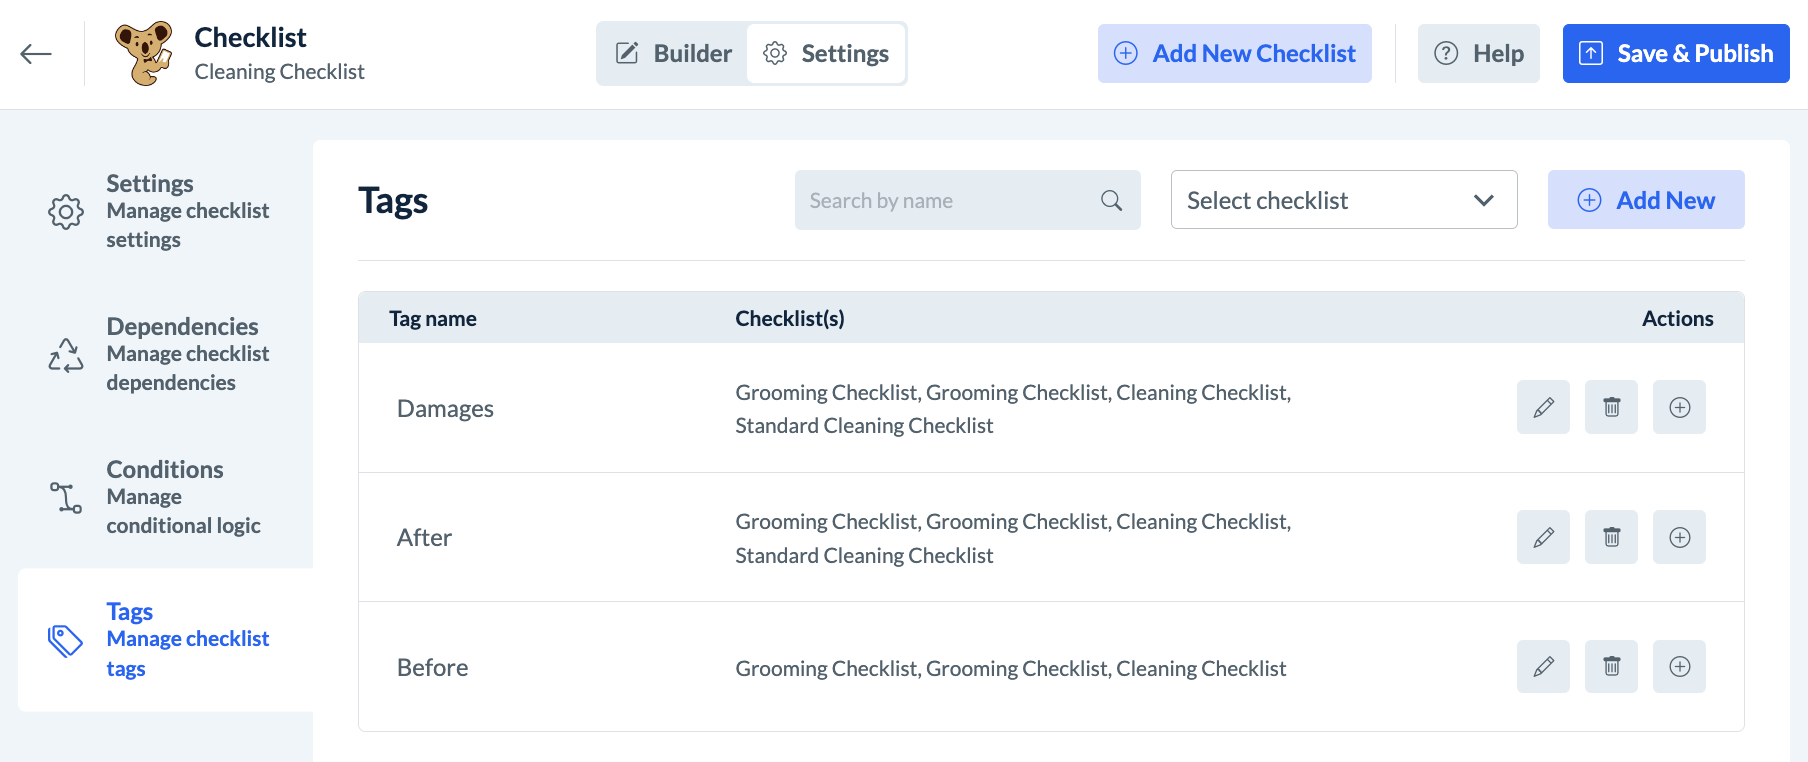
Checklist tags can be set up and customized in the "Tags" settings section for each checklist in the Checklist Builder. This section contains options to edit or delete existing tags, add new tags, and customize which tags are enabled for each checklist.
As an admin or staff member with permission, you can access the admin checklist dashboard from the left-side menu in the admin/staff dashboard under:
Settings > General > Checklist
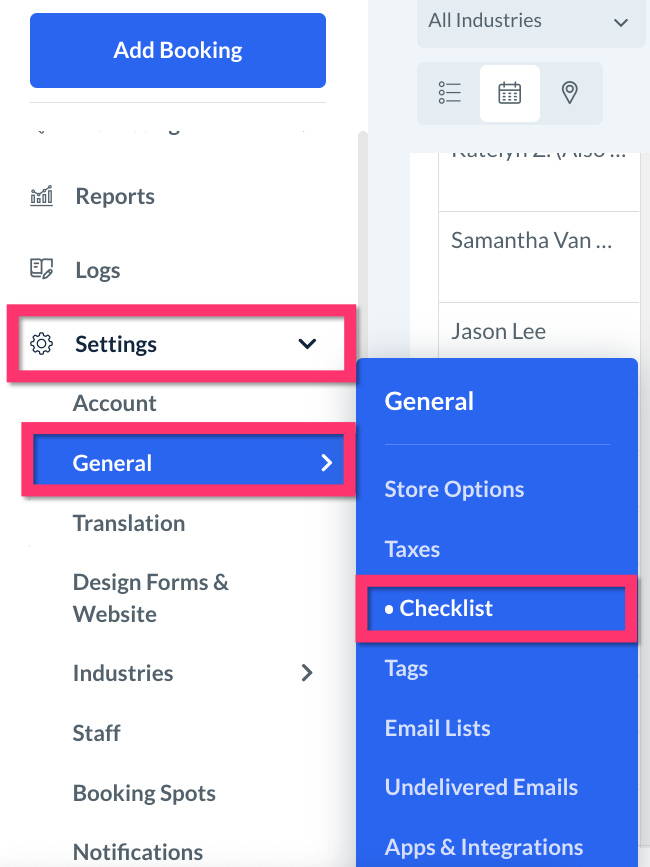
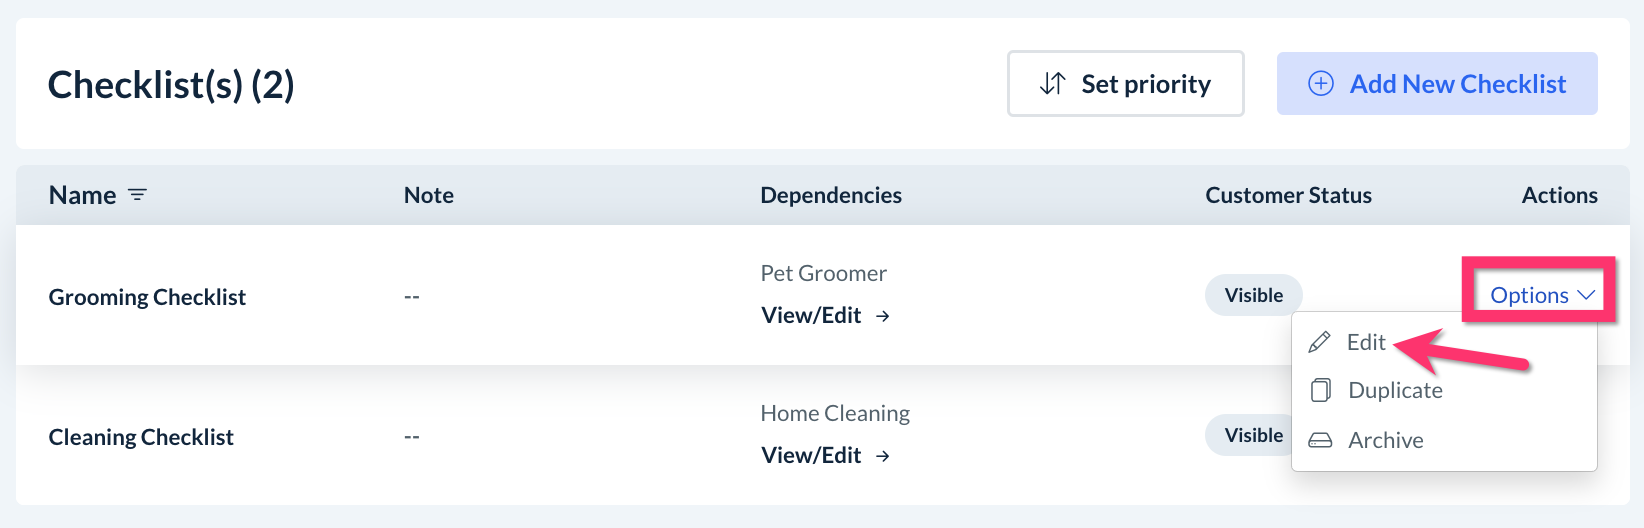
Once the dashboard has opened, select "Options" then "Edit" under the "Actions" column to open a specific checklist.
Next, click on the "Settings" tab to the right of the "Builder" tab at the top of the Checklist Builder page.

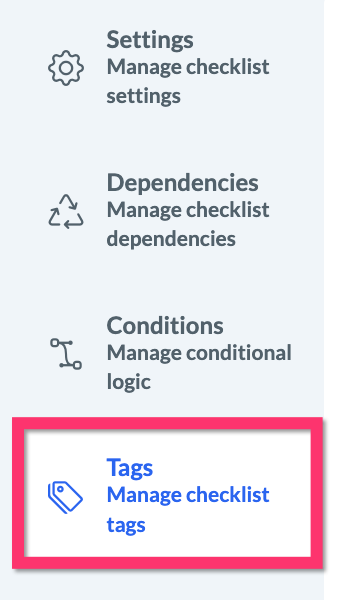
Then, click on the "Tags" section from the left-side menu.
Conditions are managed separately for each task added to the checklist. To view conditions for a specific task, select the task's name in the left-side menu.

Add a New Tag
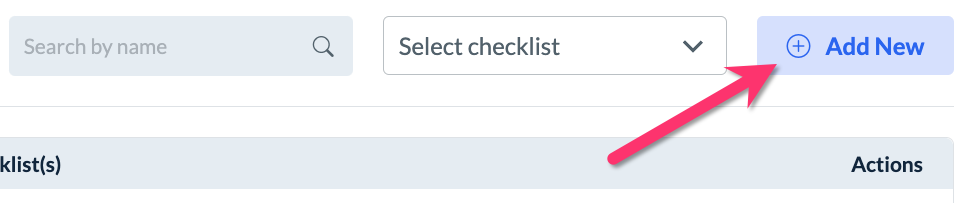
To create a new tag, click the blue "Add New" button at the top right corner of the page and an "Add new tag" pop-up window will appear.
Enter the name of the tag into the topmost field on the window.
Under the "Add tag for checklist(s)" section, check the boxes next to the checklist name(s) to add the tag for the selected checklists, or, choose the "Select All" option to add the tag to every checklist.
Once you are finished making your selections, click the blue "Save" button to add the new tag to the checklist(s).
A green system alert will appear in the top-right corner confirming that the tag has been saved successfully.
Edit an Existing Tag
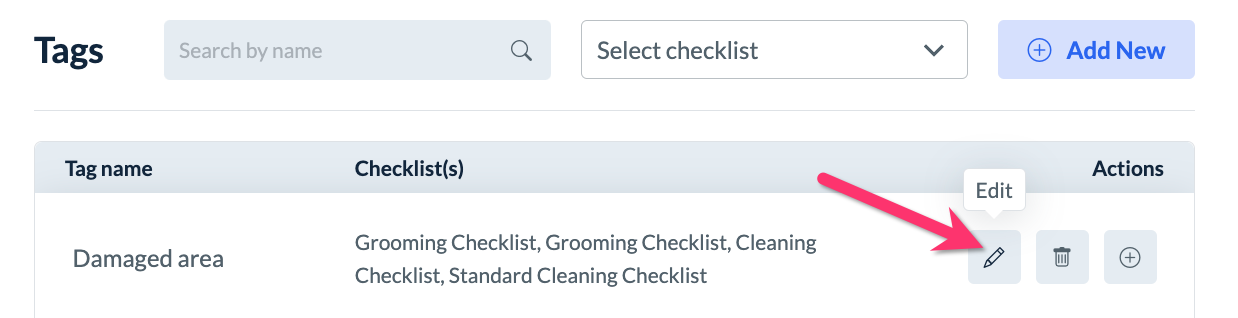
To edit the name of an existing tag, click the pencil icon/"Edit" button under the "Actions" column.
The name can be edited in the resulting "Update tag" pop-up window. Once you are finished making changes, click the blue "Update" button to save the new tag name.

A green system alert will appear in the top-right corner confirming that the tag has been updated.
Delete a Tag
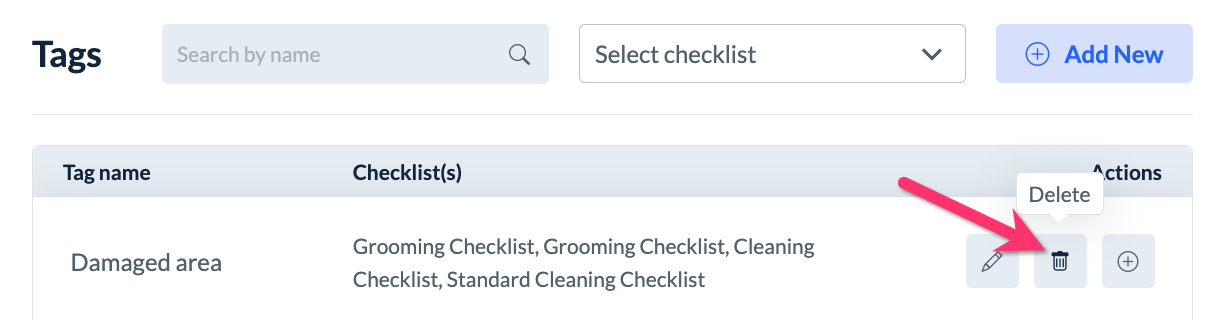
To delete a tag, click the trashcan icon/"Delete" button under the "Actions" column.
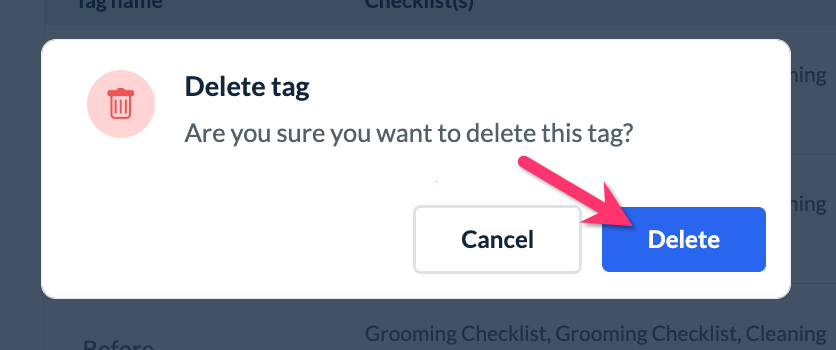
A pop-up window will appear asking if you are sure you want to delete this tag.
Deleting a tag removes the tag from any tagged media
Once deleted, the tag cannot be used on checklists unless a new tag is created.
If you are certain you'd like to proceed, click the blue "Delete" button in the window. If not, you can always click the white "Cancel" button instead.
A green system alert will appear in the top-right corner confirming that the tag has been deleted.
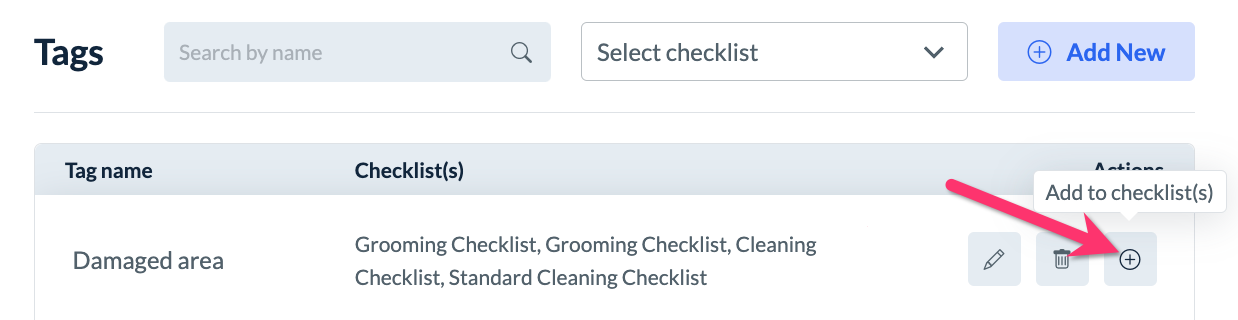
Add a Tag to One or More Checklists
To add a tag to one or multiple checklists, click the plus sign icon/"Add to checklist" button under the "Actions" column.
A pop-up window will appear showing the list of all active checklists in the Checklist Module. Check the boxes next to the checklist name(s) to add the tag, or click the "Select All" option to add the tag to every checklist.
Once you are finished making your selection(s), click the blue "Update" button to update the tag for your checklist(s). A green system alert will appear in the top-right corner confirming that the tag settings have been updated successfully.
Save and Publish
Once you've finished making changes, please remember to click the "Save & Publish" button to save the new checklist settings.
Next Steps
After checklist tags have been set up and customized for your checklists, they can be applied to media that has been added to the checklist. Instructions on how to add and view tags (as well as other checklist features) are covered in the guides below.
Click here to learn more about admin access to the checklist features.
Click here to learn more about staff permissions and access to the checklist features.
Click here to learn more about provider access to the checklist features.
Click here to learn more about customer access to the checklist features.