The purpose of this article is to help you and your customers learn more about:
How to enable customer checklist permissions and settings
How customers view checklists from their dashboard
How to view job media uploaded to the checklist
How customers send checklist notes to the admin/staff
Getting Started
This article goes over how customers access and use features related to the Checklist Module. If you have not added or imported any customer accounts yet, or are not familiar with the Bookingkoala checklist features, please refer to the following guides:
Click here to learn more about customer accounts, including how to add a customer and edit a customer profile.
Click here for a general overview of the "Checklist Module" and how to get started.
Customer Checklist Access
Customers can view checklist(s), send checklist notes, and view job media uploaded to the checklist using their Customer Dashboard.
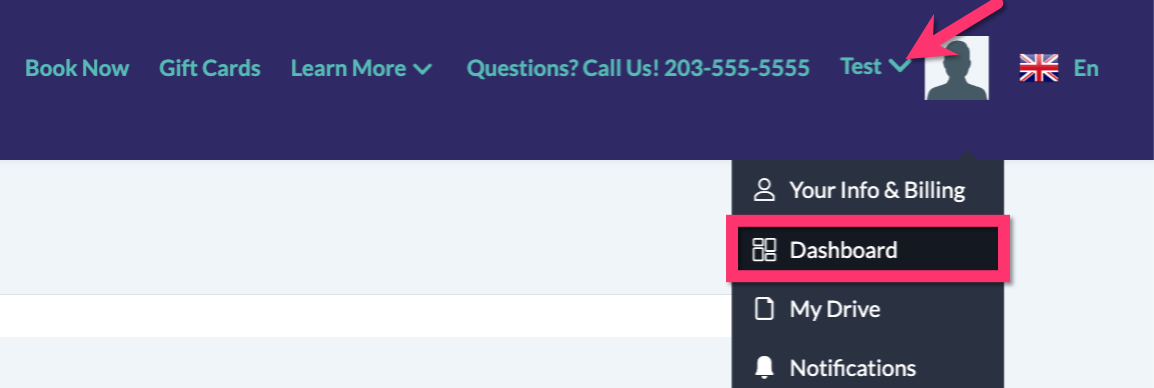
To access the customer dashboard, customers can log in from your website's "Login" page. Once logged in, they can select the "View Details" button for their next upcoming booking and click on the "Checklist" tab.
Customers can also access checklists for upcoming bookings using the "Edit/Reschedule" button for bookings under the "Appointments" tab in the main dashboard.
If a checklist was completed for a previous booking, customers can go to the "Previous Appointments" tab and click on the "View Details" button to access the "Checklist" tab.
For current and upcoming bookings, customers can take advantage of other checklist features like sending checklist notes to the merchant.
For current and completed bookings, customers can view job media added to the checklist as well as from the "Job Media" tab at the top of the booking page.
Customer Checklist Settings & Permissions
Like other sections of the software, the admin controls which checklist features customers can access. Customer access to checklists and related features is set up under the "Checklist Settings" section in the admin checklist dashboard.
To review the customer checklist settings for a particular checklist, please go to:
Settings > General > Checklist

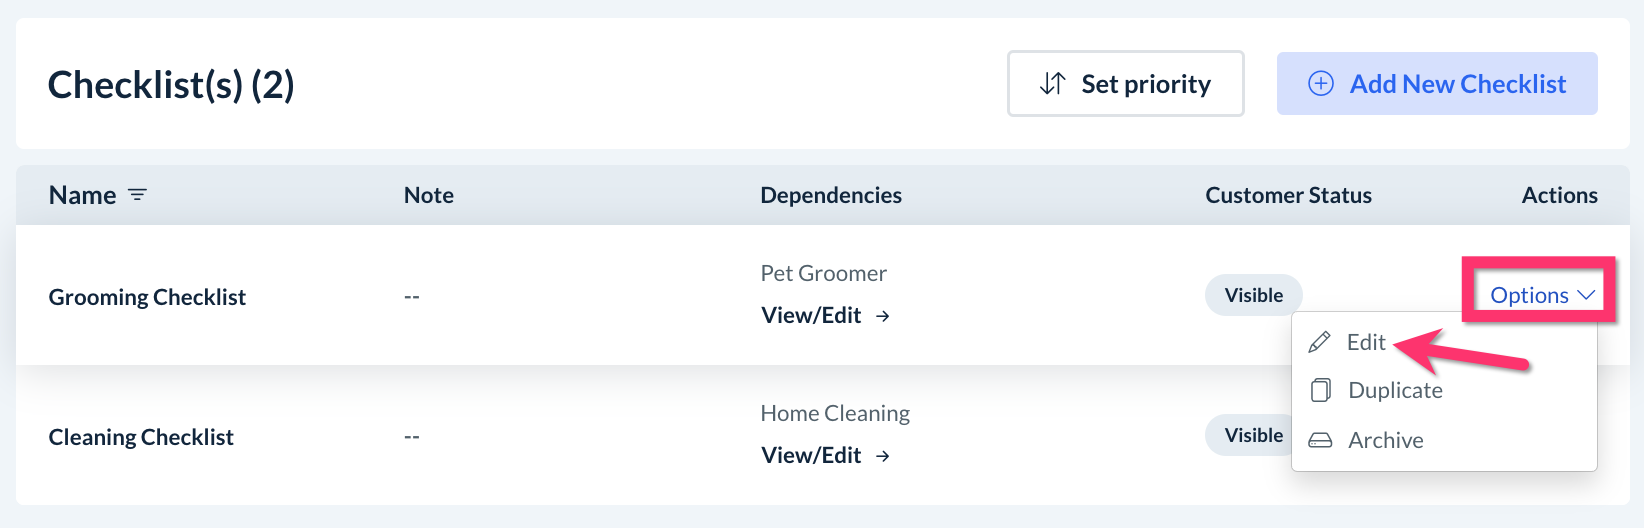
Once the dashboard has opened, select "Options" then "Edit" under the "Actions" column to open a specific checklist.
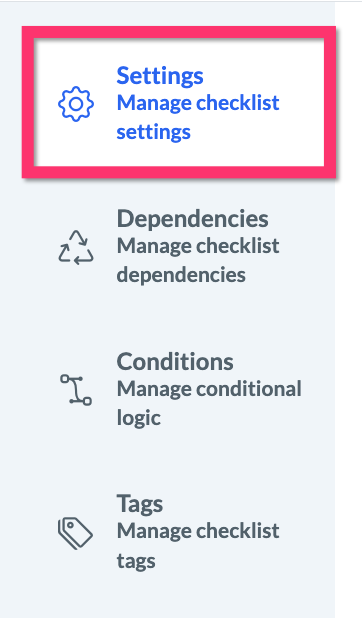
To view a checklist's settings, click on the "Settings" tab to the right of the "Builder" tab at the top of the Checklist Builder page.

By default, the "Settings" tab always directs to the "Settings" section located at the top of the left-side menu.
The second section from the top starts with the question "Would you like customers to be able to see the checklist?"
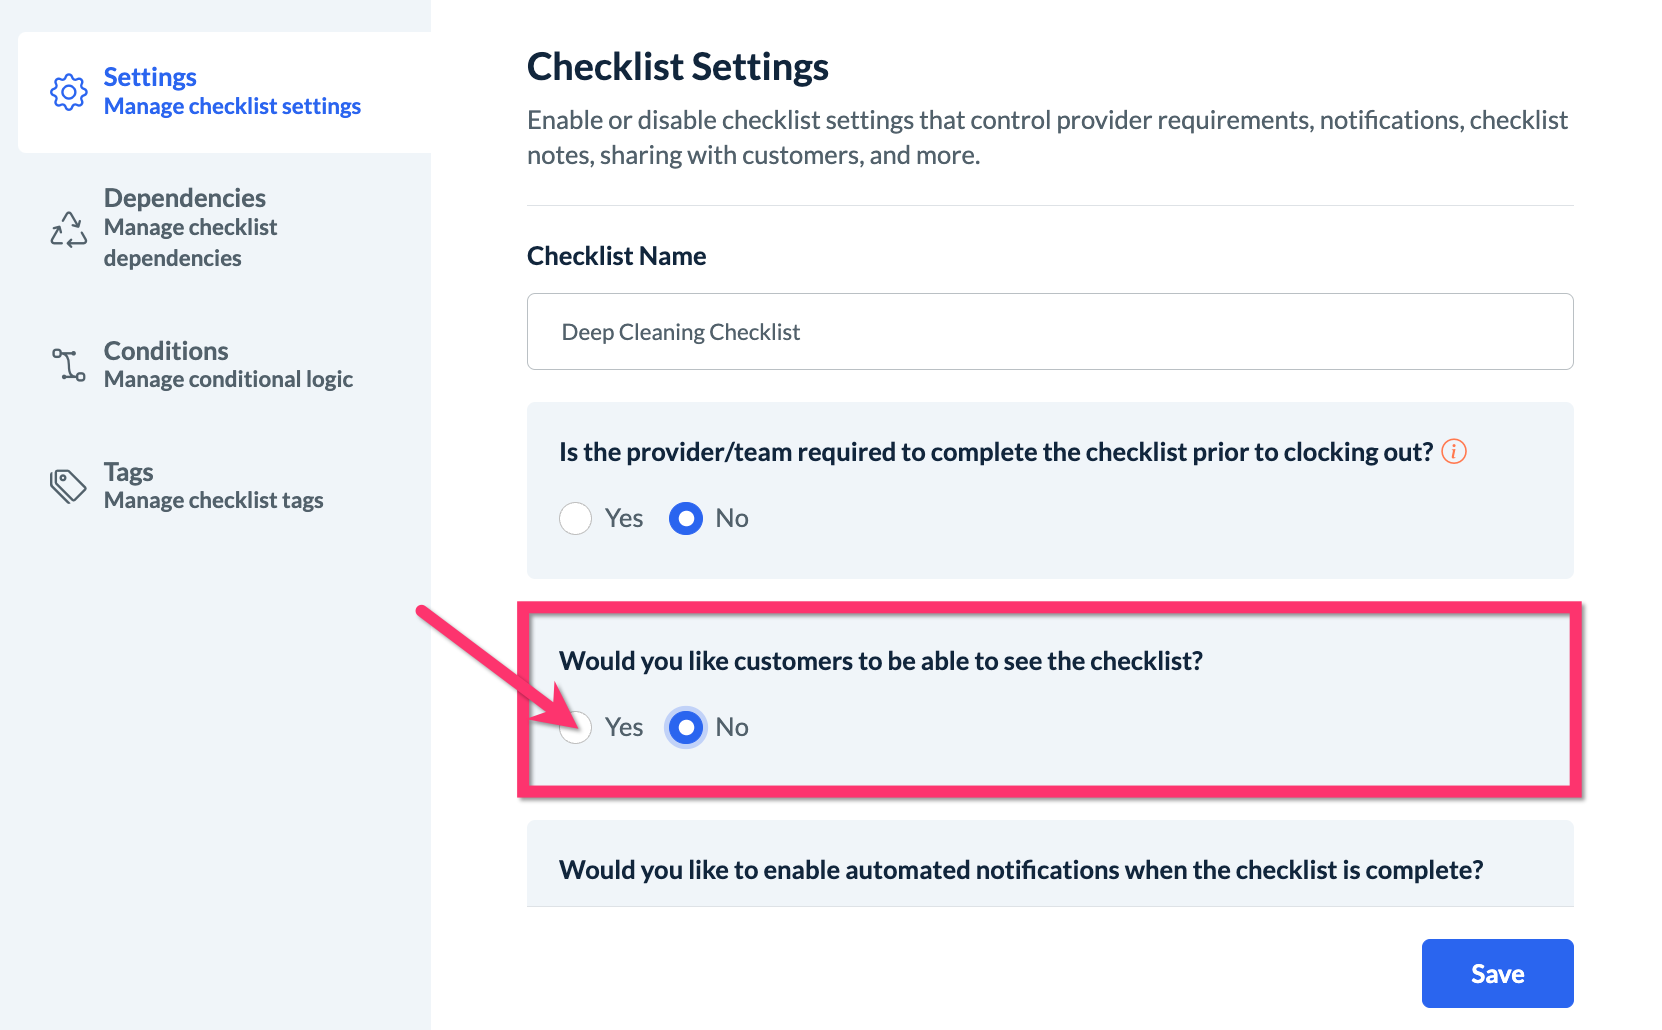
If you select "Yes" for this option, the rest of the permissions will be revealed below.
The customer's checklist settings and permissions in this section are summarized in the list below:
Should customers be able to see the checklist?
Yes
No
When will customers be able to see the checklist?
Always display the checklist
Only after it has been completed
Should customers be able to see the checklist progress bar?
Yes
No
Should customers be able to see who completed a task on the checklist?
Yes
If yes:
Show the name of the provider(s), team, staff, or admin
Show the name of the business/company
No
Should customers be able to see files and media added to the checklist?
Yes
If yes: Media is displayed to customers based on the tags enabled in this section.
No
Should customers be able to add notes to the checklist?
Yes
If yes: Should customers be able to add notes for individual tasks/subtasks or should notes be added for the entire checklist?
Individual tasks/subtasks
All tasks/subtasks
No
If the service is recurring, would you like to display this checklist for all bookings in the series?
Yes
No
If No:
Display this checklist for the first [#] appointments.
Display this checklist after [#] appointments.
Would you like to set up a default checklist note to display to customers?
Yes
No
Click here to view a detailed guide on how to set up and customize checklist settings.
How to View Checklists
When permission has been enabled, customers can view checklists, checklist progress, and job media, as well as send checklist notes to the admin and staff.
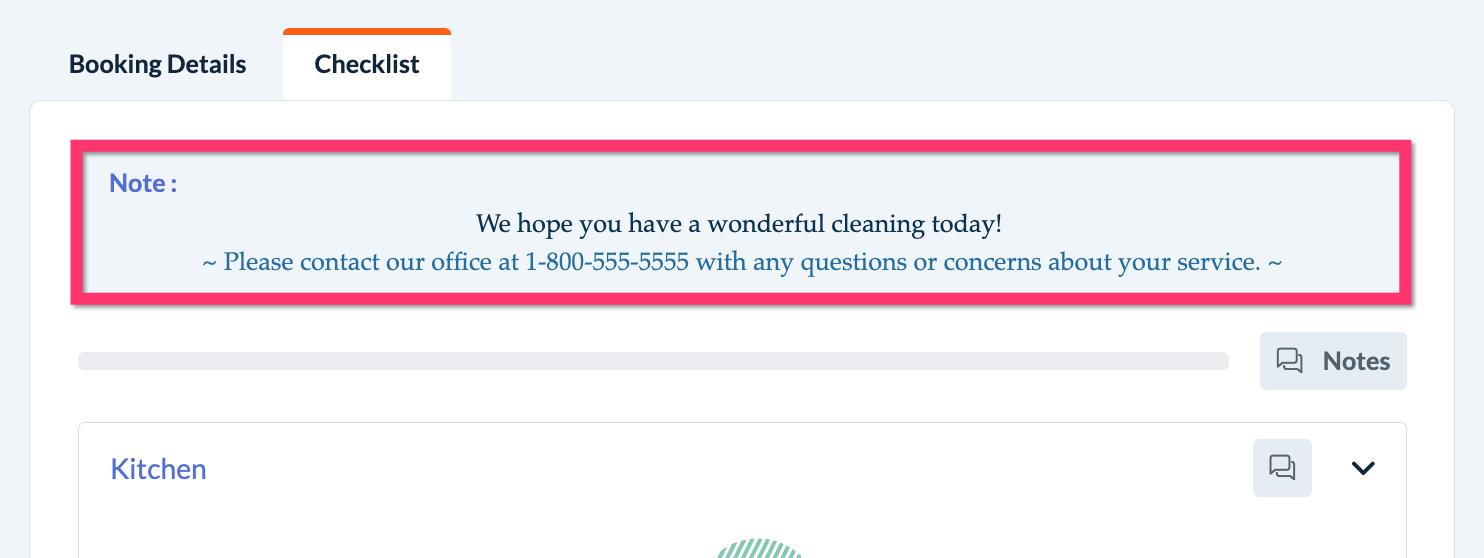
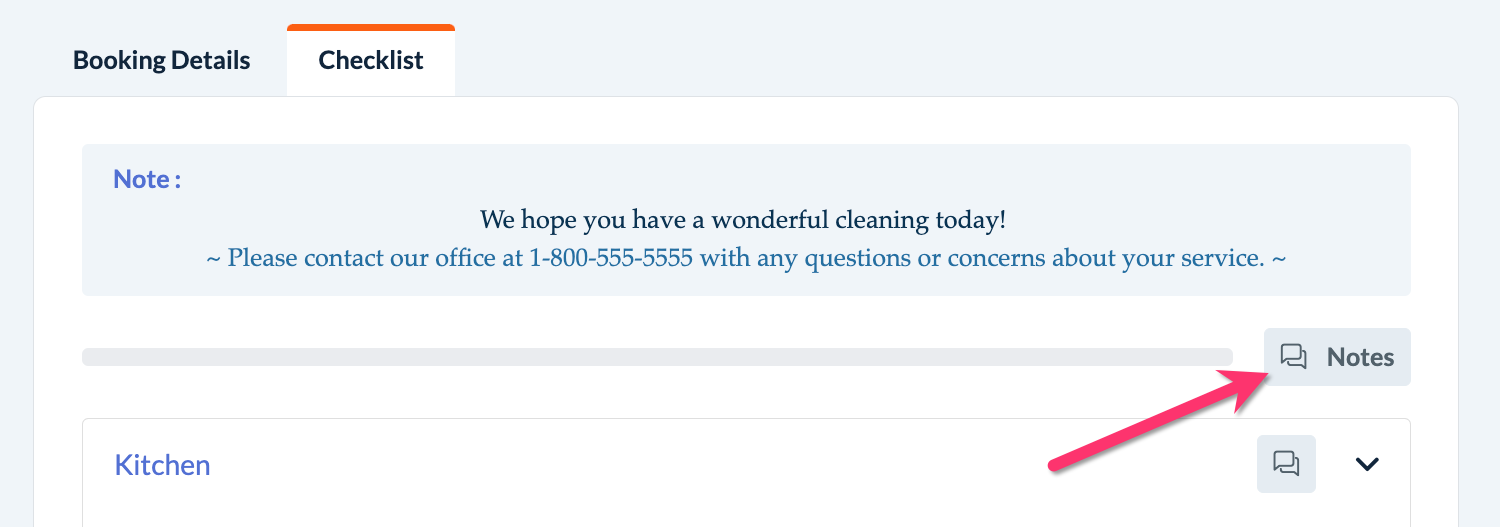
The customer can access the checklist by clicking the "View Details" button available on each booking. The customer will see the "Checklist" tab just next to the "Booking Details" tab. Upon clicking the "Checklist" tab, the customer can see all the tasks and subtasks.
If the admin has set a "default note" for customers, it will be displayed at the top of the page.
If permitted, customers can view the live checklist progress by monitoring the "checklist progress bar" near the top of the page as well as the checklist tasks and subtasks in the list below.

If permitted, customers can even see the name of the provider, merchant, staff member, or company name next to each completed task.
How to View Job Media
If permission is enabled, customers can also view "job media" (previously referred to as "job pictures") that have been uploaded to the checklist by the admin, staff, or provider(s).
Job media can be added to a subtask in the checklist, or it can be uploaded and viewed in the "Job Media" tab at the top of the page.
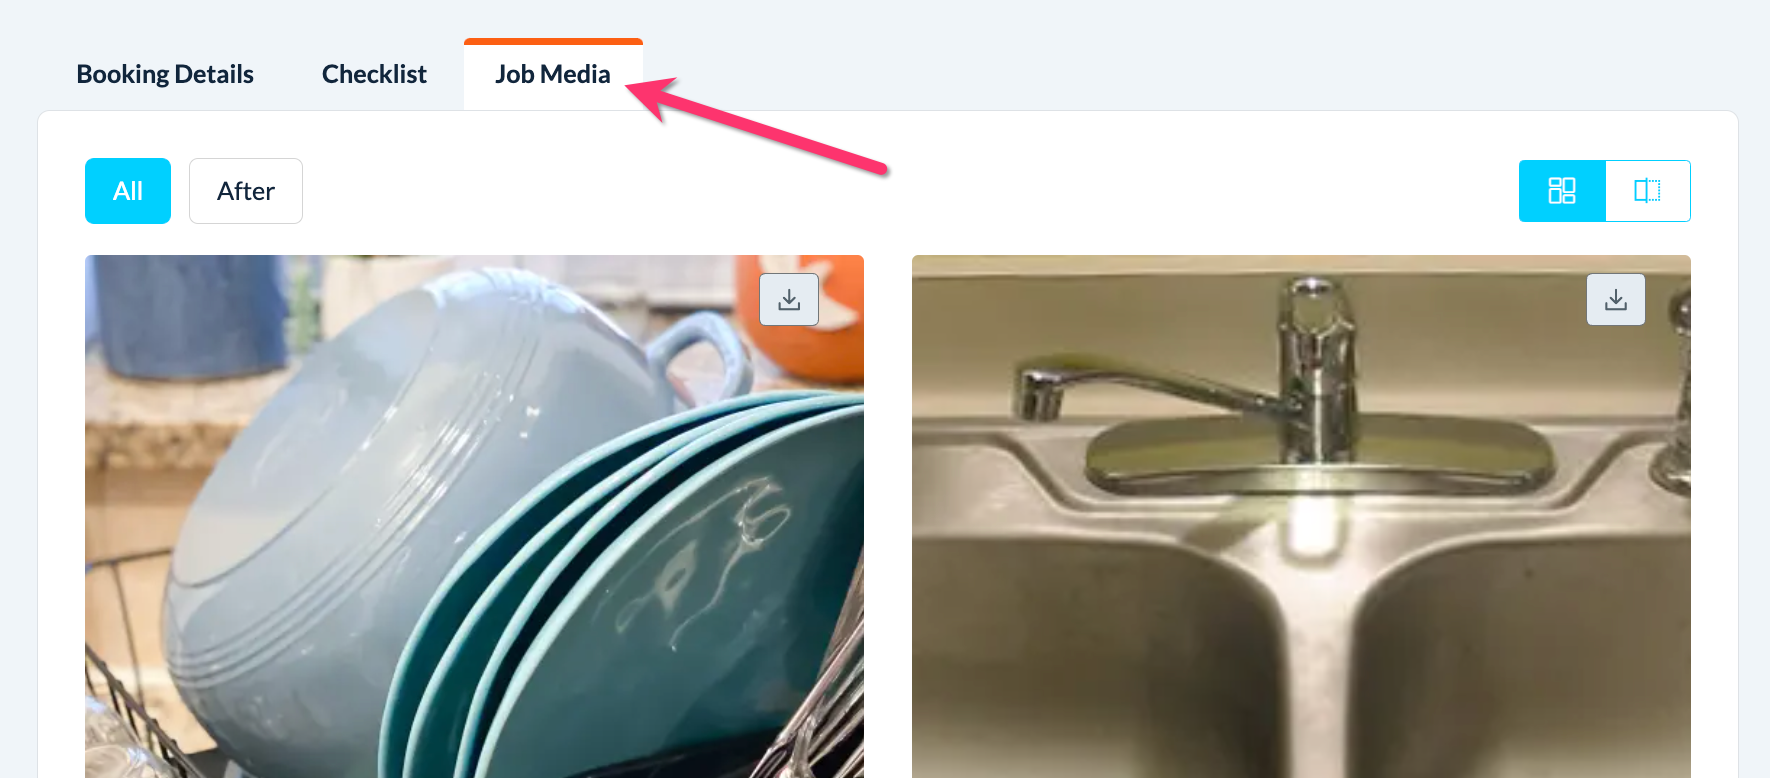
If the customer is allowed to see "Job Media" associated with specific tags, the tags will be displayed at the top of the page. "Job Media Tags" can be used to filter files uploaded to the "Job Media" tab.
Click here to learn more about how admin and staff set up job media tags for each checklist.
How to View & Send Checklist Notes
If permission is enabled, customers also have a "Notes" feature from which they can view and send chat-like messages from the checklist to the merchant.
The primary "Notes" section for the entire checklist is located at the top-right corner of the page.
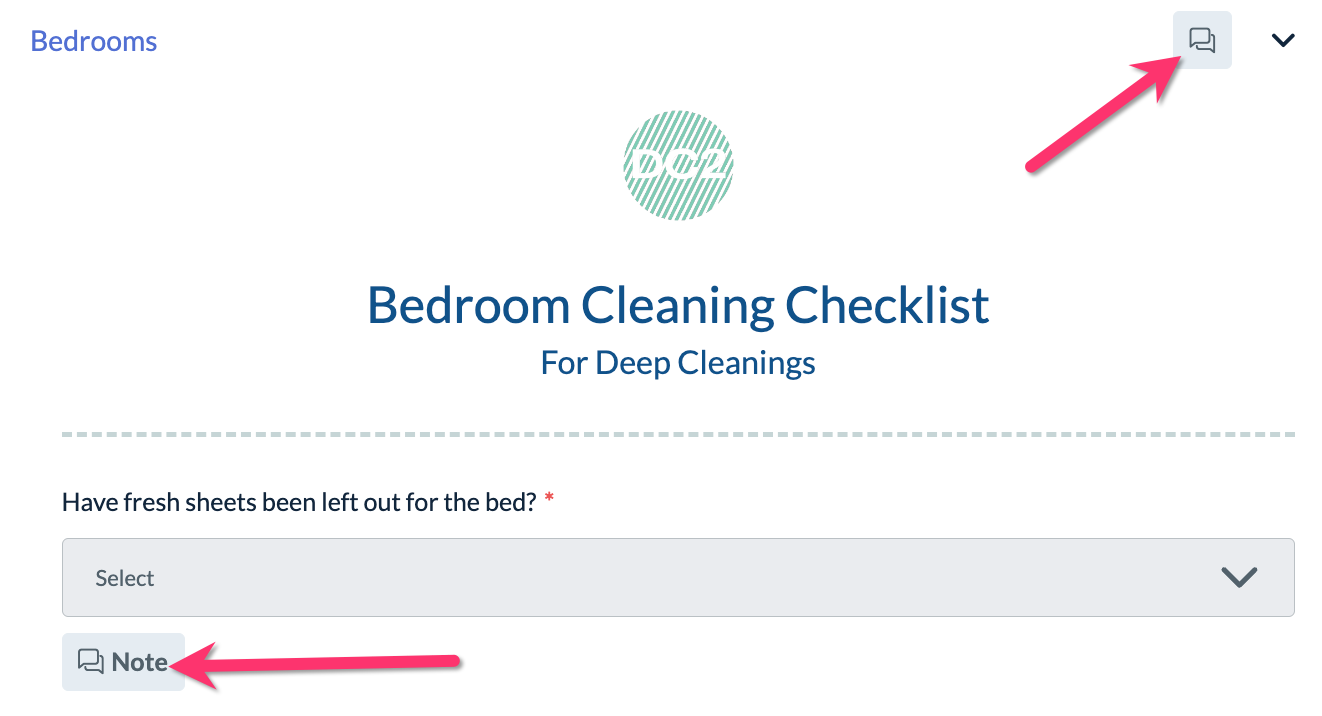
If customers are allowed to add notes for individual tasks and/or subtasks, customers will see "Notes" buttons beneath the enabled tasks and/or subtasks.
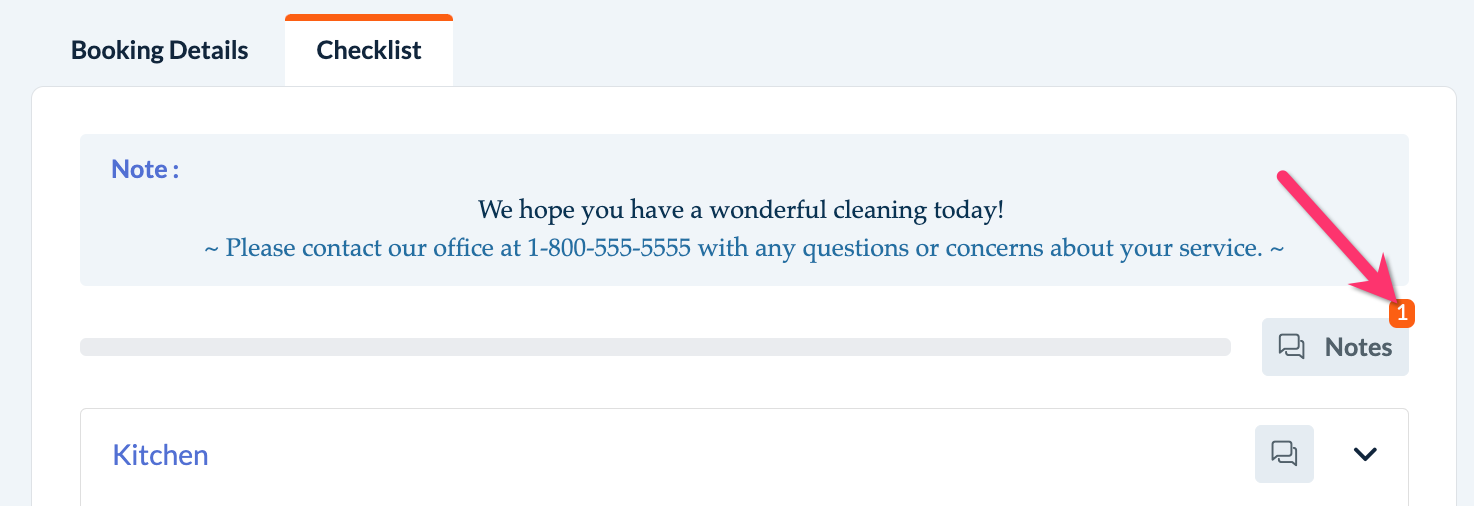
Unread notes from the merchant will display a small red number icon on the corner of the "Notes" buttons.
Each note displays who added the note and what time it was sent. Customers can also edit or delete notes they have sent to the merchant.
Checklist Access for Other User Types
To learn more about how other users can access and use the Checklist Module features, please refer to the guides linked below:
Admin & Staff
Click here to learn how to set up staff permissions for the Checklist Module.
Click here to learn about the admin checklist dashboard, including how admin and staff view, filter, add, edit, archive, publish, and delete checklists.
Click here to learn how admin and staff use various checklist tools on the booking form.
Click here to learn how admin and staff access the "Checklist Progress" dashboard, including how to view live checklist updates, add notes, and send messages to the customer or provider(s).
Providers
Click here to learn how providers access checklists and use checklist features.