The purpose of this article is to help you understand:
How to edit the Reauth Card page
Getting Started
The customer Reauth Card page is displayed when the 3DS option is enabled on your account in store option settings and a card payment link is sent to the customer to reauthorize an existing card or add a new card as detailed in this article.
To modify the appearance of this page, you must access the BookingKoala Website & Theme Builder. To do so, please go to:
Settings > Design Forms & Website > Website Builder & Themes > Customize Theme.
Edit the Reauth Card Page
As mentioned above, the Reauth Card page is displayed when the 3DS option is enabled on your account in store option settings and a card payment link is sent to the customer to reauthorize an existing card or add a new card.
To edit this page, select the top center Page menu, select Payment Details, and click on Reauth Card.
There are two sections on this page: the reauthorization form on the top and the credit card authentication form for new credit cards below.
Edit the Reauthorization Form
To edit the credit card reauthorization form, click on the title, the description, or the "Authorize Card" button to reveal the edit button.

There are two dynamic values used in the title and description: one for the CVV/CVC and one for the add new card link. In this case, wherever you place {{.cvvText}}, the text will be dynamically generated based on your payment processor. For example, "CVC" will be used for Stripe, and "CVV" will be used for the rest. Use {{.newCardText}} to display the "add new card" link.
You can also decide which page the "Authorize Card" button redirects users to after successful completion of the card authorization.
Edit the New Card Authentication Form
The second half of the page displays the authentication form for new credit cards.
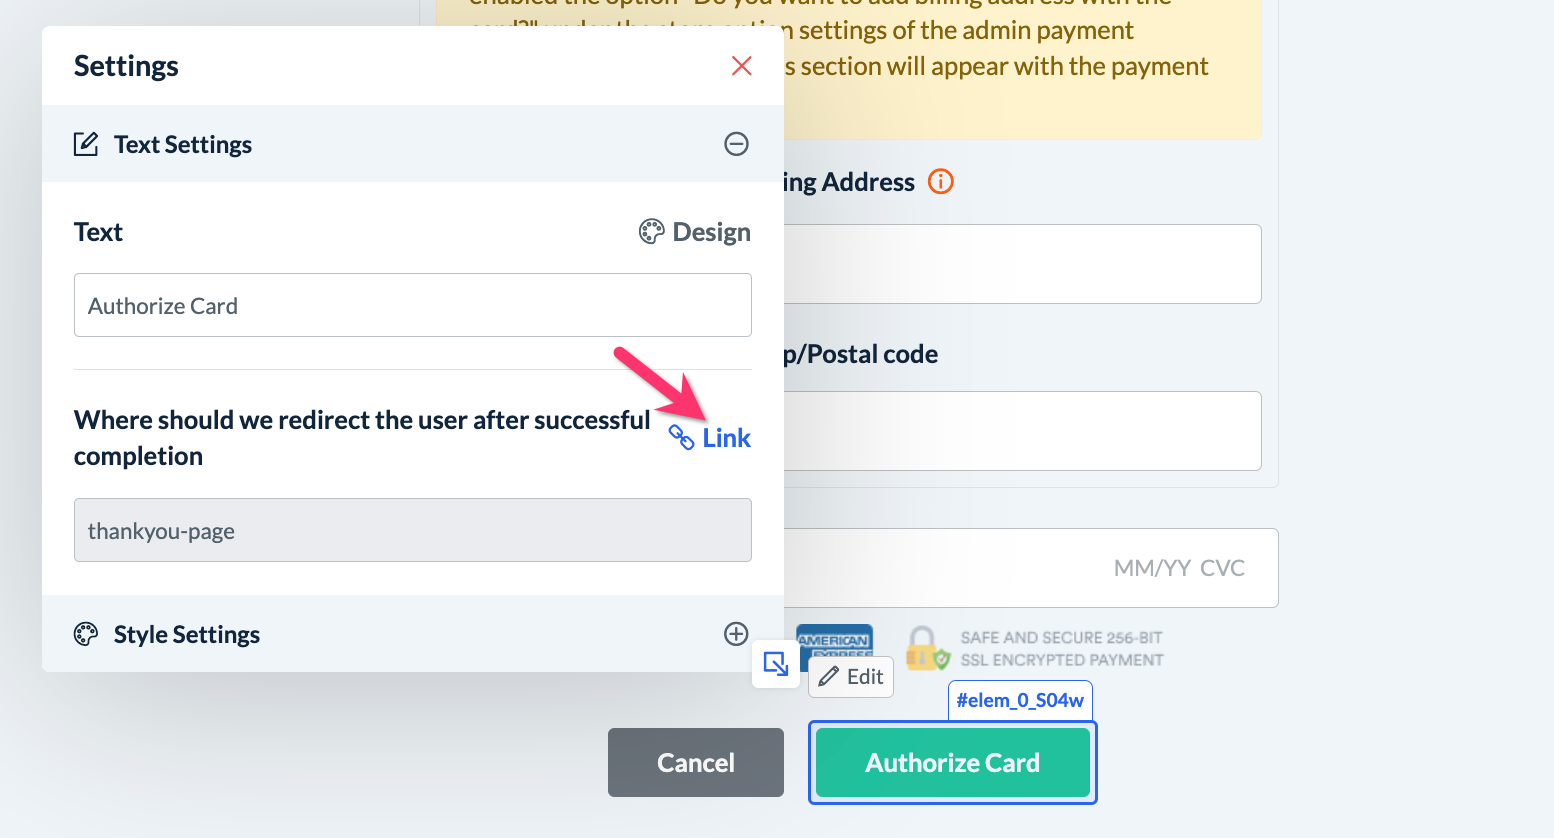
There is also a dynamic value used in the description to display the CVC/CVV wherever you place {{.cvvText}}.
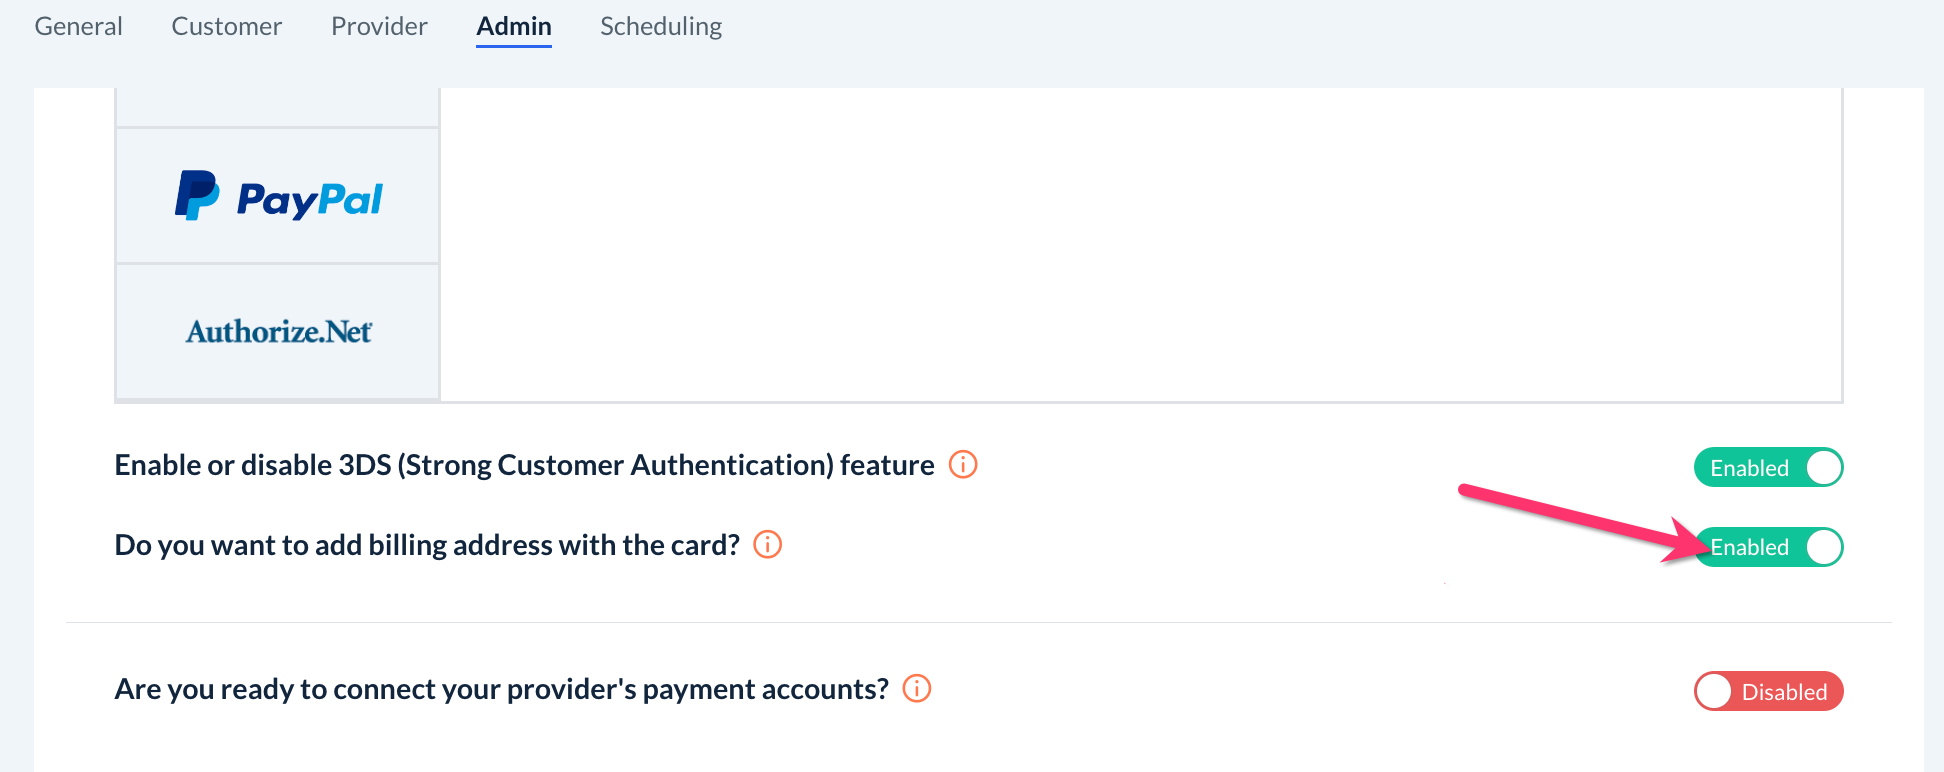
In case you use the authorized.net payment gateway or if you have enabled the option "Do you want to add billing address with the card?" under the store option settings of the admin payment processor section (Settings > General > Store Options > Admin), an address section will appear with the payment fields.
Like above, you can also decide which page the "Authorize Card" button redirects users to after successful completion of the card authentication.
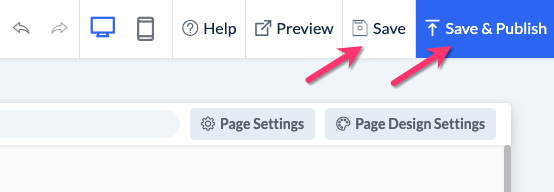
Save & Publish
When you are finished making edits to your page, please be sure to click the "Save" button to save your changes to the backend, or "Save & Publish" to push your changes live to your site.