The purpose of this article is to help you understand:
Where to locate the customer dashboard pages in the website builder
How to edit the customer Your Info & Billing page
Getting Started
Whenever you book or create a customer profile in BookingKoala, that customer gains access to a customer dashboard on your website.

To modify the appearance and enable/disable some of the features used on these pages, you must access the BookingKoala Website & Theme Builder. To do so, please go to:
Settings > Design Forms & Website > Website Builder & Themes > Customize Theme
Edit the Customer Your Info & Billing Page
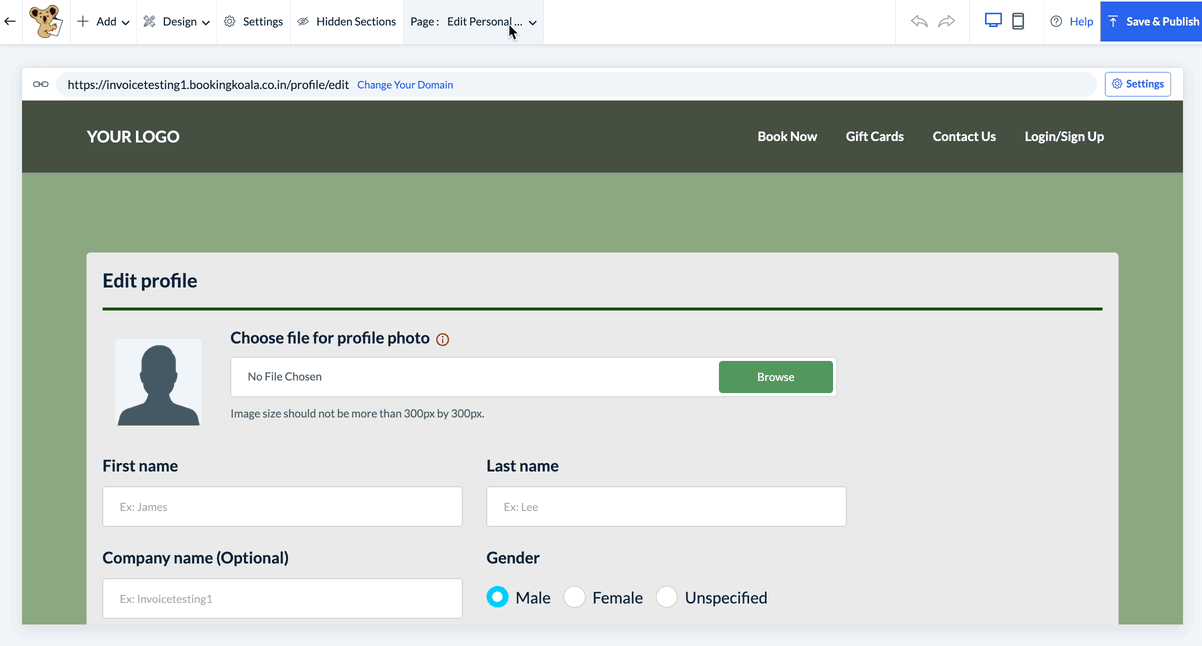
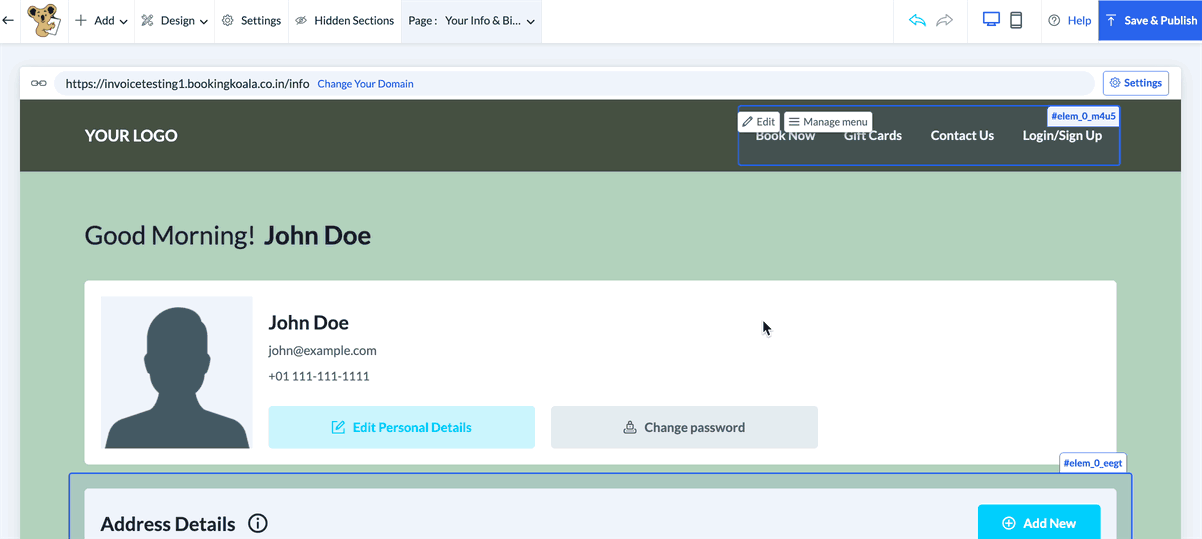
To edit the customer Your Info & Billing page, click on the top center Pages menu, select Customer Dashboard Pages, and click on the Your Info & Billing page.
Background Color and Padding
To change the background color of the customer Your Info & Billing page, click on the background and select the white Edit button that appears in the top left corner of the section.
Click the box to the right where it says Background color and use the color popup to select a color.
To adjust the padding on each side of the customer details page, enter a number for the number of pixels you would like between the edge of the page and the page content.
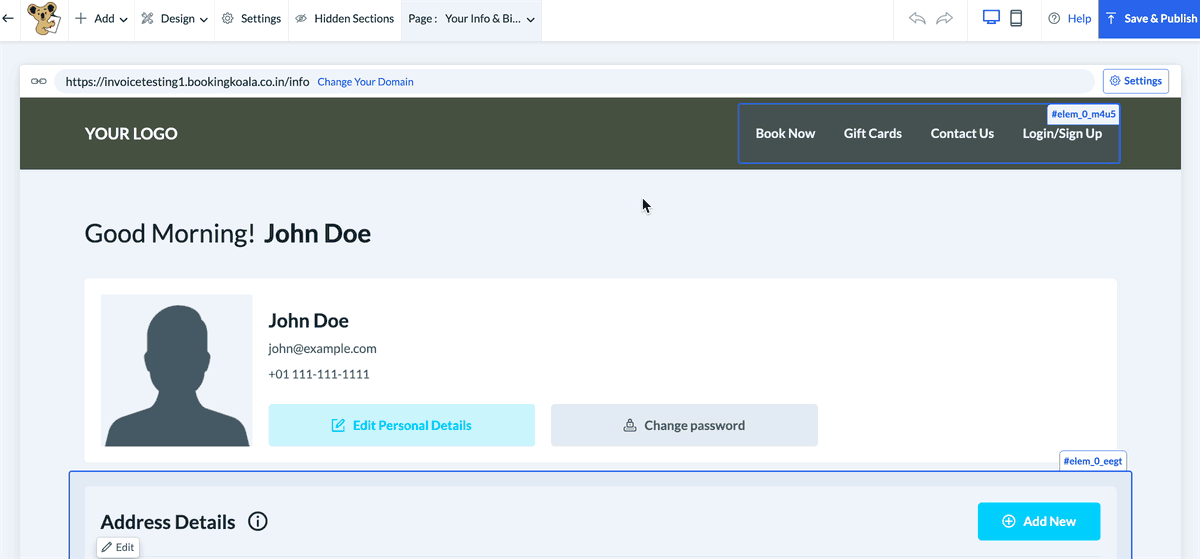
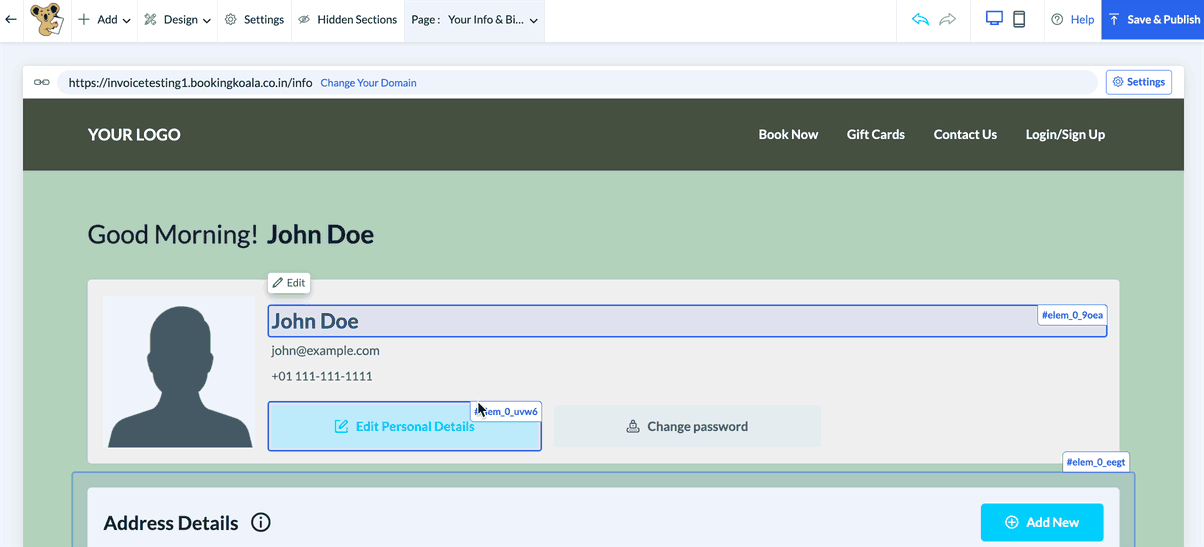
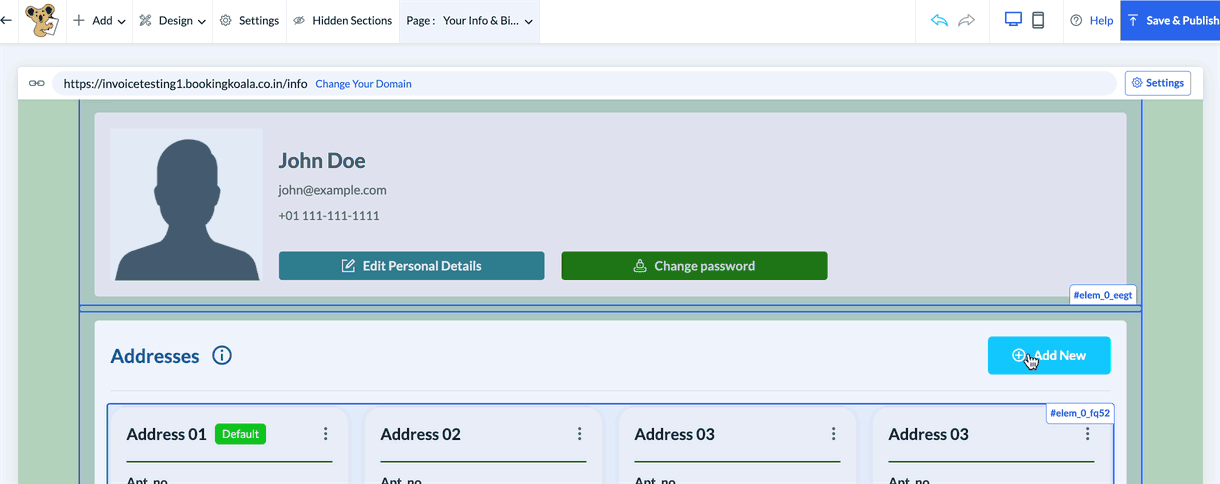
Edit Customer Details Box Colors, Font & Buttons
To edit the background color of the customer details box, click the background or element number on the upper right corner of the box and then select the Edit button.
The text color and font size within this section can also be changed by clicking on the customer name, email address, and/or phone number and selecting another color from the color popup and font size menu.
The button color, style, and text content can be altered by clicking on a button and selecting the Edit button that appears.
Click on the Text Settings section to alter the text displayed on the button.
Click on the Style Settings section to alter the colors of the button's background, border, text color, and font size.
Click on the Design button to change the button's shape/style.
Address Details Font, Colors, and Buttons
The Address Details section has a title and tooltip that can be edited by clicking on the text to reveal the white Edit button.
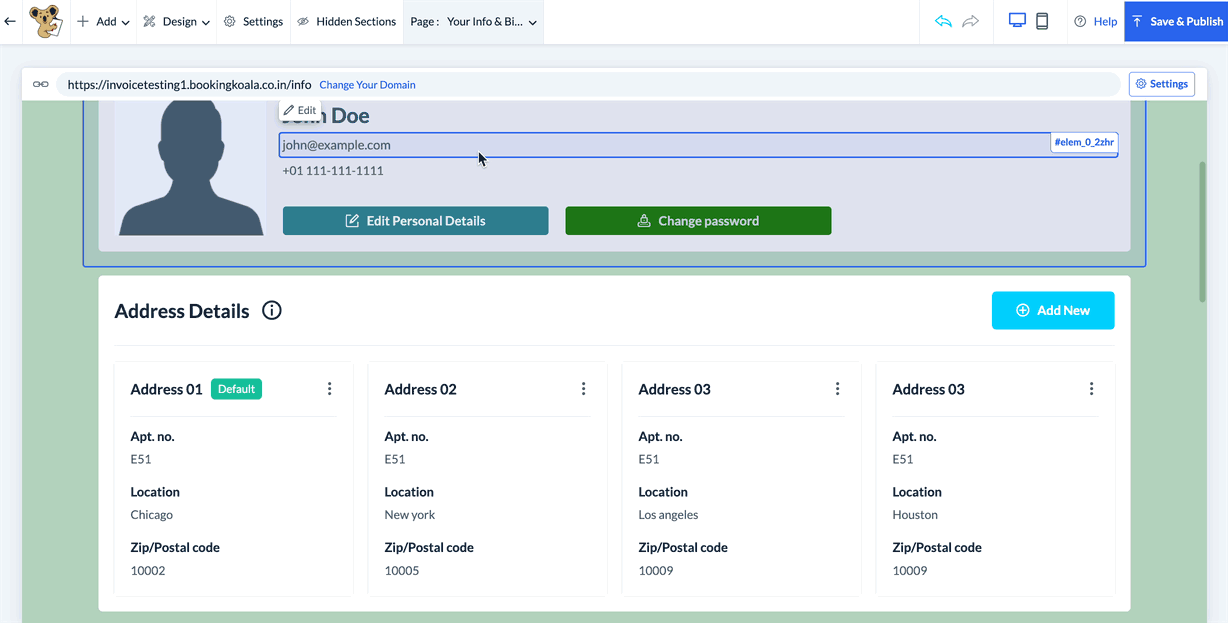
The address boxes themselves can be edited to have a different border color and width, text size and color, and border-radius.
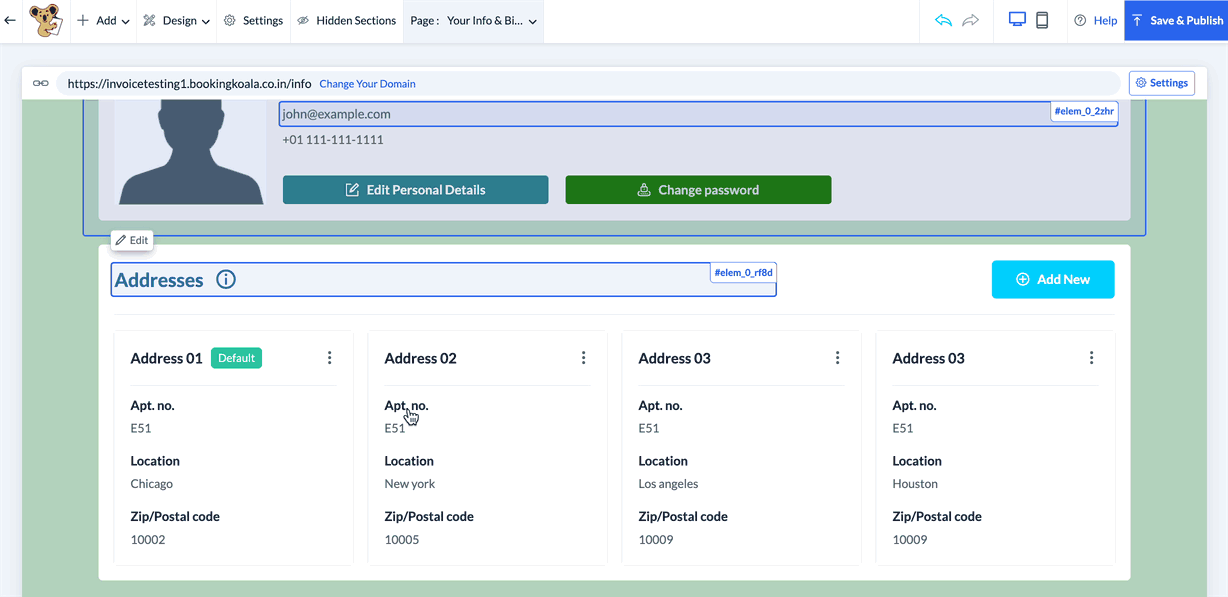
The Add New Address button can be modified by clicking on the Edit button and using the text settings, style settings, and design options.
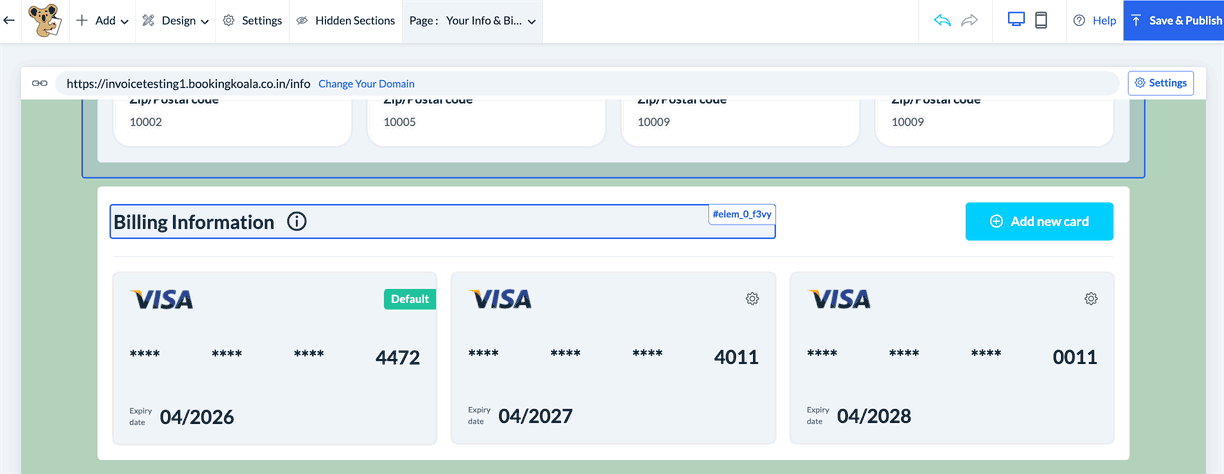
Billing Information Font, Colors, and Buttons
The Billing Information section contains the same options to edit the fonts, colors, and buttons used when displaying customers' cards on file.
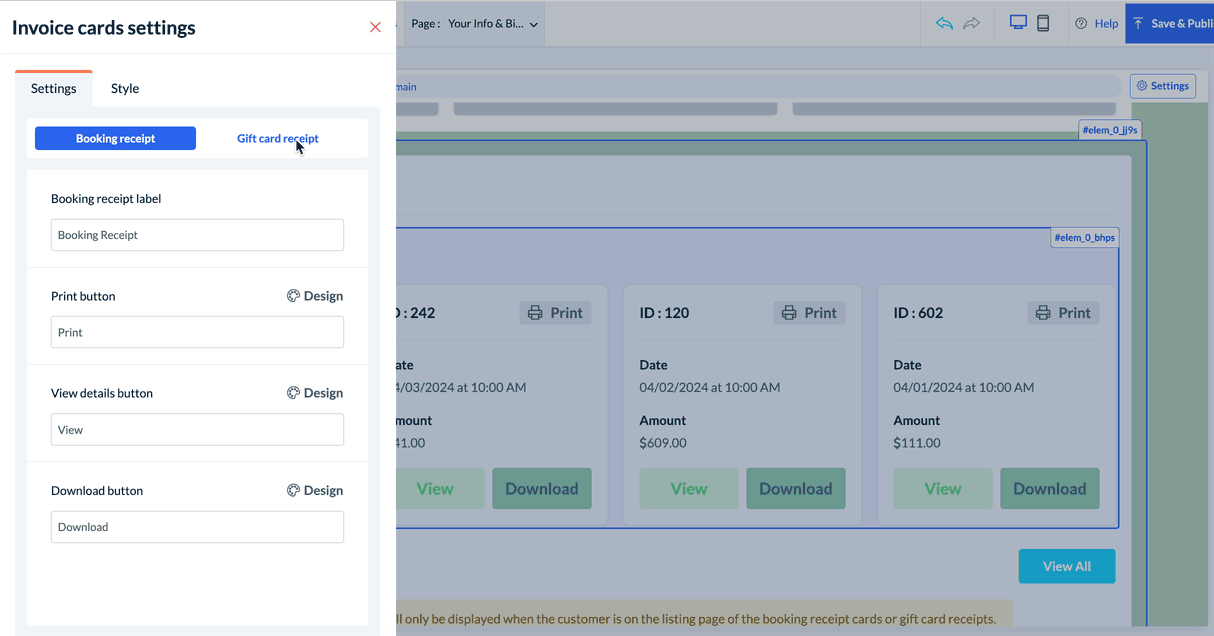
Invoices Font, Colors, and Buttons
Likewise, the same options are available to edit the fonts, colors, and buttons used to display the customer's invoices in the Invoices section.
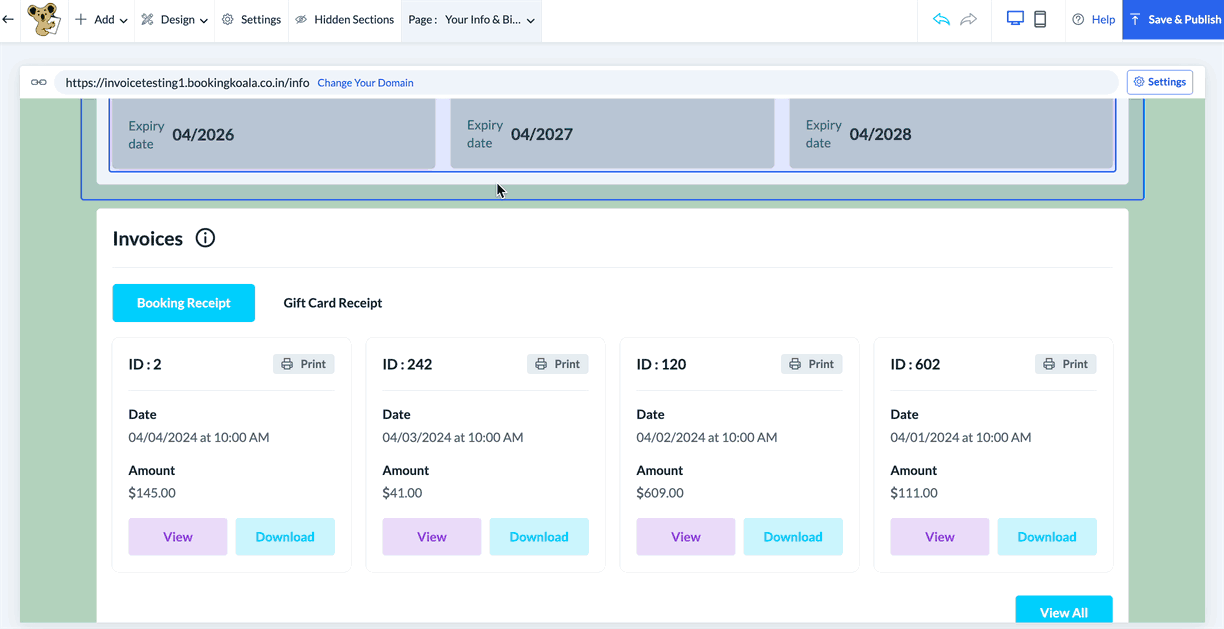
To switch to editing the Gift Card Receipt section, click on the Gift Card Receipt button below the Settings tab in the left side menu.
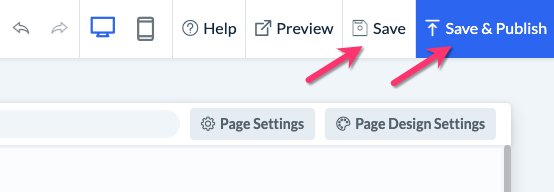
Save & Publish
When you are finished making edits to your page, please be sure to click the "Save" button to save your changes to the backend, or "Save & Publish" to push your changes live to your site.