The purpose of this article is to help you understand:
How to edit the Add Payment page
Getting Started
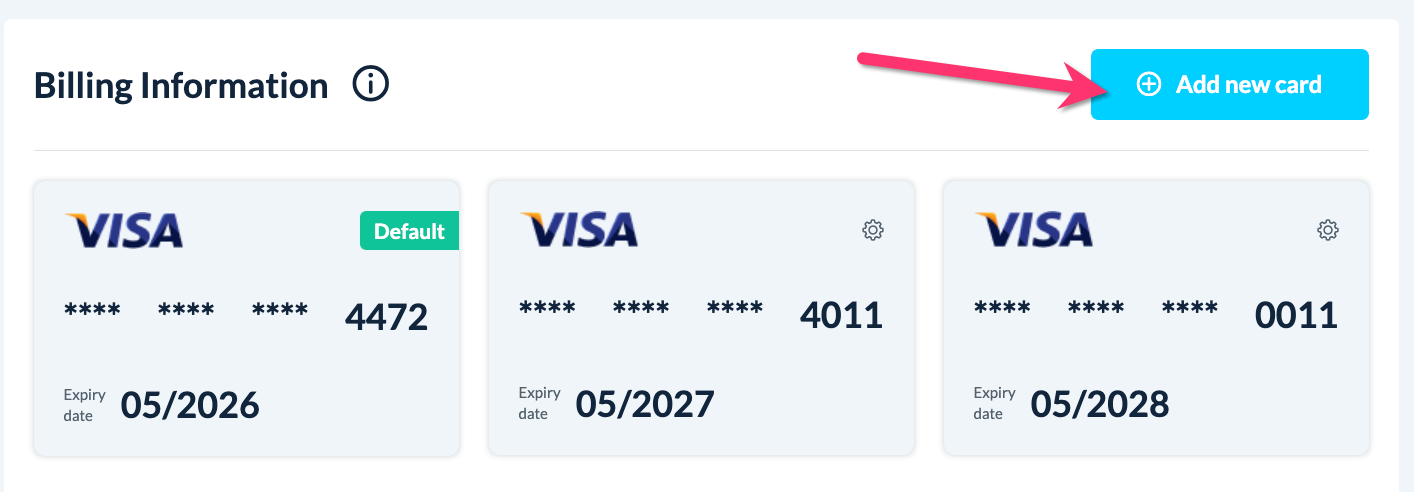
The Add Payment page is displayed when a customer clicks the "Add New Card" button on the "Your Info & Billing" page in the customer dashboard.
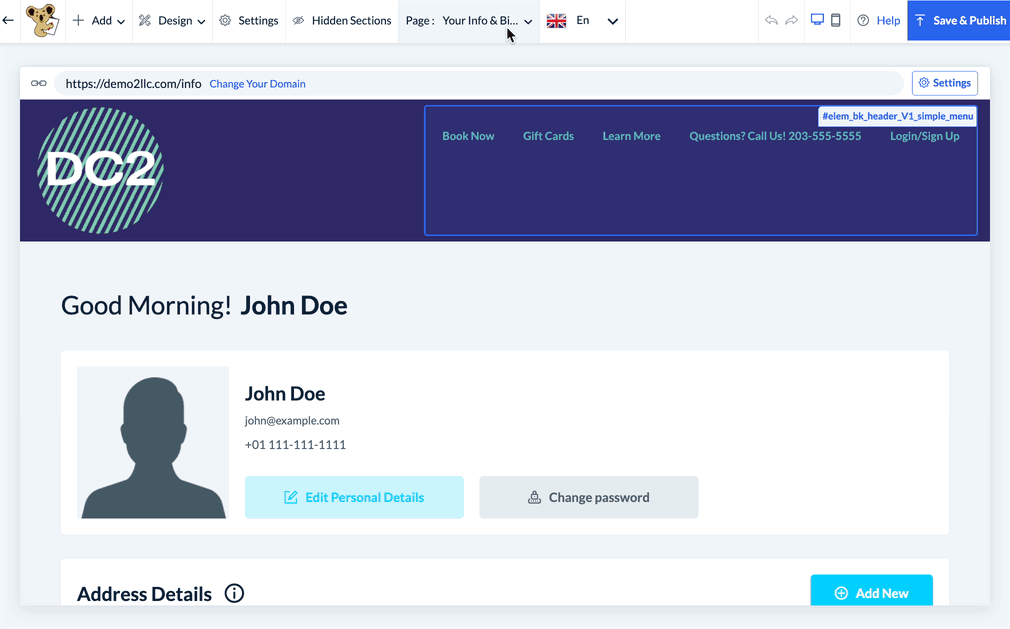
To modify the appearance of this page, you must access the BookingKoala Website & Theme Builder. To do so, please go to:
Settings > Design Forms & Website > Website Builder & Themes > Customize Theme
Edit the Invoice Payment Page
To edit this page, select the top center Page menu, select Payment Details, and click on Add Payment.
The topmost section displays the page title which can be edited, shown, or hidden by clicking on the text.
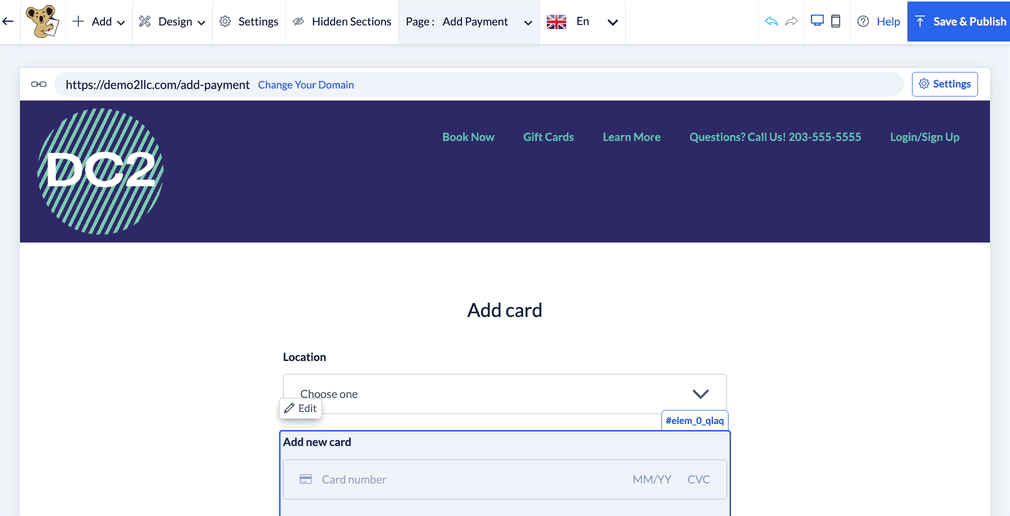
The next section is only displayed if Stripe is your payment processor and you have enabled Stripe for multiple locations. In this case, the customer will select which location they are adding a card for prior to entering their card information.
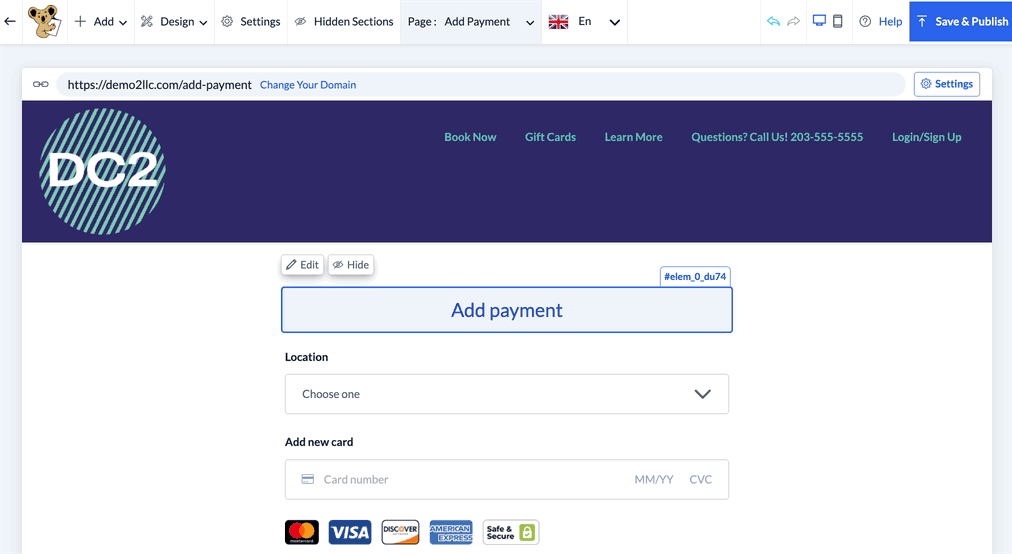
Below is the Add a New Card field which can have the text edited and color changed.
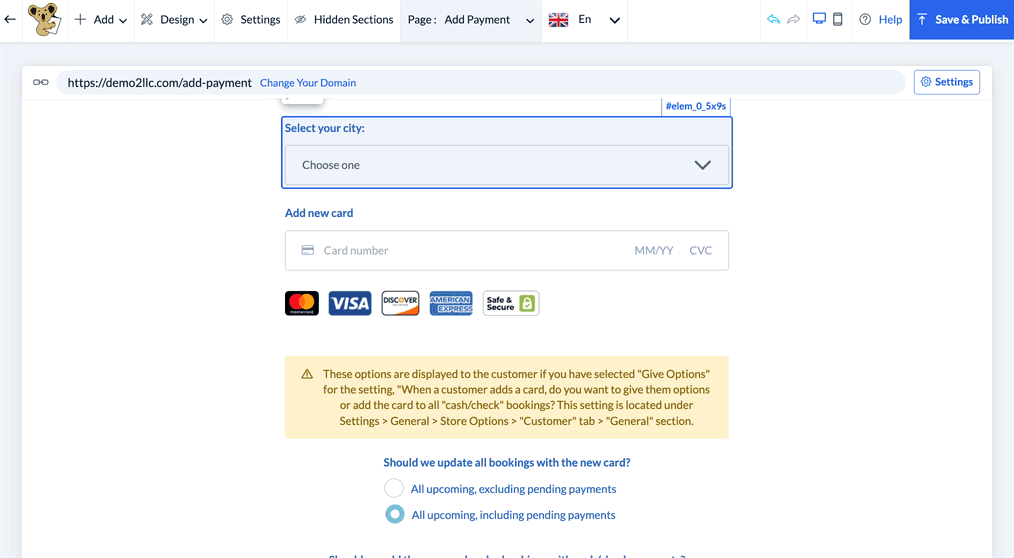
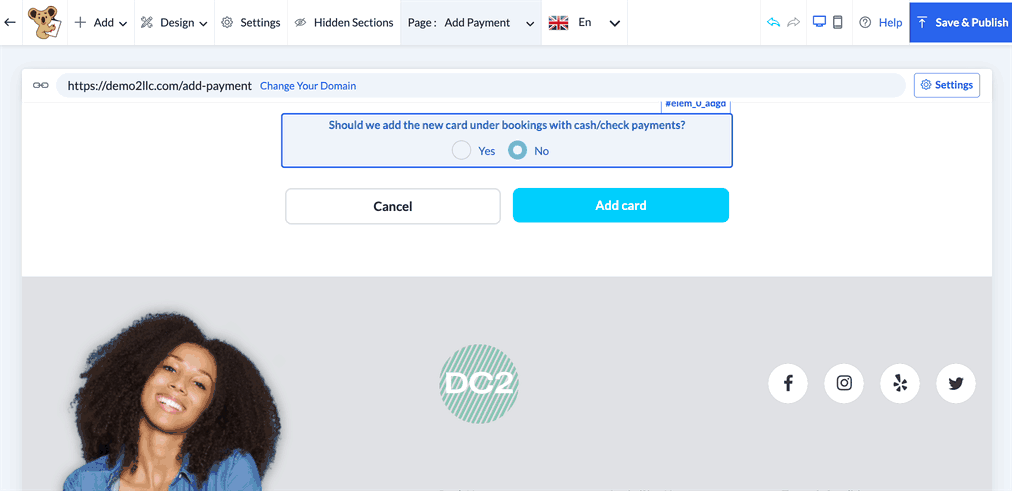
The following options are displayed if you have selected "Give Options" for the setting, "When a customer adds a card, do you want to give them options or add the card to all "cash/check" bookings?" This setting is located under:
Settings > General > Store Options > Customer > General
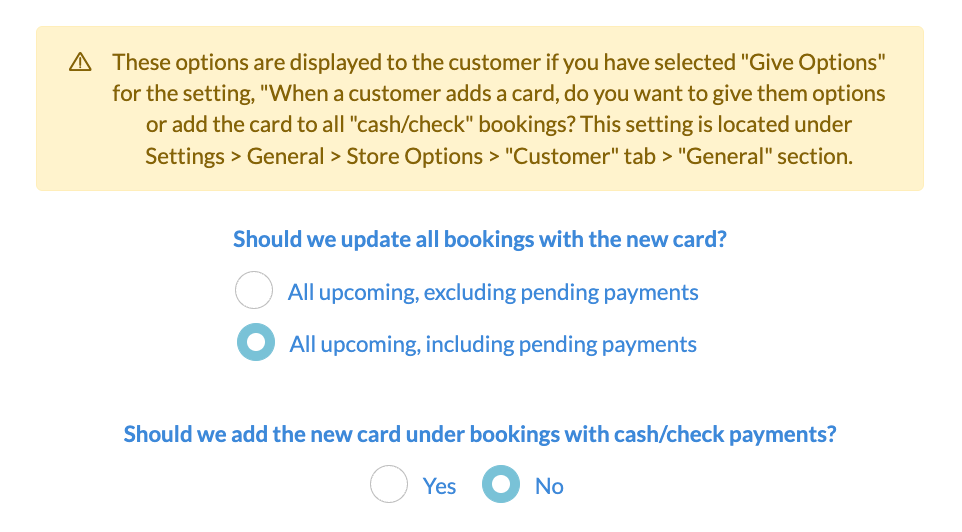
To change the questions and choices, click on the text and select the Edit button that appears on the top left corner of the section.
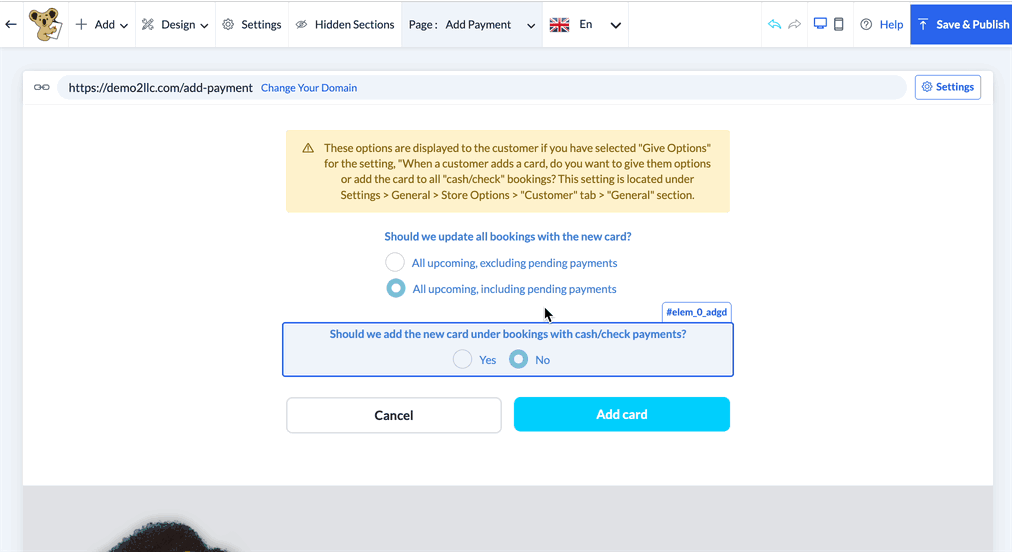
At the bottom of the page, there is a Cancel button to direct the client back to their billing section, and an Add Card button to save their new payment method. The Add Card button also redirects back to the customer dashboard's Your Info & Billing page.
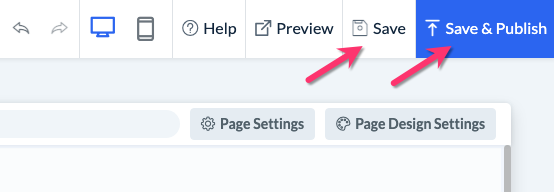
Save & Publish
When you are finished making edits to your page, please be sure to click the "Save" button to save your changes to the backend, or "Save & Publish" to push your changes live to your site.