The purpose of this article is to help you understand:
What is automatic rejection
How to set up auto-reject in forms
Where to view rejected prospect forms
How to set up auto-reject in quizzes
Where to view rejected quizzes
What is automatic rejection?
Automatic rejection is one of the settings options you have for your prospect forms and quizzes. You can enable this to automatically place your prospects in the "Rejected Prospects" list if they fail to meet your criteria when they submit a form or quiz.
For example, you may want to reject candidates who do not meet specific qualifications in an application-type form. Or, you can set up an auto-reject to occur when a prospect does not receive a passing grade on a quiz.
Setting Up Auto-Reject in Forms
If you have not set up a form yet, click here for more information on how to create and customize a new form.
To enable auto-reject in a form, go to Settings and click on the Prospects tab.
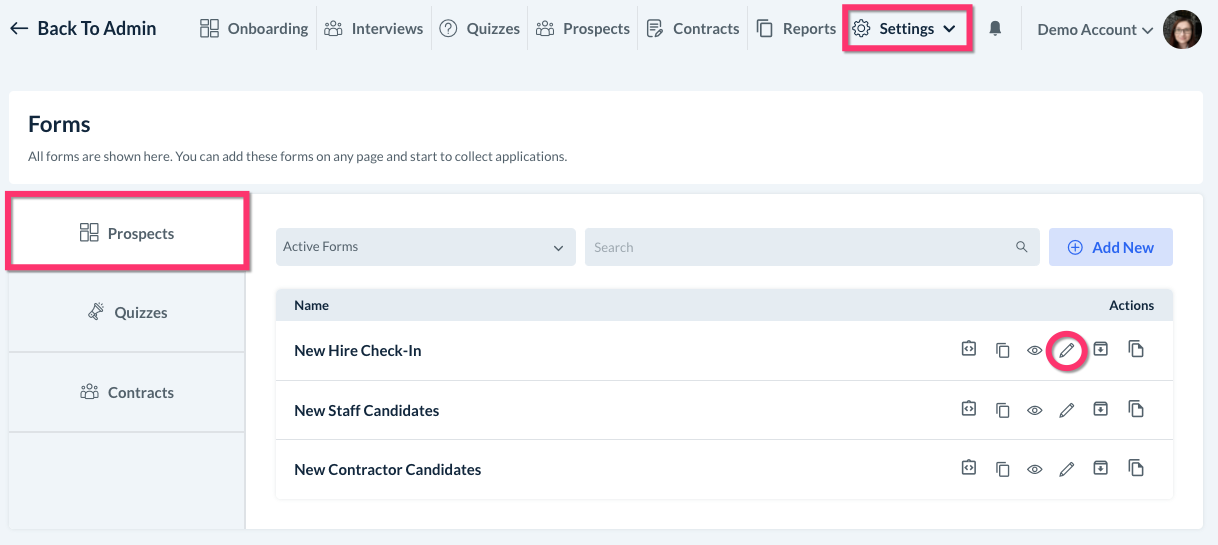
Click the pencil icon next to the form name to open the form builder.
Three different form elements have automatic rejection settings: dropdown, radio button, and multiple choice.
To enable auto-reject, click the element inside your form to open the element options menu on the right side of the page.
Scroll down to the bottom where it says Auto-Reject and toggle the button to Enabled. Then, designate the Rejected Value(s) in the box below. You can select multiple values if needed.
Remember to click Save or Save & Publish to update your new settings.

Viewing Rejected Prospects
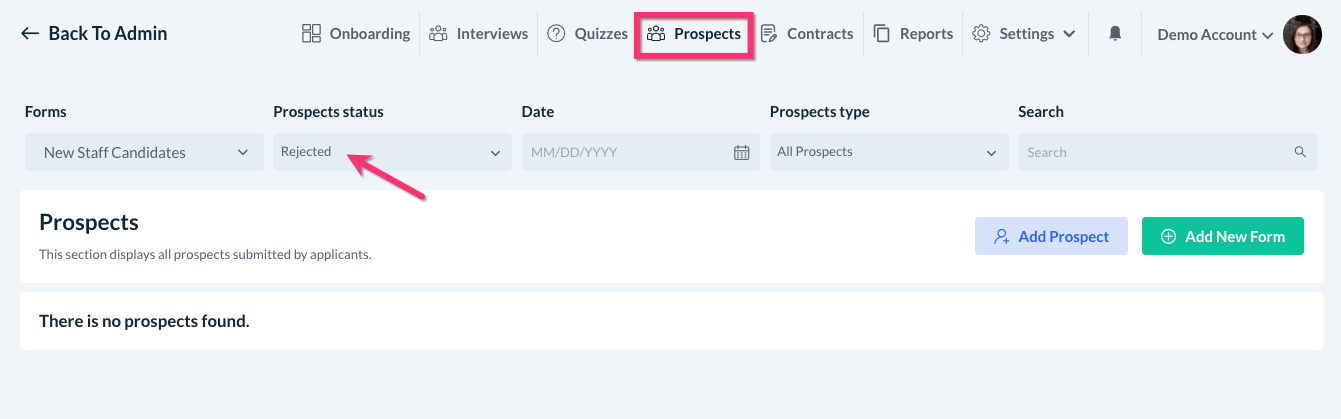
Now when a prospect selects the rejected value(s), their form will be automatically rejected upon submission.
To view your rejected prospects, go to the Prospects section and select "Rejected" from the Prospects status drop-down menu.
Setting Up Auto-Reject in Quizzes
To enable auto-reject for quizzes in your settings, you will first need to make sure your quiz has graded elements.
If you have not set up a quiz yet, click here for more information on how to create and customize a new quiz.
Setting Up Graded Elements
To set up your graded elements in your quiz, go to Settings, click Forms, and then click on the Quizzes tab.
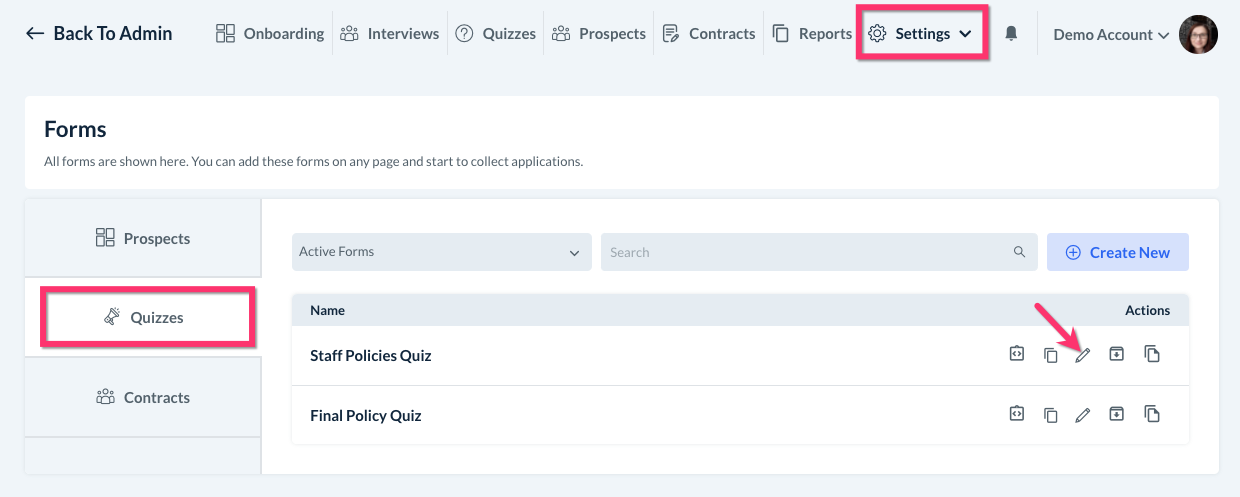
Click the pencil icon next to the quiz name to open the form builder.
Three form elements can be used for automatic grading purposes: Dropdown, Radio Button, and Multiple Choice.
To enable grading, click the element inside your form to open the element options menu on the right side of the page.
Scroll down towards the bottom where it says Graded and toggle the button to Enabled. Then, designate the Graded Value(s) in the box below. You can select multiple values if needed.

Remember to click Save or Save & Publish to update your new values.

Using "Non-Graded" Elements in Quizzes
You can also use other "non-graded" elements in your quizzes that do not have automatic grading. Non-graded elements cannot be set up for automatic grading because they require the prospect to manually type in an answer:
Text Input
Number
Multi-Line Input
The main difference is that these elements will need to be manually graded by the admin when the quiz is received. If you use any of these elements in your quiz, the status will read "Not Yet Graded" in the Quizzes section.

Click here to learn more about how to grade quizzes with non-graded elements.
Settings
Finally, to finalize your auto-reject settings for your quizzes, go to:
Settings > Settings > General
Scroll down to where it says "Should we automatically reject prospects based on quiz score?" and select "Yes".

Below this, use the arrows to set the minimum score required to pass the quiz.
Click the blue Save button at the bottom of the page to apply your new quiz settings.

The final score will be calculated as a percentage based on how many questions were answered correctly. Only the graded elements are used to calculate the score.
Click here to learn more about your other hiring settings.