The purpose of this article is to help you:
Change the access messages that are displayed when a provider or customer has been blocked from accessing their account
Access Settings
The Access Settings section under your General Store Options controls what your customers and providers see when they are blocked or deactivated.
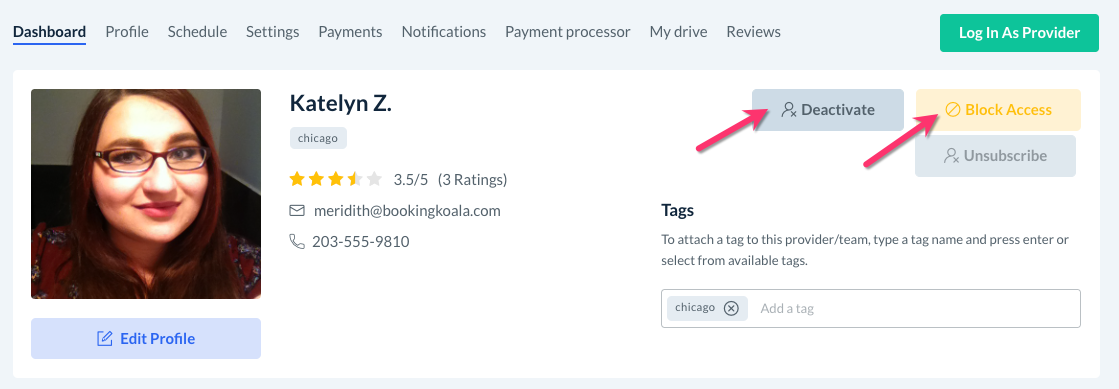
Providers can be blocked from accessing their account temporarily or deactivated by clicking on the provider's name and going to their dashboard. Click the grey "Deactivate" button or the yellow "Block Access" button at the top right corner of their profile.
Customers can be blocked from accessing their account temporarily or deactivated by clicking on the customer's name and going to their dashboard. Click the grey "Deactivate" button or the yellow "Block Access" button at the top right corner of their profile.

When the customer or provider goes to log in, a red notification will appear at the top center of the page, displaying the message in your settings.

To change these messages, go to:
Settings > General > Store Options > General
Click the plus sign icon to expand the "Adress Settings" section.

Customer Message
The default message for blocked or deactivated customers is, "We apologize for the inconvenience. Please contact our office if you have any questions." If you would like to change this, type your new message into the box below.

Provider Message
The default message for blocked or deactivated providers is, "We apologize for the inconvenience. Please contact our office if you have any questions." If you would like to change this, type your new message into the box below.

Remember to Save!
If you have made any changes, remember to click the blue "Save" button at the bottom left corner of the page to update your settings.