The purpose of this article is to help you learn how to:
Create a Square account
Flush out any test data
Connect Square as your payment processor
Connect multiple square accounts per location
Create a Square Account
First, you will need to create a Square account if you do not have one already.
For questions about how to set up your Square account, please contact Square Support for more information.
Once you've created your account, please be sure you have verified your identity so you can begin accepting payments. You can check if your account was verified during the setup process once you reach your Square Dashboard.
To check, click "Activate your account to take payments" just below where it says "Welcome to Square". There should be a blue checkmark to the right of "Verify your Identity".
If there isn't a blue check next to "Verify Your Identity", click the blue text to complete the verification process. You can also click this link to verify your account to accept payments.
Create a Square Application
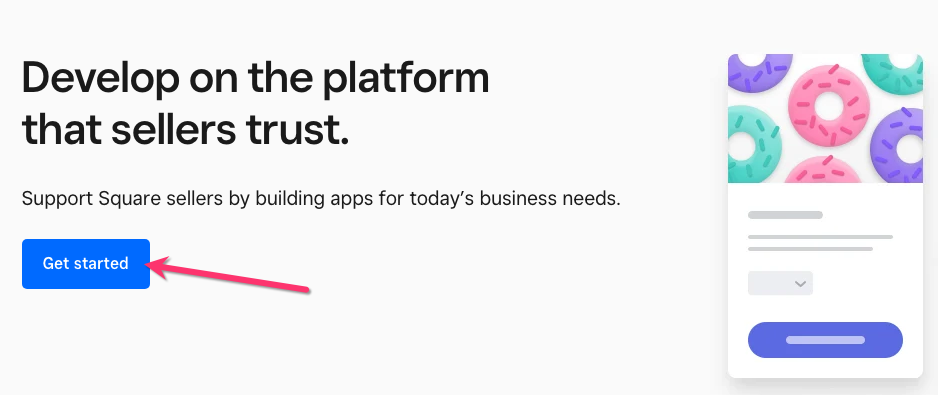
Next, click here to open your Square Developer dashboard. Click the blue "Get Started" button at the center of the page.
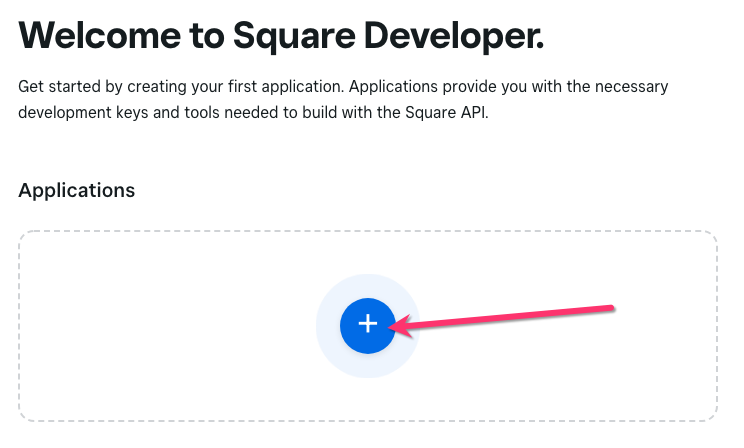
Then, click the blue + icon to begin building your first application.
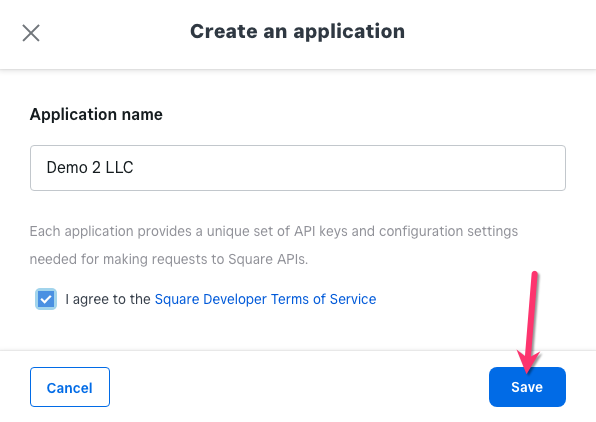
A pop-up window will appear. Create a name for the application and check the box next to "I agree to the Square Developer Terms of Service". Then click the blue "Save" button.
Next, click the white "Open" button to view the application's settings and switch to the "Production" tab to the right of "Sandbox".
Beneath the "Credentials" section, you will see an application ID and an access token. You will copy both of these codes to connect your Square account to BookingKoala.
Flush Your test data
Next, if you haven't done so already, you will need to flush the test data out of the system. Every new BookingKoala account includes a few fake customers, providers, and bookings to better help you understand the system and test your settings. It is important to flush the test data before incorporating your payment processor, as any existing bookings with payment options may affect the accuracy of your revenue and earnings reports.
Click here to learn how to remove the test data from your account.
Connect Your Square Account to BookingKoala
To connect your Square account, please go to:
Settings > General > Store Options > Admin
Scroll down to the Connect Payment Gateways section at bottom of the page. Next to the option "Enable or disable your payment processor", click the red "Disabled" button. A pop-up window will appear, click Yes to continue.
Next, click on the Square tab from the side panel.
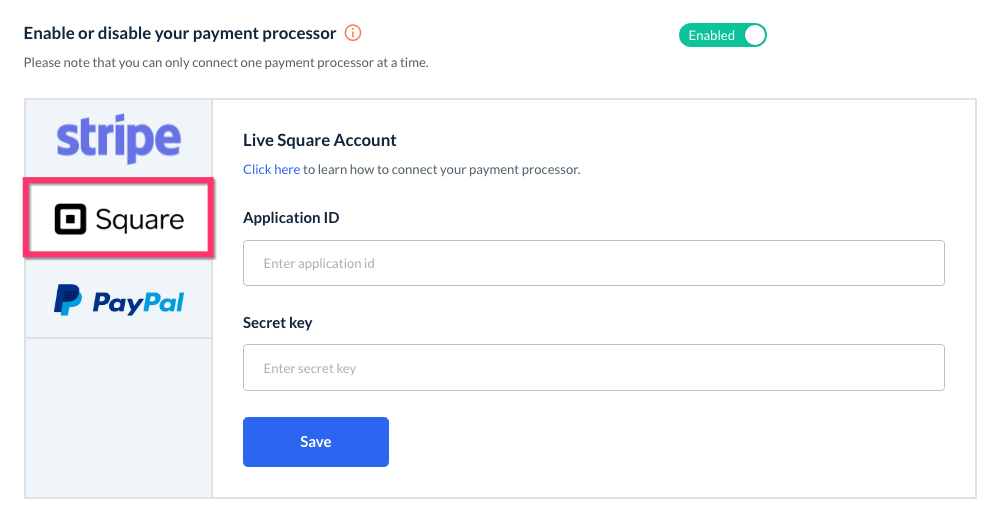
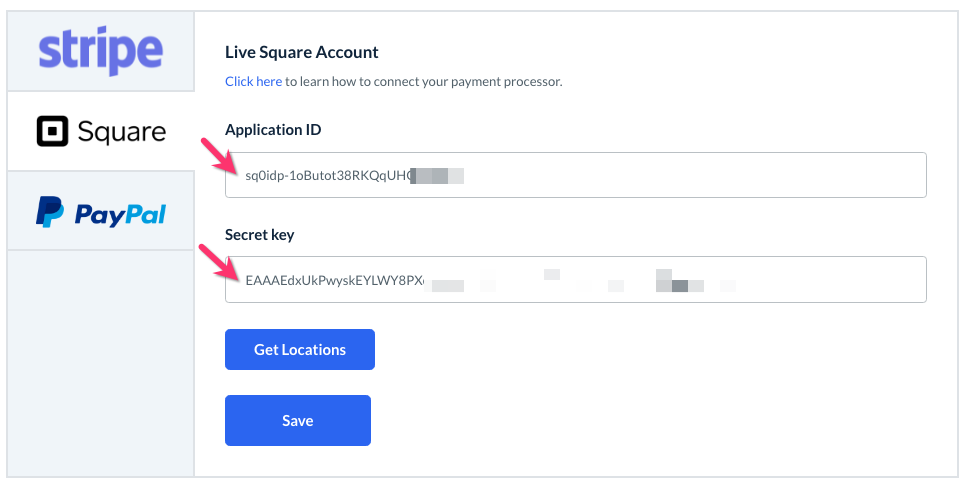
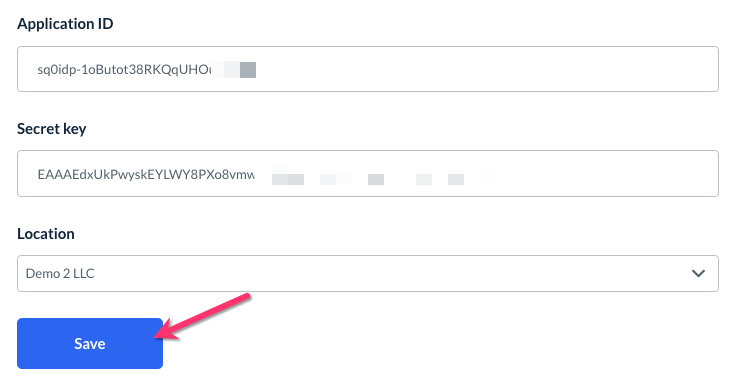
Copy the Application ID from your Square dashboard and paste it into the box labeled "Application ID". Next, copy the Acces Token and paste it into the box labeled "Secret Key".
If you do not want to connect more than one square account, click the blue "Save" button to finish connecting your account.
Square Accounts for Multiple Locations
If you service multiple locations, you will also see a blue "Get Locations" button below the Application ID and Secret Key boxes. This option allows you to link a specific Square application per location. You may use multiple square accounts for tax purposes or to separate your income.
If you want to set up different square accounts for each location, click the "Get Locations" button and the system will pull all locations you have created in you booking form(s).
Select which location you'd like to use this application for and then click the blue "Save" button.
Once you've saved your Square keys in the Admin Store Options tab, you will need to make sure your payment processor is linked to your locations.
If you have not set up your locations yet, please check out the article Setting Up Locations for Every Form.
To edit your locations, go to:
Settings > Industries > [Industry Name] > Form [#] > Locations
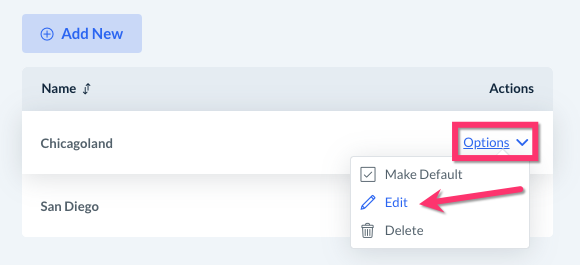
Next, select the Options menu next to your location and click Edit.
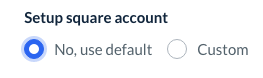
Click the blue Next button on the bottom of the first page to proceed to the second page where it says Setup Square account.
If you have one Square account that you will use for all of your payment processing, make sure "No, Use Default" has been selected. Anyone who books within this location will have their card information stored inside the stripe account you just connected in the Store Options settings.
If you have multiple stripe accounts, you can select the "Custom" option to set up which location is associated with each account.
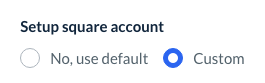
Some businesses operate with multiple Square accounts using one for each location. For example, let's say you have a location in Chicago and another in San Diego. If a client books for the San Diego location, their cards will be stored in San Diego Square only. If the same customer creates a new booking in Chicago, the card will be saved into the Chicago Square account separately.
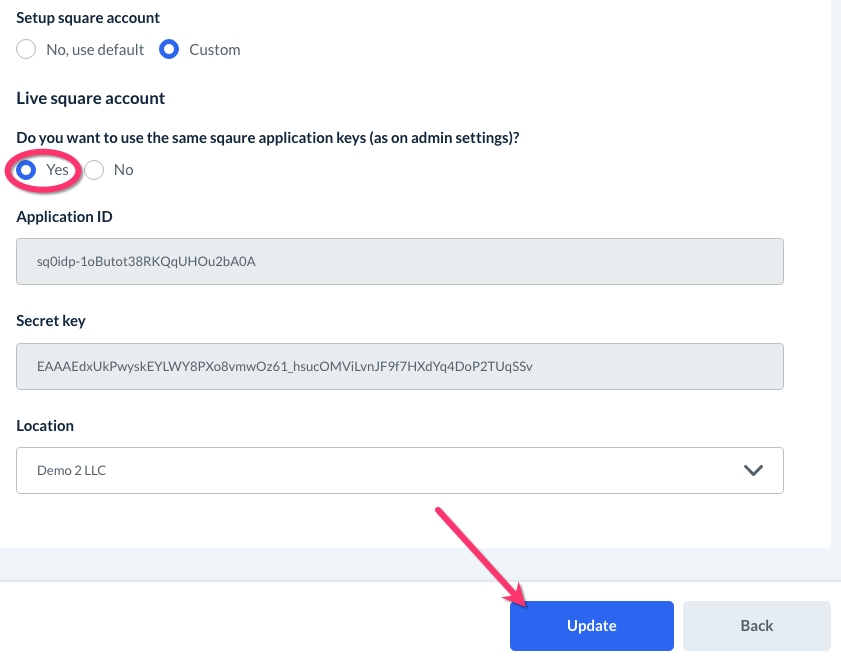
Once you select "Custom", you will see the question, "Do you want to use the same square application keys (as on admin settings)?" appear below. If you want to use the same Square account you just connected, select "Yes". Then click the blue "Update" button at the bottom right corner of the page.
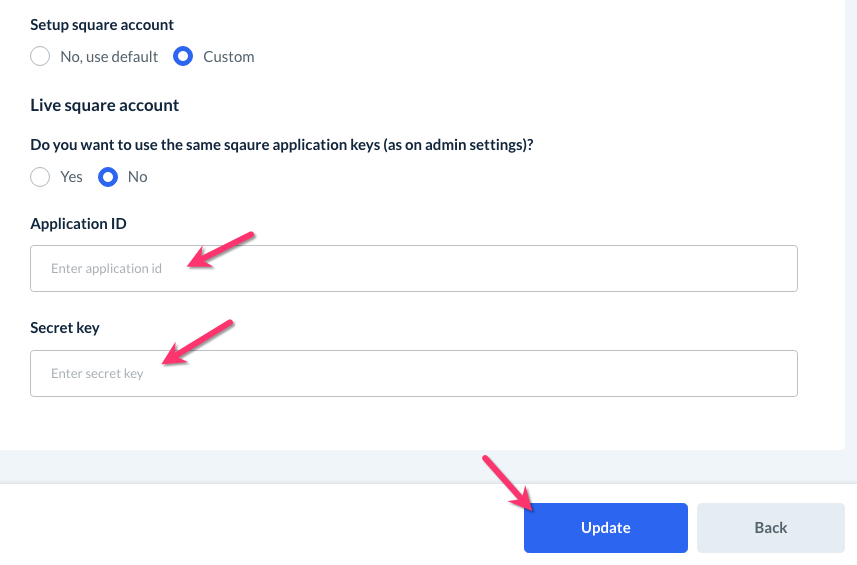
If you'd like to use a different Square application for the location, select "No" and then enter the application ID and secret key/access ID into the boxes below. Then click the blue "Update" button.
Once this is all set up, you will be able to collect credit and debit cards from customers.
Each time a user is charged the amount will be deposited into your Square account. From there you can decide where funds get deposited. To connect your bank accounts so funds go from Square to your desired bank account, please click here.