The purpose of this article is to help you learn:
What are coupons
How to create a coupon
How to set up the Facebook Share coupon
How to edit, deactivate, and reactivate coupons
What are coupons?
One of the many features that BookingKoala offers is the ability to create and offer your customers discounts via coupons. Coupons are special codes that your customer can apply to the discount section to receive a special promotional rate.
Coupons can be set up to offer fixed-rate discounts, like $20 off, or percentage-based discounts, like 15% off. You can choose whether the discount will affect your provider's payment or not.
You can create coupons for specific industries or booking forms, and decide whether a coupon can be applied with gift cards and referral credits.
You can create coupons that only work for a certain frequency, like one-time services or recurring services. You can also make coupons that only work for specific days or dates, or keep a coupon active indefinitely.
Coupons can be limited to new customers only or existing customers only. You can deactivate or reactivate a coupon at any time to discontinue or continue use with your customers.
The coupon section also contains an option to create a Facebook Share coupon. When enabled, customers can click a box on your booking form to share a custom post about your business. After sharing, they will receive a coupon code that can be applied to their service.
Once you've created coupons, you can use them in campaigns to promote your business and nurture your customer base or post them on social media. Coupons are a great way to track where your customers are coming from and influence your allocation of ads and social media activity.
You can search for coupon activity in the Reports section by clicking on the blue "Go To Reports" button and then entering the coupon code into the filter option.
Create a Coupon
To create a new coupon,
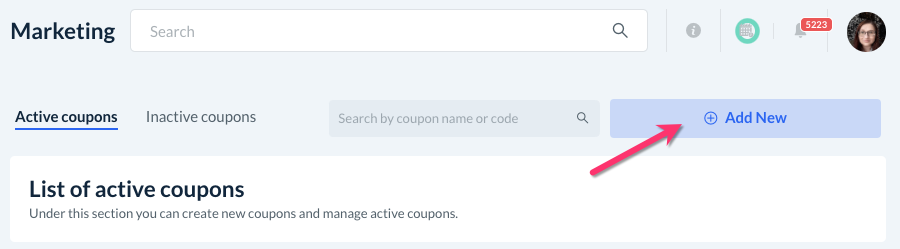
Marketing > Coupons
Click the blue "Add New" button at the top right corner of the page.
Start by creating a name for your coupon. This will be used to help identify the coupon. In the box below, enter the actual coupon code that your customers will type in to receive the promotion. For example, this coupon's code is "FB20".

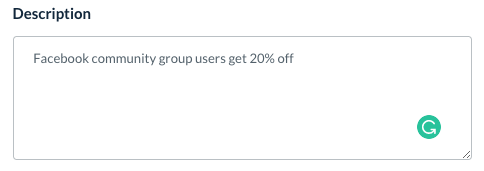
Below, you can enter a description of the coupon. This is for your and your staff's reference only.
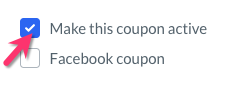
To make the coupon active and ready-to-use, check the box next to "Make this coupon active". Check the box next to "Facebook coupon" to set this as your FacebookShare coupon. This is discussed in greater detail in the following section.
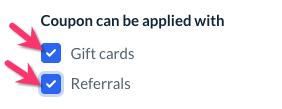
Under "Coupon can be applied with", check the boxes next to the other marketing tools that you'd like to allow this coupon to be applied alongside. If you check box boxes, customers can use this coupon code in combination with gift cards and referral credits.
Next, select the industry tab to decide which forms, locations, and service categories you'd like to allow this coupon to be used. Click the green "Enabled" button to switch it to "Disabled" if you'd like to turn off a coupon for a specific form or industry.
Check the boxes next to the locations and service categories you'd like to enable the coupon for. Unchecked boxes will disable the coupon for that category.
Discount
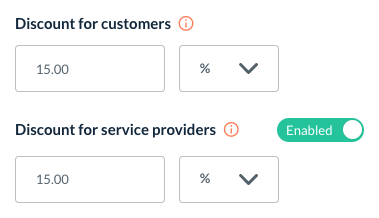
At the bottom of the page, select the "Discount" tab to set what discount your customers will receive when they apply this coupon. You can change the discount type from fixed-rate ($) to percentage-based (%) by clicking the drop-down menu.
If you would like for the discount to affect the provider's pay, click the read "Disabled" button to change it to "Enabled". Then, enter what amount their payment will be discounted by.
For example, if you want your provider's payment to receive the same discount as the customer, enter the same rate into both boxes.
Limitations
To set up your coupon's limitations, click on the "Limitations" tab.

Begin by selecting a Start Date for the coupon. This will be the first day the coupon will be considered active. If you'd like the coupon to expire, you can also select an End Date. If you leave this empty, the coupon will not expire.
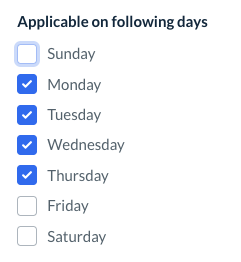
Check the boxes beneath "Applicable on Following Days" to select which days of the week the coupon can be used.
If you'd like for the coupon to be used on a specific date(s), check the box next to "Use on specific Date" and then select the date below. You can click the plus icon to add additional dates for the coupon.
If you want to set up a maximum number of times the coupon can be used, enter a number greater than 0 into the box beneath "Max Usage". Once the maximum has been met, this coupon will no longer be valid for further use. If you do not want to set a max use, leave the box set to "0".

Check the box next to "Single-use per users" if you only want to allow each customer to use the coupon once. If checked, the system will use the customer's email address to distinguish one user from the other, only allowing one use per profile.
The next set of questions pertains to setting an order minimum and order maximum for the coupon. For the coupon to work, the customer's total must meet a certain minimum and/or maximum price.
For example, if you set an order minimum of $50, the customer's service must be $50 or greater for this coupon to work. If you set an order maximum of $500, customers with services over $500 will not be eligible to receive a discount from this coupon.
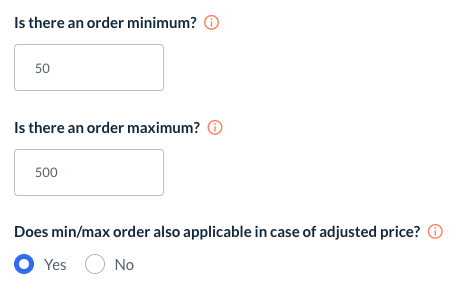
For the question below these boxes, select:
Yes - The minimums and/or maximums you set up will apply to bookings with manually adjusted prices under the Booking Adjustments section.
For example, if you adjust a booking price to $49 because it is less than the minimum of $50, the customer will not be able to use this coupon.
No - The minimum and/or maximum you set up will NOT apply to bookings with manually adjusted prices.
For example, if you have manually adjusted a booking price to $49, the customer will still be able to use the coupon, as the original service total was more than $50.
Under "Applicable For", decide whether you'd like All Customers, New Customers Only, or Existing Customers Only to use this coupon.

Beneath "Frequencies", select whether you'd like the coupon to be applicable for one-time bookings, recurring bookings, or both.
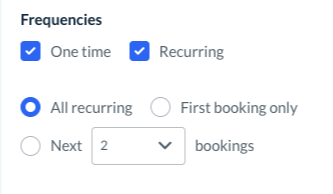
If you checked the box next to "Recurring", decide if the coupon's promotion will be applied to all recurring bookings, the first booking only, or the next [#] bookings (up to 12).
Then, answer the following questions:
Is the frequency discount also applicable with the coupon?
Select "Yes" to allow a frequency discount and the coupon's discount to affect the customer's total price.
Next, select an answer for, "Is coupon settings prioritized over frequency cancellation settings?
Select "Yes" to prioritize the coupon's cancelation settings over the frequency's cancelation settings when it comes to charging the customer a difference in balance.
Select "No" to prioritize the system's frequency settings when it comes to charging the customer a difference in balance upon cancelation.
Select "No" to disable the customer's frequency discount when applying this coupon.
If you selected "No" to this question, decide if you want to charge the full price of the service if it is canceled after the first appointment.
Select "Yes" to charge the customer the difference between the one-time rate and the discounted rate if they cancel after only one service.
Select "No" to let the customer keep the coupon discount even if they cancel after only one appointment.
Charge full price if service is canceled after the first appointment?
If you selected "Yes" to the previous question, you have an option to set how many appointments the customer must have to retain their recurring coupon deal.
For example, the customer must complete at least two bookings to retain the promotion received from this coupon.

Does the customer need to pre-pay when booking a recurring service to get this deal?
Select "Yes" to set how many bookings they must prepay for to receive this promotion.
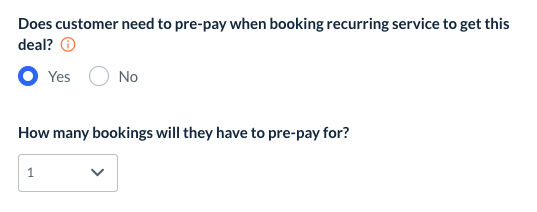
Select "No" so customers do not need to pre-pay to receive the promotion.
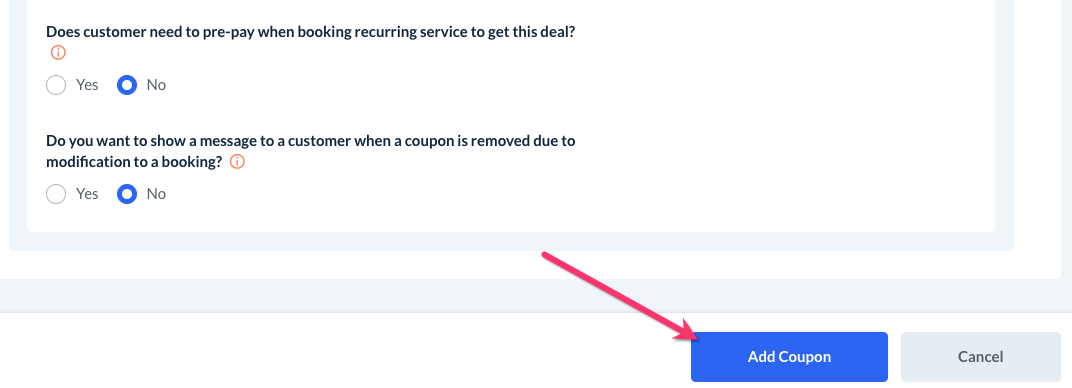
Do you want to show a message to a customer when a coupon is removed due to a modification to a booking?
Select "Yes" to show a pop-up message to let the customer know their coupon has been removed due to a selection they've made on the booking form. This will occur if the customer makes a choice that is not permitted without the coupon's settings.
Select "No" to hide any pop-up messages from showing. A customer may not notice that a coupon has been removed from the form if they've made different selections that warranted the removal of the code.
Advanced Settings
If you are a Premium Subscriber, you will have access to an Advanced Settings tab at the bottom of the "Add New Coupon" page.
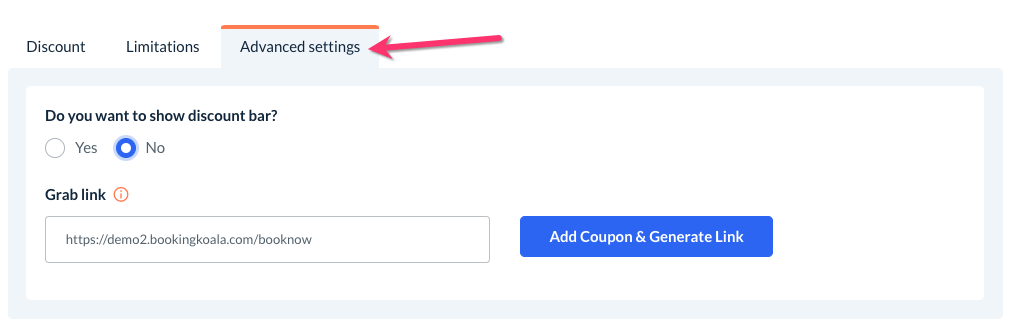
This allows you to generate a coupon link and/or set up a discount bar on your booking page that contains the coupon code. Click here to read more about how to set up a discount bar on your booking page.
A coupon link is a link to your booking page that contains the coupon you have just created. To generate the link, click the blue "Add Coupon & Generate Link" button.
A link will be generated for all of the industries and booking forms you have enabled. You can copy the link by clicking the blue "Copy URL" button.
From here, you can share the link with customers directly, add it to your marketing emails, or embed the link in a button on your site for a special promotion.
Remember to Save
Once you have finished making your selections for the coupon settings, click the blue "Add Coupon" button at the bottom of the page.
A green system notification will appear in the top-right corner of the page, letting you know that the coupon has been saved successfully. You will be redirected back to your Coupons page.
If the coupon you saved is active, it will appear in the "Active Coupons" tab in the top left corner of the page.
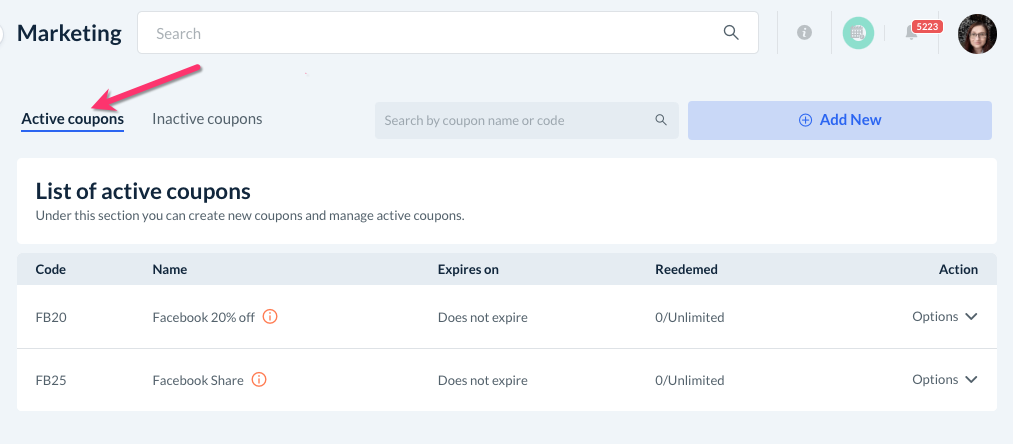
Coupons that are drafts or that have been deactivated are located in the "Inactive Coupons" tab to the right of it.
Set Up the Facebook Share Coupon
Click here to view our guide on how to set up the Facebook share coupon.
Edit, Deactivate, and Reactivate Coupons
To make any changes to an existing coupon, you will always go to:
Marketing > Coupons
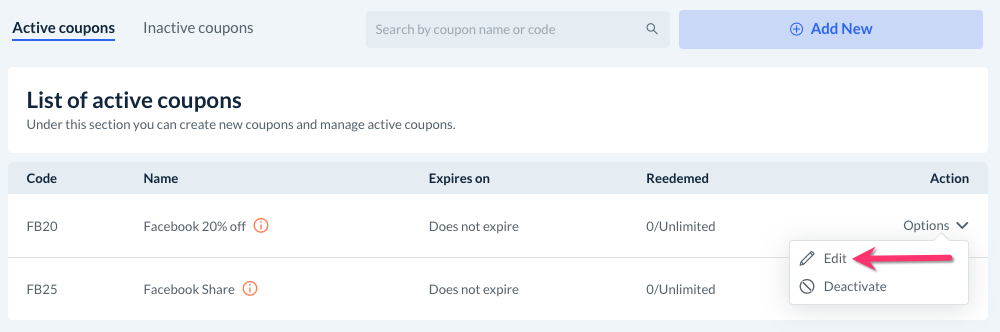
To edit a coupon, click on "Options", "Edit" to open the "Edit Coupon" page.
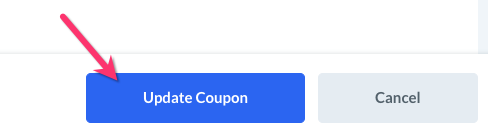
Be sure to click the blue "Update Coupon" button if you make any changes to the coupon's settings.
To deactivate a coupon, click on "Options", then "Deactivate".
A pop-up will appear, asking if you are sure you want to deactivate this coupon. Click the blue "Yes" button to proceed.
If you navigate to the "Inactive Coupons" tab at the top of the page, you'll now see your recently deactivated coupon listed below.
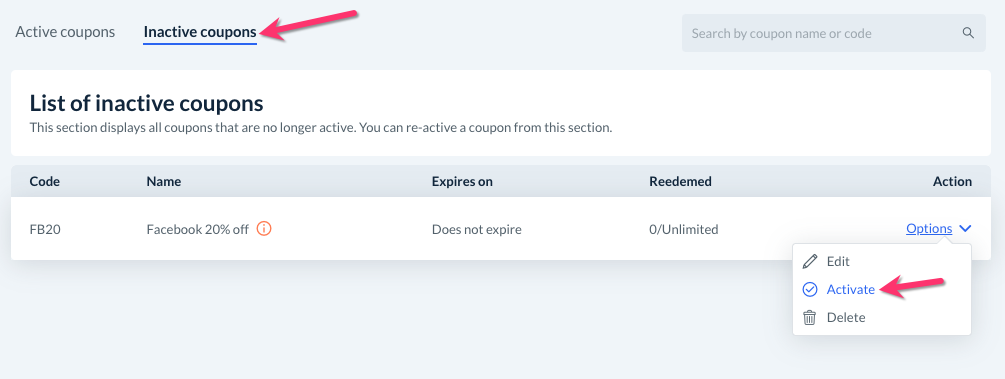
To reactivate a coupon, click on "Options", "Activate". A pop-up will ask if you are sure you want to activate this coupon again. Click the blue "Yes" button to proceed.
You can also delete coupons from the "Inactivate Coupons" tab by selecting "Options", "Delete", however, this will permanently remove the coupon and all associated data from your Reports section.
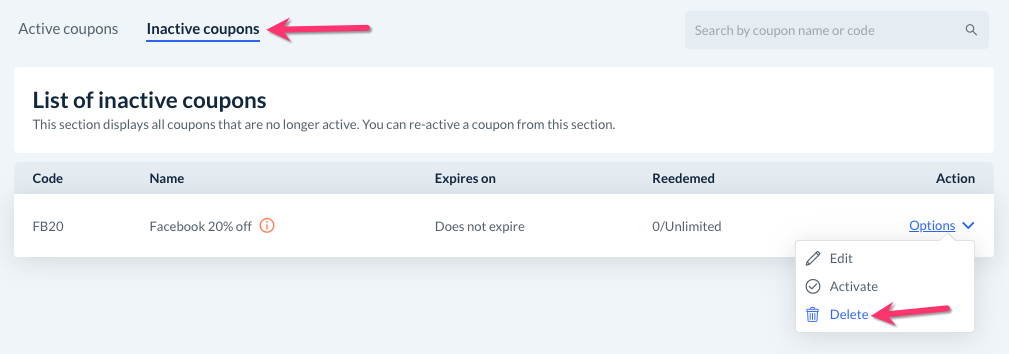
Please be sure to do this only if you are sure you do not want to see any data about this coupon again.