The purpose of this article is to help you learn:
What are gift cards
Set up your gift card settings
How to add custom images for gift cards
How to send a gift card to a customer
Where to view and manage existing gift cards
Before Your Begin
In order to sell gift cards from your BookingKoala site, you must have a Growing or Premium subscription.
Next, you must connect your account to a payment processor like Stripe, Square, or PayPal. Click here to learn how to set up and connect a payment processor.
Gift Cards
One of the great marketing features included with the Growing and Premium subscription is the ability to sell your customers virtual gift cards. Once you've connected your payment processor, customers can visit your "Gift Card" page and fill out the form to send a gift card to friends and family members.
Staff and admin can create gift cards from their BookingKoala dashboard as well, so you can fill out the form on behalf of a customer. You can choose to set a minimum for your gift cards or allow customers to purchase a gift card for any amount. You also have the option to allow customers to edit their gift cards so they can reload the balance.
Your BookingKoala account comes with several pre-loaded gift card images that your customers can pick from when purchasing a gift card. You can use these or upload your own custom gift card images.
Once a gift card has been purchased, the system will automatically track all purchases made with the gift card under the "Gift Cards" page under the "Marketing" tab.
Gift Card Settings
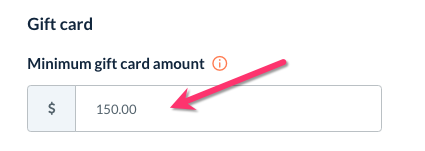
To set up your gift card minimum, please go to:
Settings > General > Store Options
At the top of the page, click on the Admin tab.

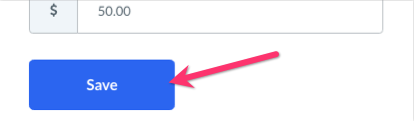
Under the "Settings" section, enter the minimum gift card amount into the box below.
Below this box, there is an additional question, "Are you able to edit a gift card to have a total less than its minimum requirement?"
Select "Yes" to allow dynamic gift cards. The admin will be able to create gift cards that are less than the minimum you set above. Customers will be able to edit gift card details like the name, balance, or message, but still must meet the minimum balance requirement.
Select "No" to disable this option. Admin must also meet the gift card minimum, and customers will not be able to edit their gift card once it has been created.
Next, decide if you would like to apply a gift card maximum by answering "Enable the maximum gift card amount limit?"
Select "Yes" to enter a maximum amount for your gift card purchases. Customers will NOT be able to purchase a gift card that exceeds this amount.
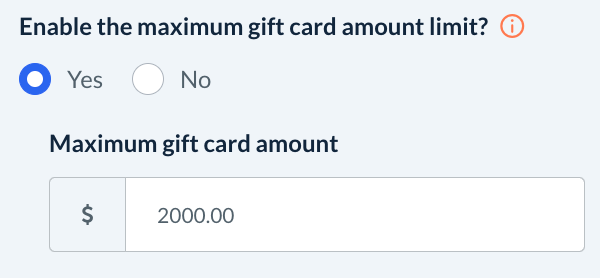
Select "No" to disable the maximum gift card amount limit.
Then, click the blue "Save" button at the bottom of this section.
Next, click on the "Customer" tab at the top of the page.

Scroll down to the "General" section and click the "+" icon to expand it.
Towards the bottom of this section, locate the question, "Which of these options would you like to allow customers to download invoices for?"
If you would like to allow your customers to download an invoice for their gift card purchase, check the box next to "Gift Card".

Next, select an option for, "Would you like to allow your customers to update gift cards inside their account?"
Select "Yes" if you would like a customer to be able to edit their name and reload the balance of their gift card.
Select "No" to disable editing gift cards from the customer end. Only the admin will be able to make changes to a gift card.
Finally, click the blue "Save" button at the bottom of the page to update your store settings.
Add Gift Card Images
If you'd like to view the gift card images that come with your account, please go to:
Marketing > Gift Cards > Gift Card Gallery
This is also the place where you can upload your own custom gift card images. To do so, click the white "Upload gift card image" button at the top center of the page.
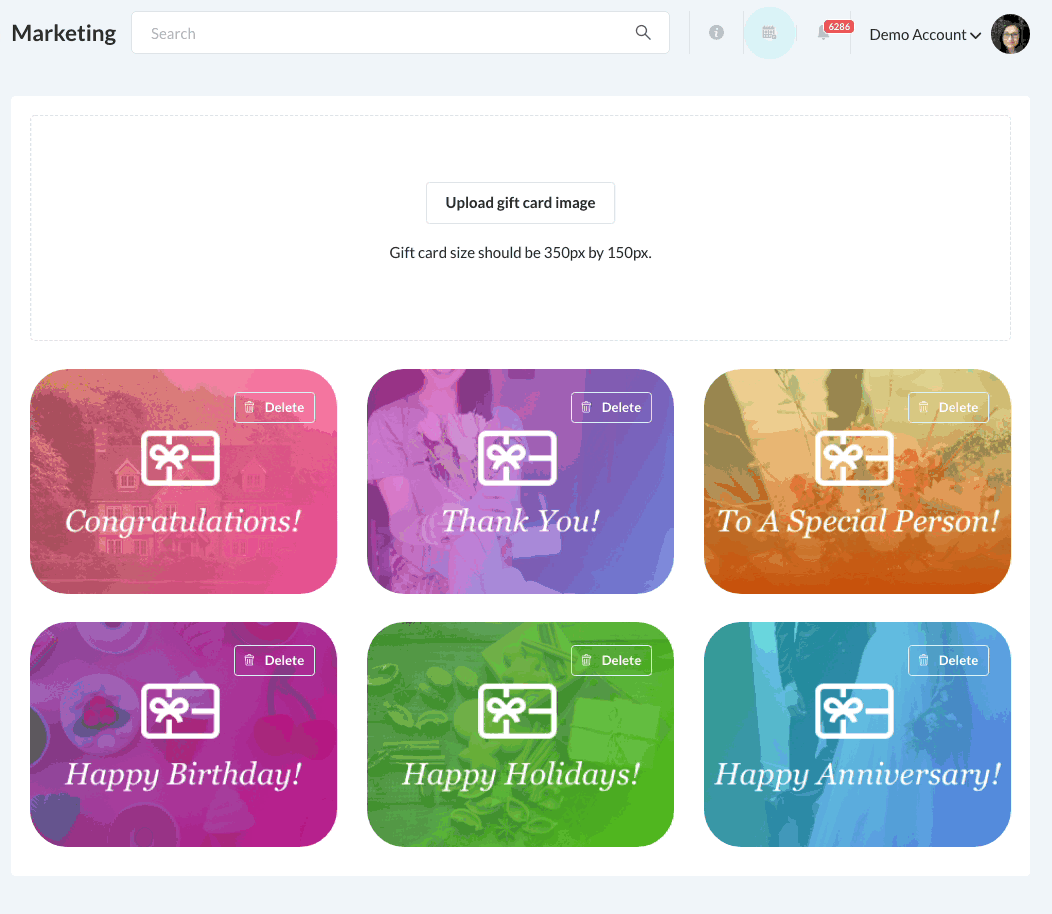
You can also delete a gift card image by clicking the white "Delete" button in the top right corner of the gift card. A pop-up will appear, asking if you are sure you want to delete this image. Click the blue "Yes" button if you are sure you do not want to use this image again.
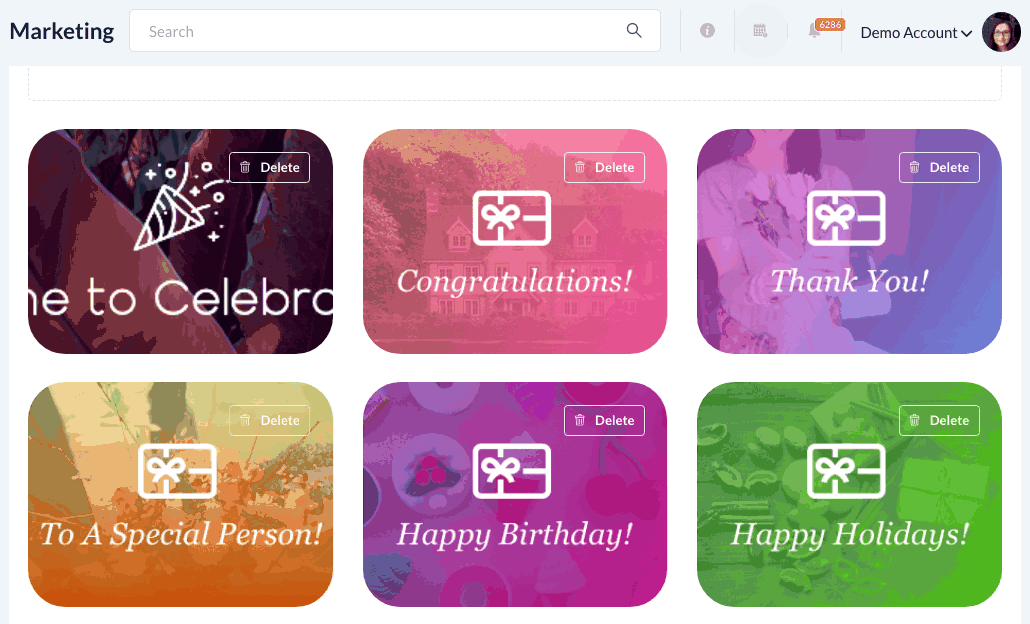
A green system notification will appear in the top right corner, letting you know that the image has been deleted successfully.
Send a Gift Card to a Customer
To generate a new gift card for a customer, go to:
Marketing > Gift Cards > Send Gift Card
This will bring you to the "Send Gift Card" page. From here, you can fill out the form on the behalf of a customer.
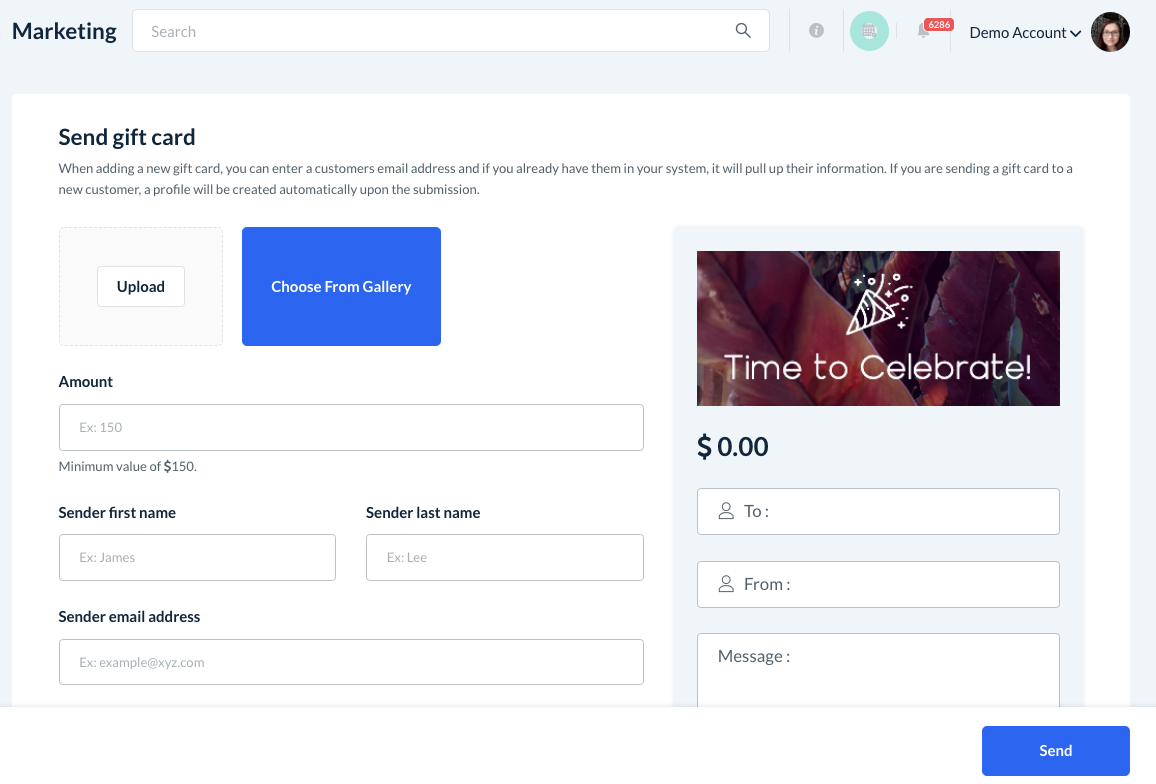
Click "Upload" to upload a new gift card image, or click the blue "Choose From Gallery" button to pick an image from your gift card gallery.
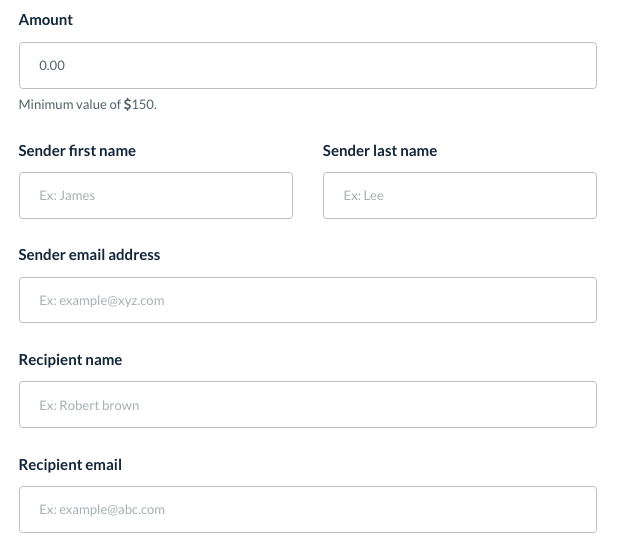
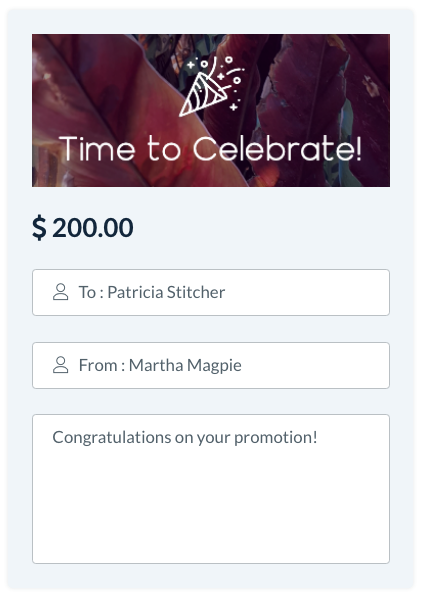
Next, enter the amount, sender first name, sender last name, sender email address, recipient name, and recipient email.
The sender must provide a first name, last name, and email address because a customer account will be created for them upon sending out the gift card. The customer account will be linked to the payment ID generated by the purchase, and they will now be able to log into your site to book or send more gift cards in the future.
Next, enter the message you would like to be shared with the recipient.
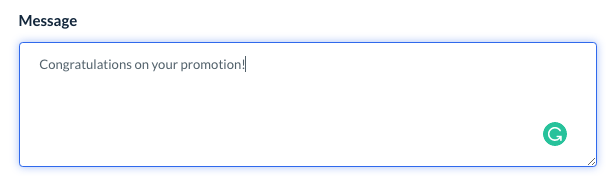
On the right side of the screen, you will see a preview of what the message will look like.
At the bottom of the page, you can select "Send it now" to send the gift card as soon as you click "Send", or "Sent it on a specific date/time" to set when it will be sent out.
If you would like to send an amount less than the required gift card minimum, check the box next to "Exclude minimum amount validation".

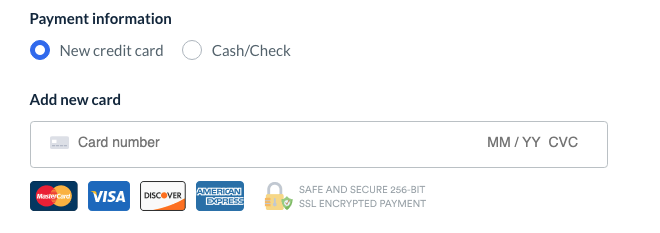
Lastly, enter the customer's credit card information into the "Payment Information" section at the bottom. The admin will have the option to select "Cash/Check".
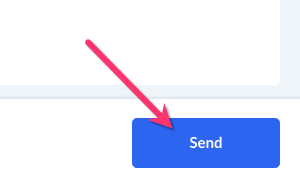
To save and send/queue the gift card, click the blue "Send" button at the bottom of the page.
Once the gift card has been sent, you will see a green system notification at the top right corner of the page letting you know that the gift card has been saved successfully. Then, you will be redirected to the "Gift Cards" page.
Manage Your Gift Cards
Once a gift card has been purchased/sent, you can view it under:
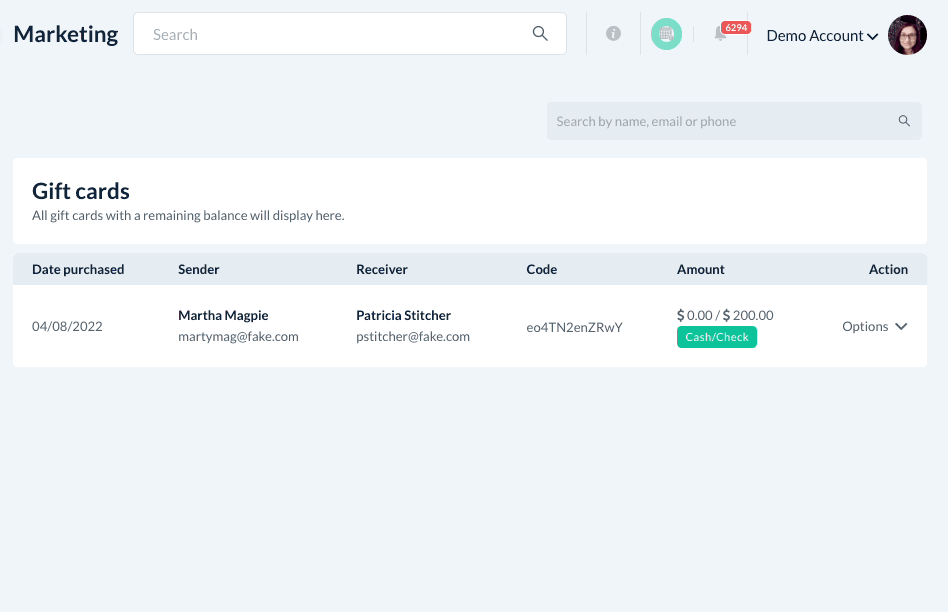
Marketing > Gift Cards > Gift Cards
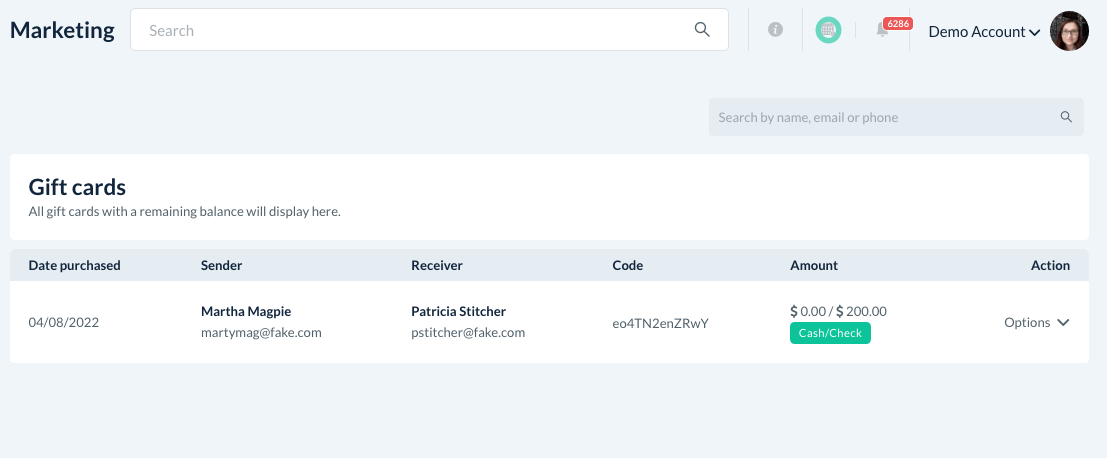
Here, you can view a list of all of the gift cards you have sold.

The date the gift card was purchased.
The sender's name and email address.
The receiver's name and email address.
The gift card code. This code is entered into the "Gift Card" box on the booking form to redeem the gift card.
The form of payment used to purchase the gift card.
The total spent with the gift card.
The original balance of the gift card.
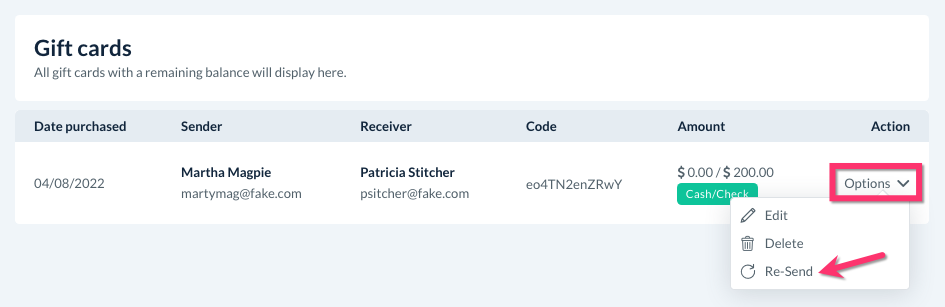
The action column contains options to View the gift card (if it has been used), or Edit/Delete/Resend it if it has not been redeemed yet.
If the recipient has not received a gift card, you can click on "Options", then "Edit" to open the gift card and verify that the receiver's email address is correct. This is important, as this email address is used to validate the gift card when the recipient books.
If you need to make changes to correct the email address, click the blue "Update" button to update the gift card.
You can then click "Options", then "Resend" to send the gift card out again.
If you want to delete a gift card, click "Options", then "Delete". A pop-up will ask if you are sure you want to delete this gift card. Once you do, the customer will no longer be able to use this code to redeem the gift card.
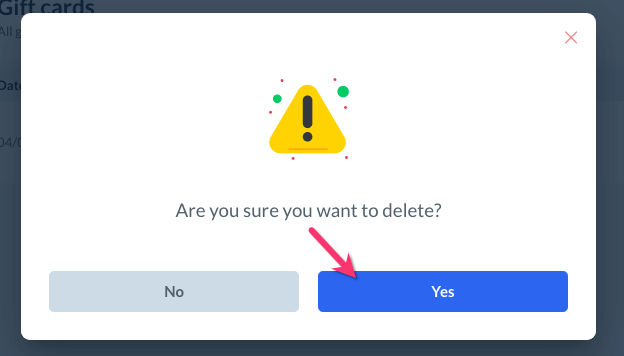
If you are sure, click "Yes" to proceed. You will see a green system notification letting you know the gift card has been deleted.
Redeem a Gift Card
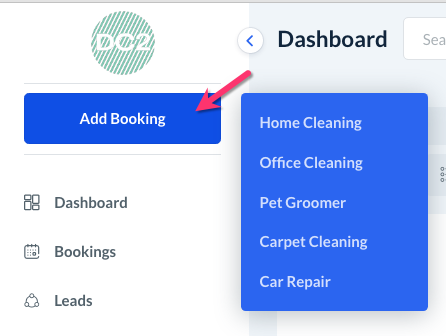
To redeem a gift card from the admin dashboard, begin by clicking the blue "Add Booking" button at the top of the left-side menu and filling out the booking information for the customer.
You must use the email address that the gift card was sent to when entering the customer's information. This will allow the system to validate the gift card and allow you to apply it to the customer's total. If you do not enter the correct email, you will see this message when you try to redeem the code
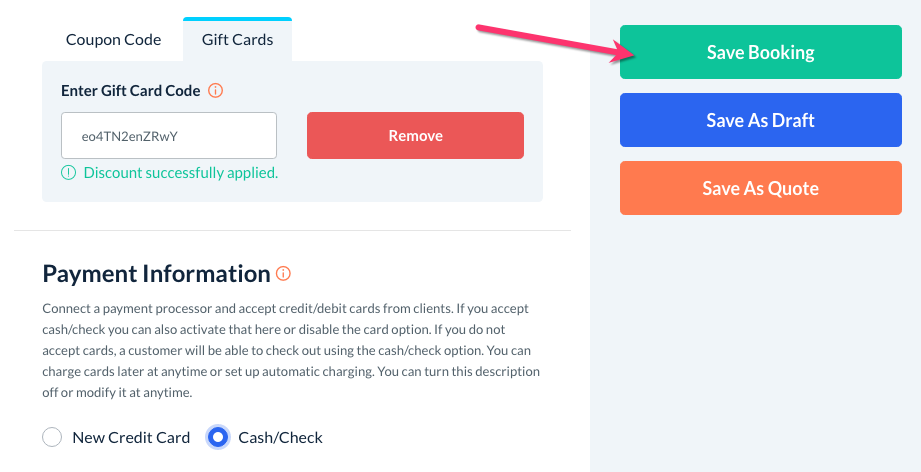
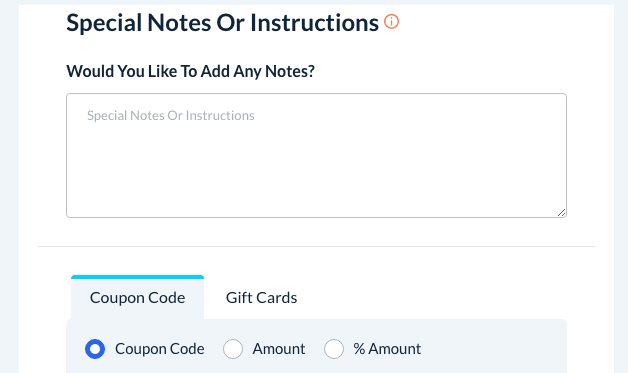
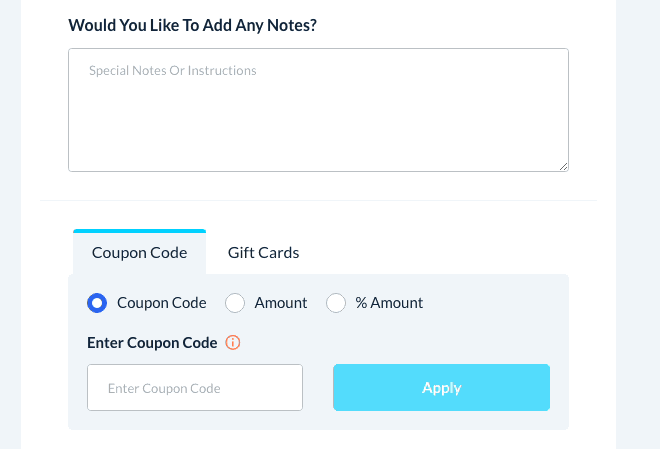
Next, scroll down towards the bottom of the form, until you see the "Coupon Code" and "Gift Card" tabs. Click on "Gift Cards".
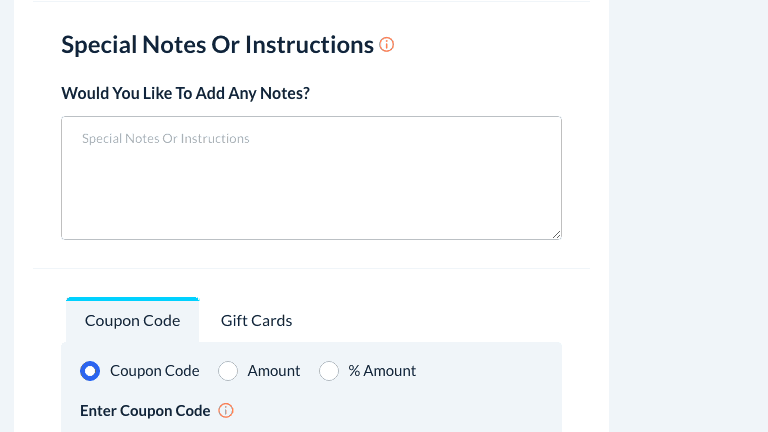
Paste the coupon code exactly as it is written into the "Enter Coupon Code" box, and then click the blue "Apply" button.
If you do not use the correct email, you will see an error message when you try to redeem it.
Once a gift card has been applied, the Payment Summary box will be updated to reflect the gift card discount.
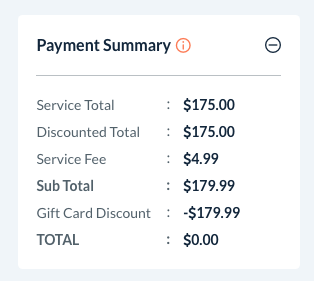
You can add another payment method on file under the "Payment Information" if the gift card doesn't cover the total balance.
Once you are finished entering the booking information, click the green "Save Booking" button to schedule the service.