The purpose of this article is to help you learn how to:
Create a new email template
Edit, Duplicate, or Delete a template
Create a campaign with an email template
What are templates?
A template is a file created with an overall layout and design. Once a template has been created, it can be applied or used to build one or more campaigns. In BookingKoala, you can create templates for both email and SMS campaigns.
For this article, we will discuss how to create an email template inside the Campaign Module.
Click here if you'd like to learn more about creating SMS templates.
Create a Template from a Layout or Theme
To begin, you will need to access the Campaign Module. From the left-side menu, click on:
Marketing > Campaigns
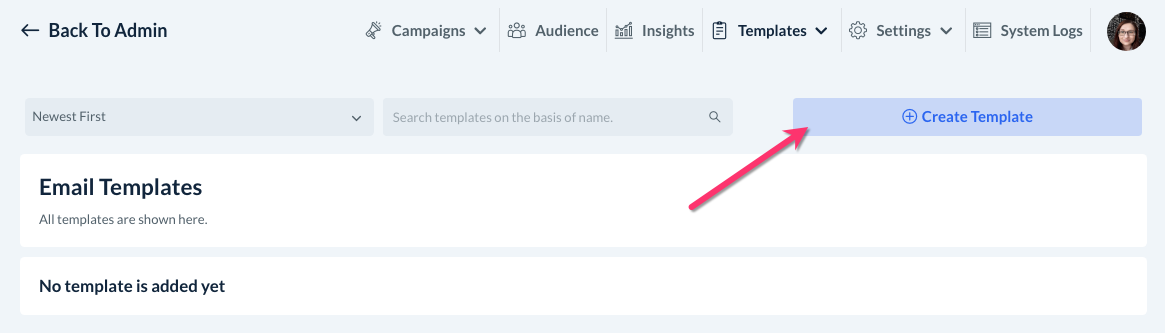
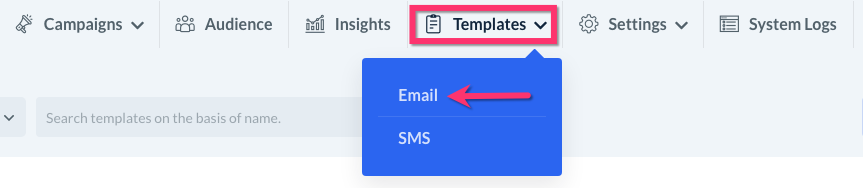
Click on the "Templates" tab at the top of the page and select "Email". Next, click the light blue "Create Template" button at the top right corner of this section.

There are three different ways to begin creating your template.
Select a basic layout.
Use a pre-built theme.
Code your own template.
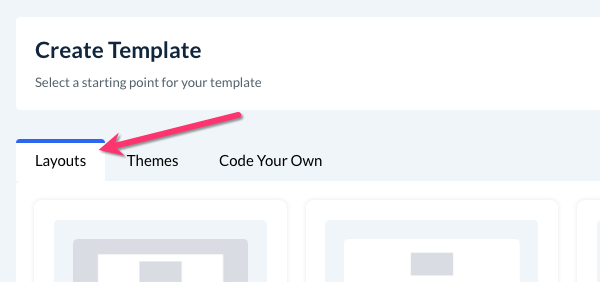
Layouts and Themes
Layouts have a basic structure differentiated by the number of columns, the width of email content, and the inclusion of spaces for media. The layout is filled with dummy text and images to serve as placeholders for your email.
There are 7 general layouts. To view them, select the "Layouts" tab.
Hover over each layout and click the blue "Preview" button to see the structure in greater detail. Use the desktop and mobile icons at the top right corner of the preview window to see how this layout looks for each type of device.
Themes are layouts that can be used immediately. These pre-built layouts already have images, text, and colors. Just like layouts, you can also edit themes to further customize the style of the email.
If you would like to view the pre-built themes, click the "Themes" tab at the top of the page.
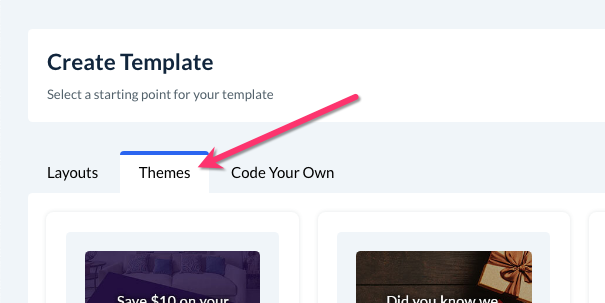
There are 8 different pre-built themes to choose from. Just like with layouts, you can hover your cursor over each theme and click the blue "Preview" button that appears. There are also desktop and mobile icons to see how the template will look on different device types.
To select a layout or theme, simply click anywhere except the "Preview" button to select it. Once you pick a template, you will be automatically directed to the email template editor to finish constructing the email.
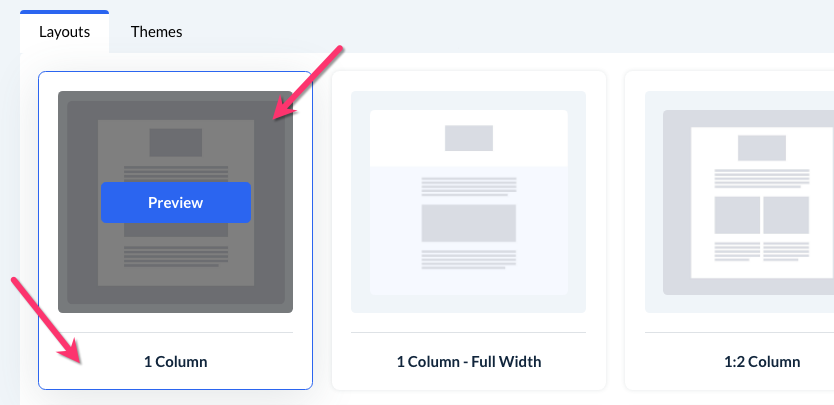
If you ever navigate back to this step and would like to choose a different template, your original selection will have a blue box around it.
Drag and Drop Editor
If you have selected to build your template by selecting a layout, theme, or uploading a JSON file, you can customize your template using the "Drag and Drop Editor".
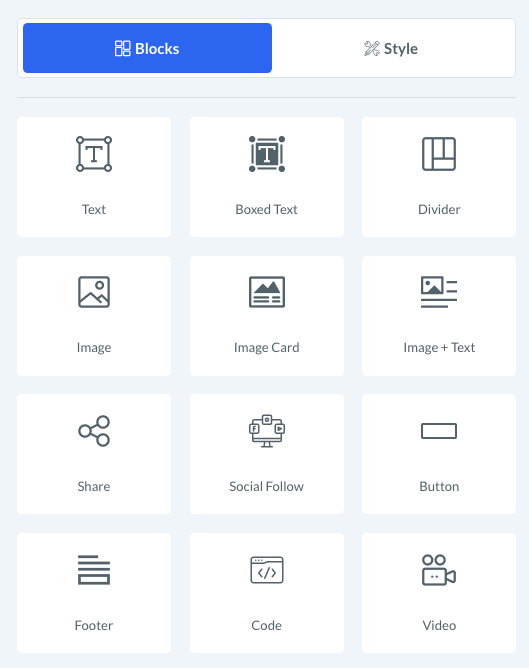
There are two different tabs in the editor: Blocks and Style.
To edit any blocks that are already included in your template or layout, click or hover over the block in the email body to reveal several action buttons.
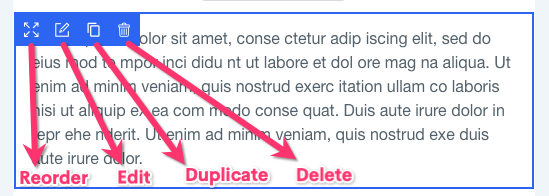
If you select the "Edit" icon, options to modify the block will appear in the right-side menu. Depending on the block, there may be additional tabs that control the content, style, or settings.
Once you are finished making any changes, be sure to click the blue "Save & Close" button at the bottom of the menu.
To add new blocks to your email, drag and drop any block from the right-side menu into the email.
There are 12 different blocks to pick from.
Text: Insert a section that contains plain text.
Boxed Text: Add a section of text with a high-contrast background color.

Dividers: Insert a line to separate blocks in your email.

Images: Add an image. The accepted formats are JPEG, PNG, or GIF. Each JPEG and PNG file can be up to 1 MB, and GIFs can be up to 3 MB.

Image Card: Insert an image that has a high-contrast background color and space for a caption.
Image + Text: Insert an image with space for a caption.
Share: Add icons that share a link when clicked.

Social Follow: Link your social media pages to icons.

Button: Add a button that directs the user to a website, email address, or phone number.

Footer: Add a customized footer at the bottom of the email.
Code: Insert custom HTML code into the email.


Video: Insert a video with a thumbnail and caption below it.

Switch into the "Style" tab to control the font size, colors, and other aspects of the appearance of your campaign.
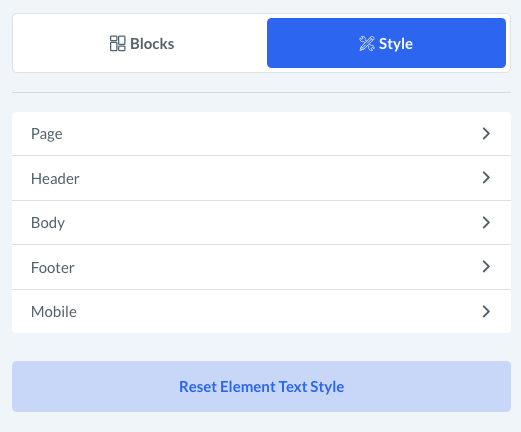
There are five different sections under the "Style" tab.
The "Page" section is to format the background colors or images, adjust the appearance of the template structure, and format fonts for each heading style.
The "Header" section can be used to format the links, style, padding, and text in the email's header.
The "Body" section formats the links, style, padding, and text in the email's body.
Click the "Footer" section to format the link, style, padding, and text in the email's footer.
Click the "Mobile" section to configure the size and line height of text displayed on a mobile device.
Please make sure you have clicked the light blue "Save" button at the bottom of the sidebar if you have made any changes you would like to keep.
Final Steps
Once you are finished constructing your email template, there are a few different actions you can take.
Export
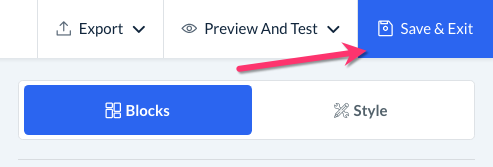
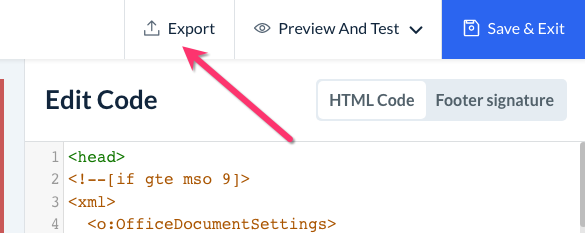
If you would like to export your template, click the white "Export" button at the top right side of the page.

Choose "Export As HTML" to export the template as an HTML file. The file will begin to download automatically.
Choose "Export Template" if you'd like to export the template as a JSON file. The file will begin to download automatically.
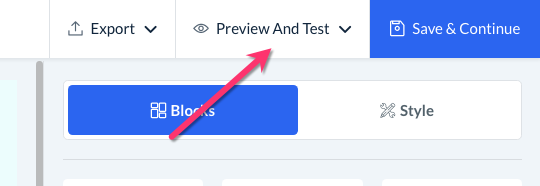
Preview and Test
Once you are finished formatting the email, you can click the white "Preview And Test" button at the top right corner of the page.
Select "Enter Preview Mode" to preview your email for desktop and mobile devices. Click the red X icon in the top right corner of the box to exit the preview pop-up.
Select "Send Test Email" to email the template to yourself or another interested party. Enter the email address into the box and then click the blue "Send" button. If successful, you will see a green system alert in the top right corner letting you know the test email has been sent.
If you receive a red error message, the email address you entered has not been verified in the Campaign Module. Once you've saved your draft, go back to the campaign dashboard and select Settings > Notifications.
Scroll down to the "Default Send Out Email" and click the blue "Change" button.
A pop-up window will appear. If you have verified other email addresses in your BookingKoala account, you can select "Already Saved" to switch to an existing sender email and click "Update".
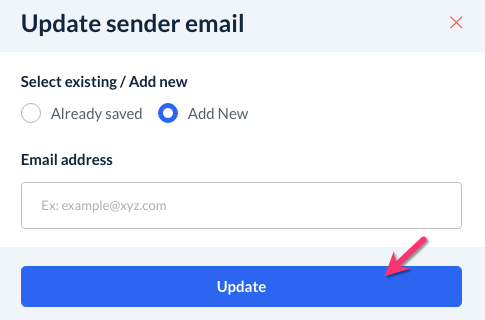
If you need to add a new email address, select "Add New" and enter the email into the box below. Click the blue "Update" button to proceed.
A green system notification will appear in the top right corner letting you know a verification email has been sent to the new email address. Visit your inbox and complete the process by clicking the link in the email.
Click here for more detailed instructions on how to verify sender email addresses.


Save & Exit
The most important step to take once you've finished creating your email template is to save it for future use. Click the blue "Save & Exit" button at the top right corner of the page.
Code Your Own Template
Instead of using layouts or themes, you can choose to code your own template. This option is helpful if you are comfortable working with custom code or have a file with a finished template.
You will begin the same way as if creating a template from a layout or theme. Click on the "Templates" tab at the top of the page and select "Email".
Next, click the light blue "Create Template" button at the top right corner of this section.
Click on the "Code Your Own" tab near the top of the page.
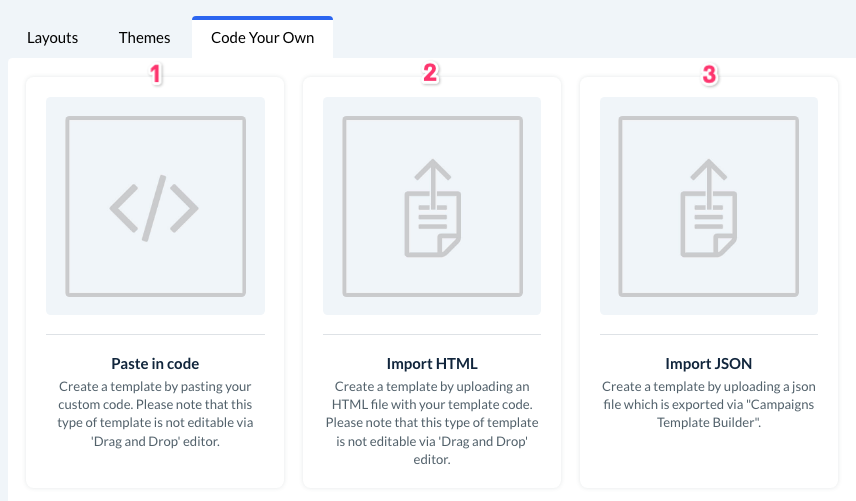
There are three specific options for coding your own template.
Paste in code
Import HTML
Import JSON
Paste in Code
To use "Paste in code", hover over the option with your cursor and click on the blue "Paste in code" button.
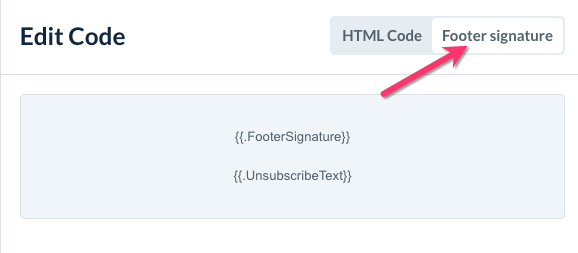
You will be given a basic template that you can modify using HTML code or replace the code altogether. Once you have edited the code for the body of the template, click the "Footer Signature" tab to enter/edit the code for the template's footer.
Please Note: This type of template is not editable using the "Drag & Drop Editor" discussed later on in this article.
Import HTML
To use "Import HTML", hover over the option with your cursor and click on the blue "Import HTML" button.
A pop-up window will appear where you will enter the template name. Click the blue "Browse" button to select an HTML file to upload. Click the light blue "Import" button to continue.
You can modify the template you've uploaded using HTML. Click the "Footer Signature" tab to edit the code for the template's footer.
Please Note: This type of template is not editable using the "Drag & Drop Editor" discussed later on in this article.
Import JSON
In addition to HTML files, you can also import JSON files to begin building your template. Hover over the option with your cursor and click on the blue "Import HTML" button.
A pop-up window will appear where you will enter the template name. Click the blue "Browse" button to select a JSON file to upload. Click the light blue "Import" button to continue.

Unlike the "Paste In Code" or "Import HTML" options, you can modify the template you've uploaded using the "Drag & Drop Editor" discussed earlier in this article.
Export (Import HTML and Import JSON only)
If you would like to export your template, click the white "Export" button at the top right side of the page. If you used the Import HTML option, you can export your template as an HTML file.
If you used the Import JSON option, you can export the file as an HTML file or a JSON file.

Choose "Export As HTML" to export the template as an HTML file. The file will begin to download automatically.
Choose "Export Template" if you'd like to export the template as a JSON file. The file will begin to download automatically.
Preview And Test (All Options)
Once you are finished with your changes, you can use the white "Preview And Test" button to enter preview mode and send a test email.
Select "Enter Preview Mode" to preview your email for desktop and mobile devices. Click the red X icon in the top right corner of the box to exit the preview pop-up.

Select "Send Test Email" to email the template to yourself or another interested party. Enter the email address into the box and then click the blue "Send" button. If successful, you will see a green system alert in the top right corner letting you know the test email has been sent.
If you receive a red error message, the email address you entered has not been verified in the Campaign Module. Once you've saved your draft, go back to the campaign dashboard and select Settings > Notifications.
Scroll down to the "Default Send Out Email" and click the blue "Change" button.
A pop-up window will appear. If you have verified other email addresses in your BookingKoala account, you can select "Already Saved" to switch to an existing sender email and click "Update".
If you need to add a new email address, select "Add New" and enter the email into the box below. Click the blue "Update" button to proceed.
A green system notification will appear in the top right corner letting you know a verification email has been sent to the new email address. Visit your inbox and complete the process by clicking the link in the email.
Click here for more detailed instructions on how to verify sender email addresses.


Save & Exit
If you are finished with previewing and testing the template, click the blue "Save & Exit" button to save your template.
A "Save Template" pop-up will appear if you have not previously entered a template name. Once you add a name for your template, click the blue "Save" button.
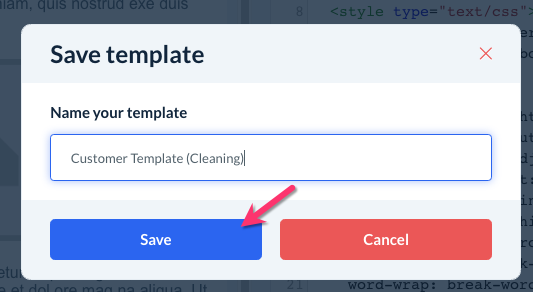
A green system notification will appear in the top-right corner letting you know your email template has been saved successfully.
Template Uses and Options
Once you've saved your template, you can always go back to it by clicking on "Templates" at the top of the Campaign Module and selecting "Emails".
Your templates will be listed in the section below. Click "Options" under the "Actions" column to view different actions to take with a template.
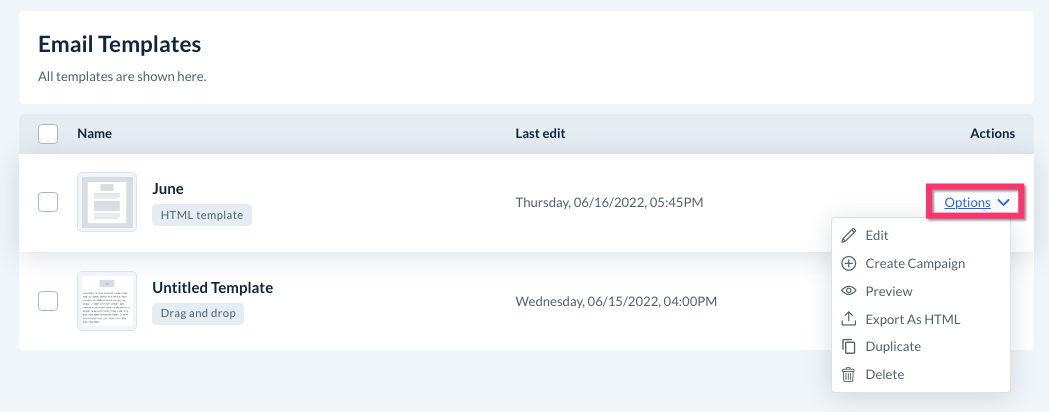
You can:
Edit the template
Create a manual campaign using the template
Preview the template
Export the template as an HTML file
Duplicate the template
Delete the template
In addition to these options, you can also select any of your saved templates when creating an automated email campaign.
Edit a Template
Click "Edit" to open the template editor and make changes.
Remember to click the blue "Save & Exit" button once you are finished.
Create a New Campaign with a Template
Click "Create Campaign" to launch a new manual campaign using this template.
Click here to learn how to set up a manual email campaign.
Preview a Template
Click "Preview" to open a pop-up with a preview of your template. Use the desktop and mobile icons to change the preview based on device type.
Click the red "X" icon to close the window.
Export a Template as an HTML File
Click "Export as HTML" to download an HTML file of your template. The download will begin automatically.
Duplicate a Template
Click "Duplicate" to make an exact copy of a template. A pop-up window will appear, asking if you are sure you want to duplicate this template.
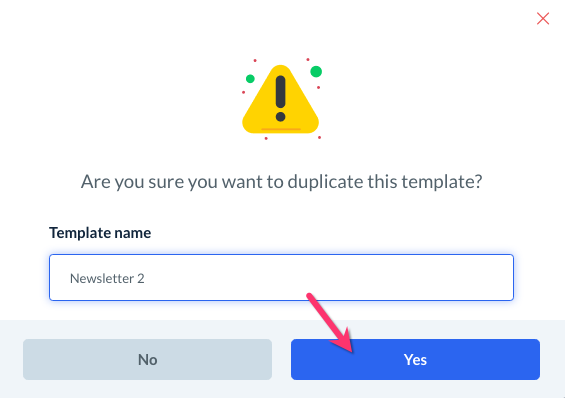
If you are sure, enter a new name for the template and click the blue "Yes" button. An identical template with a new name will be added to your list.
Delete a Template
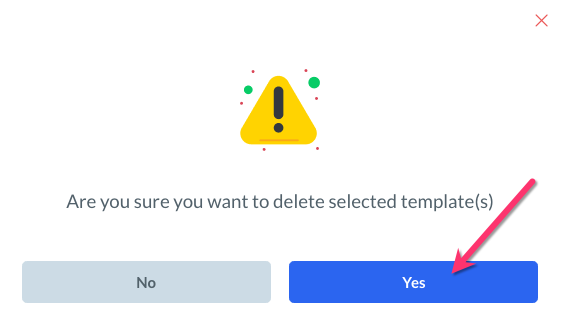
Click "Delete" to delete a template from your account. A pop-up window will appear asking if you are sure you want to delete this template. The template cannot be restored after this step.
If you are sure, click the blue "Yes" button to proceed and the template will be removed from your list.
Use a Template for an Automated Email Campaign
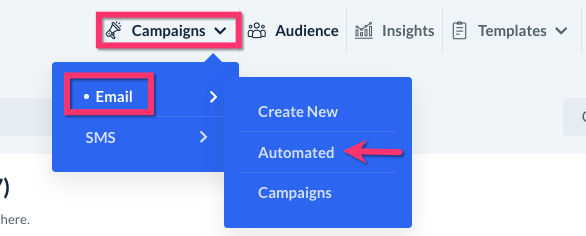
If you would like to use a template to start creating an automated campaign, click on the "Campaigns" drop-down menu at the top of the page and select "Email", then "Automated".
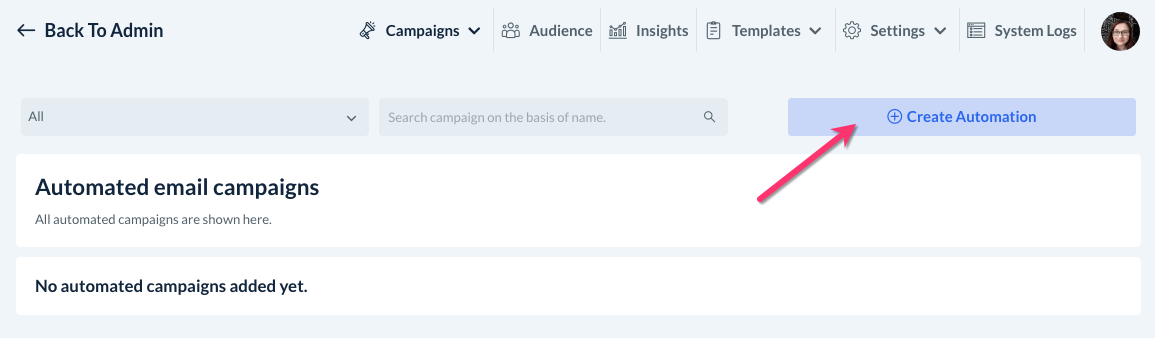
Click the blue "Create Automation" button in the top-right corner of the screen to begin making the campaign.
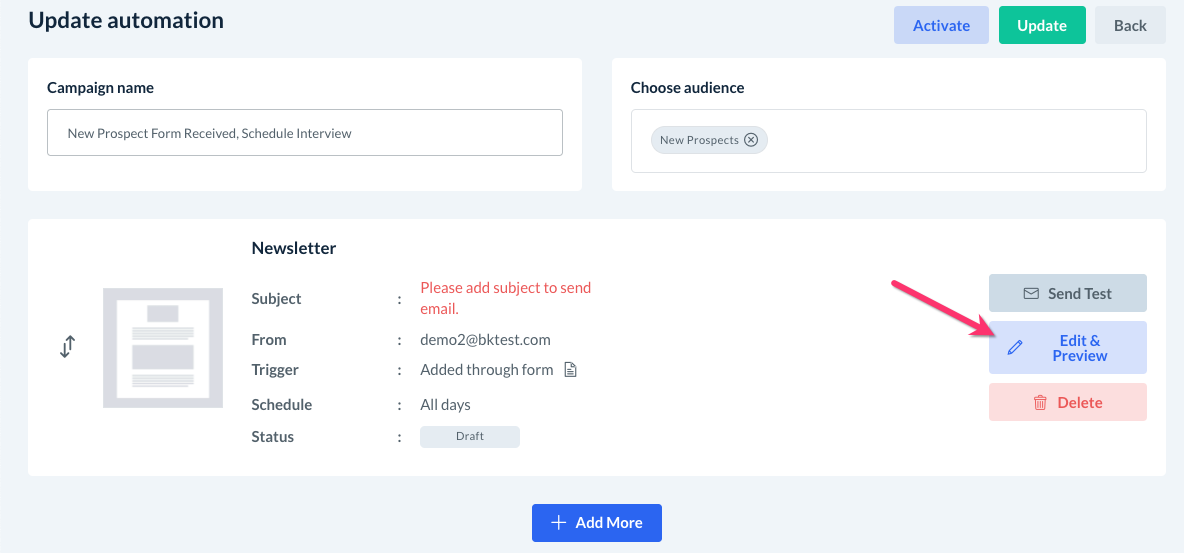
Enter the Campaign Name into the first box, and then select which Audience you will connect to this campaign. Click here to learn how to create and edit audience lists. Click the blue "Add" button to generate the new campaign.
You will be brought to the "Update Automation" page. To select an email template, click the blue "Edit & Preview" just below where it says "Send Test".
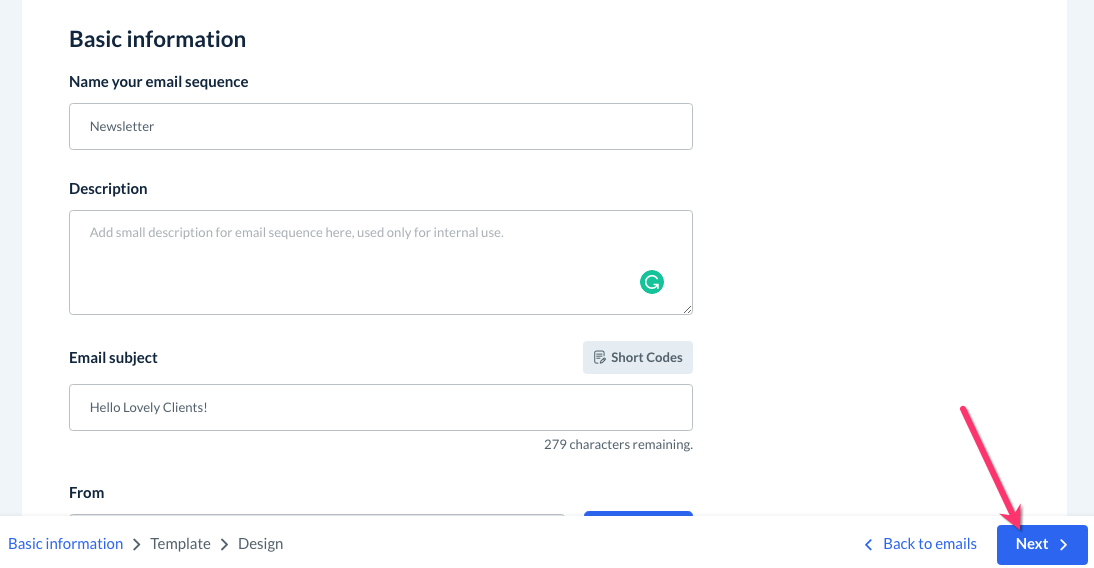
Fill out the "Basic Information" section and then click the blue "Next" button at the bottom of the page.
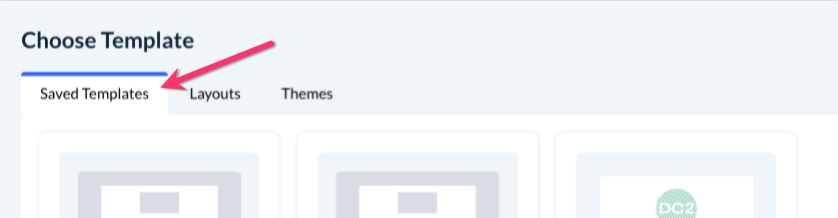
Under the "Choose Template" section, click the "Saved Templates" tab at the top left of the page.
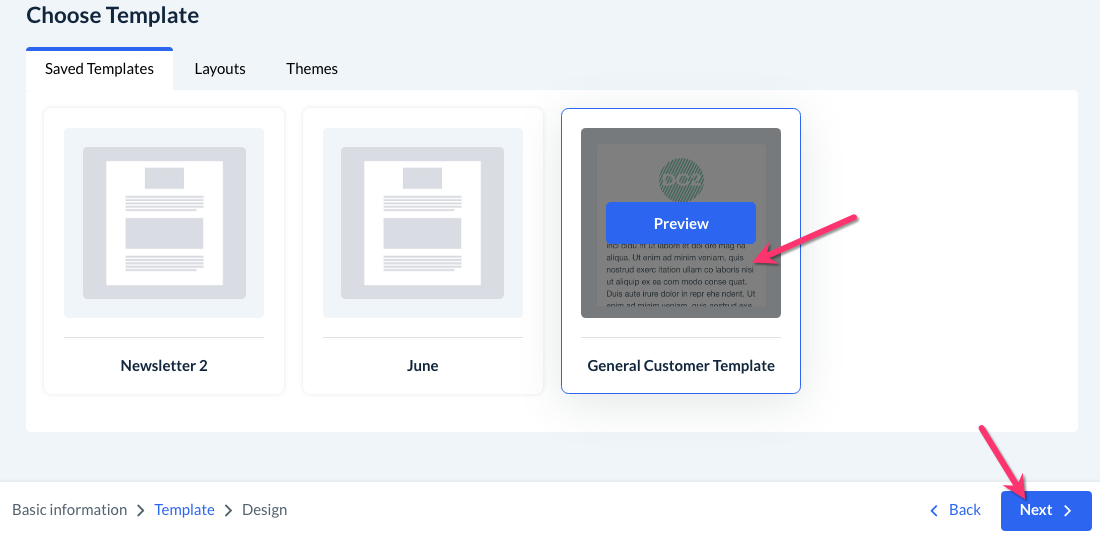
Click on the template you would like to use and select the blue "Next" button at the bottom right corner of the page.
From here, you can finish editing and building your campaign. Click here to view a detailed guide on how to create automated campaigns.