The purpose of this article is to help you understand:
What are audience lists
How to edit the audience name
How to view the contact details
How to add a new subscriber
How to delete a contact
How to import contacts into an audience
How to export contacts from an audience
How to delete an audience
How to create a new audience list
What are audience lists?
An audience list, or audience for short, is a list of contact information used to send email or SMS campaigns. If you are a Premium subscriber, you can create and manage your audiences inside the Campaign Module.
To open the Campaign Module, click on the "Marketing" tab in the left-side menu and select "Campaigns".
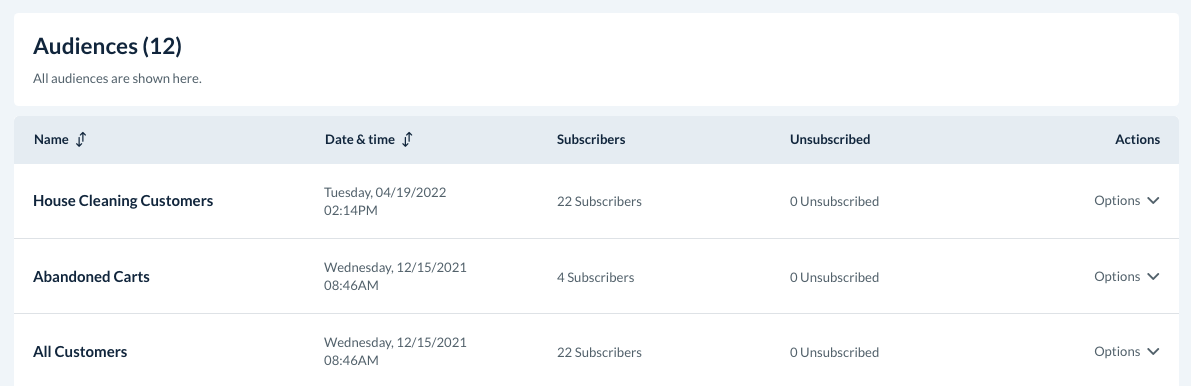
You will be automatically redirected to the "Audience" section. 11 predefined audience lists come with your account. There are:
Abandoned Carts - This list contains the contact information of customers who entered an email address into a two-step or multi-step form but did not book the service.
All Customers - This list contains all customers who have created an account or booked a service with your company.
All Providers - This list contains the contact information for all providers in the system.
All Staff Members - This list contains the contact information for all staff members in the system.
Canceled Recurring - This list collects the contact information for all recurring customers that have canceled their service.
Gift Card Recipient - This list collects the contact information of all customers who received gift cards.
Gift Card Sender - This list collects the contact information of all customers who purchase/send a gift card.
One-Time Customers - This list contains the contact information for customers who have booked a one-time service.
Recurring Customers - This list contains the contact information for customers who have booked a recurring service.
Referral - This list contains the contact information of customers who have been referred to your business.
Referrer - This list contains the contact information of customers who have referred others to your business.
There are several options located under the "Actions" column to the far left of each audience.
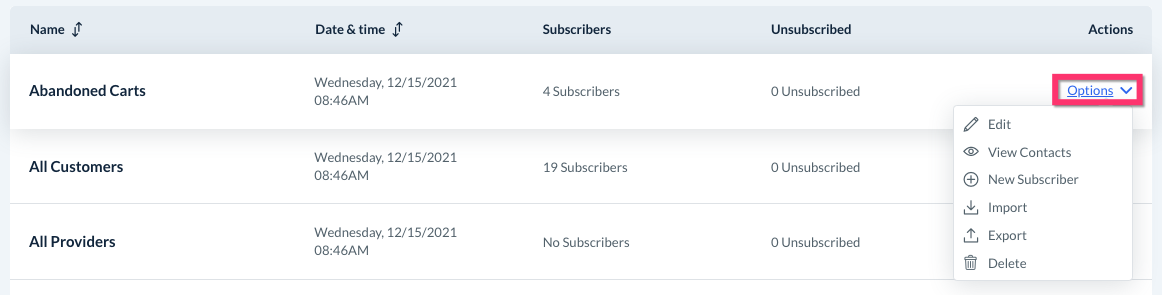
Edit
Click "Edit" to edit the name of your audience list. An "Update Audience" pop-up will appear.
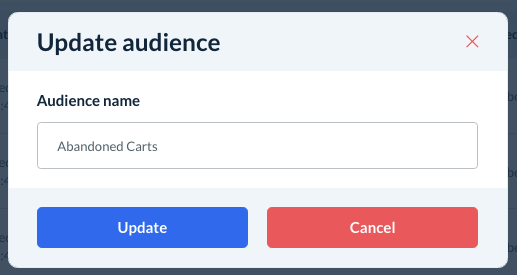
Once you are finished changing the name, click the blue "Update" button to save your changes.
View Contacts
Click "View Contacts" to be redirected to the "Contacts" page for this audience.
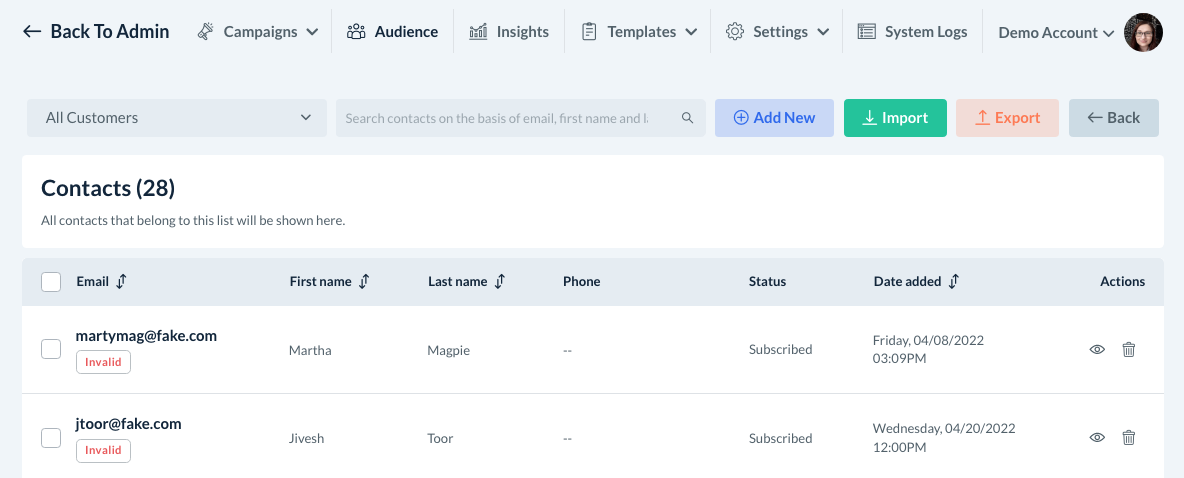
You can view which user information has been collected, when it was added to the list, and if the user is currently subscribed or unsubscribed.
Click here to learn more about what sort of insights you can gain from the "Contacts" page.
New Subscriber
Click "New Subscriber" to add a new contact to an audience. An "Add New Contact" pop-up will appear where you can enter the user's information.
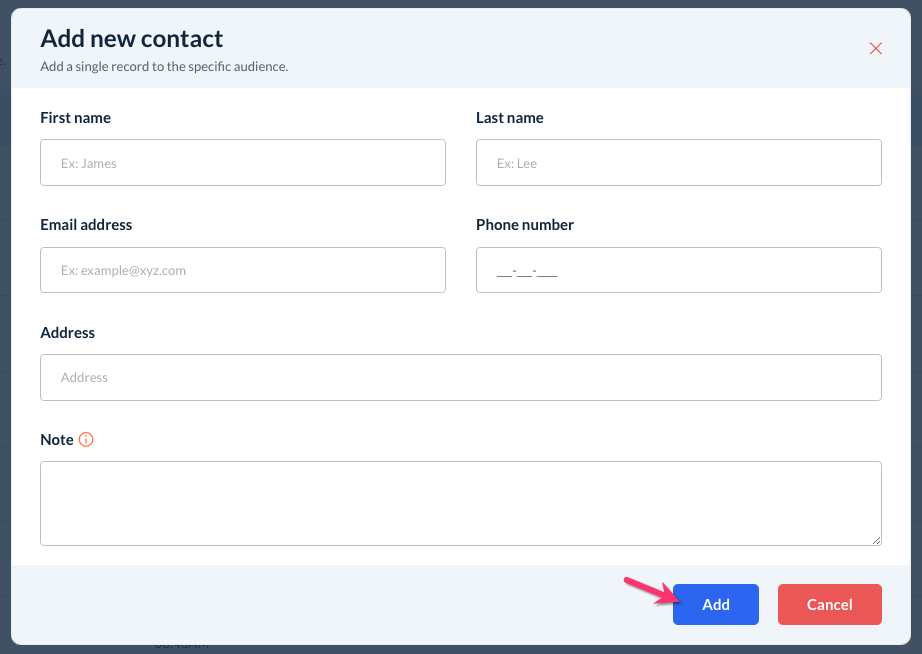
Click the blue "Add" button to add the contact to the audience list. Once you do, a green system notification will appear in the top right corner letting you know the subscriber has been added successfully.
Delete
To delete a contact from an audience list, click the trash can icon to the right of the contact details. A pop-up will ask if you are sure you want to delete this contact from the audience. Click "Yes" to proceed.
Import
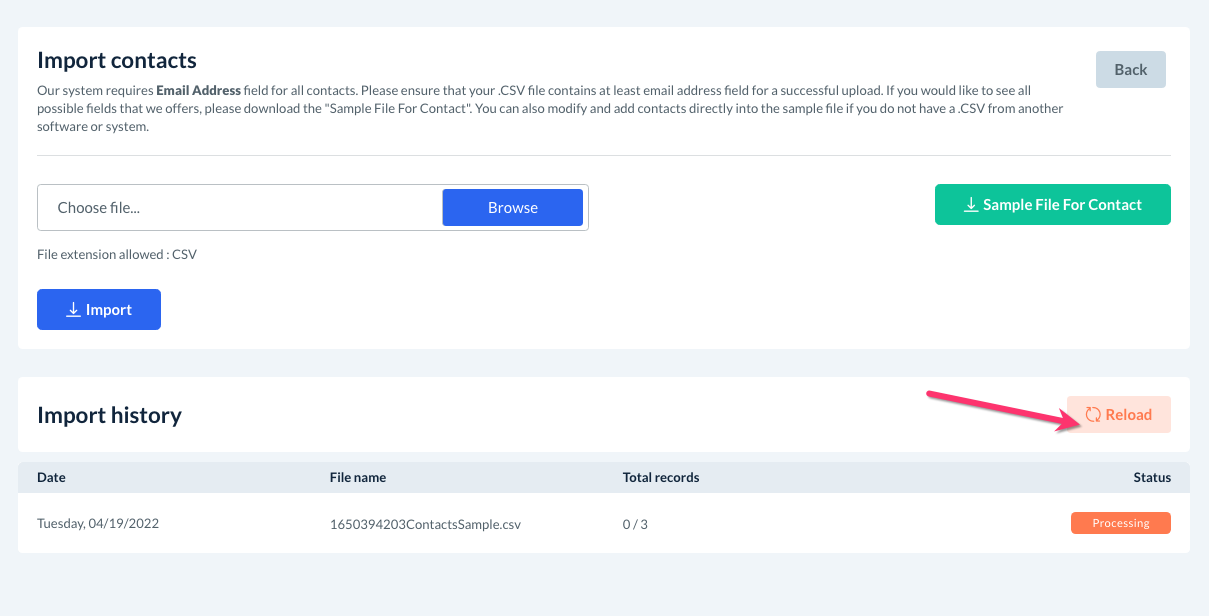
Click "Import" to import a .CSV file of your contacts into an audience list. You will be redirected to an "Import Contacts" page.

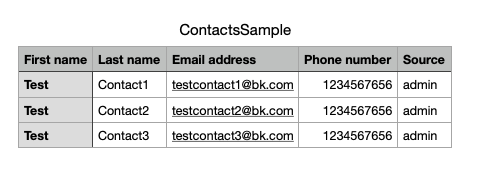
Click the green "Sample File For Contact" to download a sample file that shows how to format your contacts. You can also use modify and add contacts directly to the sample file to ensure a successful upload. All users must contain an email address for it to be imported into the system.
Once you've created the file, click the blue "Browse" button to select it from your device. Then, click the blue "Import" button.
You will be redirected to an "Import Contacts" page where you will map your imported fields into the contact fields. Drag and drop each field into the corresponding box and then click the blue "Import" button.
You will be directed back to the "Import Contacts" page where you will now see an "Import History" section. Click the orange "Reload" button to refresh the page and check on the status of your import.
Once the import is complete, you will see a green "Complete" label below the "Status" column. Under "Total Records", you can see how many contacts were imported.

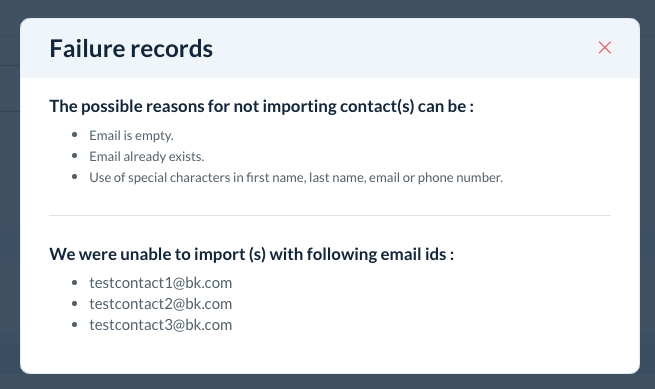
If any contacts failed to import, you will see an orange "Learn More" link just below where it says "Complete".

If you click this link, you can see a list of the contacts that failed as well as possible reasons why the system wasn't able to import them.
Export
If you would like to export that contacts in your audience list in the form of a .CSV file, click "Options", then "Export". A file will begin downloading automatically.

Delete
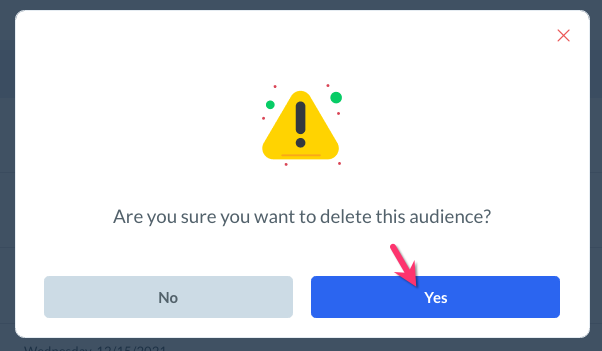
If you do not plan on using a particular audience list anymore, you can select "Options", then "Delete" to completely remove it from your system.
A pop-up will appear, asking if you are sure you want to delete this audience. If you are certain, click the blue "Yes" button to proceed.
Once an audience list has been deleted, it cannot be retrieved.
Create a New Audience List
In addition to the prebuilt audiences that come with your account, you can also create your own lists. Once you created a new audience, you can update your form settings to use this list instead of the "All Customers" list. You may want to create audience lists to further segregate your customers based on industry, form, or even which services they booked.
To create a new audience list, make sure you are on the "Audience" tab at the top of the Campaign Module menu. Then, click the grey "Create Audience" menu at the top right corner of the page.
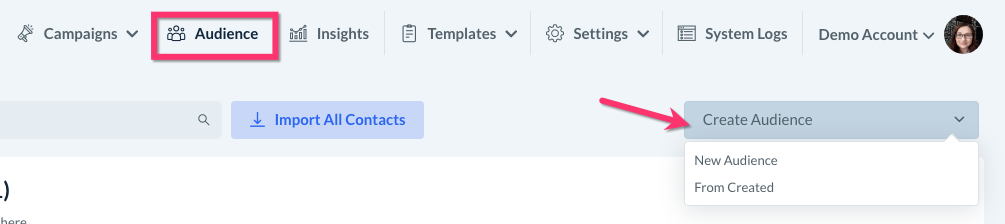
New Audience
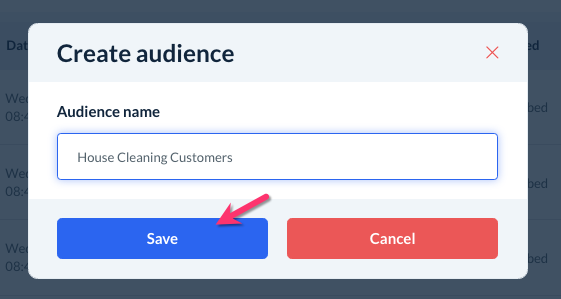
If you would like to create a brand new audience without any contacts, select "New Audience".
A pop-up will appear where you can enter the audience name. Click the blue "Save" button to continue.
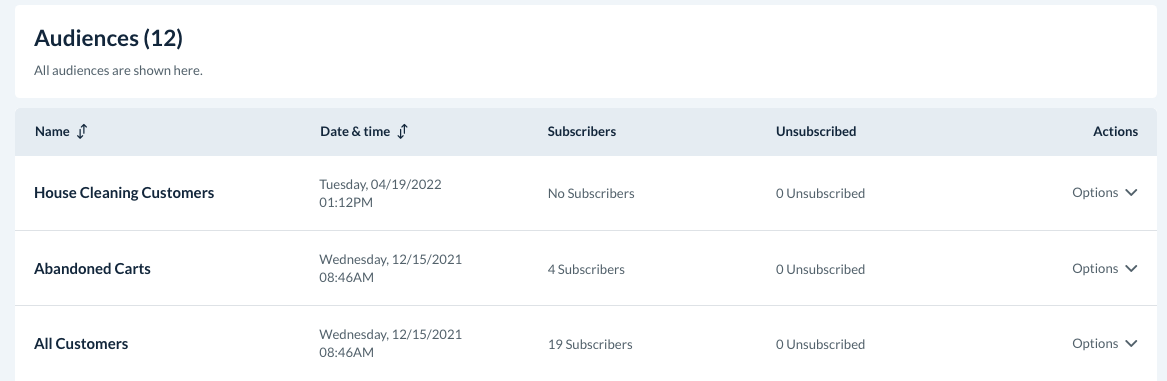
A green system notification will appear in the top-right corner of the page letting you know the audience has been saved successfully.
You will now be able to see your new list under the "Audience" section.
From Created
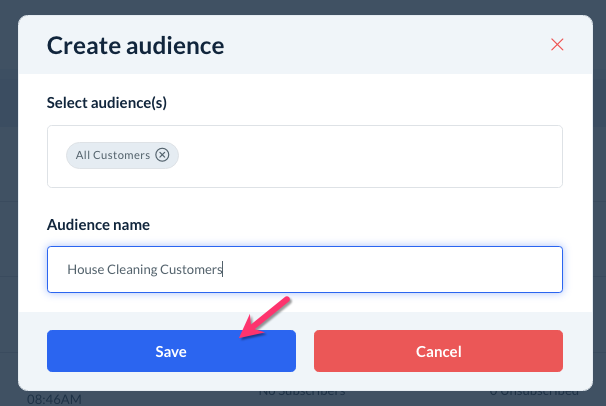
If you would like to copy all of your contacts into a new audience list, select "From Created".
A pop-up will appear where you can select which audience you want to copy over and enter a name for the new audience. Click the blue "Save" button to continue.
A green system notification will appear in the top-right corner of the page letting you know the audience has been saved successfully.
You will now be able to see your new list under the "Audience" section.