The purpose of this article is to help you learn:
Where to view your notification settings
How to set up email notifications
How to set up SMS notifications
How to set up system alerts
Where are the notification settings?
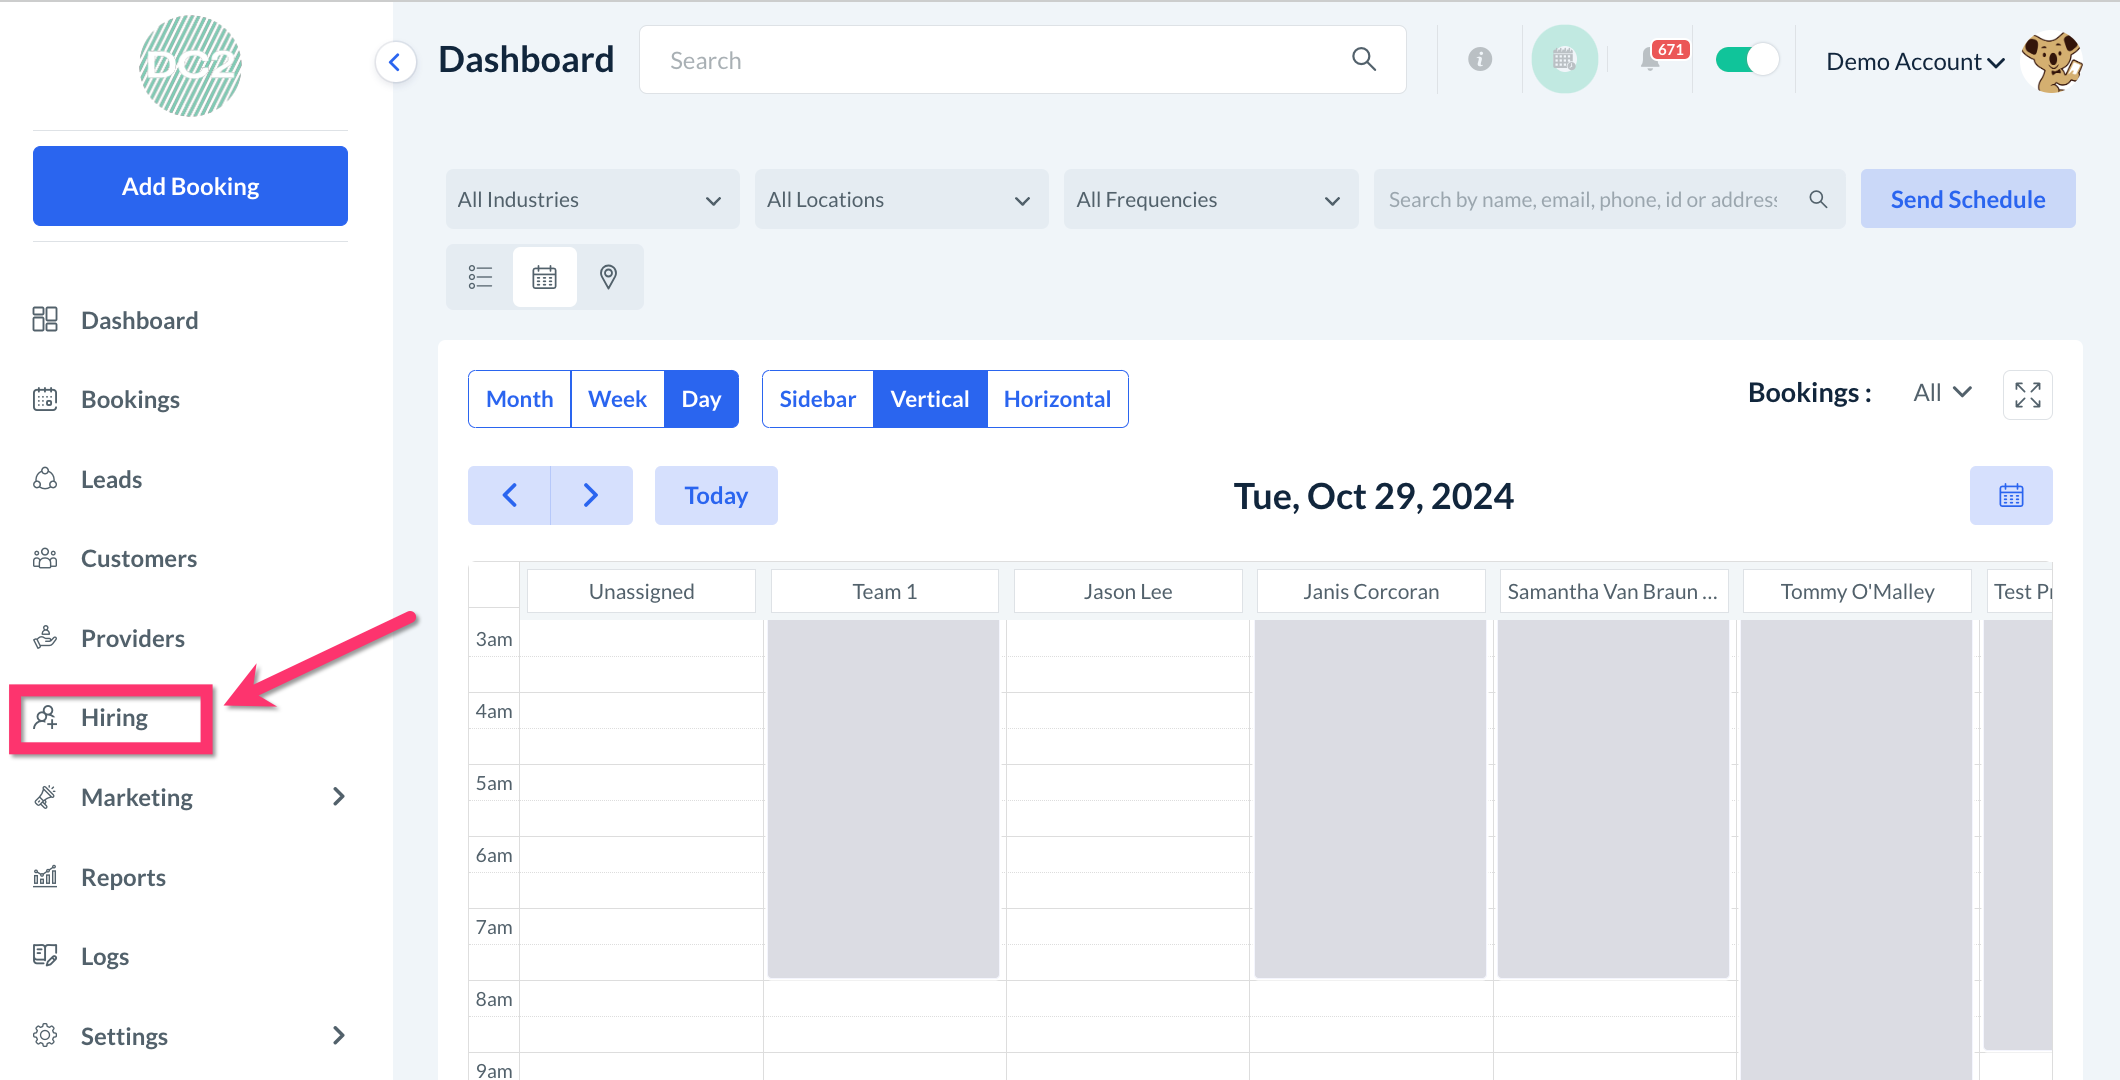
All of your notification settings for the hiring module can be located by selecting the Settings menu at the top of the Hiring Module and clicking Notifications.
The notification settings section contains three tabs for each type of notification: Email, SMS, and System Alert.
How do I set up email notifications?
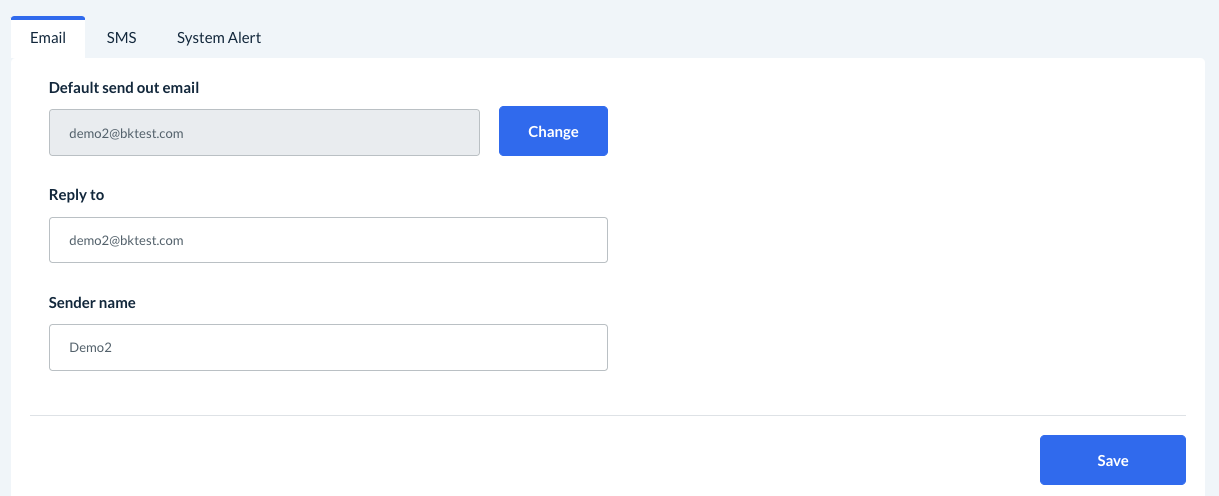
First, click on the Email tab under Notifications.

You will need to set a "default send out email" to deliver your messages, a "reply to" email, and a "sender name".
If you already set up the general email settings for your store under Settings > Notifications > General, that email address will be used here by default. If you would like your hiring module to send messages using a different email, click the blue Change button.
A pop-up window will ask you to enter the email address you would like to use instead.
After you click Update, you will see a green notification in the top-right corner letting you know that a verification email has been sent to the inbox to finish the setup. Open your inbox and click the link in the email to finish verifying the new send out email address.
If you want to set a different "reply to" email, type it into the "Reply-To" box. The system will automatically use the default email if you do not want to use a separate address.
Finally, enter the "Sender Name". This is the name that your prospects will see when they receive an email from this address.
Click the blue Save button to finalize your sender email settings.
Creating a Master Template
A Master Template is a default template that you can build and apply to other email templates. A master template may contain your company logo, special content, general contact information, or other resources that you wish to include in every email.
By default, there are two different master templates built into the hiring module: a master template for prospect emails, and a master template for admin emails. We've included these two master templates so you have the option to create different formats depending on the intended audience.
To view the master templates, go to:
Settings > Notifications > Email
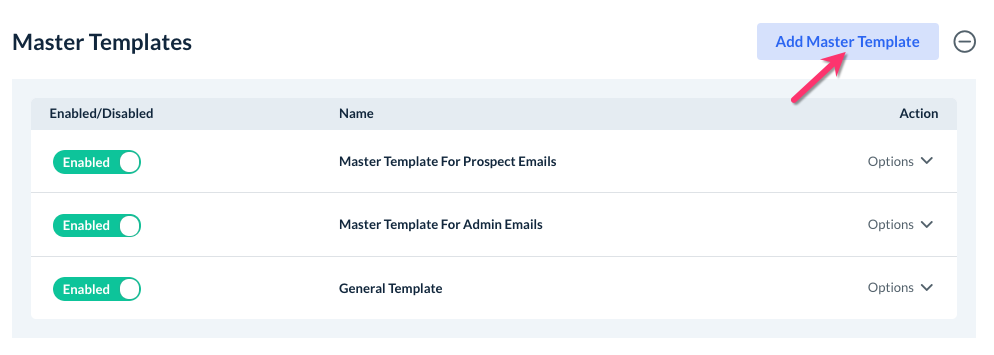
Scroll down towards the bottom of the page and click the plus sign icon to expand the Master Templates section.
Edit a Master Template
To start editing an existing master template, click the Options button next to the template name, then Edit. This will open a content editor page.
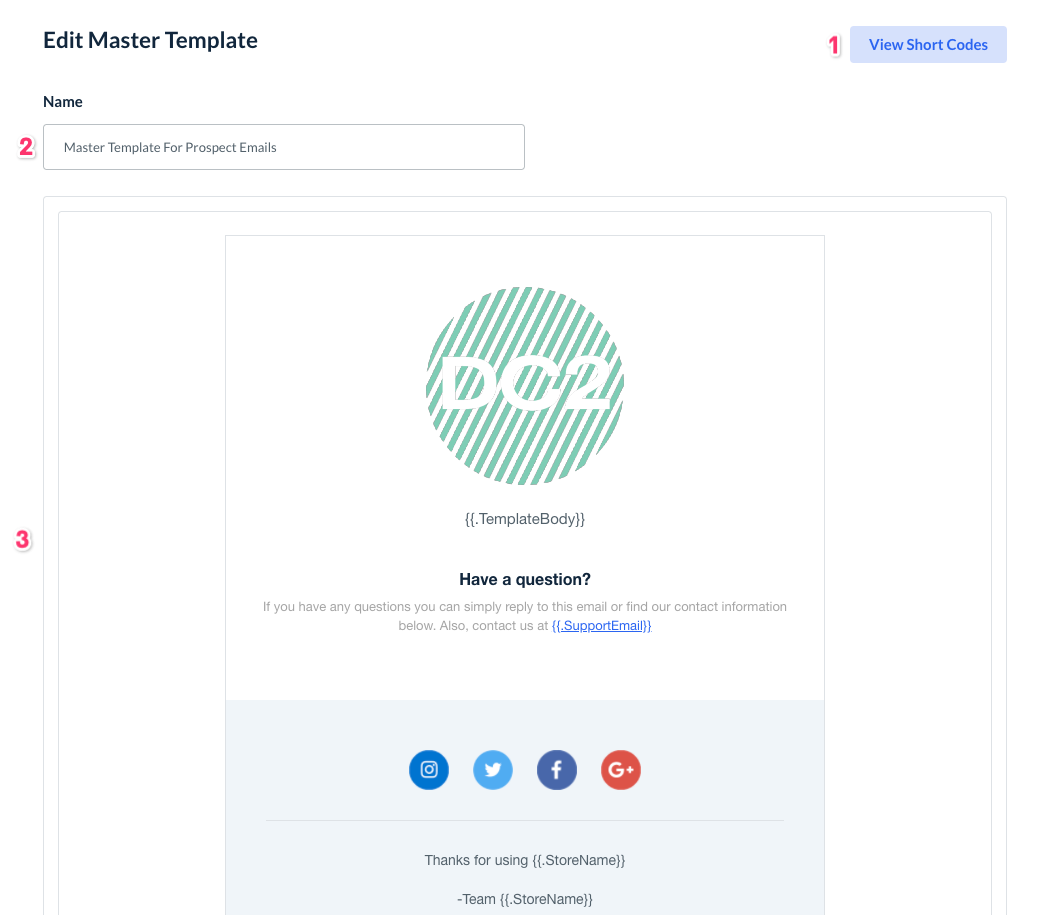
View Short Codes - Click this button to view a list of all shortcodes that work in your SMS templates.
To insert a shortcode into your template, click the blue "View Short Codes" button to view a list of all options.
Click "Copy" next to the code you want to use.
Close the pop-up window using the red "X" and then paste the shortcode into the body of your template.
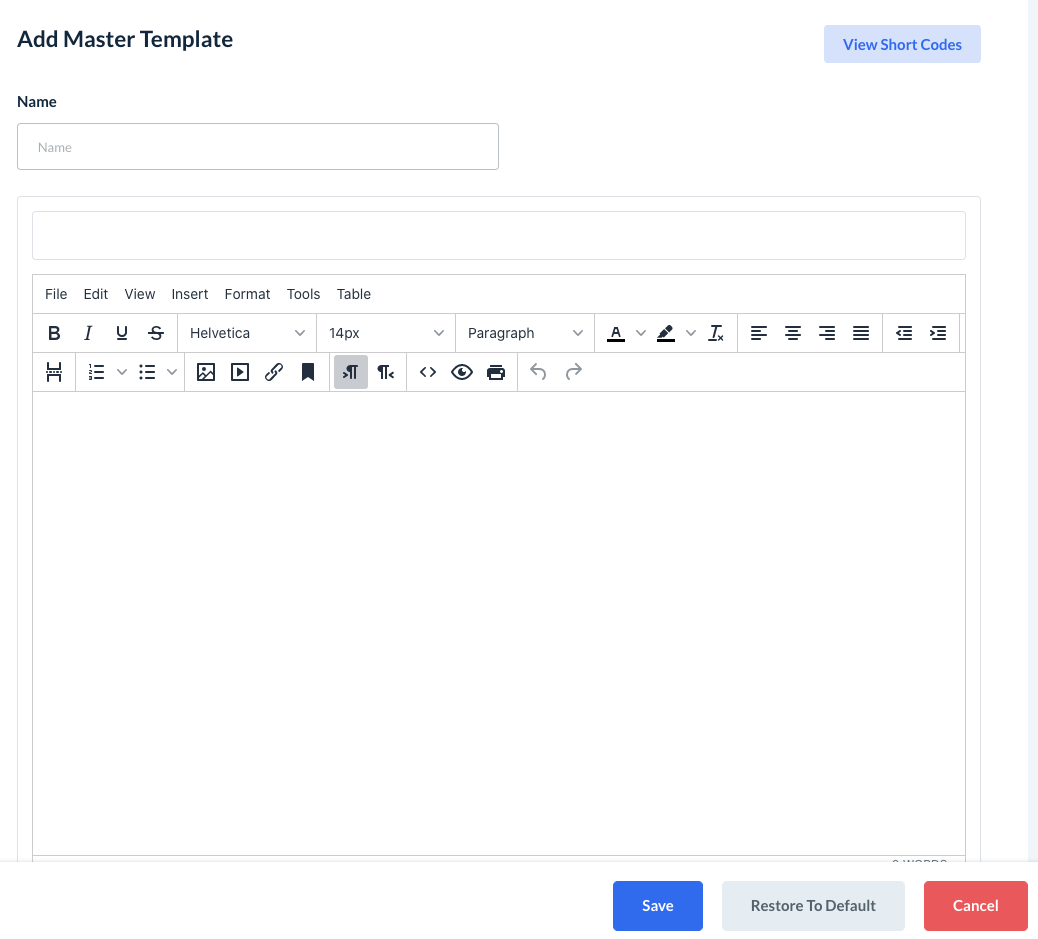
Name - Enter the name of the master template.
Preview - View what the template will look like.
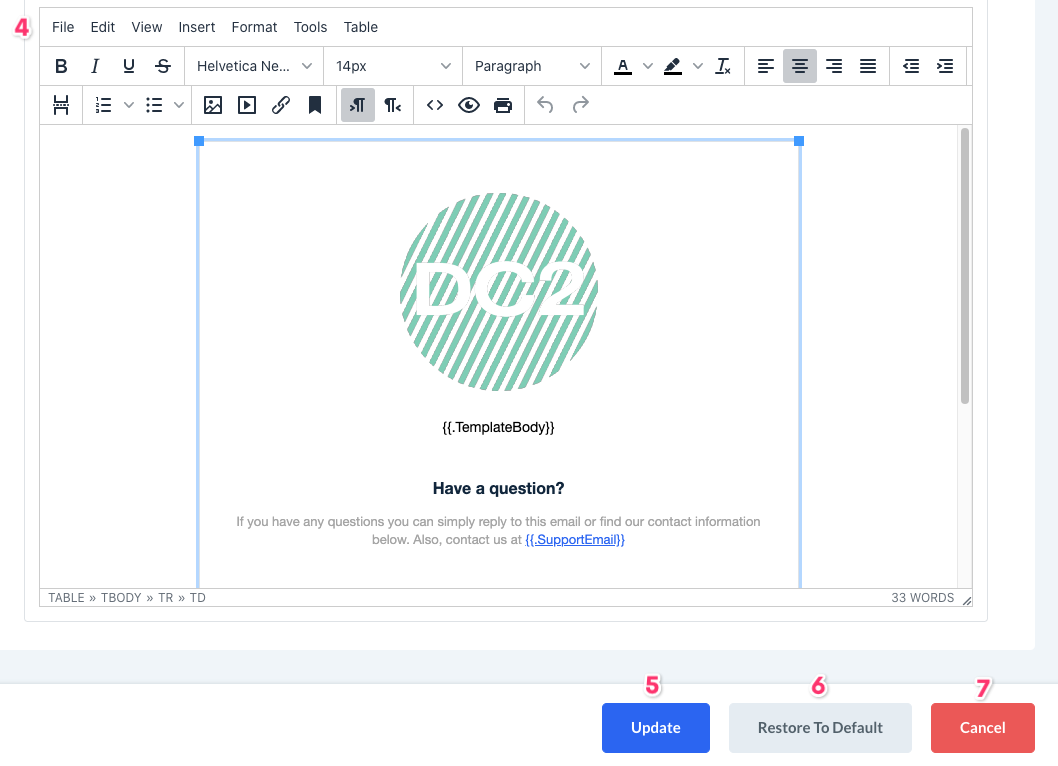
Content Editor - Enter your template content here. There are a wide variety of formatting tools to customize exactly how you want your template to look.
Update - Be sure to click "update" to save any changes you've made.
Restore to Default - Click this button to restore the master template to its original content.
Cancel - Click this button to return to the master email templates listing.
Add a New Master Template
If you would like to create a new master template, click the blue Add Master Template button.
This will open a pop-up window where you can build your new template.
Apply a Master Template to Emails
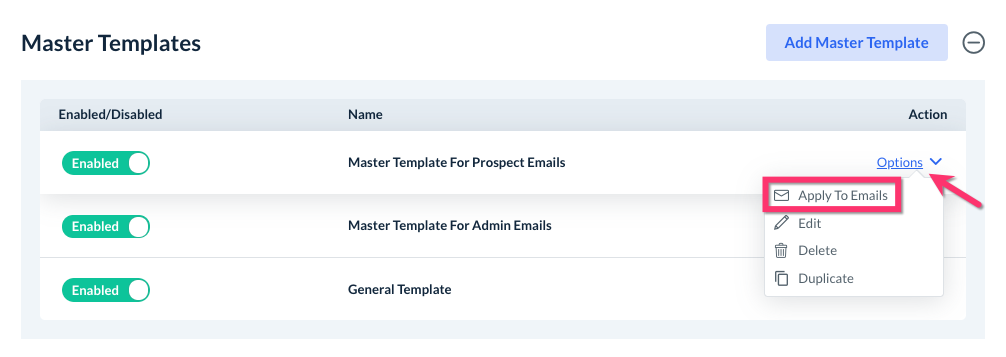
Once you are satisfied with your master template, you can choose to apply it to the other existing templates.
Click the Options button next to the template name and select Apply to Emails.
This will open a pop-up window. Here, you can select which will be updated with the master template. There are separate tabs for Admin emails and Prospect emails.
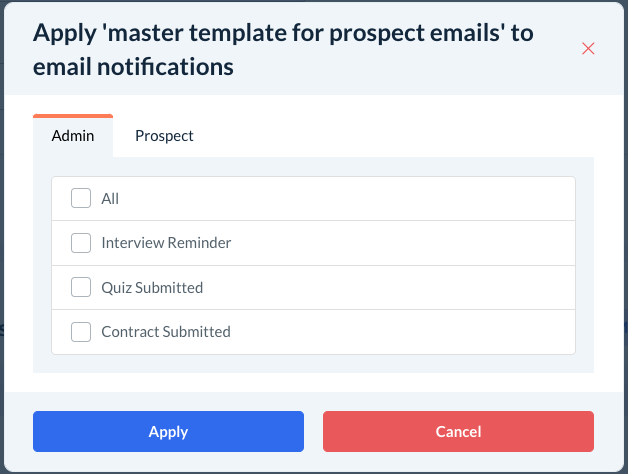
Check off individual boxes or click "All" to select all emails within a category. Click Apply to update the emails, or Cancel to return to the notifications settings page.
Enable/Disable Email Templates
All of your email templates will be located towards the bottom of the page when you go to:
Settings > Notifications > Email Templates
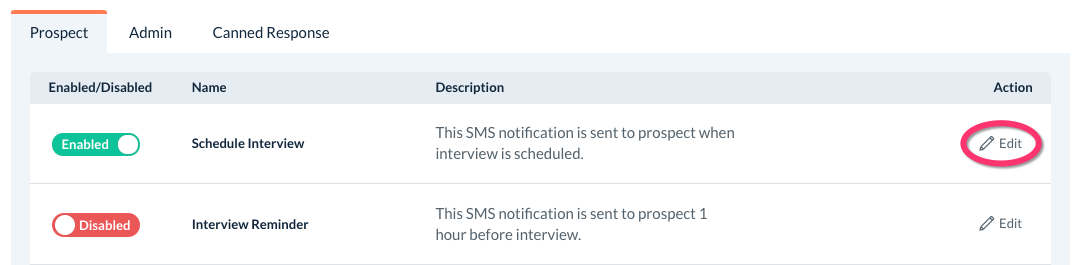
There are three different sections to better organize your templates: one for Prospect emails, another for Admin email, and a final section for Canned Responses. To learn more about canned responses, click here.
If you wish to enable or disable an email notification, all you need to do is click on the "Enable/Disable" toggle button.
A pop-up will appear asking you to confirm the change. Click "Yes" and the status will be updated.
Edit Email Templates
You can also edit the email template content by clicking the pencil icon to the right of the template name.
An Edit Email Template page will open where you can edit the content.
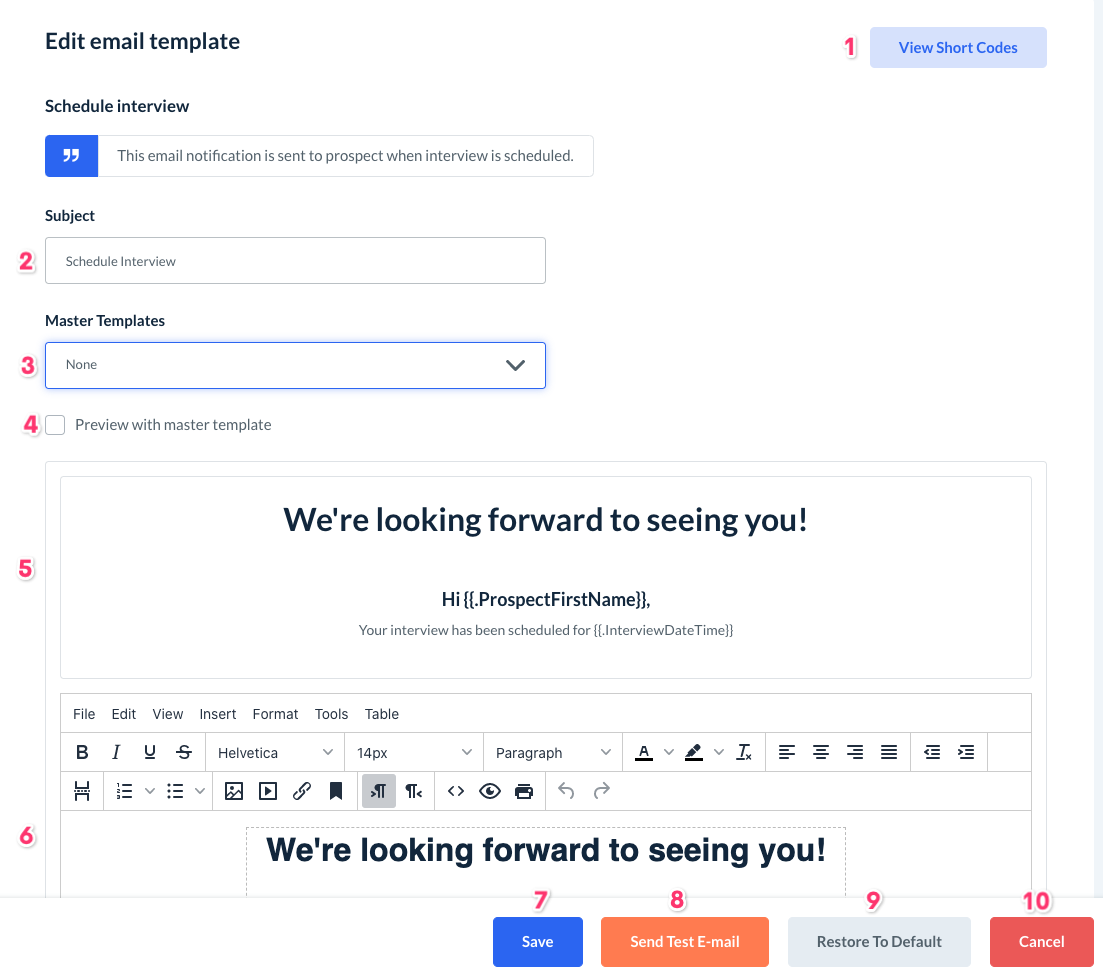
View Short Codes - Click this button to view a list of all shortcodes that work in your SMS templates. Click here to learn more about shortcodes and how to use them in your communications.
Subject - Enter the subject line for this email.
Master Templates - If you have created any master templates, you can use them for the body of your email template. Click the drop-down menu to select which template you'd like to apply.
Preview With Master Template - Check this box to see a preview of your email in the box below.
If you do not select this option, only the content in the content editor will be displayed.
Content Editor - Edit your email content in this box.
Save - If you make any changes, remember to click save.
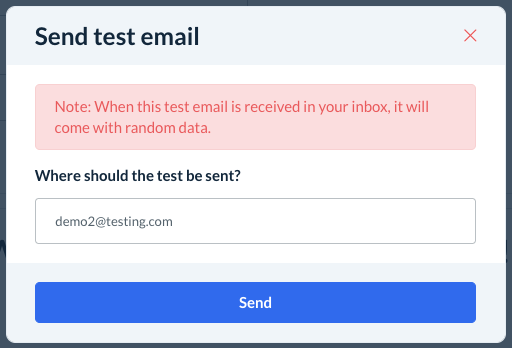
Send Test Email - Click this button to send a test email of this message.
A pop-up box will appear where you can enter the email address. Click Send to send out the test message. Please note that any shortcodes will be populated with random data.
Restore to Default - Click this button to restore the system alert to its default message.
Cancel - Click this button to return to the email templates listing.
How do I set up SMS notifications?
First, click on the SMS tab under Notifications.

You will need a "default send out phone number" via Twilio to deliver your text messages.
You may have already linked your Twilio account when you set up SMS notifications under your store's general notification settings. If so, you will see your account ID, API key, and phone number boxes have been filled out.

If you have not connected your Twilio account yet, you will see a message at the top of the screen letting you know.
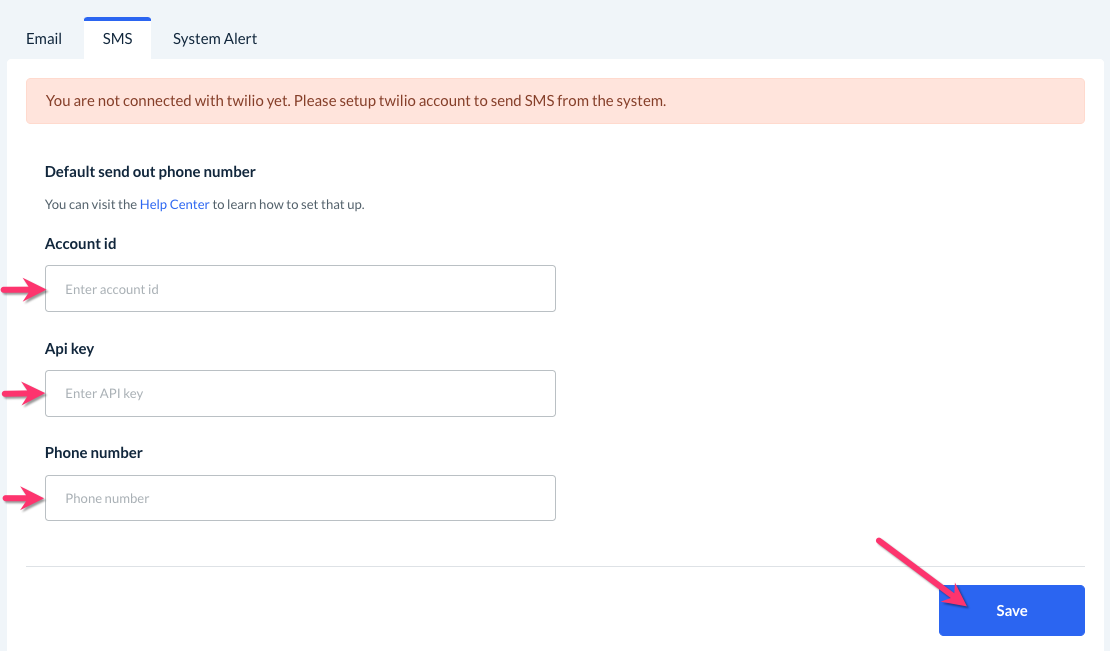
To connect your account, you will need to into your Twilio dashboard to retrieve your Account ID (also known as a SID), API Key, and Phone Number.
For more help on locating these, please visit Twilio's article on API Key Resource.
Once you have pasted each piece of information into the appropriate box, click the Save button to finish setting up your default send-out phone number.
Now, you will be ready to send out SMS notifications from the hiring module.
Enable/Disable SMS Templates
All of your SMS templates will be located towards the bottom of the page when you go to:
Settings > Notifications > SMS
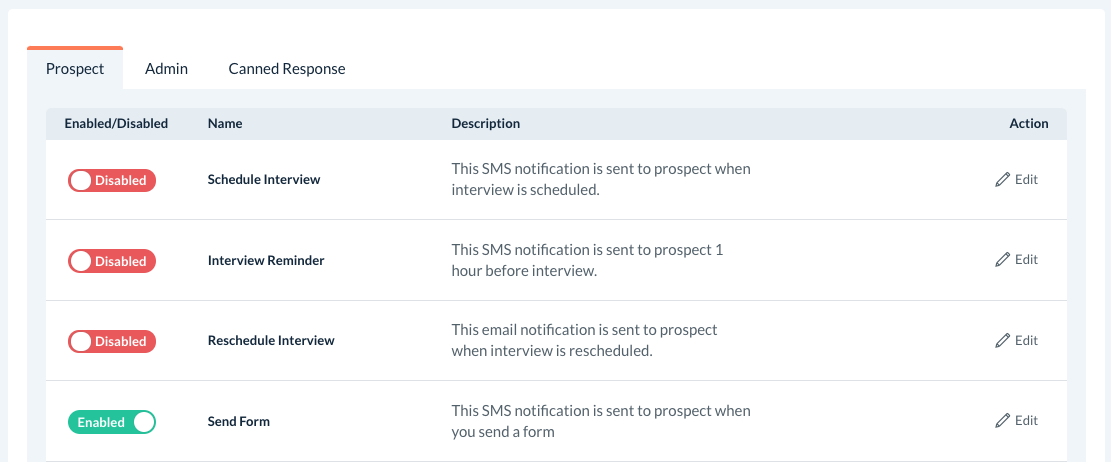
There are three different sections to better organize your templates: one for Prospect messages, another for Admin messages, and a final section for Canned Responses. To learn more about canned responses, click here.
If you wish to enable or disable an app notification, all you need to do is click on the "Enable/Disable" toggle button.

A pop-up will appear asking you to confirm the change. Click "Yes" and the status will be updated.
Edit SMS Templates
You can also edit the SMS message content by clicking the pencil icon to the right of the template name.

An Edit SMS Template page will open where you can edit the message.
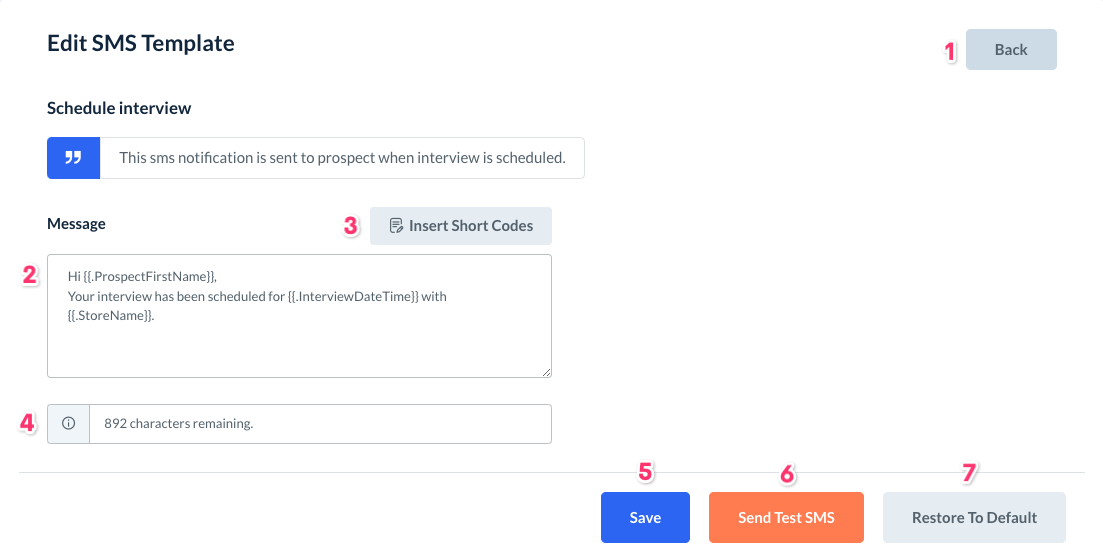
Back - Click this button to go back to the System Alerts section.
Message - Edit your message content in this box.
Insert Short Codes - Click this button to view a list of all shortcodes that work in your SMS templates. Click here to learn more about shortcodes and how to use them in your communications.
Character Limit - Please note the message cannot exceed 1000 total characters.
Save - If you make any changes, remember to click save.
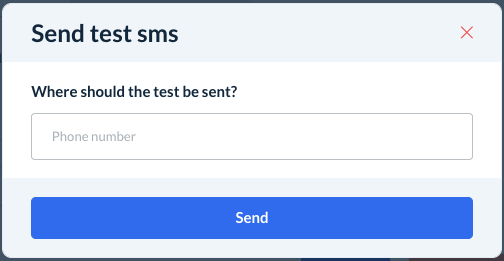
Send Test SMS - Click this button to send a test SMS of this message.
A pop-up box will appear where you can enter the phone number. Click Send to send out the test message.
Restore to Default - Click this button to restore the system alert to its default message.
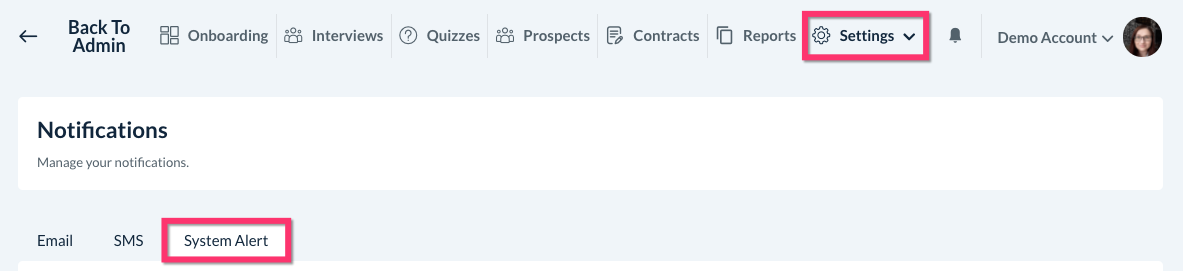
How do I set up system alerts?
The hiring module also contains special system alerts to notify you when certain events take place.
To view your hiring system alerts, go to:
Settings > Notifications > System Alert
System alerts can be disabled by clicking the toggle button and changing it to "Disabled". A pop-up window will ask you to confirm if you want to make this change. Click "Yes" to continue.
To enable a system alert, click the button again to change it back to "Enabled".
You can also edit the message you see when the system alert is displayed by clicking the pencil icon to the right of the alert.

An Edit Alert page will open where you can edit the message.
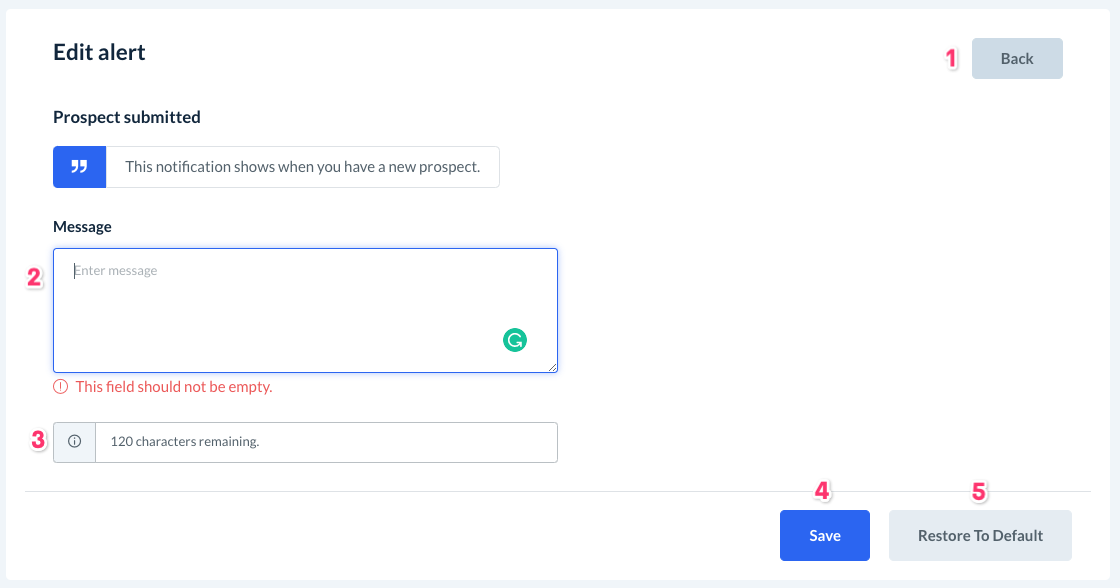
Back - Click this button to go back to the System Alerts section.
Message - Edit your message content in this box.
Character Limit - Please note the message cannot exceed 120 total characters.
Save - If you make any changes, remember to click save.
Restore to Default - Click this button to restore the system alert to its default message.