The purpose of this article is to help you learn how to:
Set up default provider availability
Set up availability for specific dates
Close availability for time-off requests
Setting Up Provider Schedules
If your scheduling is based on provider availability (click here to learn how to set up your scheduling settings to be based on provider availability), you must have at least one available provider so your booking spots will display (click here to learn how to set up your booking spots).
To set up provider availability, you must have first added a provider to your Provider section. Click here to learn how to create a new provider account.
To set up availability for a specific provider, you can go to:
Providers > Providers > [Provider Name]
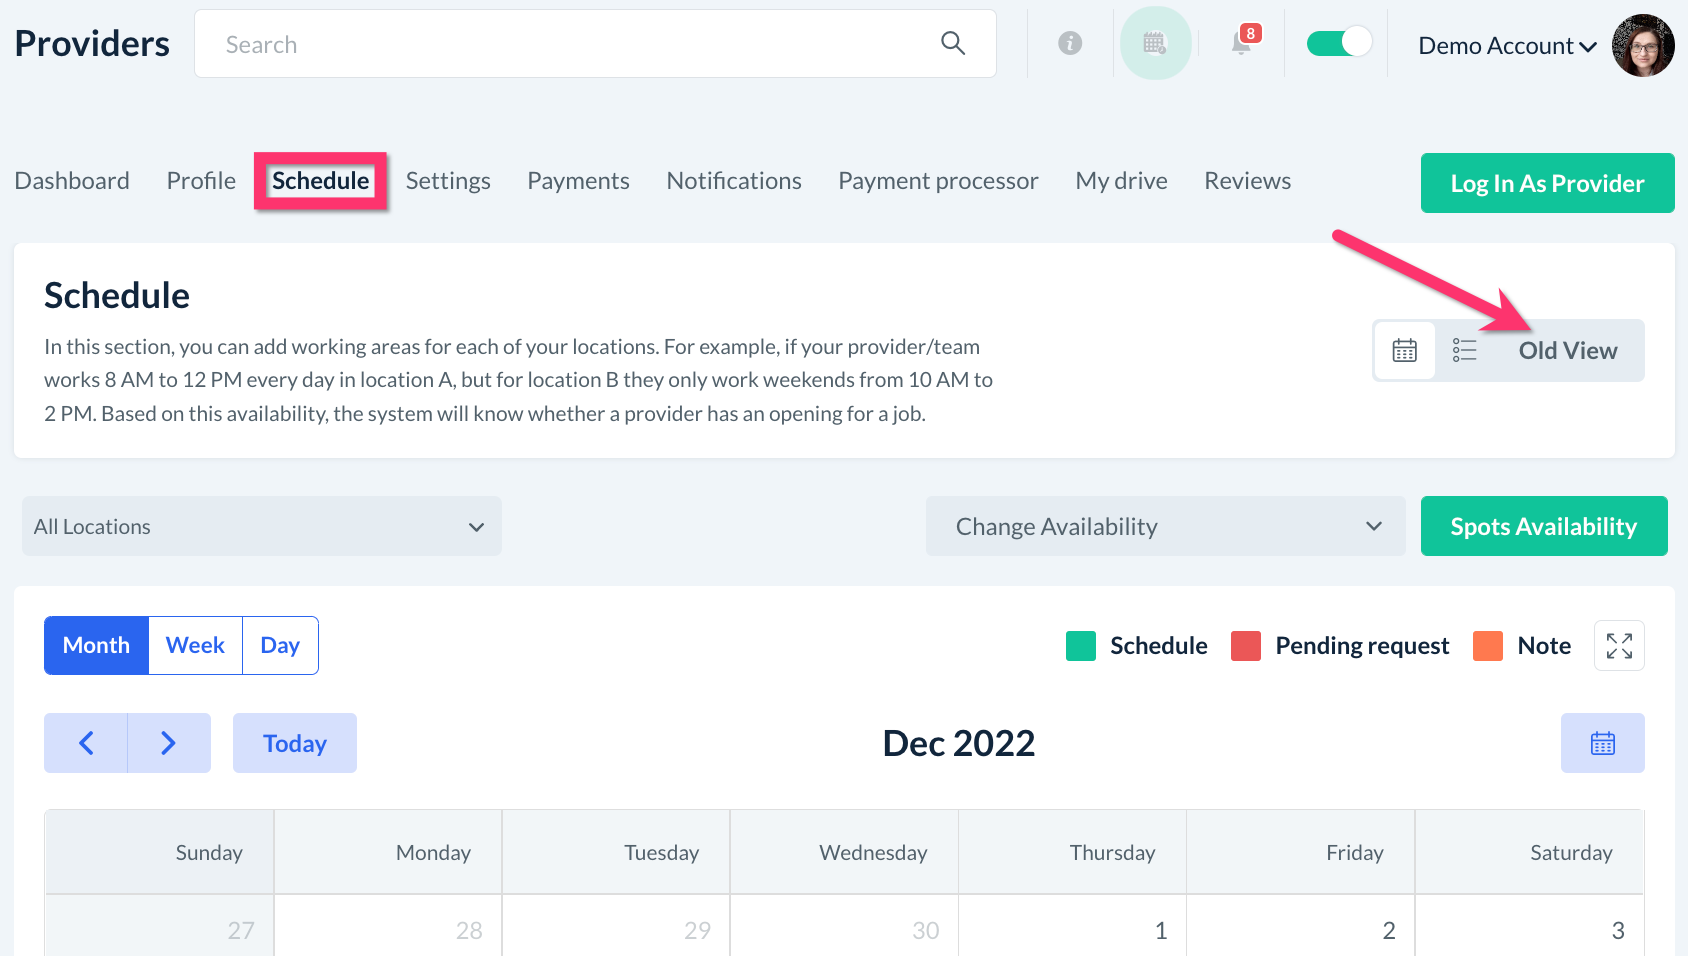
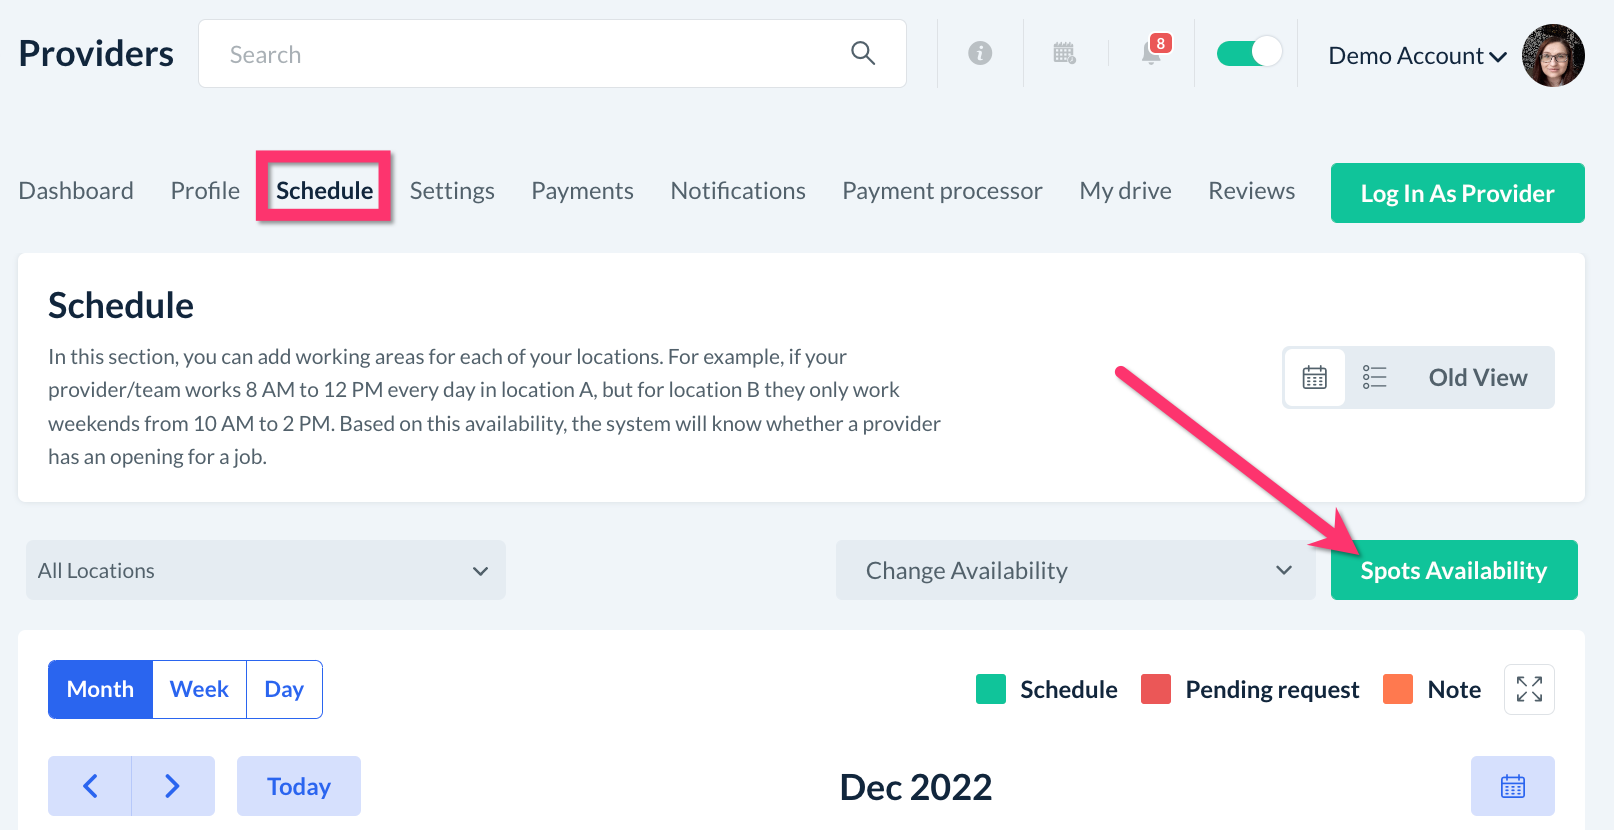
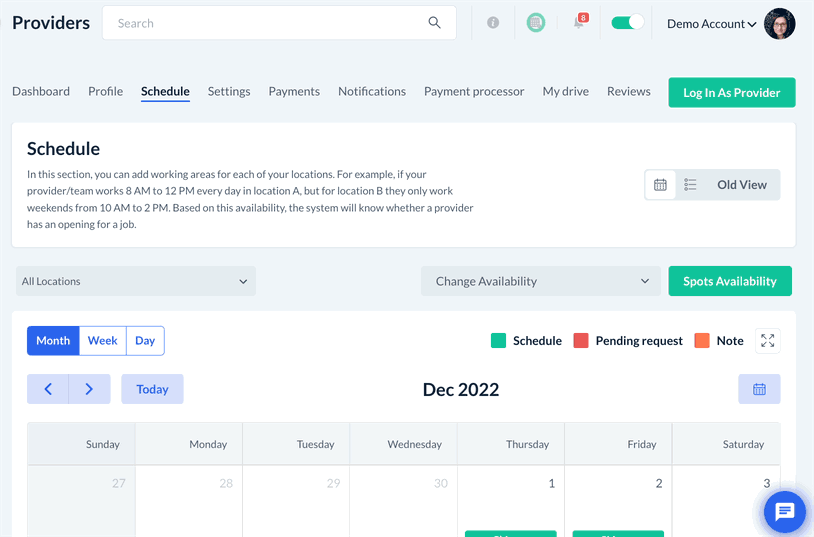
Click on the "Schedule" tab at the top of the page. This is why you can manage and update their availability.

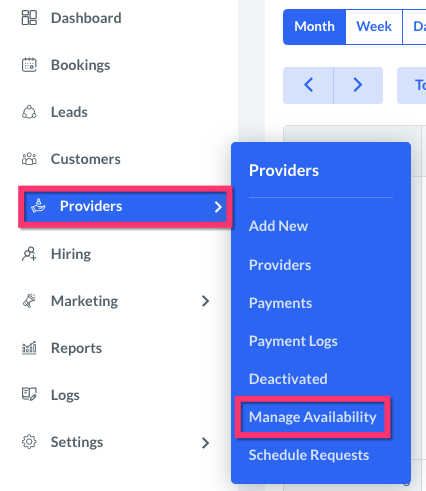
You can also manage your provider availability all from one page by going to:
Providers > Manage Availability
Both areas include the same functionality, allowing you to set up default availability, edit availability for specific dates and times, and put in time-off requests.
Setting Up Default Availability
If you'd like to set up default availability for ALL newly added providers, click here to update your Provider Store Options.
Please note: All new providers are automatically given a schedule of Sunday-Saturday, 8:00 AM to 8:00 PM.
If you'd like to set up or change the default availability for a specific provider, go to their "Schedule" tab and click on the "Change Availability" button, then select "Default Availability".
A pop-up window will appear displaying each day of the week. Click the blue "Add Shift" button to add a new shift to the day of the week.
Once you've added a shift, you can click the "Location" button (if you have multiple locations) to select which location(s) this shift will be added for, then click "Apply".
If you'd like to copy the shift to other days of the week, click the "Apply to..." button and check the boxes next to the days of the week you'd like to have this shift. Click the "Apply" button to copy the shift to the other day(s).
If you would like to edit a shift length, simply click on the hour and minute boxes to adjust the time.
To delete a shift, click the red X icon.
Once you are done setting up the shifts, there are two options for applying the changes if there are jobs affected by the shift changes.
Click the blue "Apply changes and mark bookings as unassigned" button if you'd like to remove bookings for any shifts that have been removed by this update and place them into the unassigned folder automatically.
Click the blue "Apply changes, keep assigned with the provider, and mark booking with 'NA' tag" button if you would like to keep any bookings that have been assigned during these shifts, even if the shift has been removed. If you select this option, a red "NA" tag ("Not available") will be added to the booking to let you know it is assigned out of regular working hours.
If there are no bookings affected, you will see a green "Apply" button instead.
Once you selected one of these options, you will see a green system notification in the top right corner of the screen, letting you know the provider's availability has been updated successfully.
Editing Availability for Specific Date(s)
If you would like to change the provider's availability for a specific date, go to their "Schedule" tab and click on the "Change Availability" button, then select "Specific Date".
A pop-up window will appear, displaying options to select the Start Date and End Date.
Once you've selected the dates, you will see a section for each date in the window below. If a shift exists, the start and end times will be displayed. If there is no shift for the date, it will read "Off".
If you'd like to add a shift, click the blue "Add Shift" button and then enter the start and end times.
To delete a shift from a specific date, click the red X icon next to the working hours.
Use the "Location" button to select which location(s) the shifts will be added for.
If bookings are assigned to any of the dates, they will be displayed in the bottom section of the pop-up. You can click the customer name to open the customer's profile or click the edit icon to open the bookings.
Once you are done making your modifications, you have three options if there are bookings affected by the shift changes.
Click the blue "Apply changes and mark bookings as unassigned" button if you'd like to remove bookings for any shifts that have been removed by this update and place them into the unassigned folder automatically.
Click the blue "Apply changes, keep assigned with the provider, and mark booking with 'NA' tag" button if you would like to keep any bookings that have been assigned during these shifts, even if the shift has been removed. If you select this option, a red "NA" tag ("Not available") will be added to the booking to let you know it is assigned out of regular working hours.
Click the grey "Reset to default availability" to restore the default availability and disregard any changes you made in this pop-up window.
If there are no bookings affected, you will see a green "Apply" button instead.
Once you selected one of these options, you will see a green system notification in the top right corner of the screen, letting you know the provider's availability has been updated successfully.
Closing Availability for Time Off Requests
If your provider would like to take time off or close down their availability for a specific date(s), go to their "Schedule" tab and click on the "Change Availability" button, then select "Request Time Off".
A pop-up window will appear, displaying options to select the Start Date and End Date for the time-off request.
Next, select the Location(s) that will be affected by the time-off request.
If you'd like, you can enter a Note that will be seen by the admin, staff, and provider on their schedule when viewing these dates in BookingKoala.
If bookings are assigned on any of these dates, they will be displayed in the bottom section of the pop-up. You can click the customer name to open the customer's profile or click the edit icon to open the bookings.
Once you have made your selections, select one of the options to update your provider's schedule.
Click the blue "Apply changes and mark bookings as unassigned" button if you'd like to remove bookings for any shifts that have been removed by this update and place them into the unassigned folder automatically.
Click the blue "Apply changes, keep assigned with the provider, and mark booking with 'NA' tag" button if you would like to keep any bookings that have been assigned during these shifts, even if the shift has been removed. If you select this option, a red "NA" tag ("Not available") will be added to the booking to let you know it is assigned outside of regular working hours.
Once you apply the changes, you will see a green system notification in the top right corner of the screen, letting you know the provider's availability has been updated successfully. The provider will now not be able to receive bookings for the dates you submitted.
Even if you make an update to the provider's default availability, the time-off request will remain unaffected.
"Old View" Scheduling
In addition to the options described above, you can use the "Old View" option for setting up and editing provider schedules. This option is named as such because it was the original manner in which admin and providers could set up their availability. If you'd like to set up a provider's schedule using this method, you would go to:
Providers > Providers > [Provider Name]
Once you are on the provider's dashboard, click the "Schedule" tab, then the "Old View" button near the top right corner of the page.
Old View: Quick Add Feature
To quickly add regular recurring availability, you can click the blue "Quick Add" button near the top of the page. This option helps you create a basic schedule for each day of the week all in one pop-up. The Quick Add tool allows you to select the start and end times for the selected days of the week, the frequency of the shifts, and the locations.
Once finished making selections, click the blue "Add" button at the bottom of the pop-up. To confirm the availability has been added correctly, you can also select the day of the week and click "Apply" to see all shifts that have been added for that day.
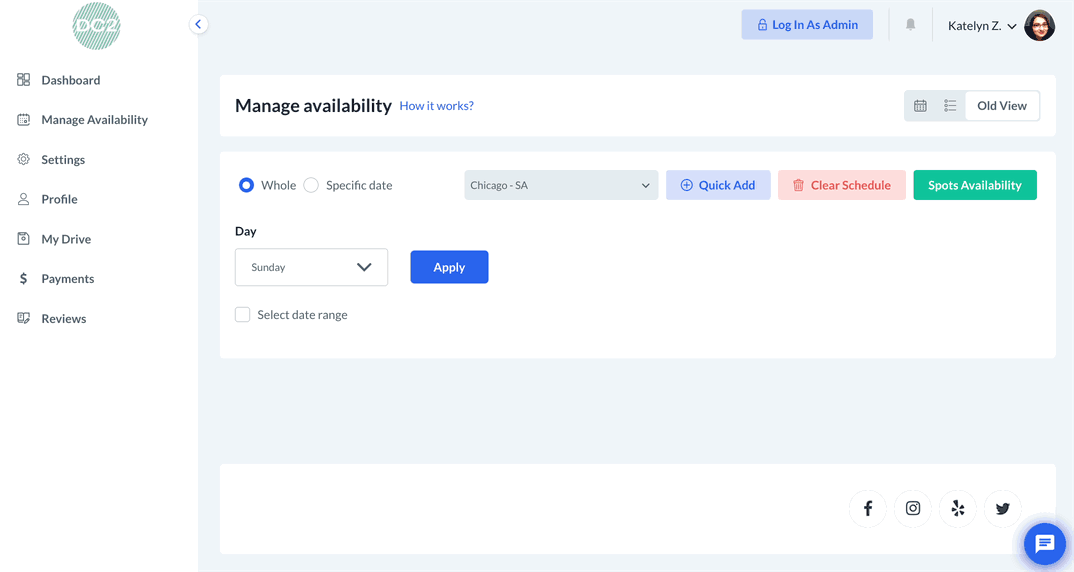
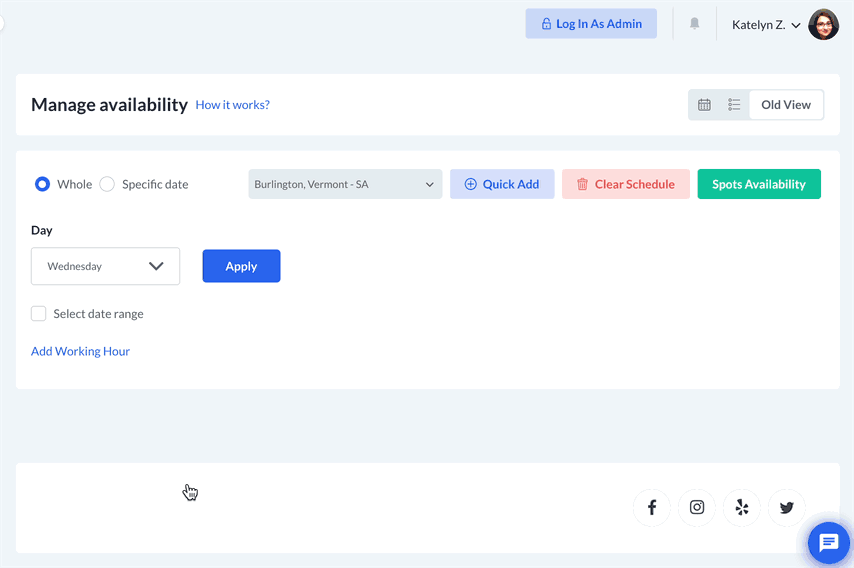
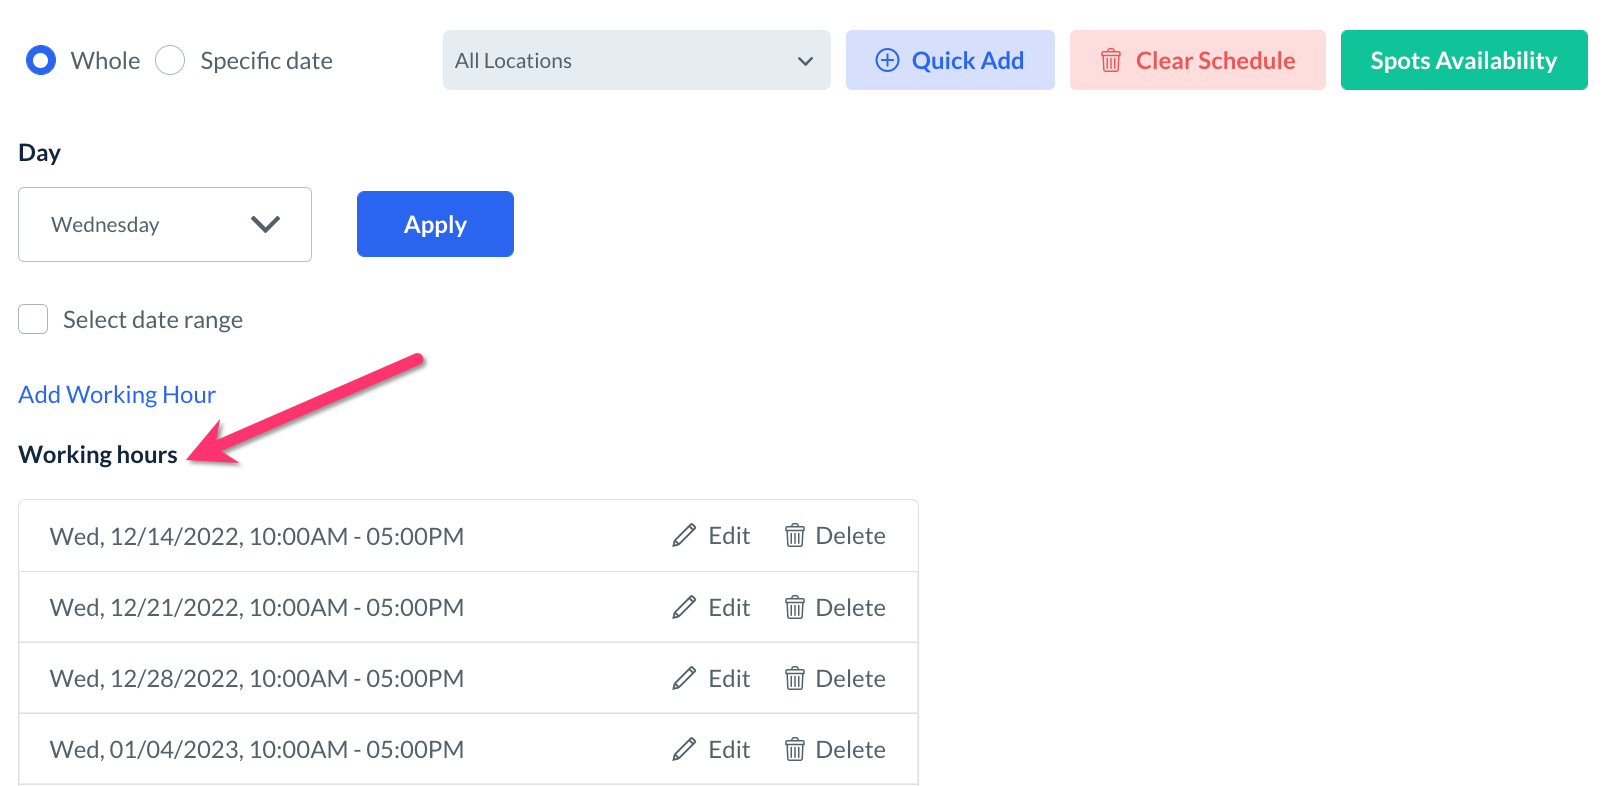
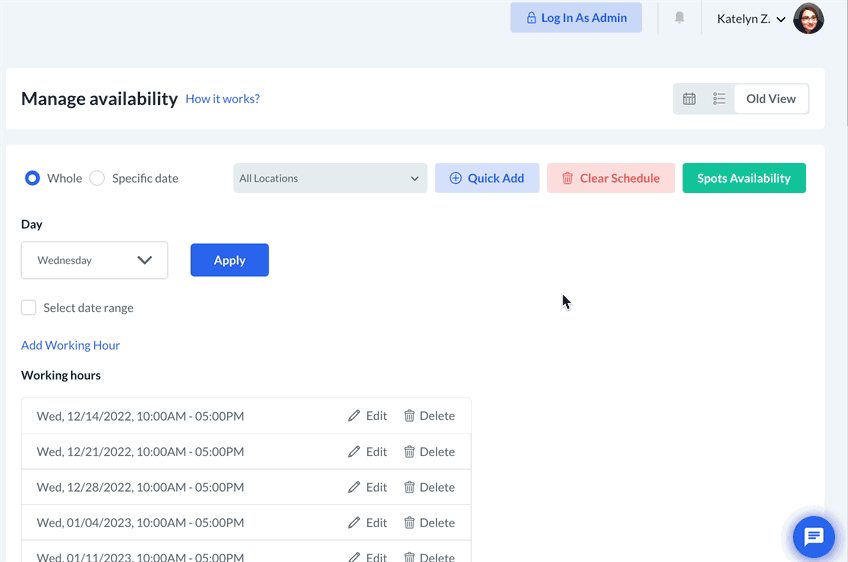
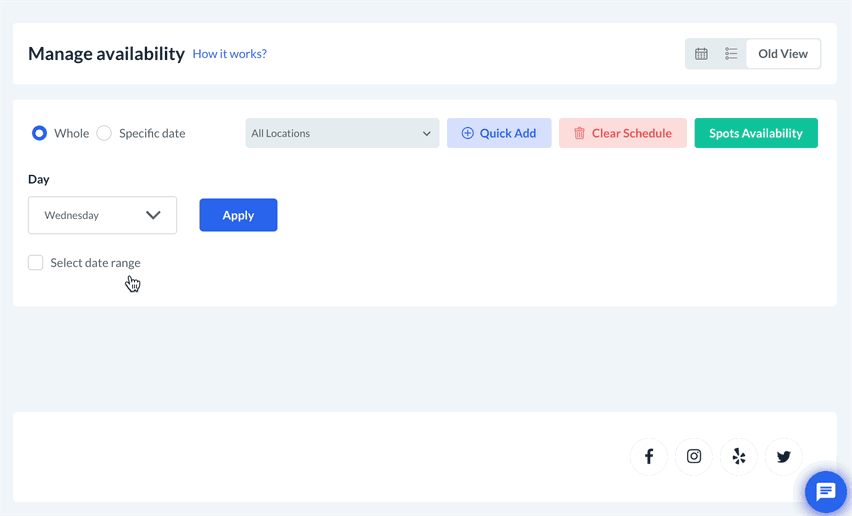
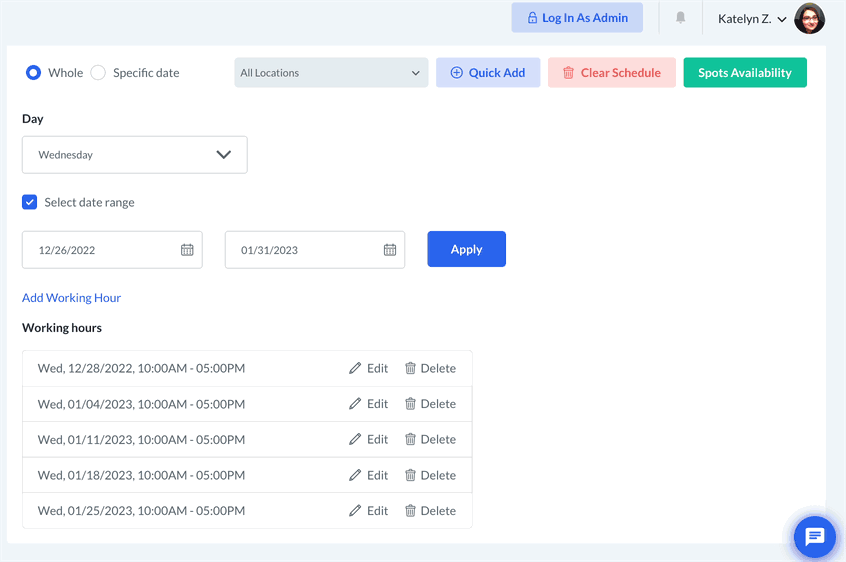
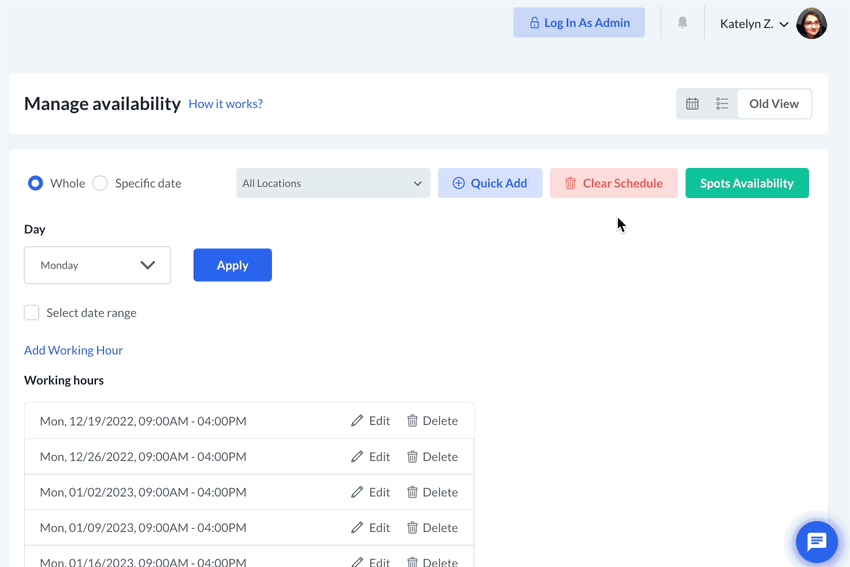
To add or edit regular recurring availability by day of the week, use the "Whole" option and select which locations (or all) the business has more than one location. Next, select the day of the week to set up availability and click the blue "Apply" button. All shifts for that day will be displayed in the section below. If there are no shifts, you will just see an "Add Working Hours" link.
To add a new shift, click "Add Working Hour". Select the start date and leave the end date empty to have the system update all upcoming shifts for this day. Next, select the start time and end time for the shift.
Upon clicking the blue "Save" button, the schedule changes will be applied. To verify the shifts look correct, you can always select the day of the week and then click "Apply" to view a list of the shifts for that day.
Old View: Editing Specific Dates and Date Ranges
To edit any existing shifts, click the pencil icon to the right of the date you'd like the schedule changes to take effect. For example, if the current date is January 1 and the provider's new availability starts in February, one can edit the first shift in February and all shifts before this will remain unchanged.
Once finished selecting the date, time, and frequency of the shift, click the blue "Save" button to apply the changes.
If you want to change the provider's availability for a specific time frame, you can also use the "Select Date Range" option below the day of the week. Once you pick the start and end date for the range, you can click the blue "Apply" button to view any shifts currently set up for that period.
As always, clicking the "Save" button at the bottom of the pop-up will ensure that the schedule is updated.
Old View: Removing Availability
If you want to remove a shift from the provider's schedule, you will start by loading the shifts for any given day. Once you see the list of shifts, click the trash can icon to delete it from their schedule. A pop-up will ask if you want to delete just this one shift or all shifts moving forward. You can also add a note or reason for internal purposes.
Shifts can also be deleted for a selected date range or the entire schedule of the provider. To clear a provider's entire schedule, you can use the red "Clear Schedule" button at the top of the page.
A pop-up will ask if you are sure you want to clear the schedule. Please select "Yes" to proceed.
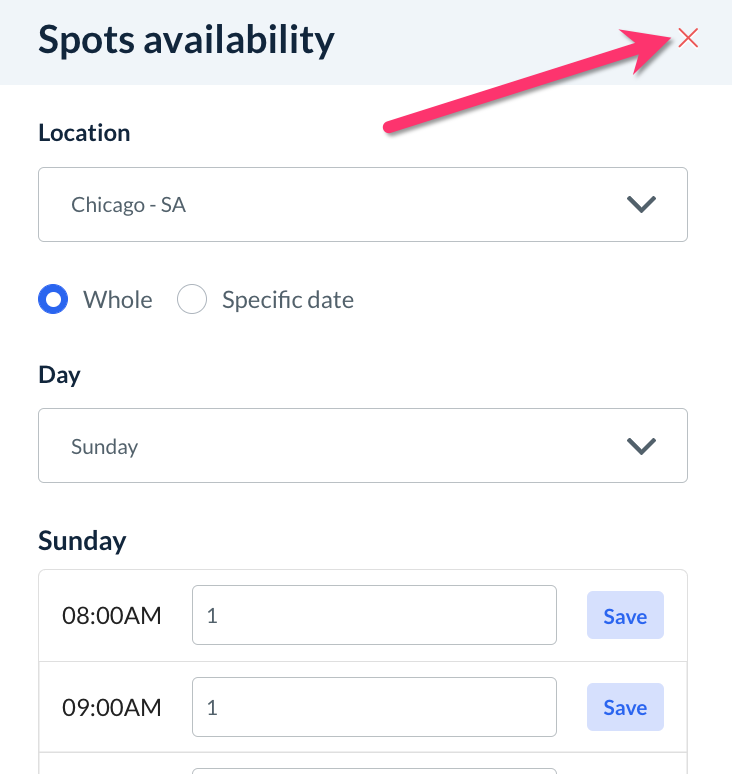
Spot Availability
If your business had multispot bookings enabled (more than one appointment per time slot), you can also adjust the number of bookings providers can receive for each start time. To do so, click the green "Spots Availability" button near the top right corner of the provider's Schedule page.
The Spots Availability pop-up allows you to edit the number of booking spots by location if the provider services more than one location. If you would like to update their booking spots for their default availability, use the "Whole" option and then make modifications for each spot. If you only want to update the spots for a specific date, you can instead use the "Specific Date" option and then pick the date from a calendar.
To add more spots, can enter a new number into the fields next to each start time, then click the blue "Save" button to the right of the spot's field.
When you are finished making changes, the pop-up can be closed using the red "x" icon at the top right corner.
How to Control/Limit Locations, Job Types, and Services
If you have multiple industries, services, and/or locations, your providers likely have different preferences for where they work and what types of jobs they can do.
To better control which jobs are unassigned to your providers, you can go to the Settings section under the provider's dashboard. To find this, go to:
Providers > Providers > [Provider Name]
Click on the "Settings" tab at the top of the screen.

There are four sections under the settings section: General, Industry, Forms, and Block Customer.
To view guides on each of these sections, click the links below: