The purpose of this article is to help you understand:
How to create an invoice for a new or existing customer
How to create a booking invoice or a custom invoice
How to customize an invoice
How to enable partial or advance invoice payment
How to automatically or manually send an invoice
How to manage invoice reminders and notifications
How to approve and send an invoice
How to Create a New Invoice
To begin, go to the Invoice Dashboard under:
Bookings > Booking Charges > Invoices tab.
Click on the blue Create an Invoice button in the top right corner of the page.
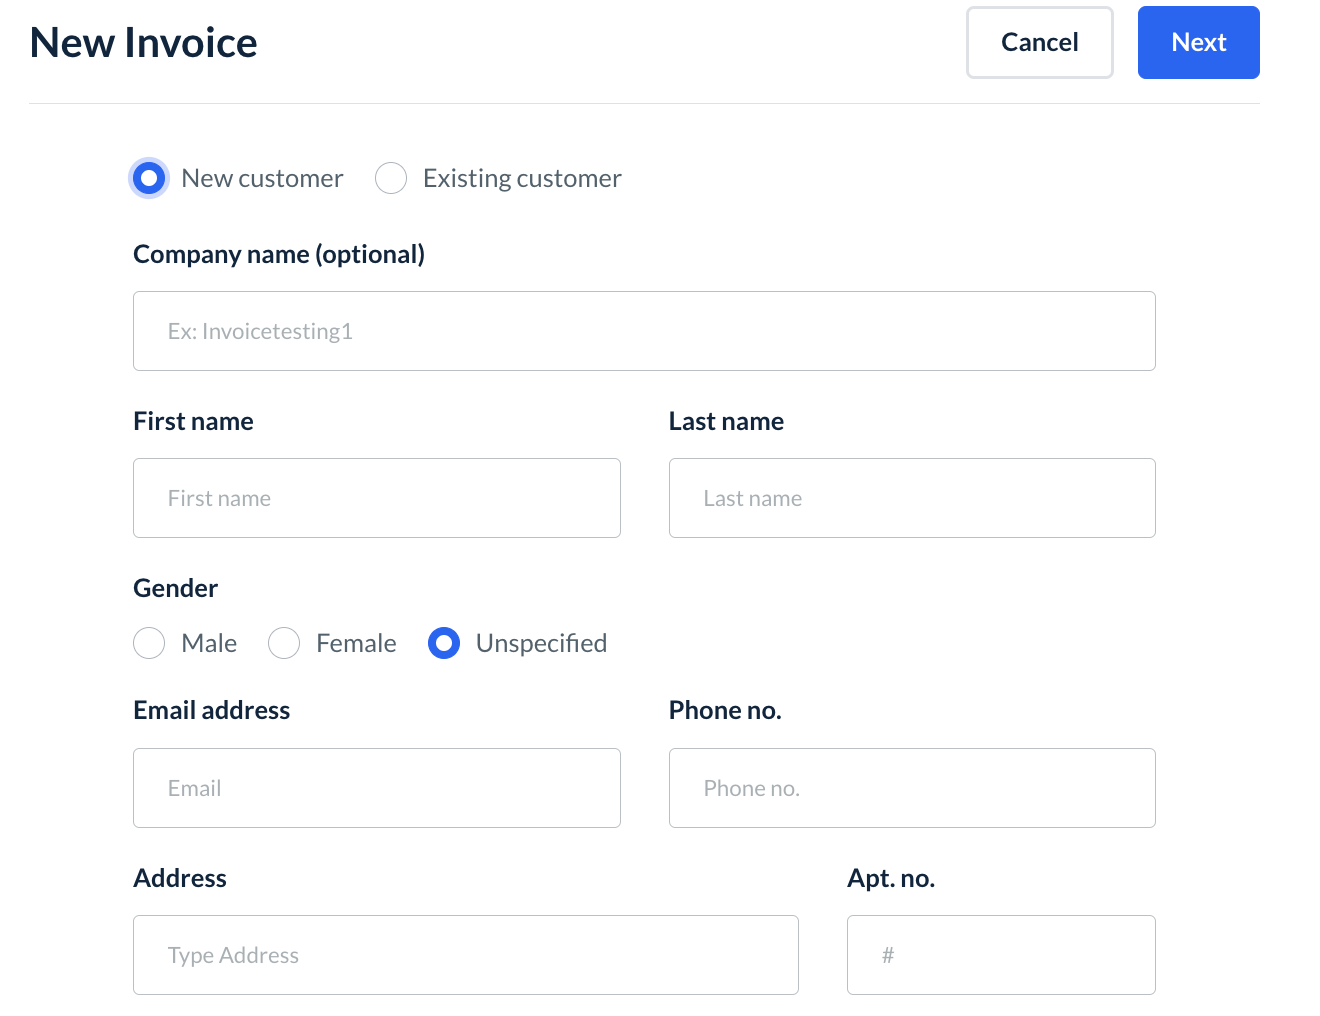
Next, select whether you will create an invoice for a new or an existing customer.
Invoicing a New or Existing Customer
If you are creating an invoice for a new customer, select the New Customer option at the top of the section and fill out the customer details in the boxes below. Then click the blue Next button at the top right corner of the form.
If you are creating an invoice for an existing customer, select the Existing Customer option at the top of the section and use the box below to search for the customer by name, email address, or phone number.
Next, select an Existing Address for the customer, or select the New Address option to enter a new address. Then, click on the blue Next button to proceed to the next step.

There are two options for the invoice type: creating a custom invoice or creating an invoice from a booking.
The difference between the two options is that custom invoices are not directly linked to any bookings in the system.
Invoice Frequency
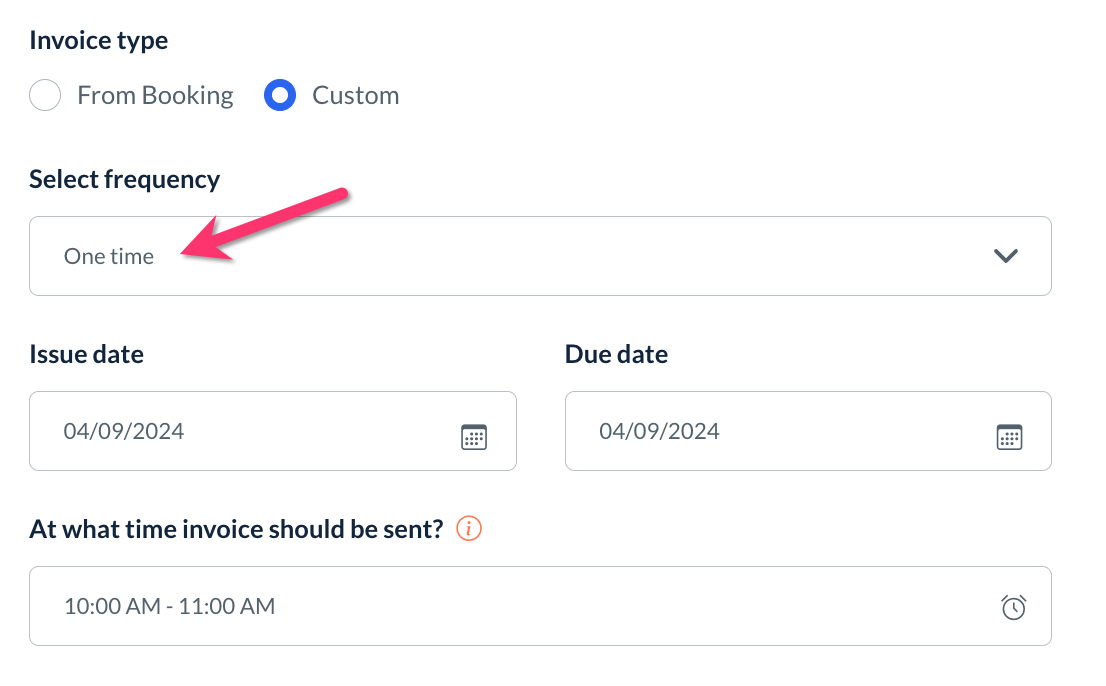
Next, select whether this invoice will be a one-time or recurring invoice.
For the Custom option, select One Time under Select Frequency to create a single invoice with an issue date, due date, and time the invoice should be sent.
To create a recurring invoice, select Recurring under Select Frequency. Next, set how often the invoice will repeat (Daily, Weekly, Monthly, Yearly, or Custom) and set the date for the first invoice and, optionally, when the invoices will end (Never, On Date, After).
At the bottom of the section, select the time range in which the invoice will be sent, and the due date for each invoice.
If you select the From Booking option and create a one-time invoice, you can pick one or more bookings from the section below to associate with this invoice.
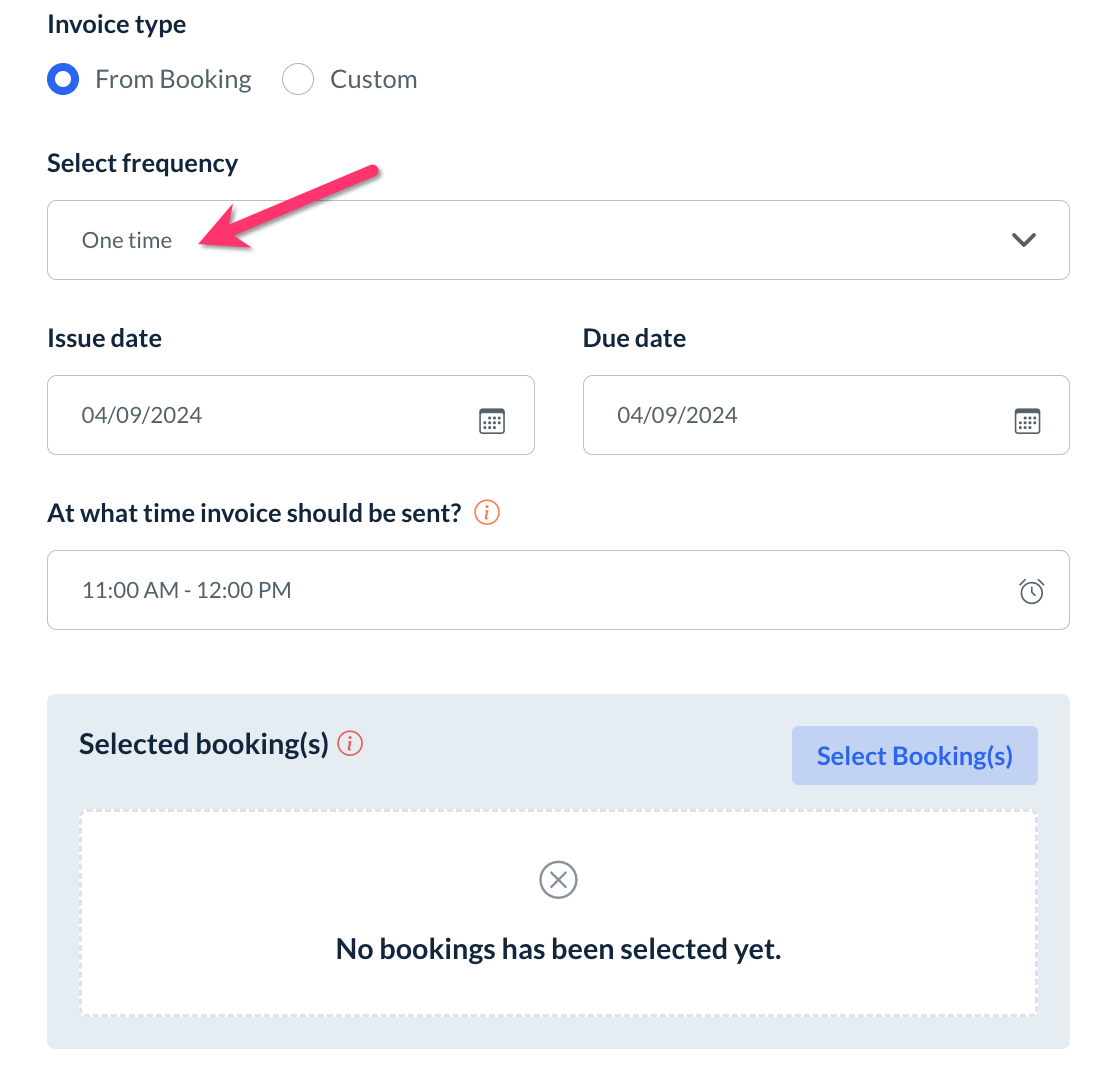
First, select the issue date, the due date, and what time the invoice should be sent.
Then, click the blue Select Bookings button at the bottom of the page and then use the date range option or search bar to search for bookings by ID. Check the box next to the booking ID(s) you'd like to select and click the Add Selected Booking(s) button to add the bookings to the invoice.
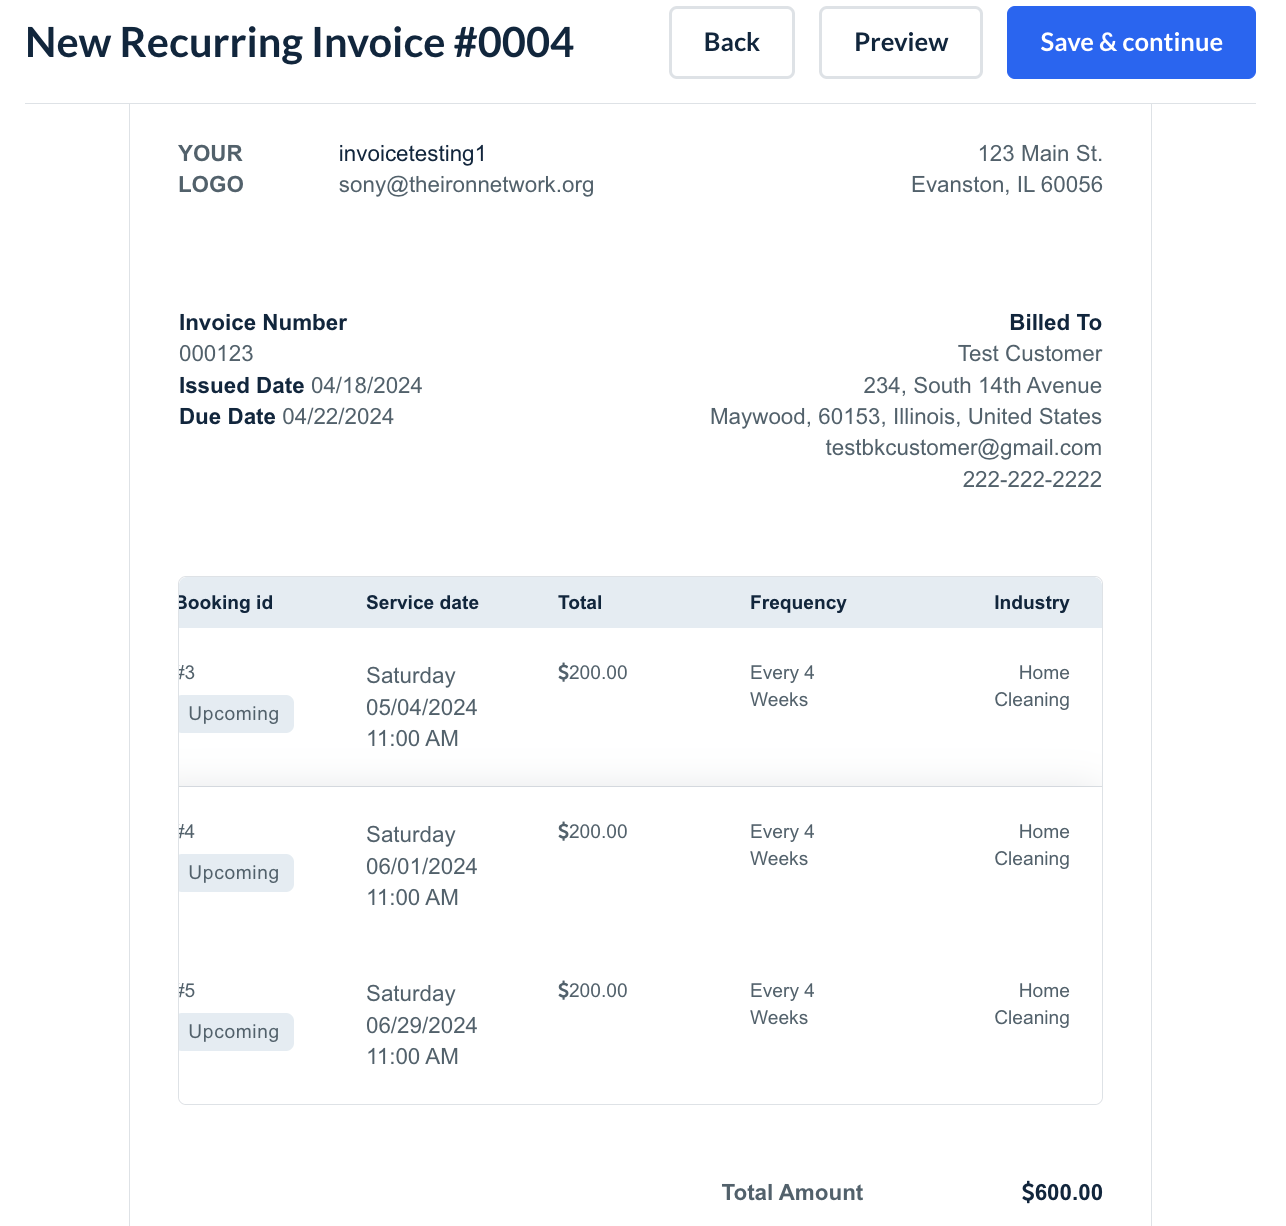
If creating a recurring series of invoices using the From Booking(s) option, select how often the invoice will repeat (Monthly, Yearly, Custom), the booking date range in which invoices will be generated, and optionally when the invoices will end (Never, On Date, After).
Next, select the time range in which the invoice will be sent, and the due date
for each invoice.
At the bottom of the section, decide what will happen if there are no bookings available in the system at the time an invoice is created.
Select Create Booking and Send Invoice if you would like to system to generate a booking for the time period and send the customer an invoice for it; otherwise, select Skip Invoice so no invoice will be sent on this particular occasion until a booking is available in the system or the recurring schedule end date has been reached.

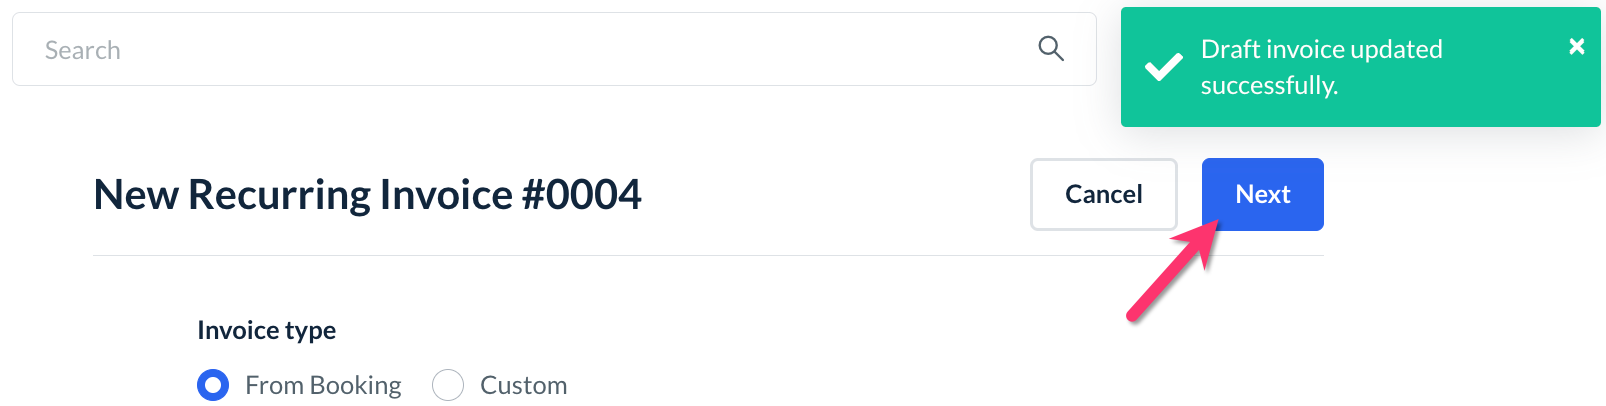
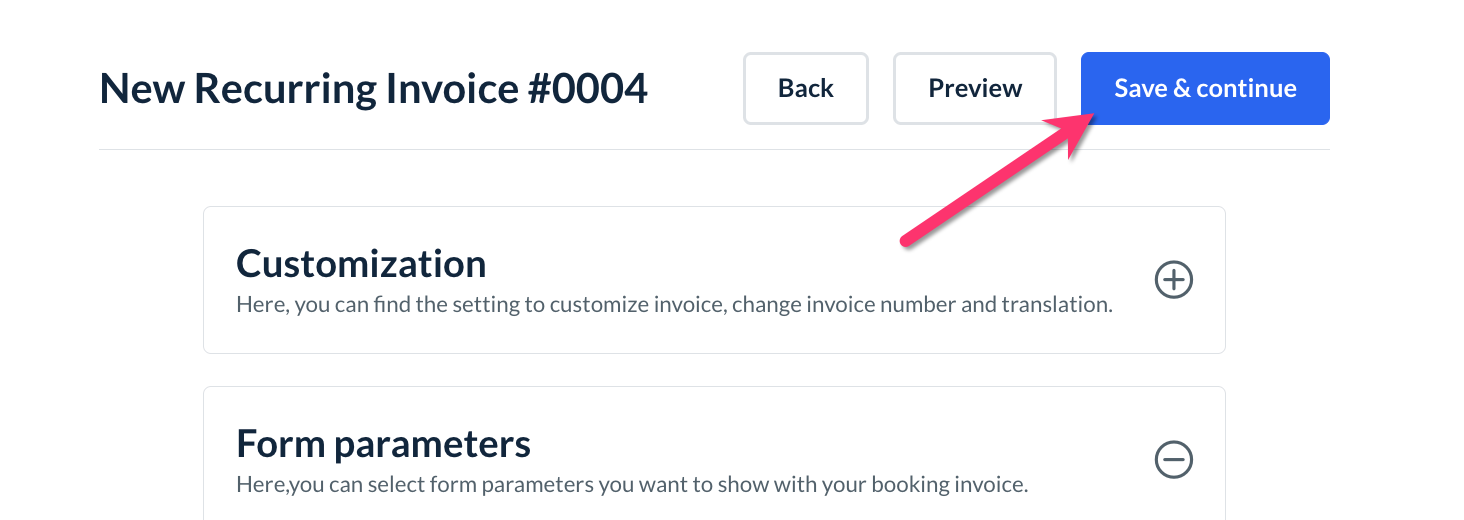
Once you have finished setting the invoice frequency and due dates, click the blue Next button at the top right corner of the form to proceed to the next section. At this point, the invoice will be saved as a draft.
Customize an Invoice
The next section of invoice creation allows you to customize the content and appearance of the invoice.
Click the plus sign icon next to Customization to edit the invoice number for the customer and manage translation, and click on Manage Customization to make changes to invoice media, company name, company email, company address, invoice number text, issue date text, due date text, billed to text, and pay invoice button text. To hide a section from the invoice, click the green Show button to switch it to Hide.
If you are creating a from booking invoice, you can select which form parameters the customer will view on the invoice by clicking on the plus sign icon next to the Form Parameters section. Check the box next to each parameter to display in the booking table.
If you are creating a custom booking, you will see the form parameters as they have been set up in the website and theme builder under:
Settings > Design Forms & Website > Website Builder & Themes > Customize Theme > Page menu > Payment Details > Invoice
In the website builder, these sections can be modified by clicking on the element ID and then using the Edit, Add row, Add column, and Rearrange buttons.
To learn more about how to modify these custom parameters, please view the guide on how to Edit the Customer Invoice Template.
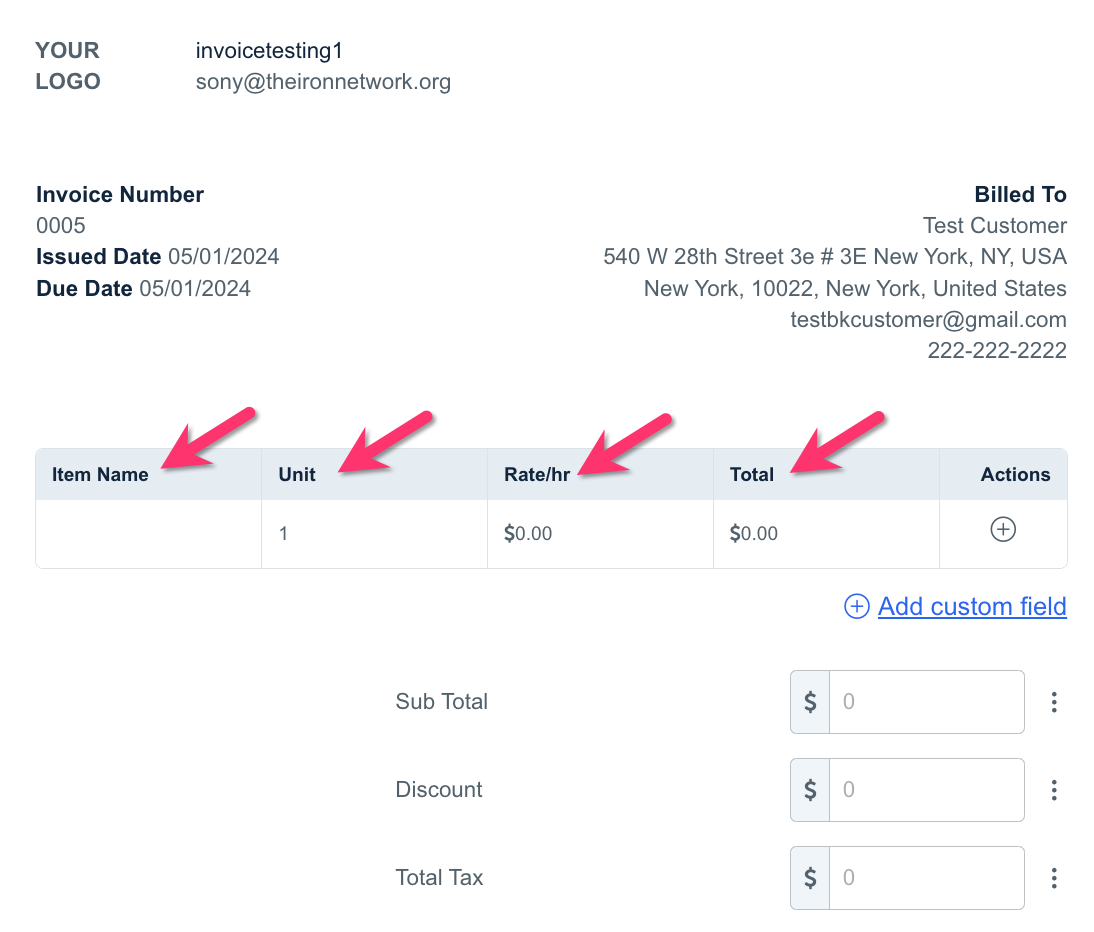
A preview of the invoice will be shown in the section below.
To add a note to the invoice, simply enter the text into the Note section below the invoice preview.
At the bottom of the page, there is an option to hide the BookingKoala branding if it is not hidden already. To do so, select Click Here to launch the website and theme builder in a separate tab.
Once inside the website and theme builder, click on the Settings button in the top menu and scroll down the General tab until you reach the Powered by BookingKoala branding option.
Click the green Enabled button to switch it to Disabled, then click the blue Save button at the bottom of the side menu. Once you refresh the invoice page, the branding will be hidden.
Once you have made any changes to customize the content and appearance of the invoice, click the blue Save and Continue button at the top of the page.
Premium Invoice Charging Options
Once an invoice draft has been created and saved, you can customize how the invoice will be charged. There are two extra options available for Premium subscribers: Allow partial/advance payment and Allow customer to add tip.
Allow Partial or Advance Payment
If you check the box next to Allow partial/advance payment, the invoice payment can be split into multiple parts. Select how many parts from the dropdown menu and then enter the percentage of payment for each part.
For example, if you would like the invoice to be split into three payments, select 3 below the option for How many parts do you want to split the partial payment? and then enter the percentage for each payment into the boxes. In this example, the first two payments are 33% of the final total so the final remaining payment will automatically be set to 34%.
Allow Customers to Add Tips
The second premium charging option allows the customer to add tip(s) to the invoice payment.
If the invoice is custom, check the box next to Allow customer to add tip and select the provider(s) using the box to search their name or email address. Check the box(es) next to the provider(s) name(s) and then click the blue Select button.
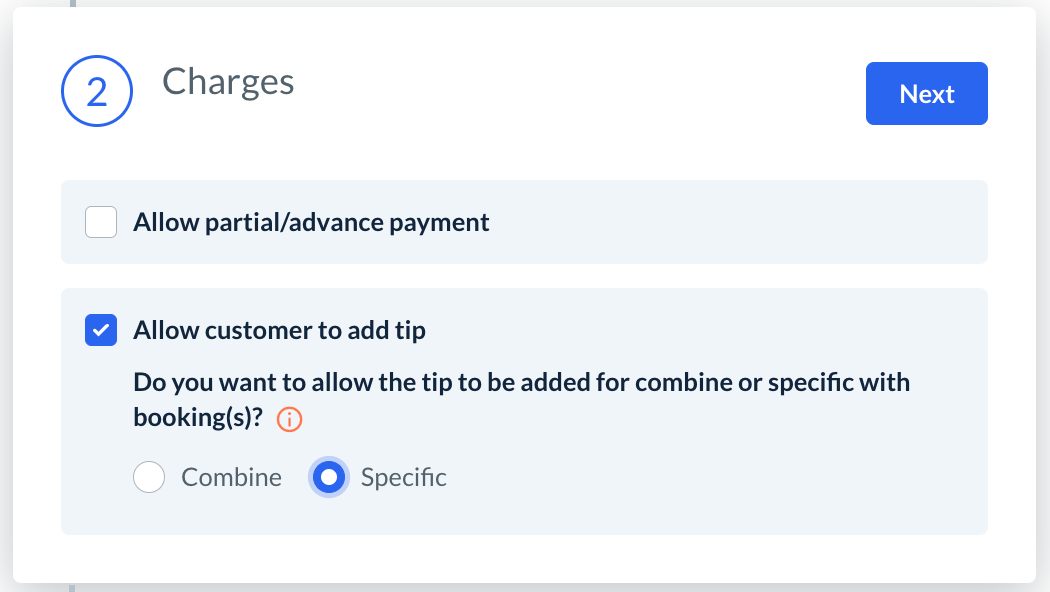
If the invoice is from booking(s), there are several options for how the tips are allotted to the bookings.
Under the question Do you want to allow the tip to be added for combine or specific with booking(s)?, select Combine for the tip to be automatically combined with the total of the bookings due for this invoice.
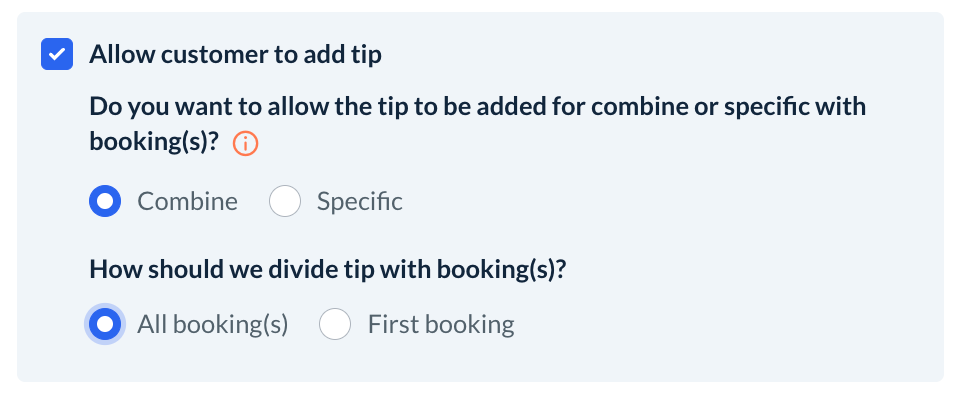
For the question How should we divide tip with booking(s)?, select All Bookings to have the tip divided equally amongst the total number of bookings due for this invoice. For example, if there are three bookings covered in this invoice and the customer leaves a $60 tip, each booking will have a $20 tip added for the provider(s).
If you select First Booking, the customer's tip will be added to the first booking only. For example, if there are three bookings covered by this invoice and the customer leaves a $60 tip, the first booking will have a $60 tip and the second and third bookings will have a $0 tip.
If you would prefer for the tip to be added individually to the recurring booking(s), select Specific for Do you want to allow the tip to be added for combine or specific with booking(s)?
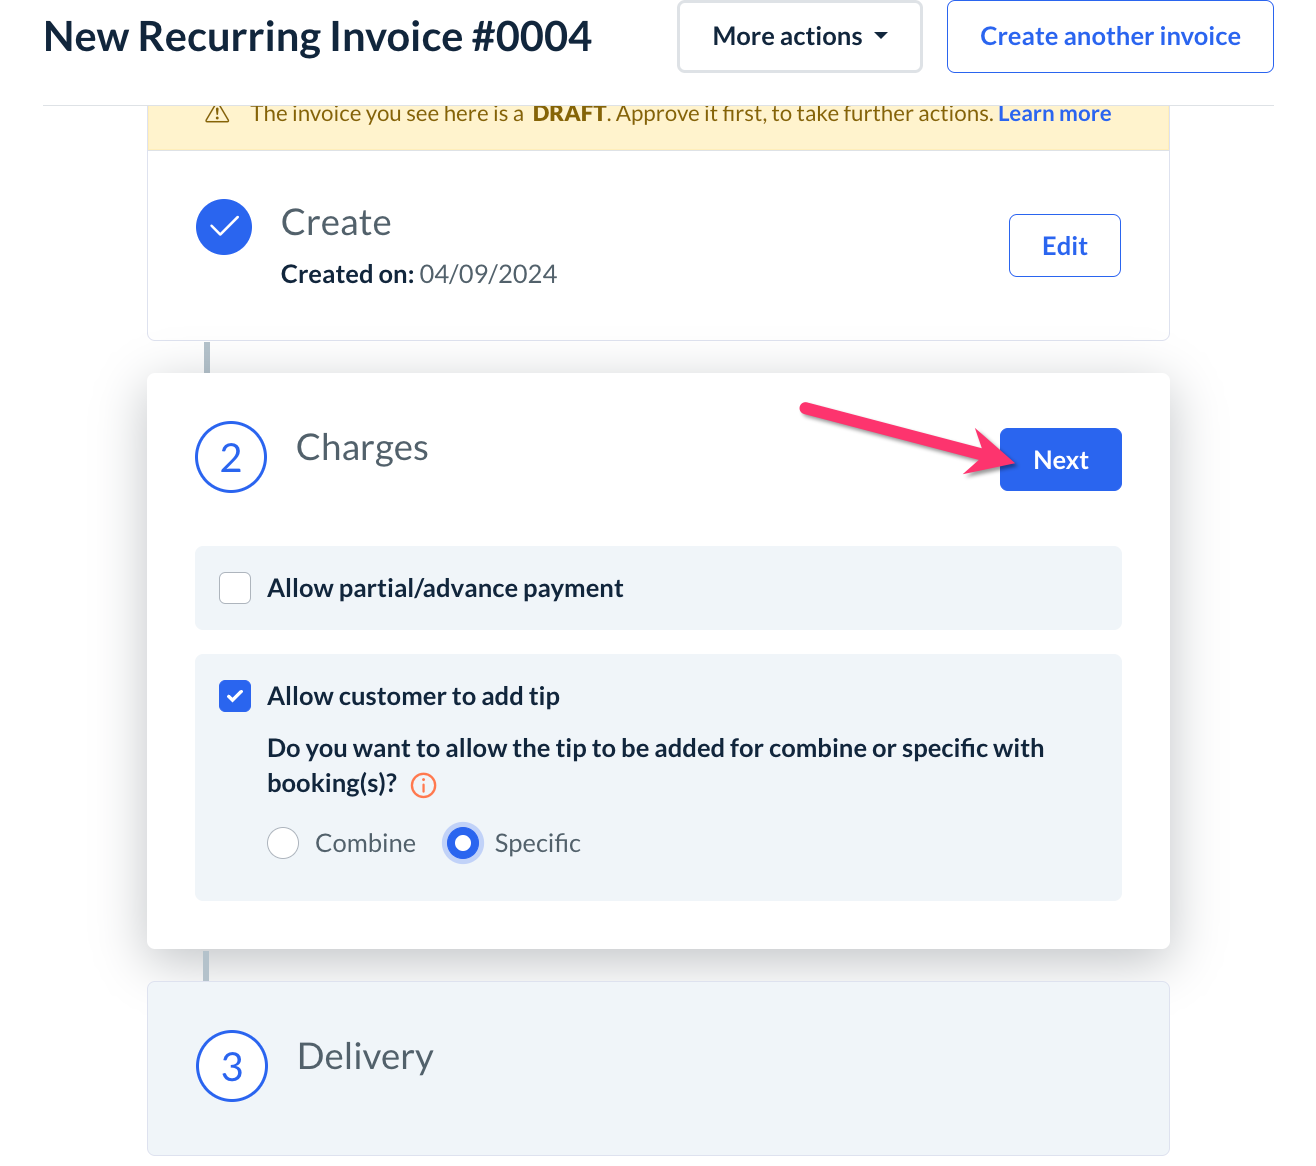
Once you have finished with the Charges section, click the blue Next button in the top right corner of this section to proceed to the next step.
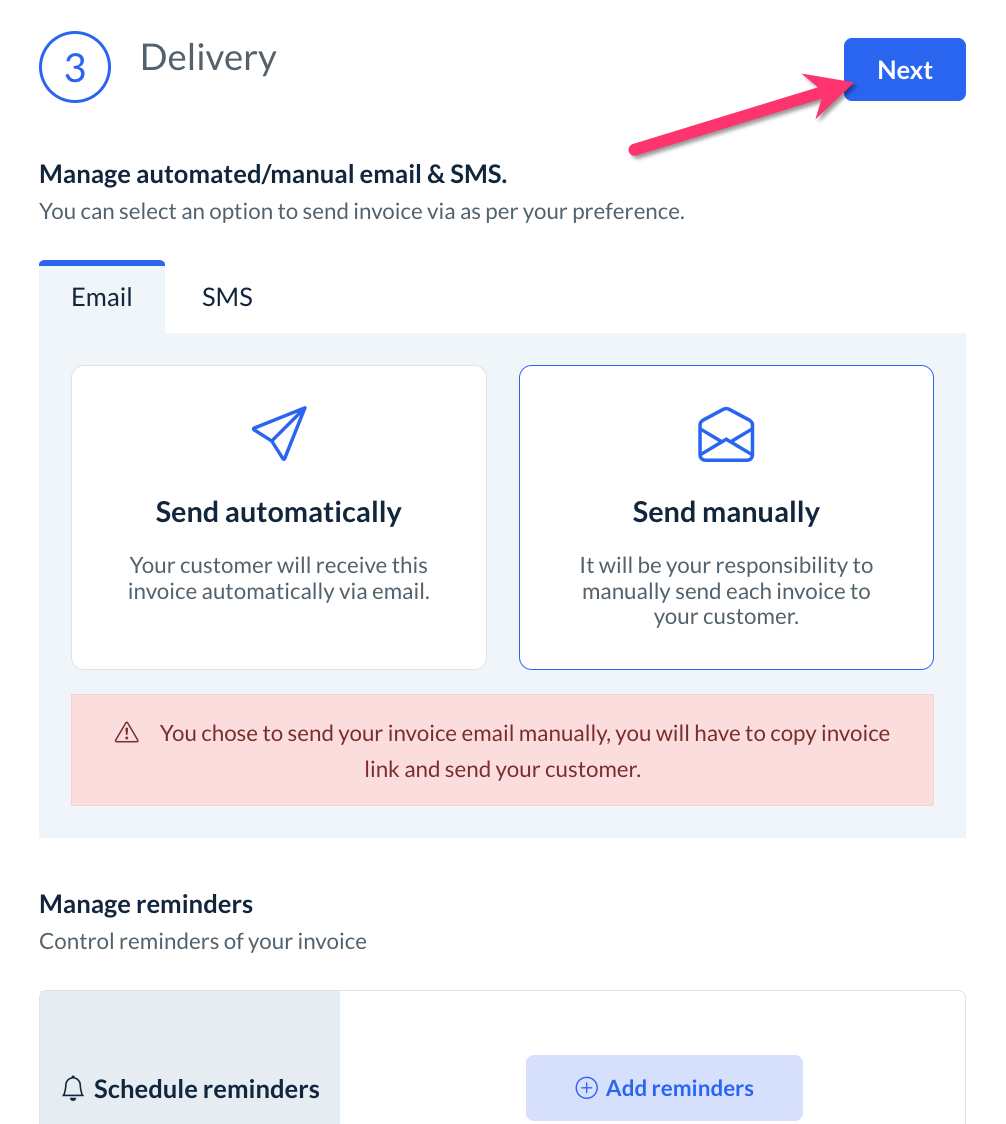
Invoice Delivery Options
The final step of the invoice creation process is the delivery options section. Invoices can be delivered via email and SMS for the Premium Subscription.
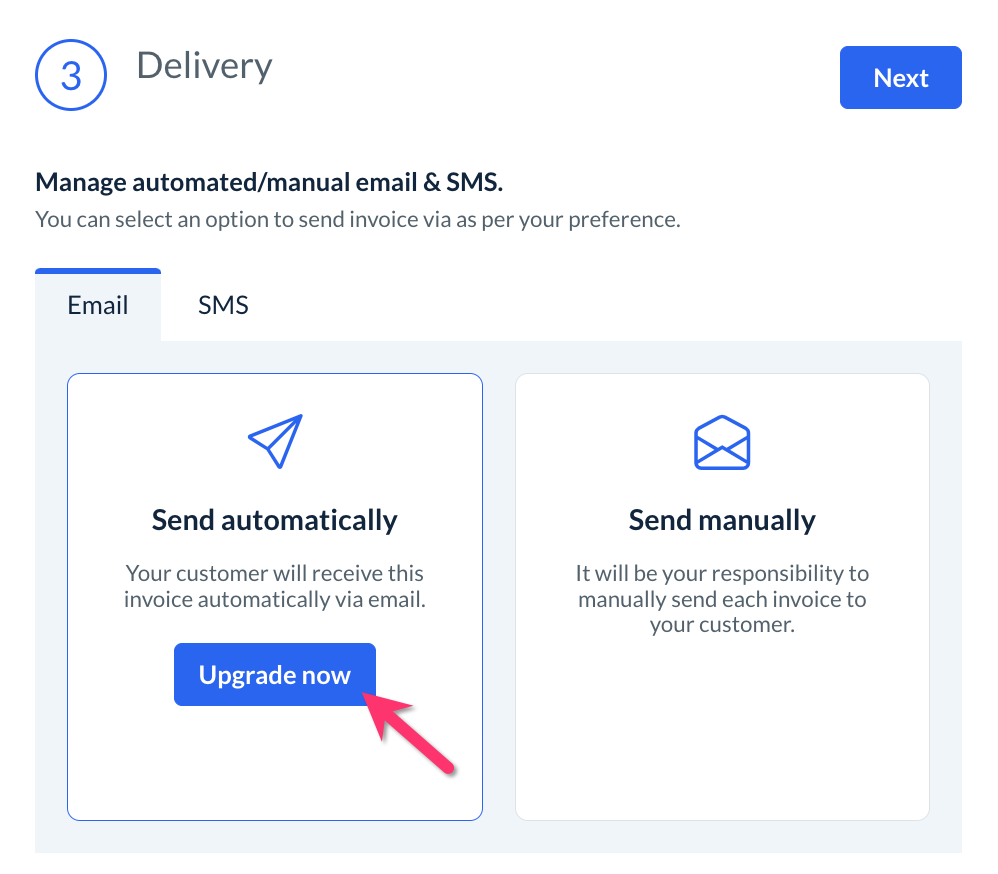
Invoices can be sent automatically if you are a Premium Subscriber, otherwise, each invoice will need to be sent manually via an invoice link. To upgrade your plan to include automatically sent invoices, click the blue Upgrade Now button within the Send Automatically box.
Send an Invoice Automatically
To send invoices automatically, select the Send Automatically option for the email and/or SMS tabs.
For automatic emails to work, please be sure you have set up and verified your sender email address by following the instructions in this article.
For automatic SMS to work, please be sure you have set up your Twilio integration per the instructions in this article.
To CC one or more people on the invoice email, check the box next to Include additional email (CC) and enter the email address into the box below.
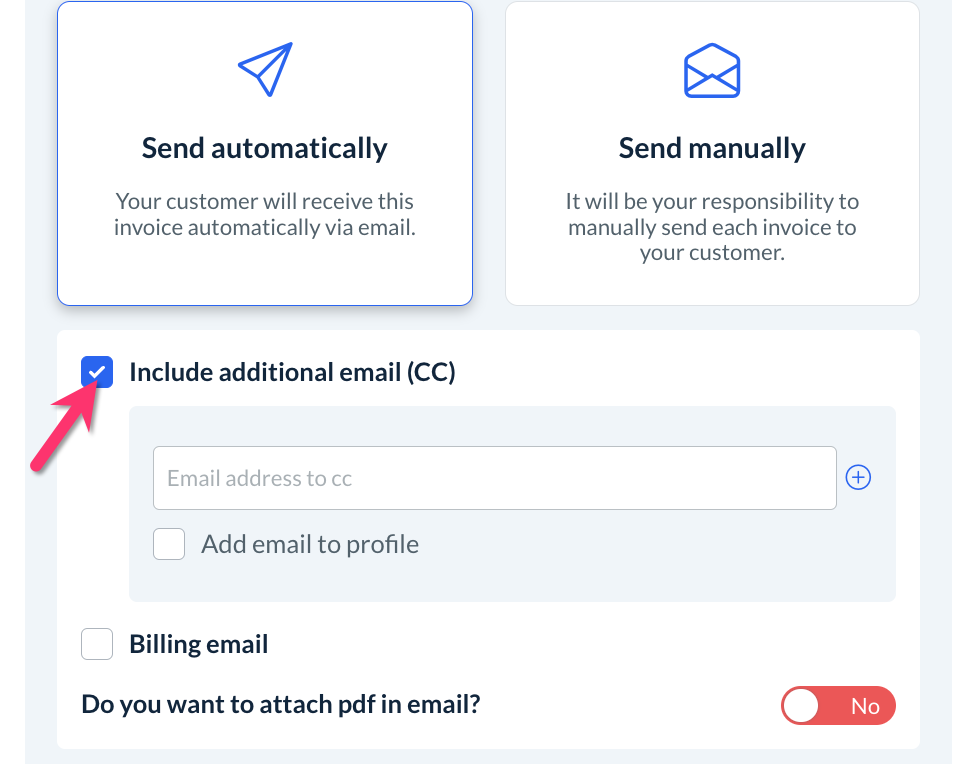
Click the plus sign icon to add additional emails.
Each email CC'd can be saved to the customer's profile by checking the box next to Add email to profile.
A separate billing email address can be added by checking the box next to Billing Email and entering the address into the box below.

If you'd like to attach the invoice as a PDF to the email, toggle the button next to Do you want to attach pdf in email? to Yes.
Send an Invoice Manually
If you are not a Premium Subscriber, you can select the option to email or SMS the invoice manually to the customer.
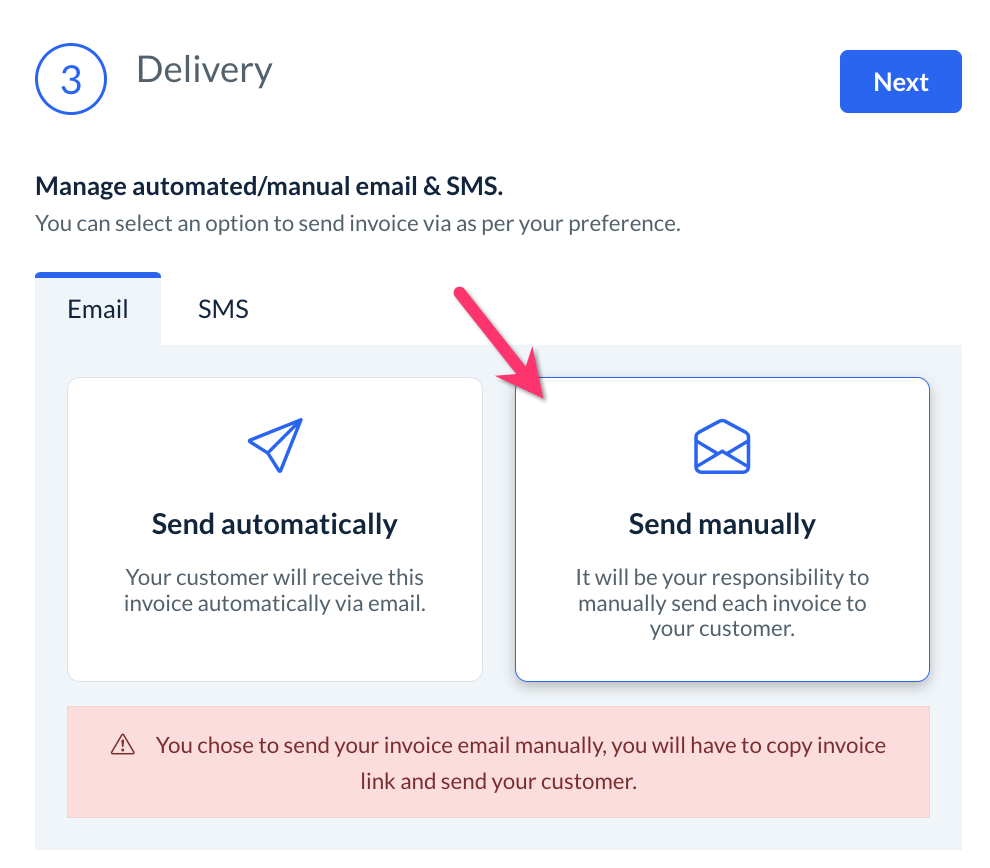
The invoice link can be sent once you have finished creating the invoice. Click here for instructions on how to send an invoice by copying the invoice link.
Manage Invoice Reminders
Below the sending options, you can schedule reminders for your customer(s) to pay the invoice. To begin, click the blue Add Reminders button within the Schedule Reminders box.
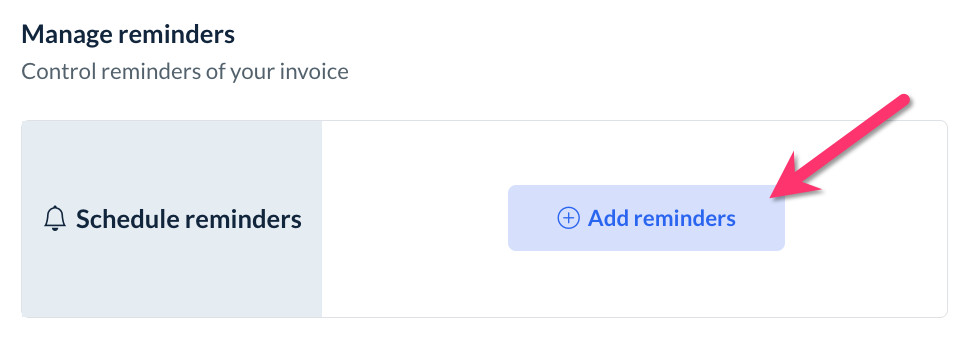
Next, toggle the button next to Should we send invoice reminders to your customers? to Yes. Click the grey Add Reminder button at the top right corner of the popup to add a new reminder.
Reminders can be set for a number of days after the due date, a number of days before the due date, or on the due date. If applicable, enter the number of days before or after the due date. An optional message can also be included in the reminder.
Click the grey Add Reminder button to add additional reminders as needed, and then use the blue Save button to save the reminder(s) to the invoice.
Manage Invoice Notifications
At the bottom of the section, you can control which notification, you, the customer, and the provider receive once the invoice has been paid.

To view and edit the templates for these notifications, please go to:
Settings > Notifications > Email/SMS/App Notifications
Click the Edit button to the right of each template to view and edit it.
These Invoice sections under the Admin and Customer tabs contain multiple templates for a variety of circumstances, including when an invoice is issued, updated, paid (either partially or fully), declined, refunded, and more.
Approve and Send an Invoice
Once you have finished setting your invoice delivery options, click the blue Next button at the top right corner of the section.
If you are ready to finalize the invoice and send it out automatically or manually, click the blue Approve and Start Recurring Invoice or Approve and Send Invoice button below where it says You are almost done!
You will be redirected to the Invoice Dashboard where you can view all of your active invoices. If you selected for the invoice to be Sent Automatically, you are all set! If you selected Send Manually, you can copy the invoice link from the Actions options next to the invoice as shown below.
The copy link option corresponds with the Invoice page under:
Settings > Design Forms & Website > Website Builder & Themes > Customize Theme
Once inside, click on the top center Page menu, select Payment Details then the Invoice page.
Click here to learn more about how to edit the Payment Details pages inside the website and theme builder.