The purpose of this article is to help you learn:
Where customers can log in
How customers can edit or reschedule
How customers can cancel or resume canceled bookings
How customers can duplicate or add a new booking
How to rate services from the customer dashboard
How to purchase a gift card or earn referral credits
How customers can manage their profile and notifications
How customers can add a new payment method
How to use the My Drive feature
The Customer Dashboard
The customer dashboard is a great resource that allows your clients to manage their bookings, provide feedback, earn referral credits, and more. Use of the customer dashboard is completely optional and is not required in order to complete the booking process. However, a customer dashboard will be created whenever a customer account is generated for your store.
Customer accounts are generated whenever the admin or customer schedules a booking for the first time, or by entering an email address and password via the sign-up page on your website.
Once generated, customers can log in right away to manage their bookings.
It's important to note that access to the features within the customer dashboard can be restricted or even disabled entirely depending on the store's settings. Admin can learn more about these settings by going through the "General" store options and "Customer" store options sections.
Log In
There are a few different ways customers can log into their dashboard.
1. Login via the BookingKoala Subdomain
Customers can log into their account by going to the login page at the URL that was created for you when you signed up for your account.
For example, if you entered "Demo2" as your store name when you first created your account, your BookingKoala URL would be:
https://demo2.bookingkoala.com
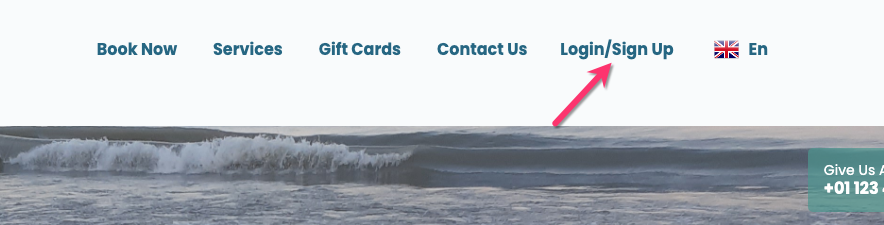
Next, customers can click the "Login/Signup" link at the top of the header to navigate to the Login page.
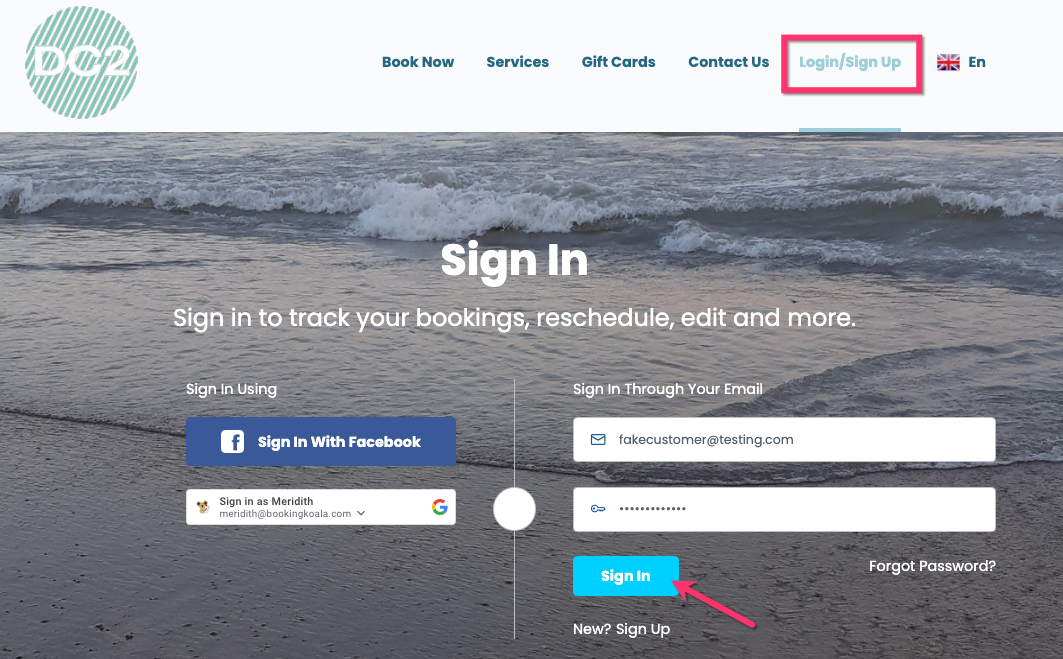
Customers will enter their email address and password under the "Sign In Through Your Email" section. Finally, they will click the "Sign In" button to navigate to their dashboard.
Your site's login URL will also take users directly to the login/sign-up page (unless you have renamed this subdomain). For example:
https://demo2.bookingkoala.com/login
2. Sign In With Facebook or Google
If your business has enabled sign-in/sign-up with Facebook or Google, customers can also log in by clicking either of these buttons on the login page.
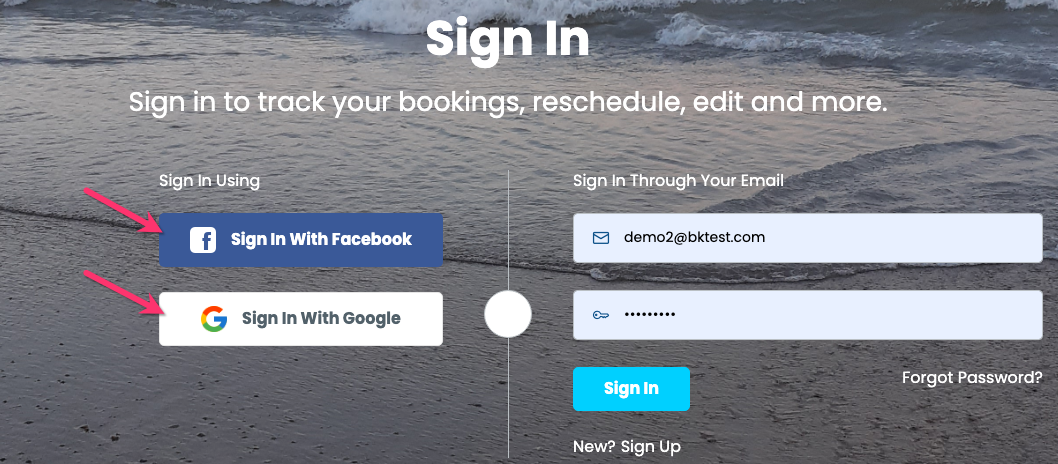
After clicking the button, a pop-up window will allow users to enter login information or sign in to their Facebook or Google accounts. After connecting the account, the "enter" key or click "Log In" to access the customer dashboard.
It is important to note that customers who have logged in using either option will need to use the same method every time to view their customer dashboard.
3. Login Via the Login Form on Your Custom Domain
If your business uses a custom domain, such as "demo2llc.com", customers can access their dashboard via the login form. Like the booking form, the "login form" is an iframe that can be embedded into any page on your website.
Once customers visit your business' domain, they can look for a link that directs them to the login page. From here, they can use the "Sign In Through Your Email" and "Sign In With Facebook/Google" options, if enabled.
Edit or Reschedule Bookings
If permitted by your store settings, customers can edit and reschedule bookings through their dashboard. This can be done directly from the main dashboard section.
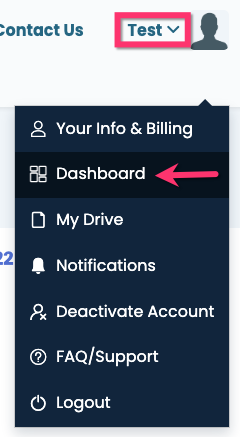
If not already on this page by default, customers can select the drop-down menu titled with their first name and click on "Dashboard".
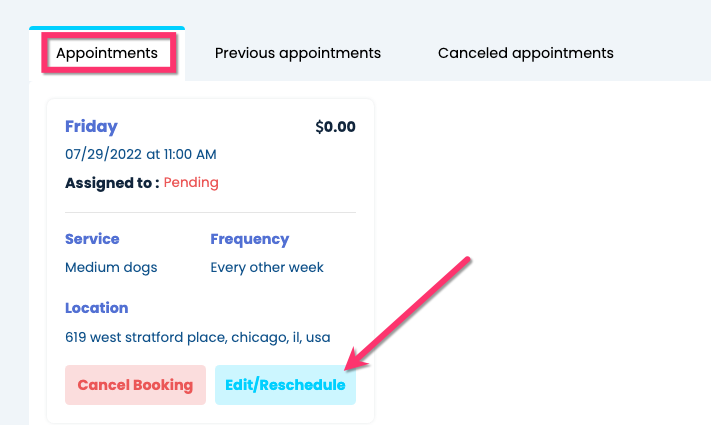
Under the "Appointments" tab, click on the blue "Edit/Reschedule" button.
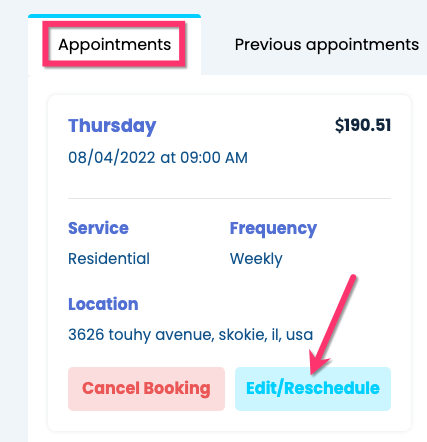
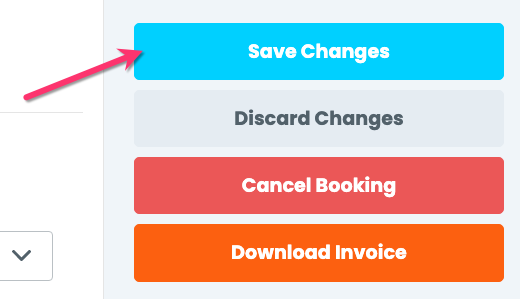
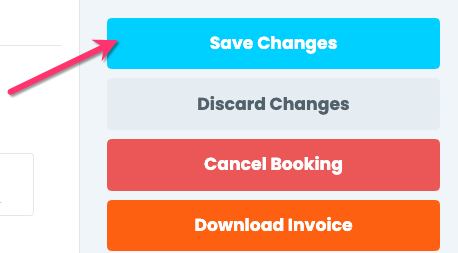
From here, the customer can make changes, including selecting a new date and time. Once finished, they can select the blue "Save Changes" button.
Cancel, Postpone, or Resume Canceled Bookings
If allowed, customers can cancel and resume canceled bookings through their dashboard. This can also be done from the main dashboard section.
To visit the main dashboard, customers can select the drop-down menu and click on "Dashboard".

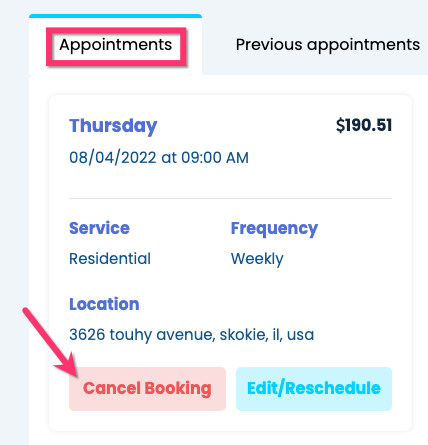
Under the "Appointments" tab, click the red "Cancel Booking" button.
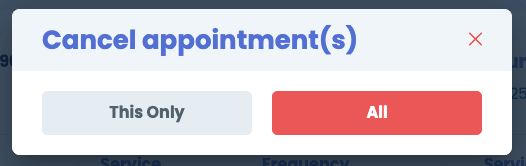
A pop-up window will appear with the option to cancel or postpone the service.
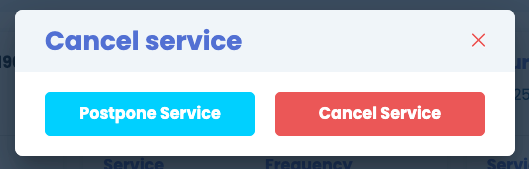
If canceling a recurring service, customers can decide if they want to cancel just one or all appointments.
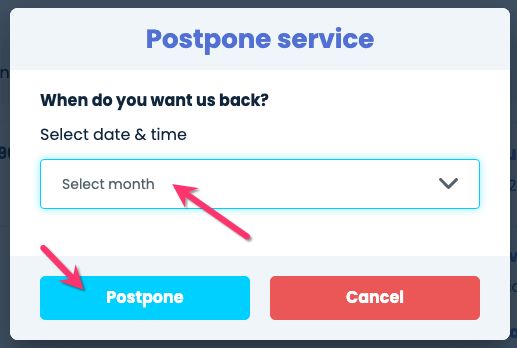
If postponing a service, the customer can select a date in the future when the service will resume.
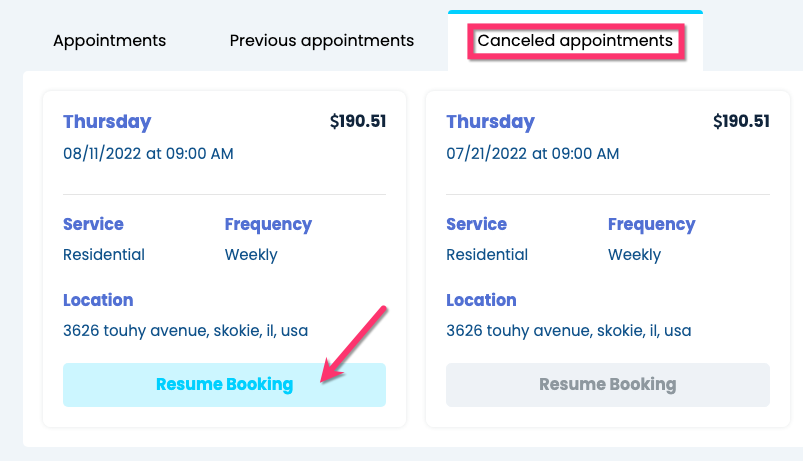
To resume a canceled booking, go to the "Canceled Appointments" tab and click on the "Resume Booking".
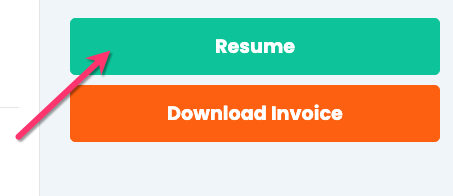
From here, the customer can select a new date and time and then click the green "Resume" button on the right side of the page.
Book Again or Add a New Booking
Customers can easily book more services directly from their main dashboard. If not already on that page, they can click the main menu and select "Dashboard".

Just below the customer details section, customers can click the "Add New Booking" button to schedule new services.

Customers can also duplicate previous appointments and book them for a future date. To do this, they can click on the "Previous Appointments" tab and then click the "Book Again" button below the booking they want to copy.

From here, they will be directed to the booking form where they can review the details and select a new date and time.
Rate Bookings
Once a service has been completed, customers can leave ratings and comments from their dashboard. To leave a rating, customers will go to their main dashboard.

Next, they can click on the "Previous Appointments" tab and look for grey stars below the booking summary.
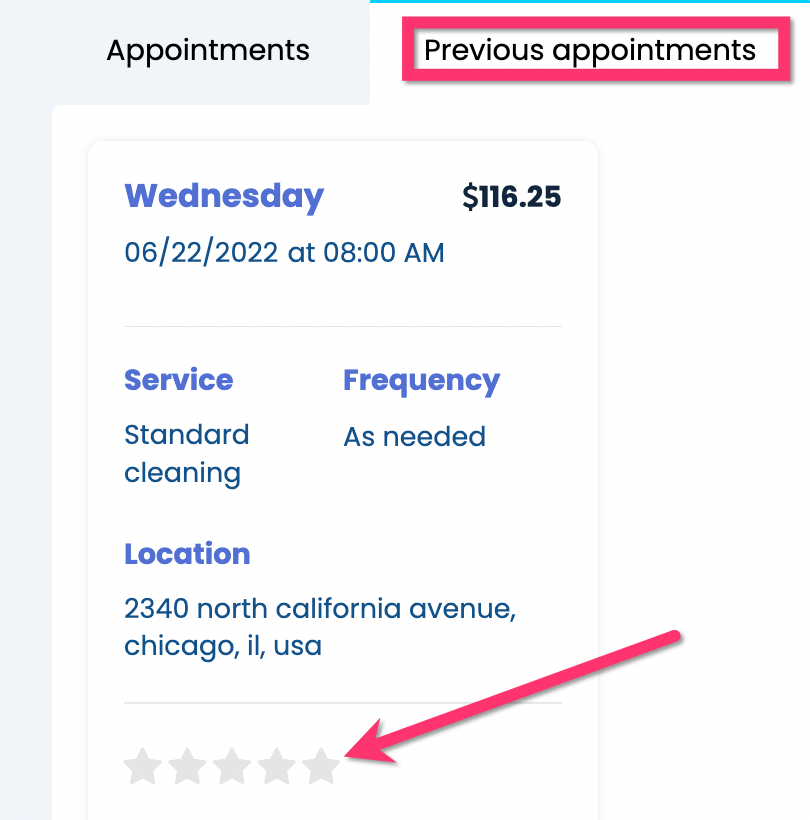
To leave a review, click the number of stars (half stars can be used) and a pop-up with a comment box will appear. Once finished leaving feedback, click the "Rate Now" button and the review will be saved for that service.
Add a Tip
Customers can add a tip or pay for a provider's parking fees through the customer dashboard. If not already on that page, they can click the main menu and select "Dashboard".

Under the "Appointments" tab, click "Edit/Reschedule" to open the booking details page.
Scroll down to the Tip and/or Parking section to select an option. They can select a pre-set amount or click the "Other" button to enter a custom percentage or flat amount.
To update the booking, they will click the "Save Changes" button on the right side of the page.
Customers can also add tips to past services. Once they click on the "Previous Appointments" tab, they can select the click the green "Add Tip" button.
View and Download Invoices
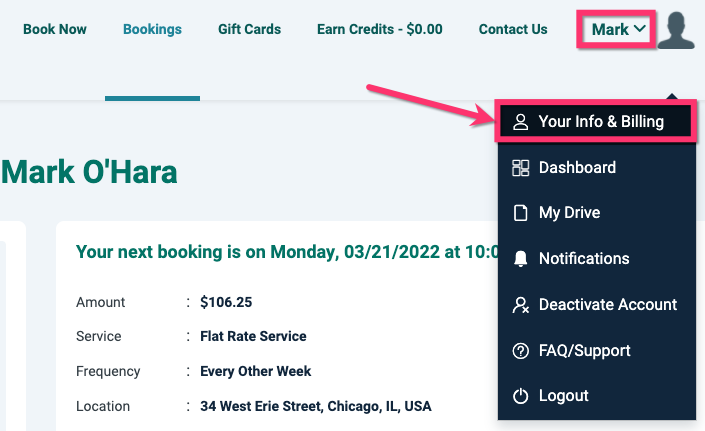
Customers can view and download invoices for each service by clicking on the main menu and selecting "Your Info & Billing".
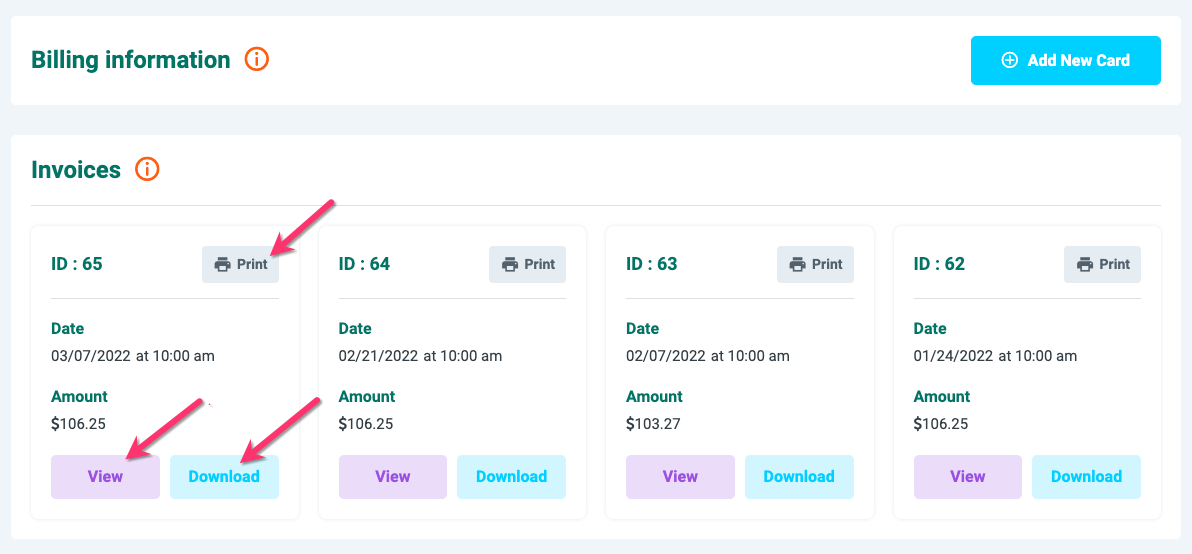
They will scroll down past the Billing section to view the Invoices section. Each booking will have a box with options to print, view, or download the service invoice.
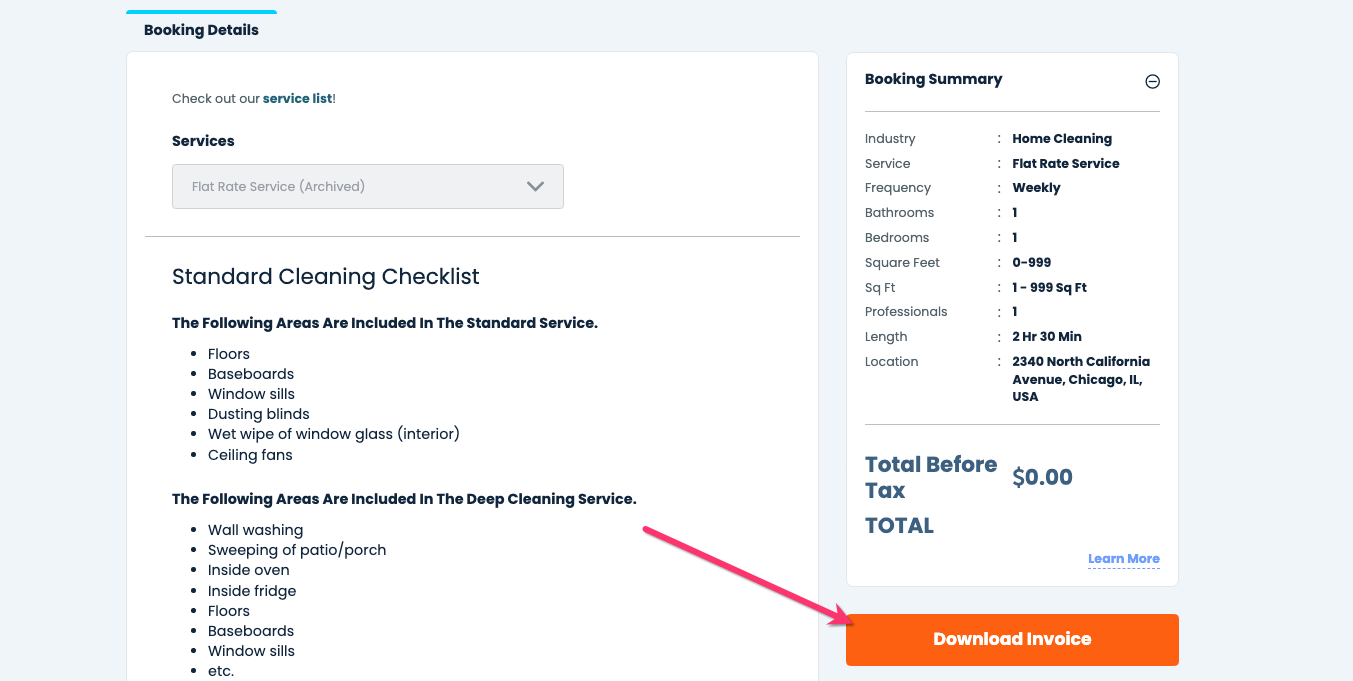
Invoices can also be viewed by going to the "Previous Appointments" tab in the main dashboard and clicking "View Details".
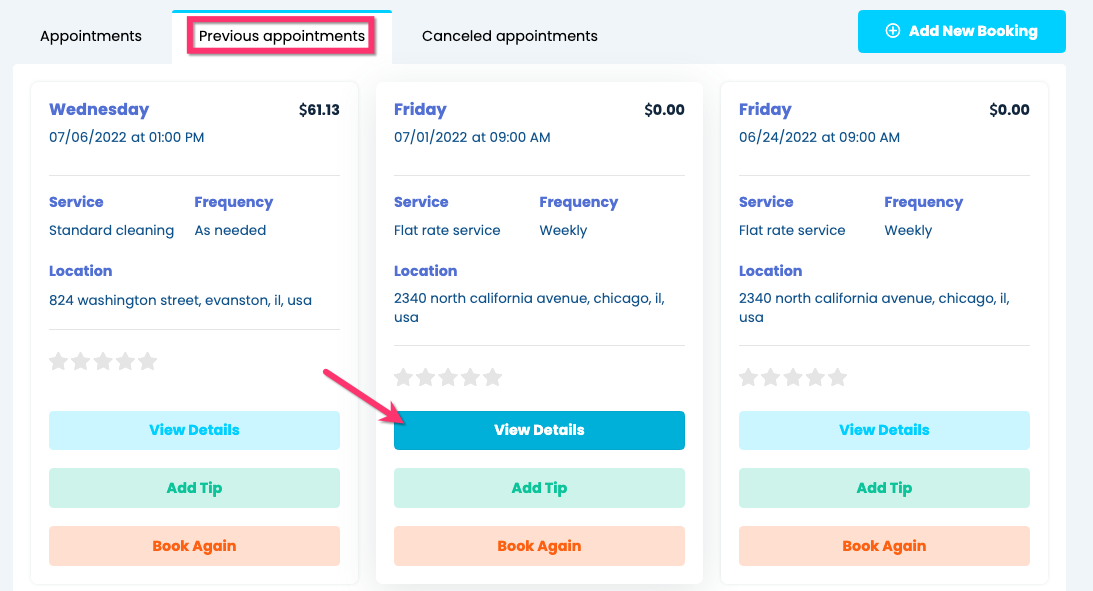
There will be an orange "Download Invoice" button on the ride side of the page below the booking summary.
Purchase a Gift Card
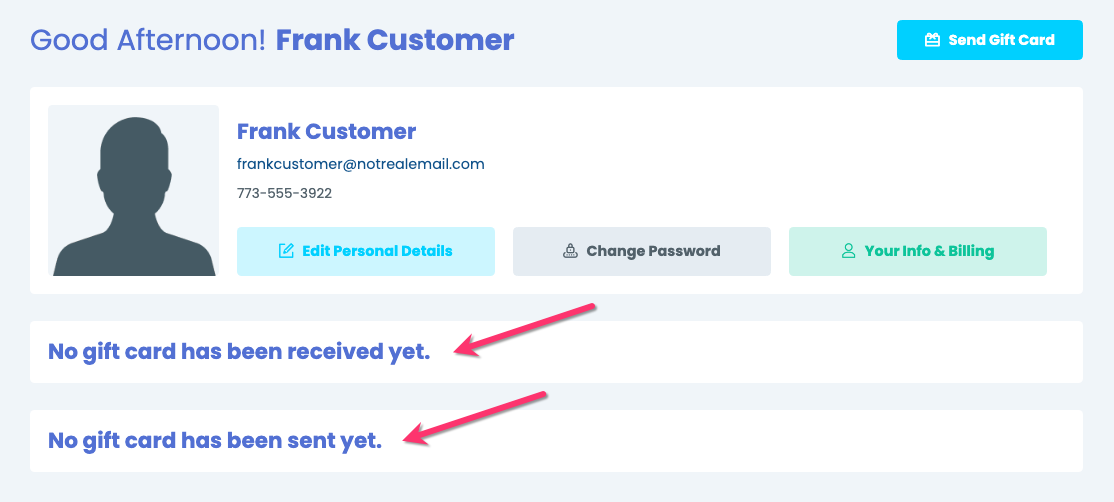
Customers can purchase and send out a gift card from their dashboard. To do this, they will click on the "Gift Cards" link at the top of the page and then select the "Send Gift Card" button.
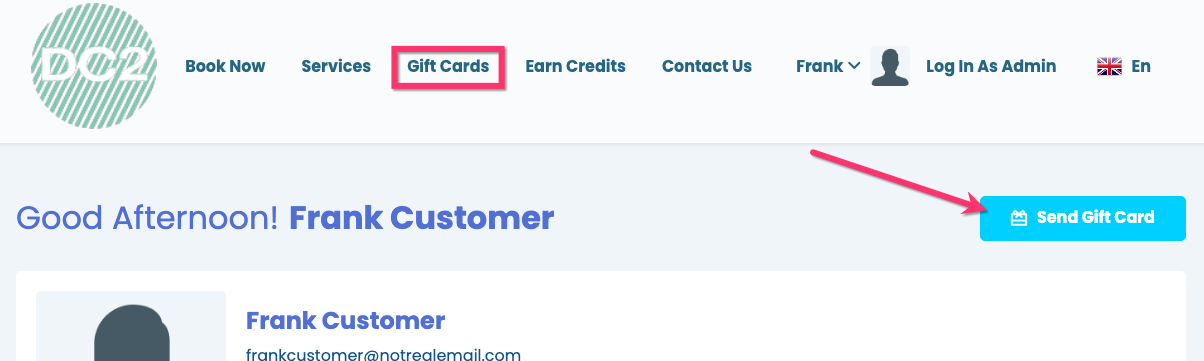
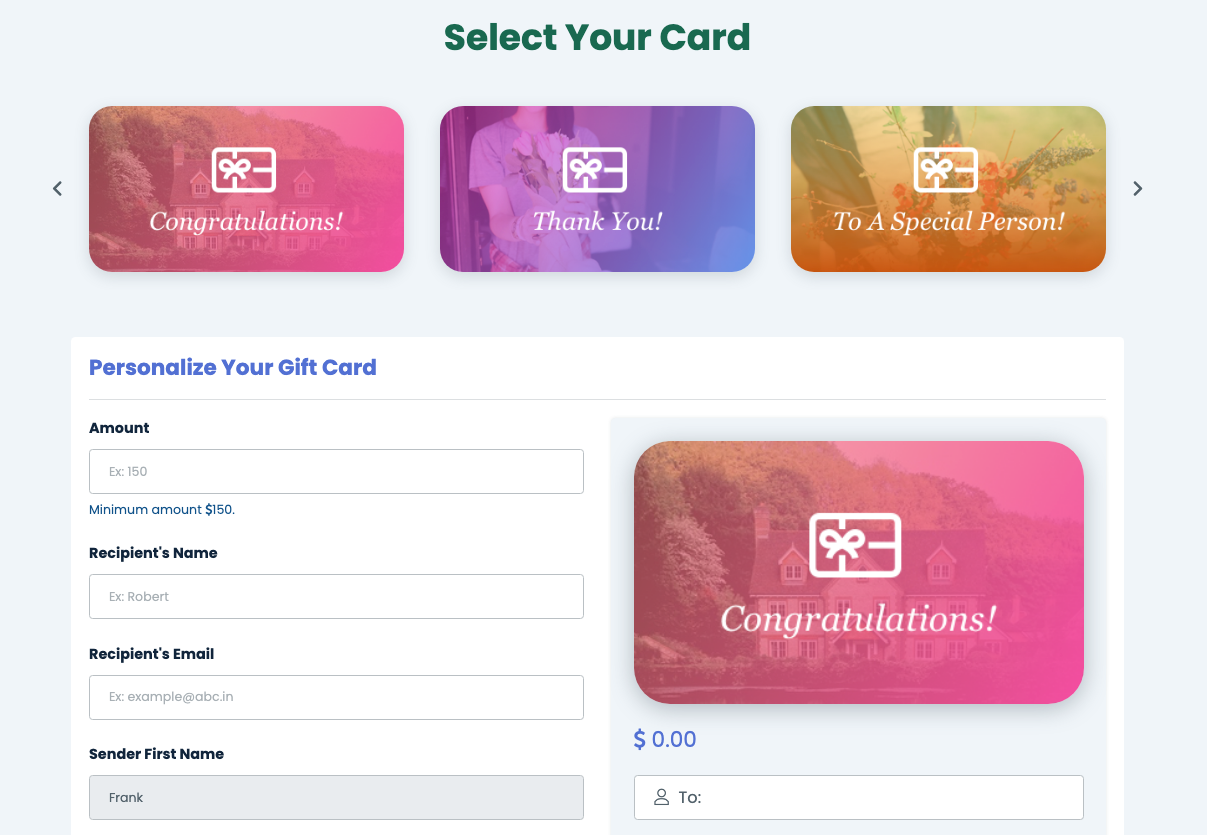
This will bring them to the gift card page. From here, they can fill out the form, add a message, and select when the gift card will be sent out. The customer can pay for the card using whichever payment method is on file or use a new card.
Customers can also track gift cards that have been sent out or received from the gift card page.
Earn Referral Credits
If enabled, customers can earn credits towards your service from the "Earn Credits" section of their dashboard. Credits will only be awarded once both parties have completed one booking in the system.

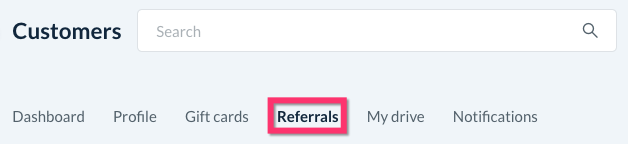
On the backend, you can go to a specific customer's dashboard and click on the "Referrals" tab at the top of the page.
From here, they can invite friends and family to use your business by using any of the invitation options the business owner has unable. Invitations can be sent to emails, phone numbers, or shared on Facebook, Twitter, or by using the link icon.
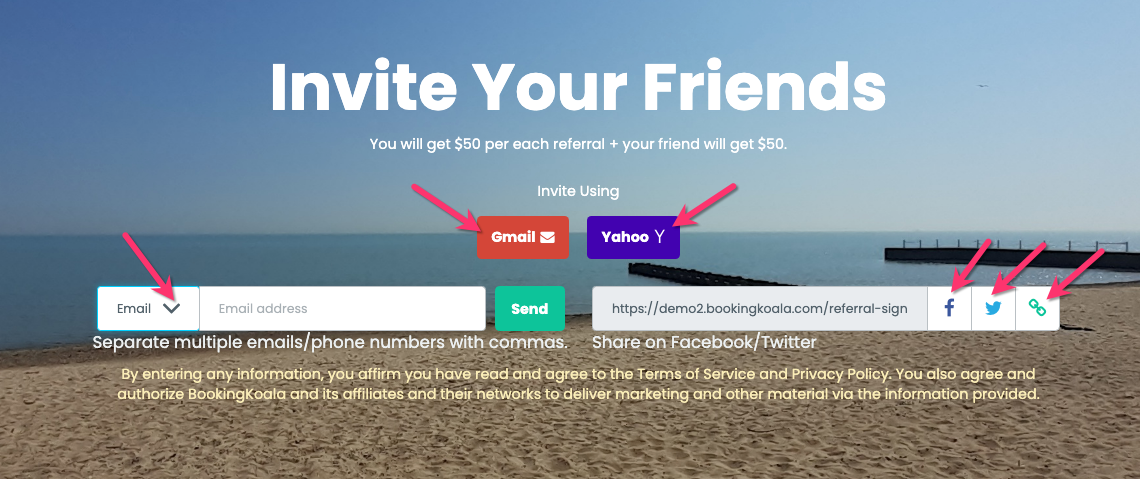
Below this section, customers can track the referral they've sent out to see if they've booked or are pending.
Update Profile Info and Notifications
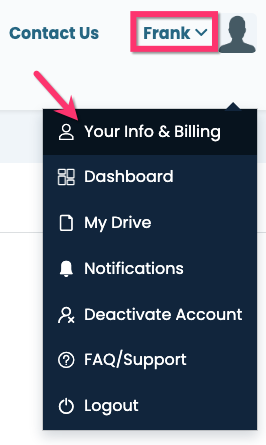
Customers can use their dashboard to manage their notifications and update their contact information. To do this, they will click on the main drop-down menu and select "Your Info & Billing".
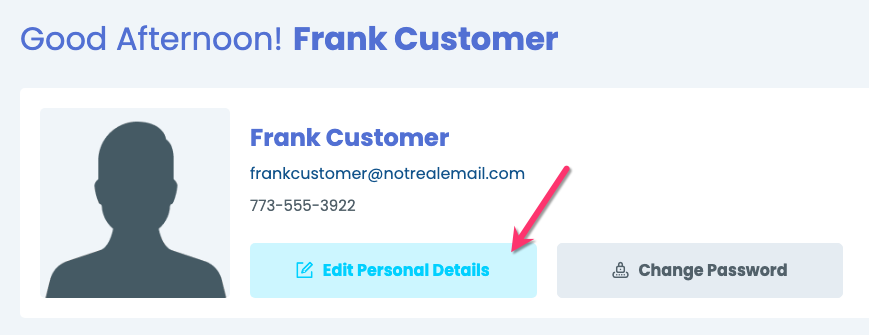
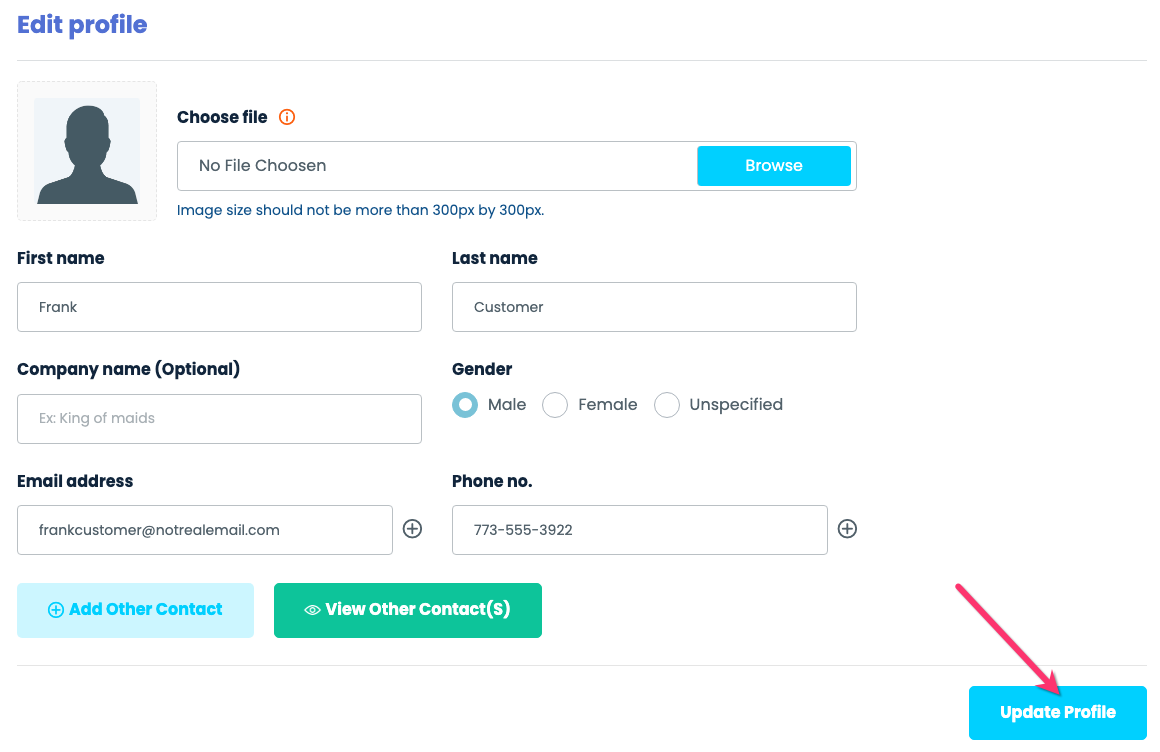
Once on the page, the customer can click the "Edit Personal Details" button to make changes to their name, profile pictures, email address, phone address, or add contact information for a second person. Once they are finished, clicking the "Update Profile" button will save the changes.
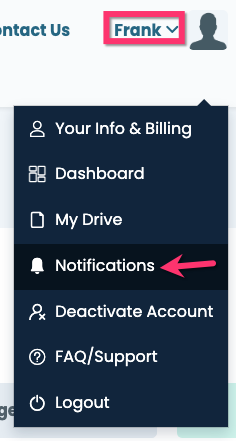
Customers can also manage their email and SMS notifications by clicking on "Notifications" under the main menu.
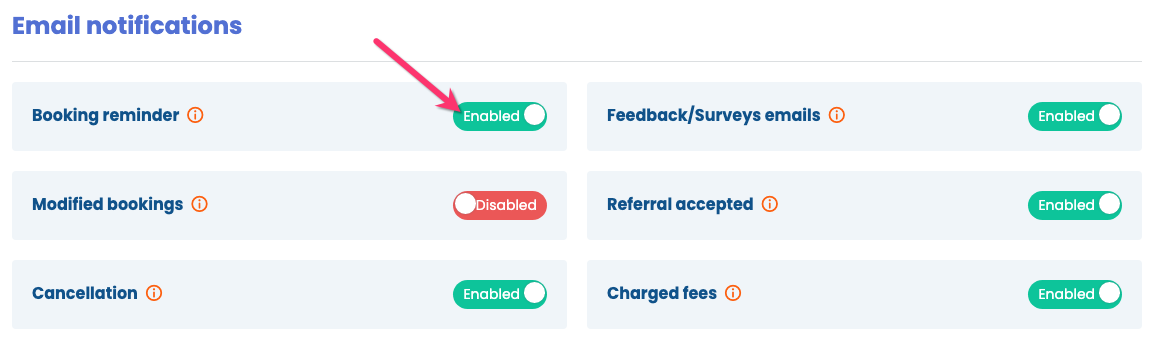
From here, they can click the toggle button next to each notification to enable or disable it.
Add or Delete a Debit/Credit
Customers can also add or delete a payment method from the billing information section of their dashboard. They can click on the main menu and select "Your Info & Billing".
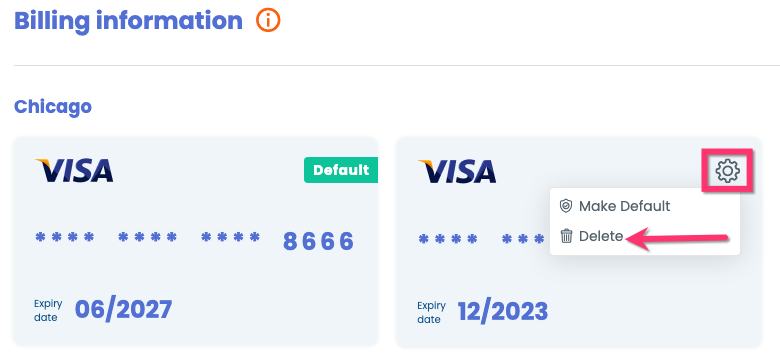
Once they are on the page, they can scroll down to the "Billing" to view whatever cards are on file.
To add a new card, they will click the "Add New Card" button in this section. If your business used separate accounts for each location, the customer will select their location and then enter the card information. Finally, they can click the "Add Card" button to complete the process.
Customers can set their default payment method by clicking the "wheel" icon in the top right corner of the card and selecting "Make Default".
Cards can be deleted by clicking the wheel icon and selecting "Delete".
Use the My Drive
Admin can enable the "My Drive" feature in the customer profile. This allows admin and staff to upload files and documents for the customer to view.
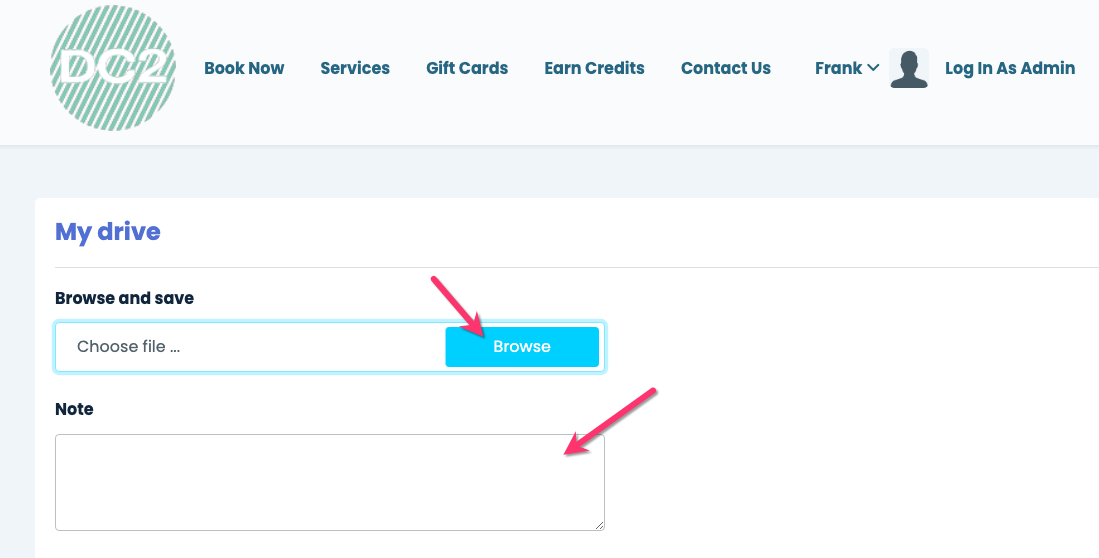
From their dashboard, customers can select the "My Drive" option from the main menu to download the files that have been uploaded.
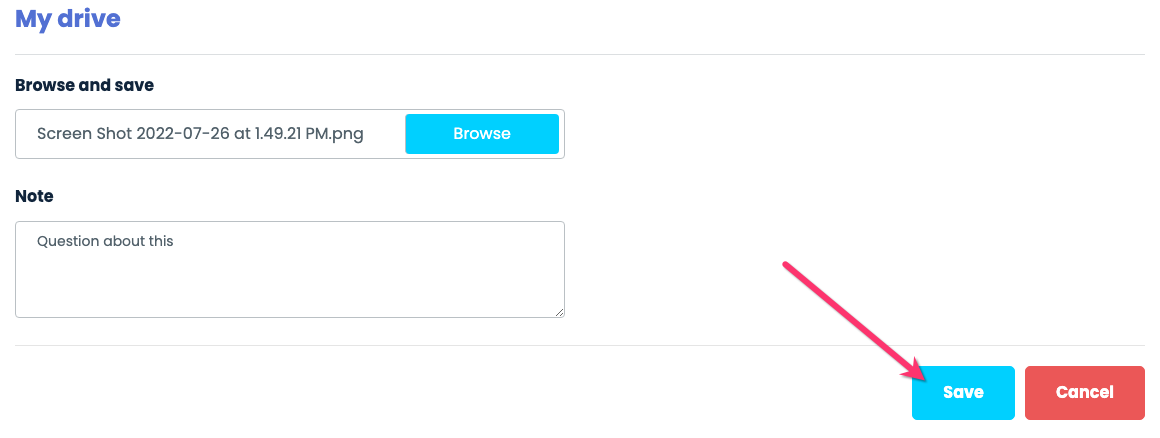
If enabled, customers are also allowed to upload files of their own to share with the admin and staff. This can be done by selecting the "My Drive" option from the main menu and clicking the "Browse" button to select a file. There is an option to add a note to the file as well.
Once a file has been selected, the customer can click the "Save" button to complete the upload.
Request Account Deactivation
If a customer is no longer interested in keeping an active profile with your company, they can request to deactivate their account.
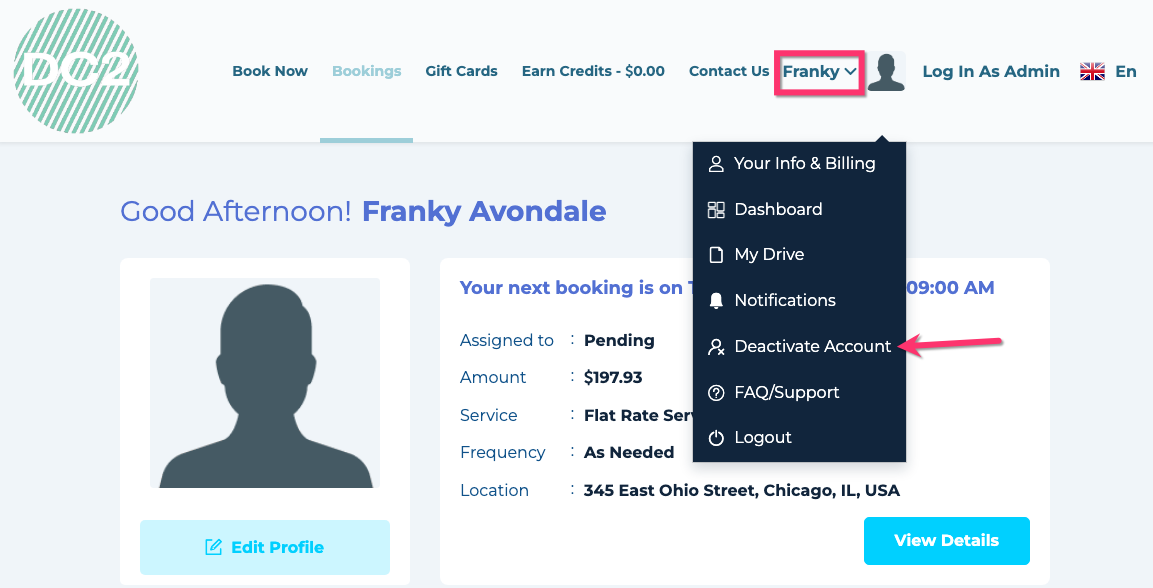
After logging into their dashboard, customers can click on the main menu in the header section to view the drop-down options. From here, they would select "Deactivate Account"
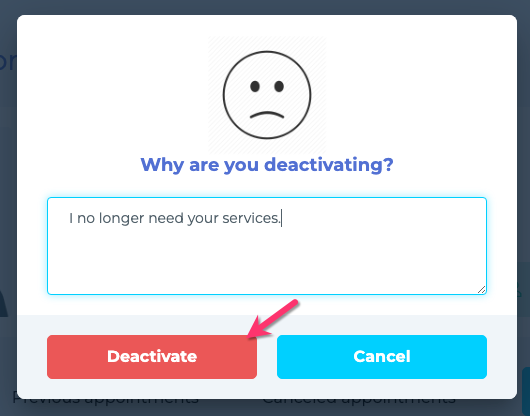
A pop-up will appear asking why the customer is deactivating their account. They can add feedback to the request as well. Finally, they will click the red "Deactivate" button to submit the request.
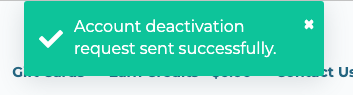
Once the request has been submitted, the customer will see a green system notification at the top of the page letting them know the request has been submitted successfully.
Customers will still be able to access their account, book services, etc. until the admin or staff approve the deactivation request.
Once approved, the customer will no longer be able to log in and access their dashboard.