The purpose of this article is to help you understand how to set up your:
Store options
Forms and industries
Smart scheduling
Notifications
Providers and teams
Website and form builder
Extra features
If you are starting a new business and just subscribed to BookingKoala, welcome! We recommend that you follow this checklist in order to set up your store. Go through each option carefully to decide how you would like your business to operate.
1. Set up your preferred settings in the Store Options section.
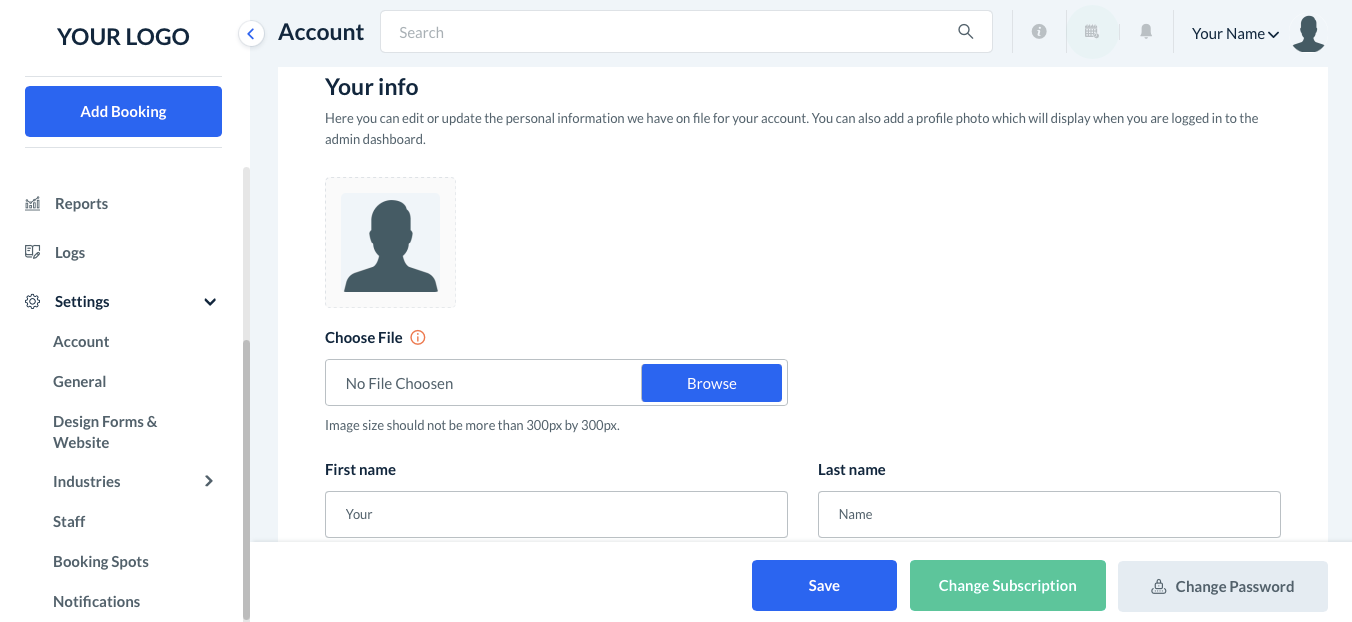
Please go to:
Settings > General > Store Options
There are five sections under Store Options. Read each section carefully and set them up according to your preferences.
Here are several articles that will help you understand each section.
2. Set up all your forms and industries.
There are five types of booking forms in BookingKoala. Each booking form represents a different way of pricing services.
Pick which booking form is right for your business.
Then, go through your Form Settings to see which kinds of options and features you can set up.
You can click the links in the article above to view detailed setup guides for each form or use the links below for a guide on how to set up each form section.
Pricing Parameters (used in Form 1)
Pricing Parameters (used in Form 4)
Items (used in Form 2 and Form 3)
Packages (used in Form 2)
Add-Ons (used in Form 2)
Add-Ons (used in Form 3)
After adding everything, make sure your payment processor is activated if you accept credit/debit card payments and sales tax is activated (if you collect sales tax).
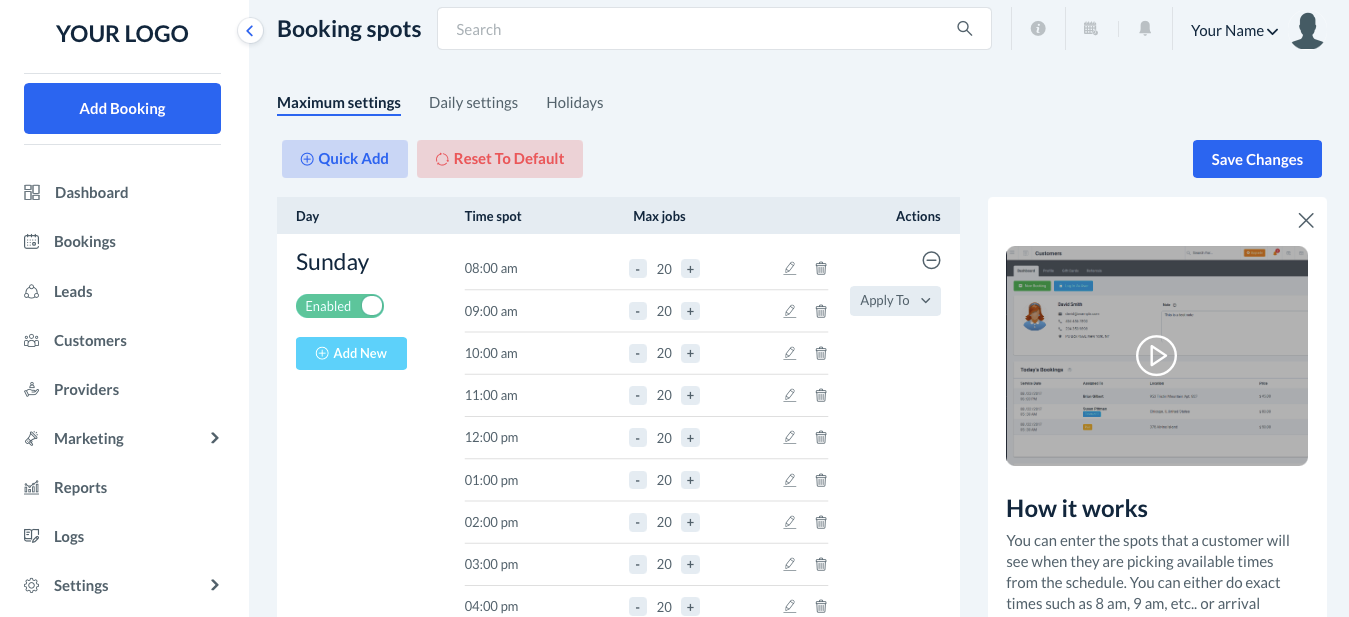
3. Set up smart scheduling
You can view this article which will explain in detail our smart scheduling and how to set it up properly.
4. Prepare your notifications.
Make sure that your email notifications are verified and that your SMS notifications are set up.
Then, you can modify your email and SMS notifications to customize them for your business.
For example, make sure all your links are connected to your social media accounts and images are replaced inside your emails.
5. Create and set up your providers/teams
Start with this Provider/Team overview to learn more about providers and teams.
Download the BookingKoala for Providers app and learn more about how providers can use the app to clock in and out of jobs, add job notes, get customer signatures, and more in the Provider app overview.
Later you can start adding in your providers/teams and then setting up their:
For a faster onboarding experience, you can use the Import Tool.
6. Our themes or your existing website?
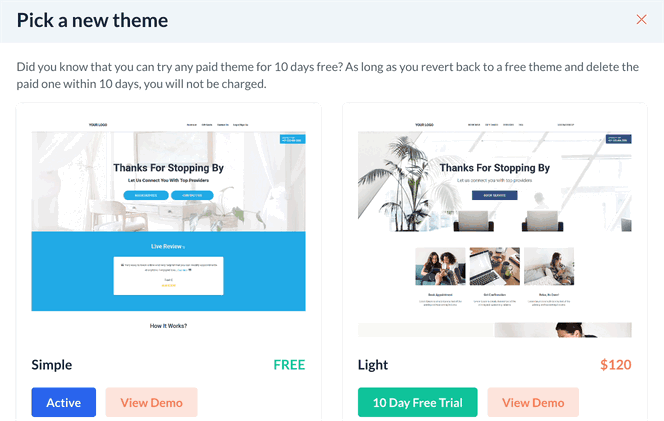
When you sign up for BookingKoala, a website is already generated when your account is created. You can use the BookingKoala Website Builder to customize the appearance of your site and forms.
You can also customize and embed the forms onto an existing, third-party website.
Here are some articles to help you:
7. Use our extra features.
Here are some extra things that you can do to your store:
Set up booking checklists for your providers and customers to review.
Customize your gift cards - Growing & Premium
Set up referral sharing - Growing & Premium
Set up the Hiring Module for quicker, easier onboarding and hiring - Growing (some features available) & Premium (all features available)
Add multiple industries - Growing & Premium
Set up and send out campaigns - Premium
Add languages and translations - Premium
We are actively developing our software and are constantly coming out with new features. Be sure to check the Help Center for articles and videos as new features are announced!
Congratulations! Your store is now set up and live.
If you run into issues, here are some articles we put together based on problems others ran into:
P.S. Don't forget about our blog or our Facebook community!